B站学习springboot笔记
Posted 小智RE0
tags:
篇首语:本文由小常识网(cha138.com)小编为大家整理,主要介绍了B站学习springboot笔记相关的知识,希望对你有一定的参考价值。
学习来源–>B站 传送门–> 【狂神说Java】SpringBoot最新教程IDEA版通俗易懂
文章目录
文档–>2.5.6文档
用springboot进行web开发
在之前的学习,大概了解到
其中的自动装配时;xxxAutoConfigurationxx去完成向容器中配置组件,
xxxproperties去自动配置类;装配配置文件;
新建项目;
选择web模块;

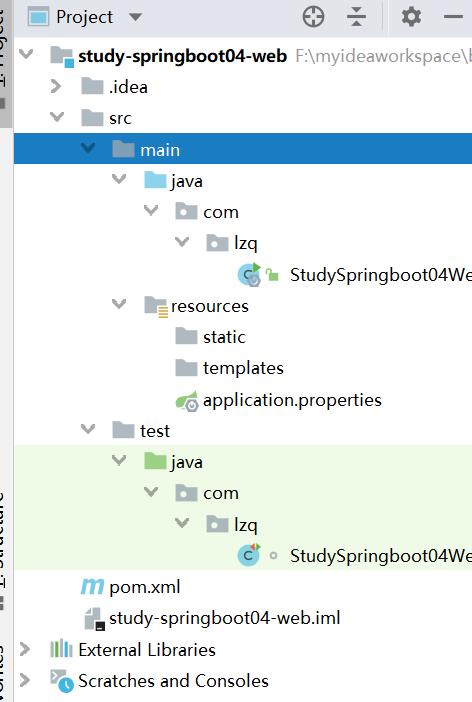
首先测试项目的配置;
创建controller作为控制层;
创建DemoController类
package com.lzq.controller;

import org.springframework.web.bind.annotation.GetMapping;
import org.springframework.web.bind.annotation.RestController;

/**
 * @author by CSDN@小智RE0
 * @date 2021-10-27 14:21
 */
@RestController
public class DemoController {
    //处理get请求;
    @GetMapping("/demo")
    public String demo(){
        return "正在测试显示.......";
    }
}
启动主程序,访问http://localhost:8080/demo;测试成功

1.1关于静态资源的导入与访问
访问方式;
(1)localhost:8080/webjars/…
(2)localhost:8080/** ;可供访问的有public目录;resources目录;static目录
具体分析
⬇⬇⬇⬇⬇⬇⬇⬇⬇⬇⬇⬇⬇⬇⬇⬇⬇⬇
首先找到WebMvcAutoConfiguration类,它里面有个自动适配类WebMvcAutoConfigurationAdapter;
进入源码看看;
其中有addResourceHandlers方法进行添加资源;
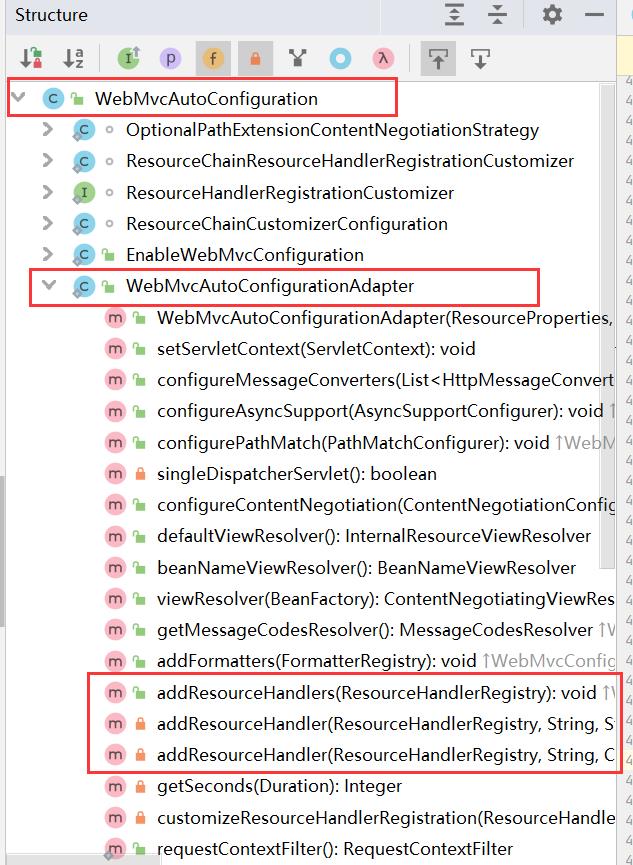
可能是版本原因吧;我这里用的2.5.6版本的springboot和狂神老师之前的2.2.0版本不同;
2.2.0版本的;
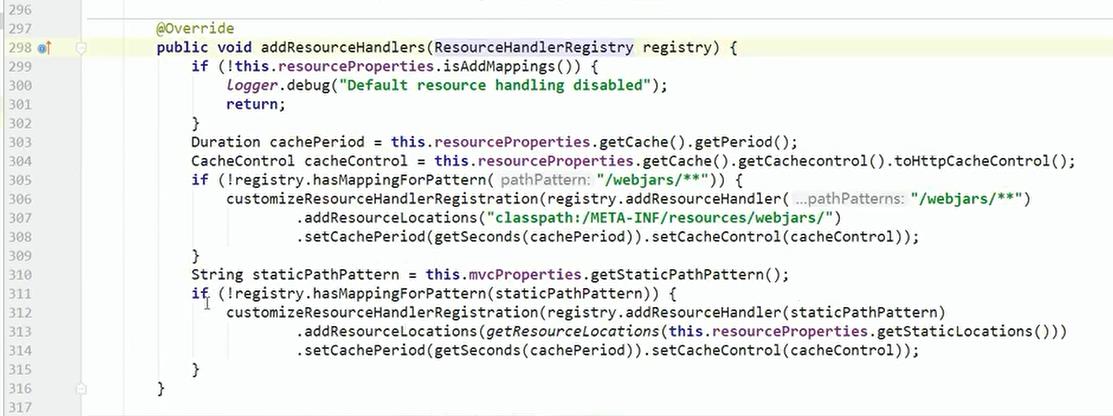
2.5.6版本的源码;

首先是; 若有默认配置的,这里的就失效;
可以试试;
比如说;我在application.properties配置文件中定义了资源文件的路径;
在static目录下创建demo.js文件<script type="text/javascript"> console.log("Static-DEMOJS") </script>启动项目主程序;访问路径
http://localhost:8080/demo.js
那么是访问不到的;
OK,删除配置文件中application.properties的那行代码
这里有提示
webjars目录时就匹配到/META-INF/resources/webjars/,但是在侧边栏一开始并没有找到这个目录;
那么,什么是webjars呢?
还记得之前在写前端的展示页面时,有时需要用到jQuery,然后就得手动路径导入;
OK,去搜索一下webjars–>官网–>https://www.webjars.org/
官网
可看到,很多可用资源都有对应的maven形式;
比如说,我把这个jquery的maven依赖jar坐标取过来<dependency> <groupId>org.webjars</groupId> <artifactId>jquery</artifactId> <version>3.6.0</version> </dependency>在当前项目的maven核心配置文件
pom.xml下使用;
这样的话,目录对应上了
那就启动项目的主程序,访问这个jquery资源试试;
访问http://localhost:8080/webjars/jquery/3.6.0/jquery.js
点击进入getStaticPathPattern()方法;
再次进入;找到这个staticPathPattern属性;
在该类初始化时;staticPathPattern路径属性就作为/**出现;那么,也就是说,它会识别当前路径下的所有;
OK,继续回到自动配置适配类
WebMvcAutoConfigurationAdapter;在它的构造方法中有方法参数为ResourceProperties类型的
那就进入ResourceProperties类;
这个类继承了Resources类;
指示的四个路径
"classpath:/META-INF/resources/", "classpath:/resources/", "classpath:/static/", "classpath:/public/"
刚才新建项目时生成的resources目录;
那么,也可以新建目录
不同目录下的静态资源优先级
那么,在这几个目录下分别放入demo文件,看看能否访问到呢
在public目录下创建demo.js
<script type="text/javascript">
console.log("Public-DEMOJS")
</script>
在
resources目录下也创建同名的demo.js
<script type="text/javascript">
console.log("Resources-DEMOJS")
</script>
在
static目录下也创建同名的demo.js
<script type="text/javascript">
 console.log("Static-DEMOJS")
</script>
大致模样
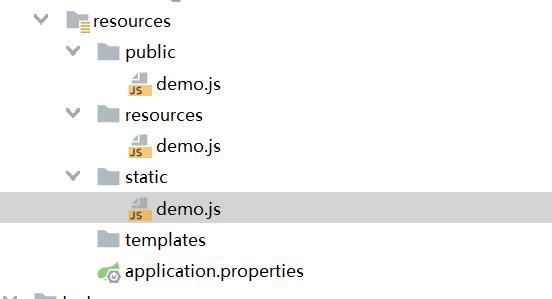
OK,启动项目主程序;访问http://localhost:8080/demo.js;
也就是说,当前resources目录下的资源优先级最高;

OK,删掉resources目录下的demo.js;
再次启动主程序,访问http://localhost:8080/demo.js
那么说明static目录下的资源优先级还是优于public目录的资源优先级

测试之后删掉测试的文件
优先级顺序(高->低): resources–>static–>public
1.2关于首页和图标定制
OK,还是回到刚才的WebMvcAutoConfigurationweb配置类;他还有个静态内部类EnableWebMvcConfiguration;其中有这么几个方法;
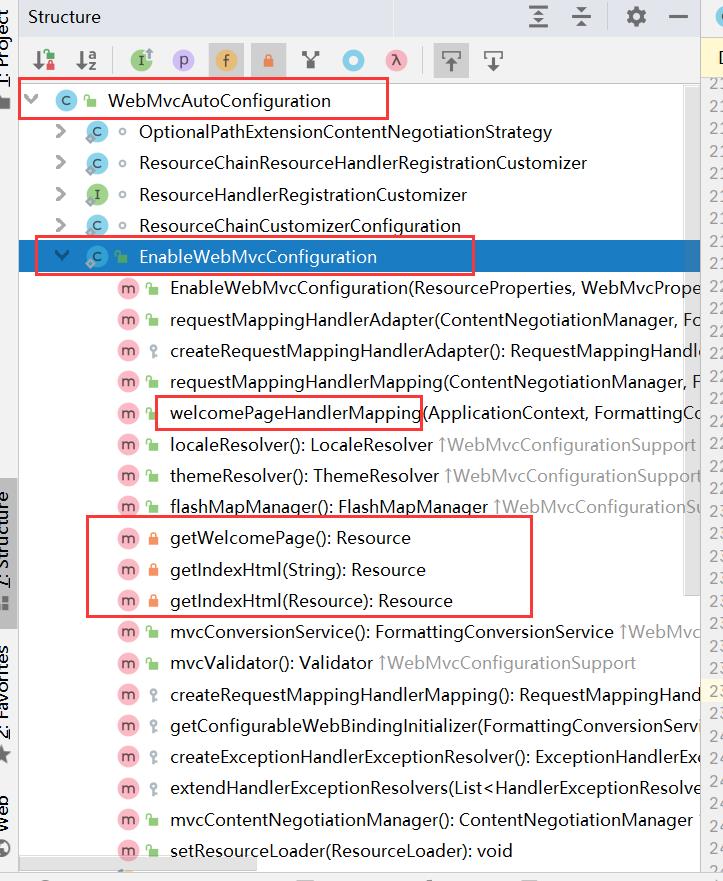
首先看这个welcomePageHandlerMapping()首页映射处理方法

然后看这个getWelcomePage()获取首页方法;最终会找index.html文件

OK,在
static目录下创建index.html文件
<!DOCTYPE html>
<html lang="en">
<head>
    <meta charset="UTF-8">
    <title>首页显示</title>

</head>
<body>
<h1>这是一个首页</h1>
</body>
</html>
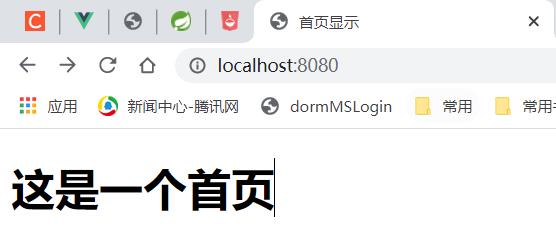
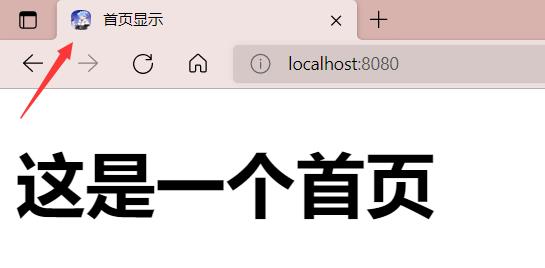
启动项目主程序,访问
http://localhost:8080/
关于图标定制这方面;现版本的springboot已经取消了这个设置,底层源码也没找到之前关于图标相关的配置
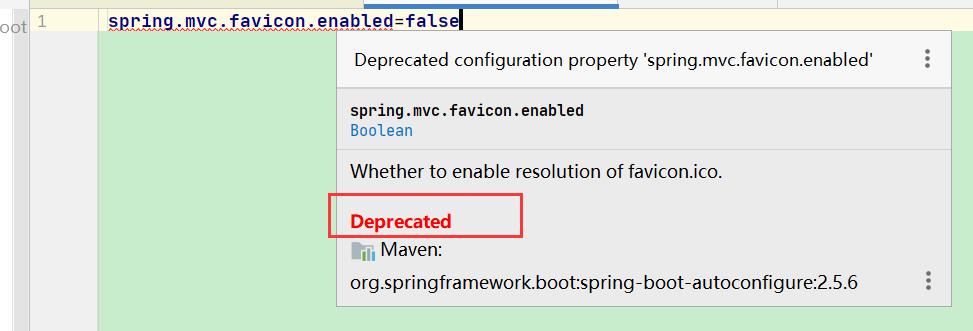
那么,直接使用即可;
在static文件夹下放入图标favicon.ico
原图在这里(不能上传
.ico图标类型的图片);后缀改为.ico即可

先清除浏览器的缓存目录;
再启动项目;已经有显示了
1.3thymeleaf 模板引擎
官网–>https://www.thymeleaf.org/
使用这款中文文档也不错–>https://www.docs4dev.com/docs/zh/thymeleaf/3.0/reference/using_thymeleaf.html
中文文档

先在项目的pom.xml文件导入依赖;
<!--使用thymeleaf-->
<dependency>
    <groupId>org.thymeleaf</groupId>
    <artifactId>thymeleaf-spring5</artifactId>
</dependency>
<dependency>
    <groupId>org.thymeleaf.extras</groupId>
    <artifactId>thymeleaf-extras-java8time</artifactId>
</dependency>
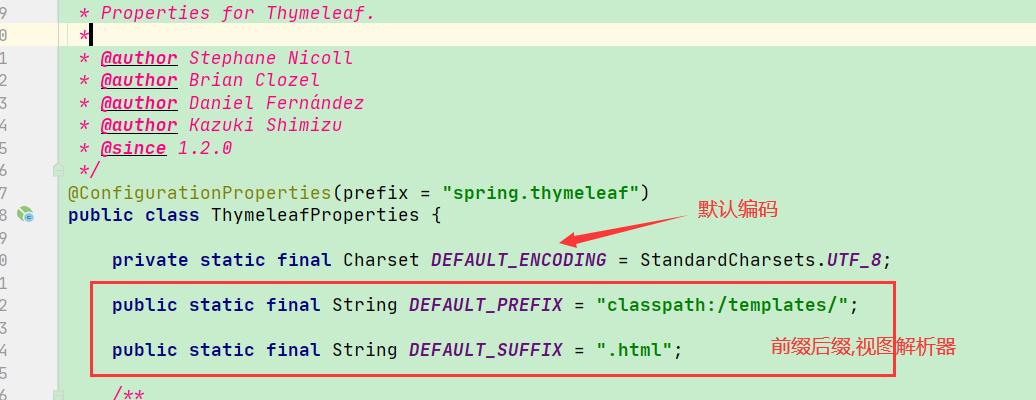
查看ThymeleafProperties类;
在templates模板文件夹下创建demo0.html文件;
<!DOCTYPE html>
<html lang="en">
<head>
    <meta charset="UTF-8">
    <title>测试模板</title>
</head>
<body>
<h1>测试模板文件夹下的文件显示</h1>
</body>
</html>
注意templates下的文件访问时,需要在controller层请求跳转访问;
在controller包下创建GetDemoController类
package com.lzq.controller;

import org.springframework.stereotype.Controller;
import org.springframework.web.bind.annotation.GetMapping;
/**
 * @author by CSDN@小智RE0
 * @date 2021-10-27 17:52
 */
@Controller
public class GetDemoController {
    @GetMapping("/demo0")
    public String getDemo(){
        return "demo0";
    }
}
启动项目主程序;访问http://localhost:8080/demo0

那么,实际上这个thymeleaf如何使用呢;
首先需要加入约束;xmlns:th="http://www.thymeleaf.org"
案例
先在controller中处理时,存入一个参数;
还是在刚才的类中
package com.lzq.controller;

import org.springframework.stereotype.Controller;
import org.springframework.ui.Model;
import org.springframework.web.bind.annotation.GetMapping;
/**
 * @author by CSDN@小智RE0
 * @date 2021-10-27 17:52
 */
@Controller
public class GetDemoController {
    @GetMapping("/demo0")
    public String getDemo(Model model){
        //存入参数;
        model.addAttribute("message","你好!!!!");
        return "demo0";
    }
}
demo0.html页面取值;
<!DOCTYPE html>
<html lang="en" xmlns:th="http://www.thymeleaf.org">
<head>
    <meta charset="UTF-8">
    <title>测试模板</title>
</head>
<body>
<h1>测试模板文件夹下的文件显示</h1>
显示信息--><span th:text="${message}"></span>
</body>
</html>
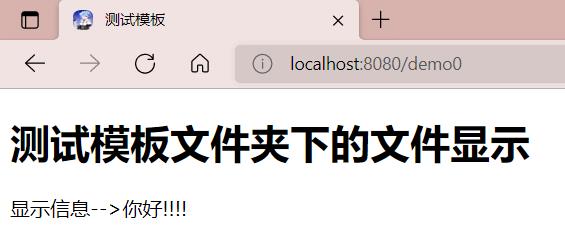
启动项目,存入的参数取到了
语法
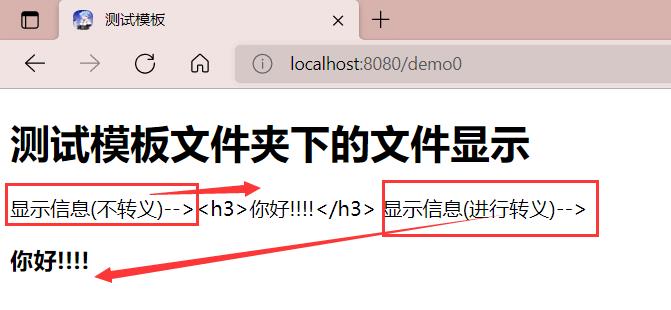
th:text 不转义;显示得到的数据;
th:utext 会进行转义
比如说,我现在在controller写处理请求时,响应的参数赋值时拼接了标签
package com.lzq.controller;

import org.springframework.stereotype.Controller;
import org.springframework.ui.Model;
import org.springframework.web.bind.annotation.GetMapping;
/**
 * @author by CSDN@小智RE0
 * @date 2021-10-27 17:52
 */
@Controller
public class GetDemoController {


    @GetMapping("/demo0")
    public String getDemo(Model model){
        //存入参数;
        model.addAttribute("message","<h3>你好!!!!</h3>");
        return "demo0";
    }
}
然后我分别按转义和不转义的方式取值;
<!DOCTYPE html>
<html lang="en" xmlns:th="http://www.thymeleaf.org">
<head>
    <meta charset="UTF-8">
    <title>测试模板</title>
</head>
<body>
<h1>测试模板文件夹下的文件显示</h1>
显示信息(不转义)--><span th:text="${message}"></span>
显示信息(进行转义)--><span th:utext="${message}"></span>
</body>
</html>
重启项目,
关于遍历取值
现在GetDemoController类中定义方法;
package com.lzq.controller;

import org.springframework.stereotype.Controller;
import org.springframework.ui.Model;
import org.springframework.web.bind.annotation.GetMapping;

import java.util.Arrays;
/**
 * @author by CSDN@小智RE0
 * @date 2021-10-27 17:52
 */
@Controller
public class GetDemoController {
    @GetMapping("/demo1")
    public String getDemo1(Model model){
        //存入参数;
        model.addAttribute("lists", Arrays.asList("小智","小明","小杰","阿猫"));
        return "demo1";
    }
}
在templates下定义demo1.html文件
<!DOCTYPE html>
<html lang="en" xmlns:th="http://www.thymeleaf.org">
<head>
    <meta charset="UTF-8">
    <title>测试遍历</title>
</head>
<body>

<!--先把集合每次遍历的结果存入list-->
<h2 th:each="list:${lists}" th:text="${list}"></h2>

</body>
</html>
启动项目;访问http://localhost:8080/demo1

1.4 spring MVC的装配
文档–>2.5.6文档

实现接口 ViewResolver 的类,就可当做视图解析器;

比如说;ContentNegotiatingViewResolver重写该方法;

获取候选视图的大概实现getCandidateViews()

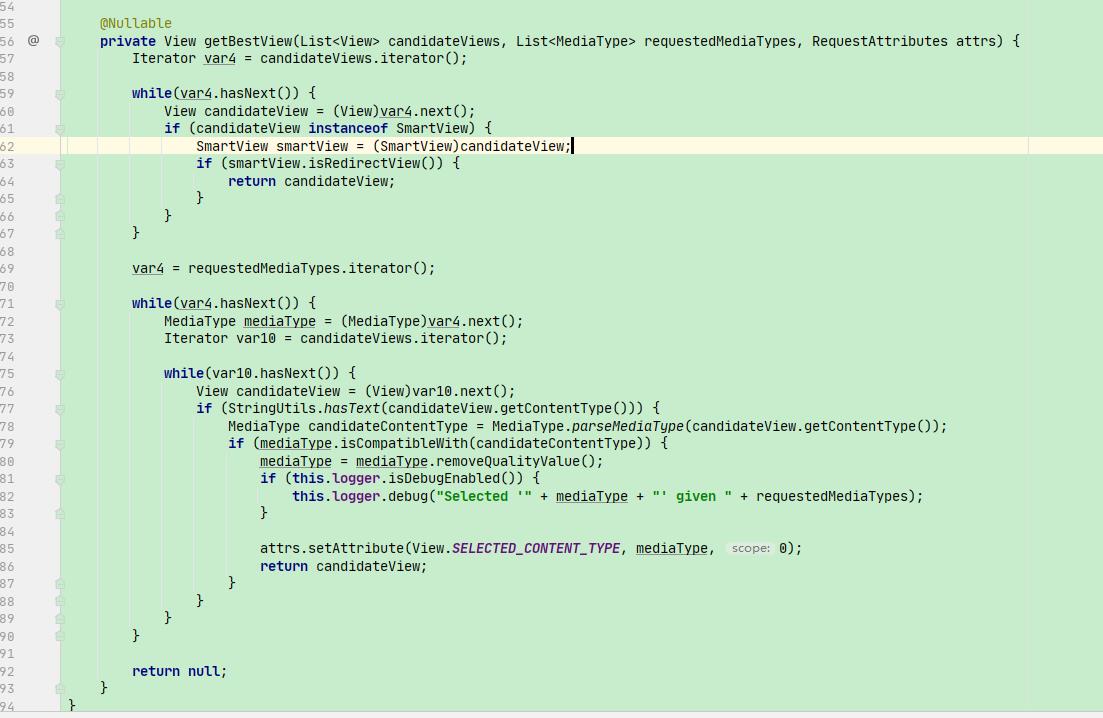
这个获取较好视图的实现也差不多;
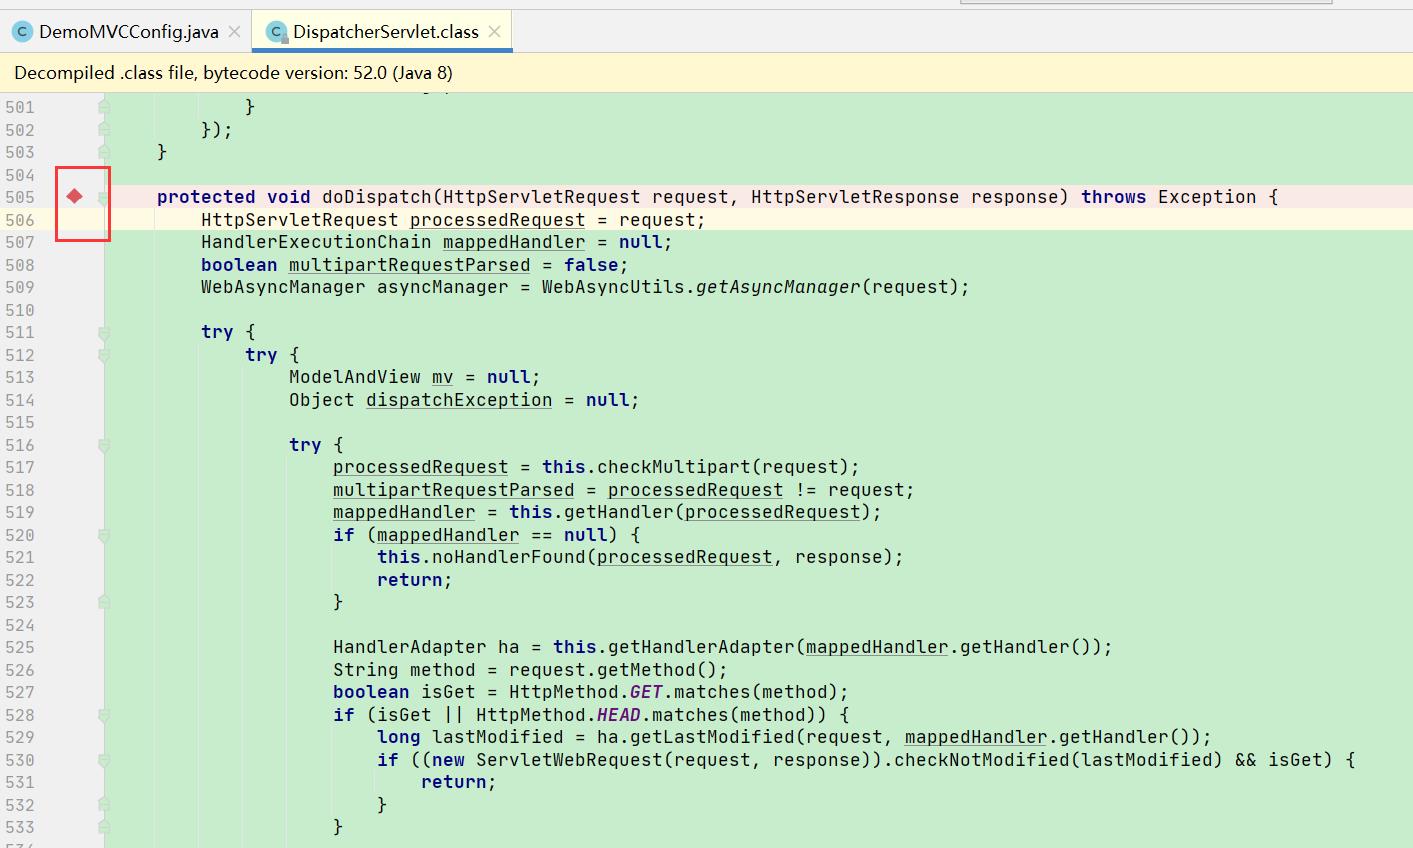
找到DispatcherServlet类
在它的方法doDispatch处打个断点
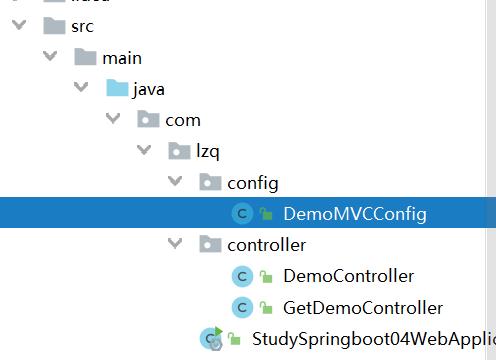
创建config包;创建DemoMVCConfig类
package com.lzq.config;

import org.springframework.context.annotation.Bean;
import org.springframework.context.annotation.Configuration;
import org.springframework.web.servlet.View;
import org.springframework.web.servlet.ViewResolver;
import org.springframework.web.servlet.config.annotation.WebMvcConfigurer;

import java.util.Locale;
/**
 * @author by CSDN@小智RE0
 * @date 2021-10-27 18:54
 */
//在这个类里面去扩展spring mvc
@Configuration
public class DemoMVCConfig implements WebMvcConfigurer {
    //实现接口 ViewResolver 的类,就可当做视图解析器;

    //配置注入到容器中;
    @Bean
    public ViewResolver myViewResolver(){
        return new MyViewResolver();
    }

    //自定义视图解析器;静态内部类的方式;
    public static class MyViewResolver implements ViewResolver{
        @Override
        public View resolveViewName(String viewName, Locale locale) throws Exception {
            return null;
        }
    }
}
debug调试启动项目,访问http://localhost:8080/
回到IDEA,看看控制台,
点入this;自定义的视图解析器有显示被加载了

OK,测试完,记得把源码中打的断点去掉;
1.5 springmvc的扩展
在WebMvcProperties类中;
可看到它的内部类Format ;时间日期都有默认的格式

实际上,也可以在application.properties配置文件中进行更改;
比如说:
# 更改日期格式
spring.mvc.format.date=dd/MM/yyyy
注意在扩展时;不要使用注解@EnableWebMvc
因为该注解实际上导入了DelegatingWebMvcConfiguration类

而DelegatingWebMvcConfiguration这个类继承了WebMvcConfigurationSupport

这个WebMvcConfigurationSupport和这些有什么关系呢?
注意–>再次回到WebMvcAutoConfiguration类;
有一个很关键的条件
@ConditionalOnMissingBean(WebMvcConfigurationSupport.class)
什么意思呢?
就是说如果WebMvcConfigurationSupport这个类没有被注入到容器中时;WebMvcAutoConfiguration类下的配置才会生效;
要是这个类存在了;那么自动配置就失效了;
所以呢,你要是正在自定义配置扩展时;用了注解
@EnableWebMvc;它默认导入了DelegatingWebMvcConfiguration,它引发了WebMvcConfigurationSupport类–>导致WebMvcAutoConfiguration出问题!!!

OK,最后简单地试试扩展一个视图跳转吧;
在templates下创建re0.html文件
<!DOCTYPE html>
<html lang="en">
<head>
    <meta charset="UTF-8">
    <title>RE0</title>
</head>
<body>
你来啦
</body>
</html>
先把之前写的DemoMVCConfig类注释掉;
在config包下创建Demo2MVCConfig类;
package com.lzq.config;
import org.springframework.context.annotation.Configuration;
import org.springframework.web.servlet.config.annotation.ViewControllerRegistry;
import org.springframework.web.servlet.config.annotation.WebMvcConfigurer;
/**
* @author by CSDN@小智RE0
* @date 2021-10-27 21:15
*/


