图像处理——轮廓检测
Posted HarrietLH
tags:
篇首语:本文由小常识网(cha138.com)小编为大家整理,主要介绍了图像处理——轮廓检测相关的知识,希望对你有一定的参考价值。
一、图像轮廓
- 图像轮廓与图像边界区别
图像轮廓指的是图像整体,连接在一起,而图像边界可能是零散的线段。
二、图像轮廓检测的实现
-
opencv轮廓检测函数
def findContours(image: Any,
                 mode: Any,
                 method: Any,
                 contours: Any = None,
                 hierarchy: Any = None,
                 offset: Any = None)
部分参数说明:
①mode:轮廓检索模式
常用的模式
RETR_EXTERNAL:只检测最外边轮廓
RETR_LIST:检测所有轮廓,并将其保存到一条链表当中
RETR_CCOMP:检测所有轮廓,并将他们组织为两层,顶层为各部分的外部边界,第二层为空洞的边界
RETR_TREE:检索所有轮廓,并重构嵌套轮廓的整个层次。最常用模式。
②method:轮廓逼近方法
CHAIN_APPROX_NONE:以Freeman链码的方式输出轮廓,所有其他方法输出多边形。
CHAIN_APPROX_SIMPLE:压缩水平的、垂直的和斜的部分(只保留他们终点部分)。 -
轮廓检测过程
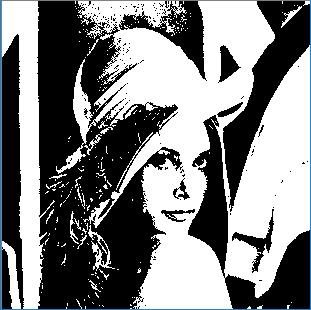
①读取图像灰度图lena = cv2.imread("Lena.png") gray = cv2.cvtColor(lena, cv2.COLOR_BGR2GRAY)②图像二值化
ret, thresh = cv2.threshold(gray, 127, 255, cv2.THRESH_BINARY)
③图像轮廓检测
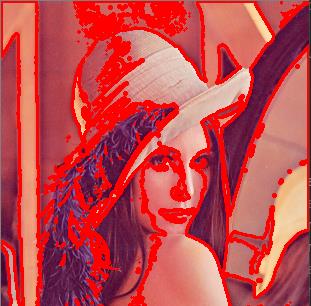
binary, contours, hierarchy = cv2.findContours(thresh, cv2.RETR_TREE, cv2.CHAIN_APPROX_NONE)④绘制轮廓
# 绘制轮廓信息
draw_img = lena.copy()
# 默认取-1,全部轮廓,取其他的值的时候,通常会绘制出部分轮廓。
res = cv2.drawContours(draw_img, contours, -1, (0, 0, 255), 2)
showImg(res, 'res')
三、轮廓特征
- 轮廓面积计算
cnt = contours[0] cv2.contourArea() - 轮廓周长计算
# True表示闭合的
cv2.arcLength(cnt,True)
四、轮廓近似
-
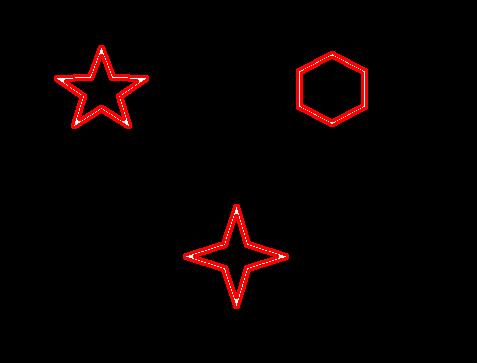
将部分折线部分化为直,近似为一个形状。
counter = cv2.imread("counter.png")
# 图像轮廓检测
gray = cv2.cvtColor(counter, cv2.COLOR_BGR2GRAY)
ret, thresh = cv2.threshold(gray, 127, 255, cv2.THRESH_BINARY)
binary, contours, hierarchy = cv2.findContours(thresh, cv2.RETR_TREE, cv2.CHAIN_APPROX_NONE)
# 绘制轮廓信息
draw_img = lena.copy()
res = cv2.drawContours(draw_img, contours, -1, (0, 0, 255), 2)
showImg(res, 'res')
cnt = contours[0]
# 通过改变系数,来改变近似的效果
epsilon = 0.1 * cv2.arcLength(cnt, True)
approx = cv2.approxPolyDP(cnt, epsilon, True)
draw_img = lena.copy()
res = cv2.drawContours(draw_img, [approx], -1, (0, 0, 255), 2)
showImg(res, 'res')
原始轮廓

部分进行轮廓近似

以上是关于图像处理——轮廓检测的主要内容,如果未能解决你的问题,请参考以下文章