Keepalived高可用+HAproxy实现Nginx+wordpress动静分离
Posted
tags:
篇首语:本文由小常识网(cha138.com)小编为大家整理,主要介绍了Keepalived高可用+HAproxy实现Nginx+wordpress动静分离相关的知识,希望对你有一定的参考价值。
背景介绍
随着时代的更新发展,我们对于网络访问的速度,容错性,冗余性,都要不断的提高,当然提高访问资源速度的方法有很多,其中动态资源与静态资源分类也是其中的一种,这里给出如何使用Keepalived、HAproxy、nginx、WordPress实现动、静分离的资源请求。
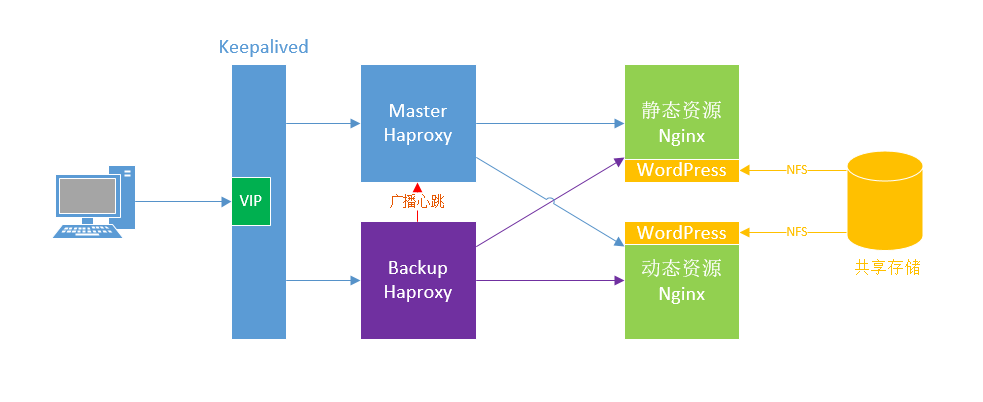
以HAproxy做动、静资源调度,使用Nginx做动态和静态的服务站点、使用Keepalived实现HAproxy的冗余性。
一、基础环境介绍
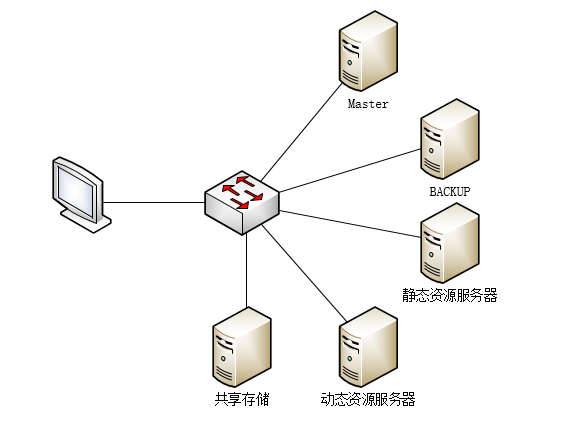
物理拓扑
逻辑拓扑
访问流程
动态资源:
用户请求动态资源时,通过Master-HAproxy的ACL访问控制,将用户请求发送给后端的动态服务器,动态服务中Nginx反向代理php-fpm,Nginx将请求发送给php-fpm处理,资源在共享存储中,php-fpm需要到共享存储里处理内容,处理完毕后,将响应发送给Nginx,由Nginx发送给Master-HAproxy,最后在发给用户。
静态资源:
用户请求动态资源时,通过Master-HAproxy的ACL访问控制,将用户请求发送给后端的静态服务器,静态服务器中的Nginx接受请求时,到共享存储中找寻静态资源后,将响应报文发送回Master-HAproxy,最后由HAproxy发送回用户
操作系统:CentOS7.3、Openfiler。
共有5台服务器:
MASTER:
主机名:shiyan1
IP地址:172.18.17.31
BACKUP:
主机名:shiyan2
IP地址:172.18.17.32
动态资源服务器:
主机名:shiyan3
IP地址:172.18.17.33
静态资源服务器:
主机名:shiyan4
IP地址:172.18.17.35
共享存储(使用Openfiler)
主机名:localhost
IP地址:172.18.17.200
二、初始化配置
(4台服务器的相同配置,除去共享存储)
同步时间(需要自行配置时间服务器) ,我使用的时间服务器不在拓扑中。
       [[email protected] ~ ]# vim /etc/ntp.conf
            restrict 127.0.0.1
            restrict -6 ::1

            # Hosts on local network are less restricted.
            restrict 172.18.17.0 mask 255.255.0.0 #nomodify notrap

            # Use public servers from the pool.ntp.org project.
            # Please consider joining the pool (http://www.pool.ntp.org/join.html).
            server 172.18.17.11 prefer
            server 127.127.1.0
            fudge 127.127.1.0 stratum 10
        #配置好重启服务:
         [[email protected] ~ ]# systemctl restart ntp
        #同步时间的命令是:ntpdate NTP-Server的IP地址
配置hosts文件
        [[email protected] ~ ]# cat /etc/hosts
            127.0.0.1   localhost localhost.localdomain localhost4 localhost4.localdomain4
            ::1         localhost localhost.localdomain localhost6 localhost6.localdomain6
            172.18.17.31 shiyan1
            172.18.17.32 shiyan2
            172.18.17.33 shiyan3
            172.18.17.35 shiyan5
            172.18.17.30 VIP
关闭防火墙
        [[email protected] ~ ]# iptables -F
        [[email protected] ~ ]# systemctl stop firewalld
        [[email protected] ~ ]# systemctl disable firewalld
关闭SElinux
        [[email protected] ~ ]# vim /etc/selinux/config
          SELINUX=disabled
安装软件
MASTER/BACKUP安装keepalived、haproxy。
[[email protected] ~ ]# yum install keepalived haproxy
动态资源服务器安装nginx、php-fpm、php-mysql、mariadb-server。(安装Nginx需要epel源)
[[email protected] ~ ]# yum install nginx php-fpm php-mysql mariadb-server
静态资源服务器安装nginx
[[email protected] ~ ]# yum install nginx
三、具体配置步骤
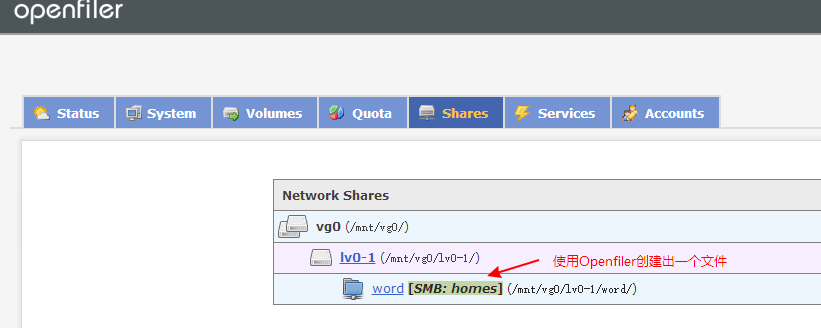
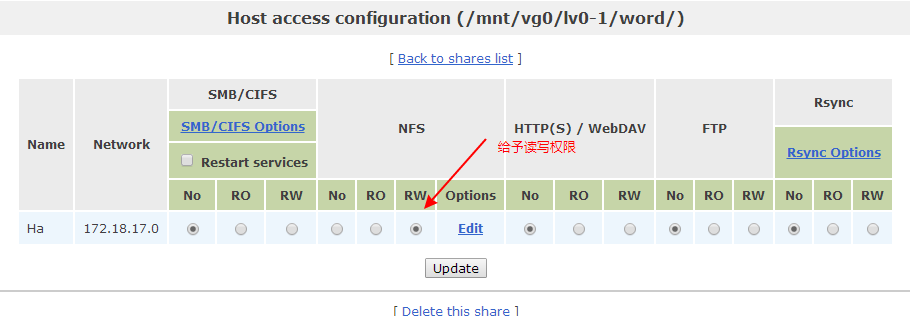
共享存储配置,这里我使用的是NFS,有能力的话也可以从Linux系统自己搭建一个。(我这里使用的Openfiler,具体如何建立逻辑卷的配置我就不贴图了)
配置动态服务器
    #配置NFS
    [[email protected] ~ ]# mkdir -p /app/word/        #创建目录
    [[email protected] ~ ]# showmount -e 172.18.17.200     #查看172.18.17.200的共享信息
    Export list for 172.18.17.200:
    /mnt/vg0/lv0-1/word 172.18.17.0/255.255.0.0
    [[email protected] ~ ]# mount 172.18.17.200:/mnt/vg0/lv0-1/word /app/word #挂载172.18.17.200的目录

    #配置PHP-FPM
    [[email protected] ~ ]# vim /etc/php-fpm.d/www.conf        #配置php-fpm
        listen = 9000  #将listen这里直接改为监听9000
        ;listen.allowed_clients = 127.0.0.1   #注释掉;listen.allowed_clients以分号注释
        user = nginx     #用户名改为nginx
        group = nginx    #组名改为nginx

    #配置Nginx
    #注释掉/etc/nginx/nginx.conf中server的全部内容
    [[email protected] ~ ]# vim /etc/nginx/conf.d/default.conf
            server {
            listen       80;
            server_name  localhost;
        location / {
            root   /app/word/wordpress;
            index  index.php index.html index.htm;
        }
        location ~ \.php$ {
                root           /app/word/wordpress/;
                fastcgi_pass   127.0.0.1:9000;
                fastcgi_index  index.php;
                fastcgi_param  SCRIPT_FILENAME  $document_root$fastcgi_script_name;
                include        fastcgi_params;
            }

      }

    #配置Mariadb-Server
    [[email protected] ~ ]# systemctl start mariadb  #打开mariadb,默认是关闭的
    [[email protected] ~ ]# mysql  #进入mysql
          MariaDB [(none)]> create database wpdb;   #建立wqdb数据库
          MariaDB [(none)]> grant all on wpdb.* to [email protected] identified by ‘mypass‘;
              #建立用户创建密码赋予权限
          MariaDB [(none)]> FLUSH PRIVILEGES;#刷新权限
                MariaDB [(none)]> exit #退出

    #配置wordpress
    [[email protected] ~ ]# cd /app/word
    [[email protected] ~ ]# cp ~/wordpress-4.7.4-zh_CN.tar.gz .
    [[email protected] ~ ]# tar xvf wordpress-4.7.4-zh_CN.tar.gz
    [[email protected] ~ ]# chown nginx.nginx -R /app/word/wordpress

    #开启服务
    [[email protected] ~ ]# systemctl restart php-fpm
    [[email protected] ~ ]# systemctl restart nginx
配置wordpress
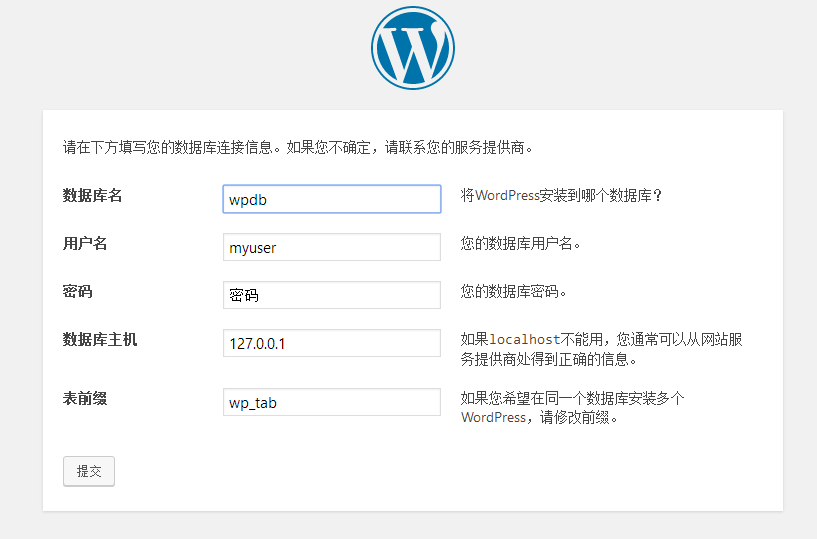
访问http://172.18.17.33
添加之前的配置信息
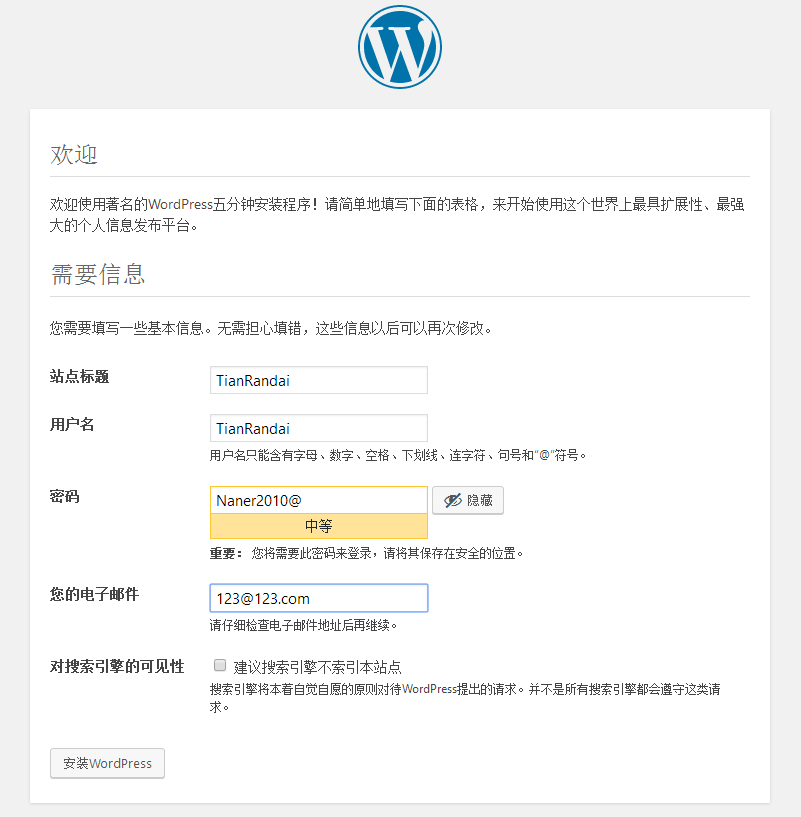
配置wordpress的信息
配置WordPress信息完成
静态服务器配置
     #配置NFS
    [[email protected] ~ ]# mkdir -p /app/word/
    [[email protected] ~ ]# showmount -e 172.18.17.200
        Export list for 172.18.17.200:
        /mnt/vg0/lv0-1/word 172.18.17.0/255.255.0.0
    [[email protected] ~ ]# mount 172.18.17.200:/mnt/vg0/lv0-1/word /app/word

    #配置Nginx
        #注释掉/etc/nginx/nginx.conf中server的全部内容
    [[email protected] ~ ]# vim /etc/nginx/conf.d/default.conf
        server {
        listen       80;

        location / {
            root   /app/word/wordpress/wp-content/uploads/2017/05;  #此处是wordpress的图片库
            index  index.html index.htm;
        }
        location /images/ {
            alias   /app/word/wordpress/wp-content/uploads/2017/05/;
        autoindex on;      #此处是开启目录浏览模式
        }

        }

        #开启服务
            [[email protected] ~ ]# systemctl restart nginx
配置Keepalived-Master、HAproxy
   #配置Keepalived-主节点
    [[email protected] ~ ]# vim /etc/keepalived/keepalived.conf
        global_defs {
           notification_email {
            root
           }
           notification_email_from [email protected]
           smtp_server 127.0.0.1
           smtp_connect_timeout 30
           router_id shiyan1
           vrrp_mcast_group4 224.0.101.19
        }
        vrrp_instance HP-1 {
            state MASTER         #主节点
            interface ens33      #网卡
            virtual_router_id 11 #虚拟路由ID
            priority 100         #优先级
            advert_int 1
            authentication {
                auth_type PASS
                auth_pass [email protected]
            }
            virtual_ipaddress {
                172.18.17.30/16 dev ens33  #虚拟IP地址及绑定的网卡
            }
            }

     #配置HAproxy
     [[email protected] ~ ]# vim /etc/haproxy/haproxy.cfg
         frontend  tianrandai  *:80
        acl url_static       path_beg       -i /static /images /javascript /stylesheets
        #以/static /images ... 开头的
        acl url_static       path_end       -i .jpg .gif .png .css .js .html
        #或者以   .jpg   .gif    .png   ...  结尾的

        use_backend static          if url_static   #调度到static中
        default_backend             doutai          #不是则调度到doutai中

    listen stat          #管理页面
        bind *:9909      #管理页面端口
        stats enable     #开启管理页面
        stats uri /Randai?Tian   #管理页面自定义URI
        stats admin if TRUE      #判断是否开启管理模式
        stats auth TianRandai:abc123   #使用的用户名密码

    #---------------------------------------------------------------------
    # static backend for serving up images, stylesheets and such
    #---------------------------------------------------------------------
    backend static
        balance     roundrobin     使用的算法
        server      static1 172.18.17.35:80 check     后端服务器IP

    #---------------------------------------------------------------------
    # round robin balancing between the various backends
    #---------------------------------------------------------------------
    backend doutai
        balance     roundrobin
        server  doutai1 172.18.17.33:80 check

     #开启服务
    [[email protected] ~ ]# systemctl start haproxy
    [[email protected] ~ ]# systemctl start keepalived
#配置好HAproxy后直接同步到BACKUP节点中就可以
#scp /etc/haproxy/haproxy.cfg 172.18.17.32:/etc/haproxy/haproxy.cfg
配置配置Keepalived-Backup、HAproxy
   #配置Keepalived-主节点
    [[email protected] ~ ]# vim /etc/keepalived/keepalived.conf
        global_defs {
           notification_email {
            root
           }
           notification_email_from [email protected]
           smtp_server 127.0.0.1
           smtp_connect_timeout 30
           router_id shiyan1
           vrrp_mcast_group4 224.0.101.19
        }
        vrrp_instance HP-1 {
            state MASTER         #被节点
              interface ens33      #网卡
              virtual_router_id 11 #虚拟路由ID
              priority 100         #优先级
            advert_int 1
            authentication {
                auth_type PASS
                auth_pass [email protected]
            }
            virtual_ipaddress {
                172.18.17.30/16 dev ens33
            }
         }
      #HAproxy已经从从主配置文件中复制过来直接运行即可

     #开启服务
    [[email protected] ~ ]# systemctl start haproxy
    [[email protected] ~ ]# systemctl start keepalived
四、测试
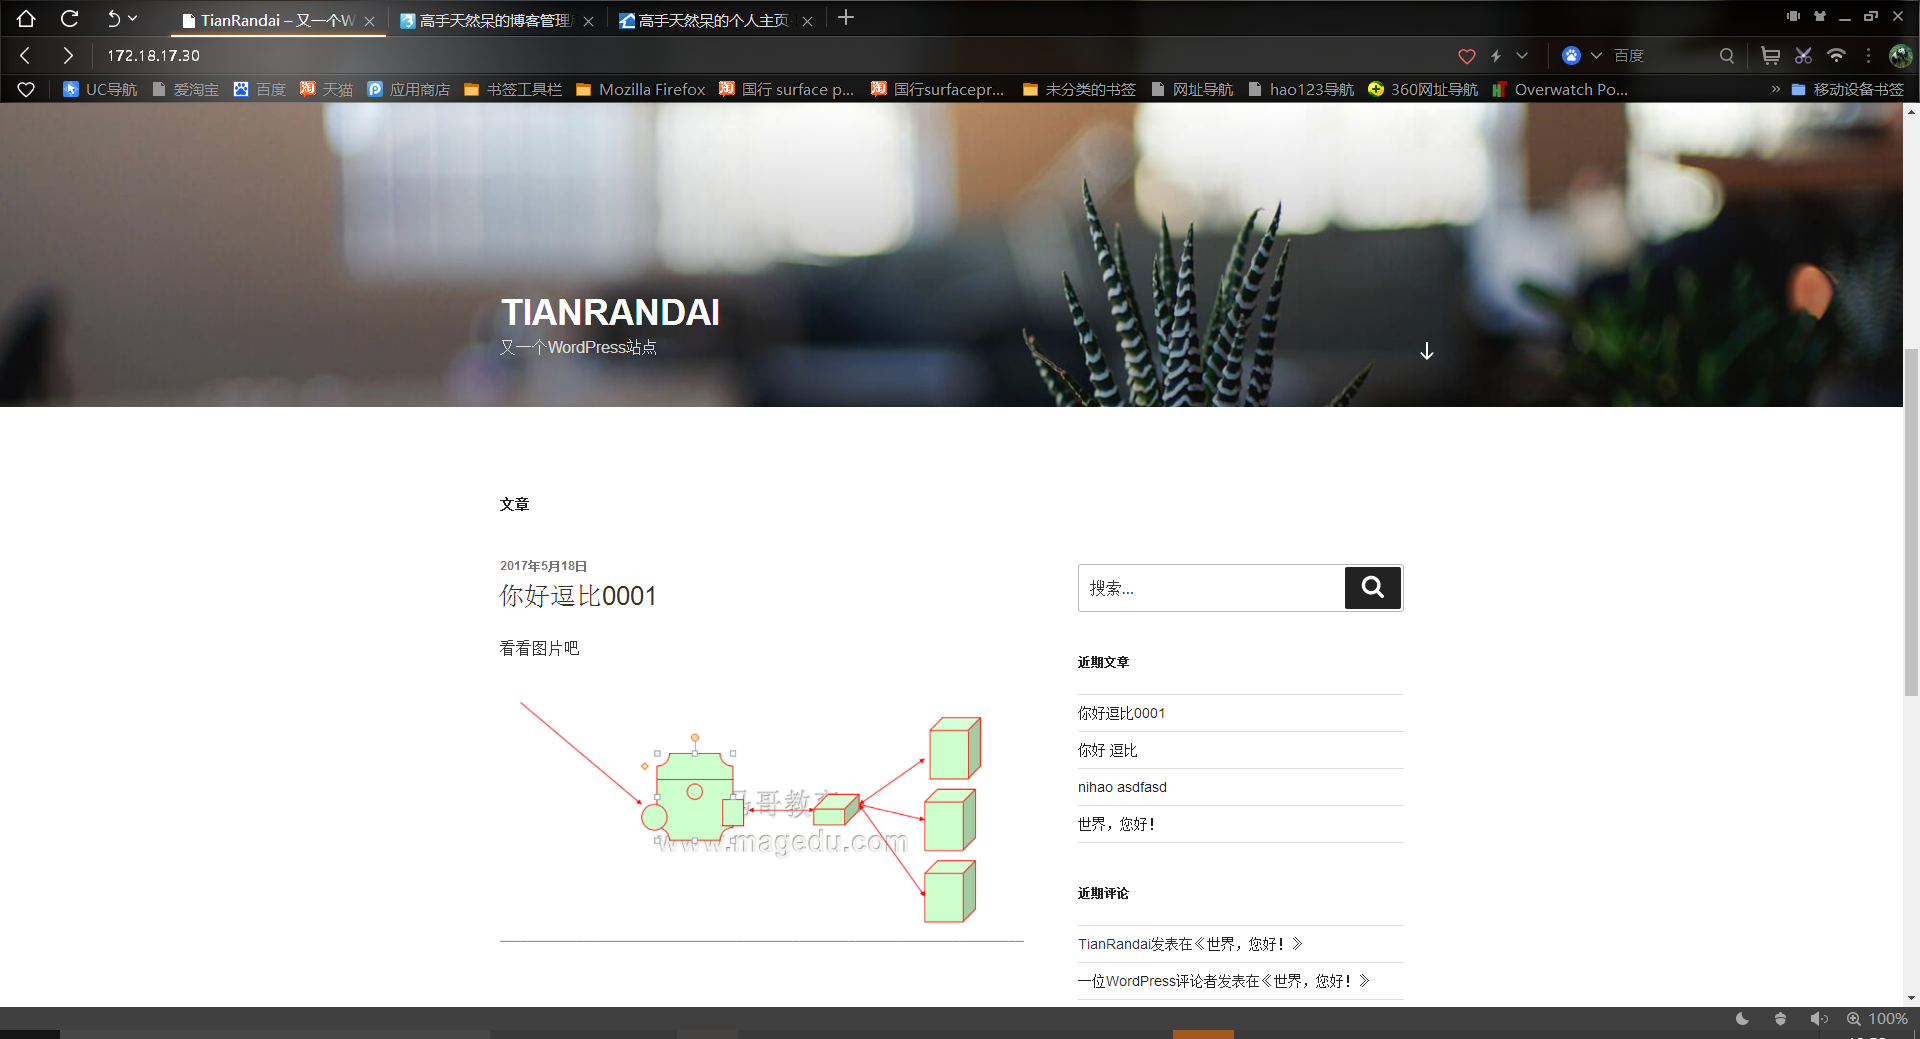
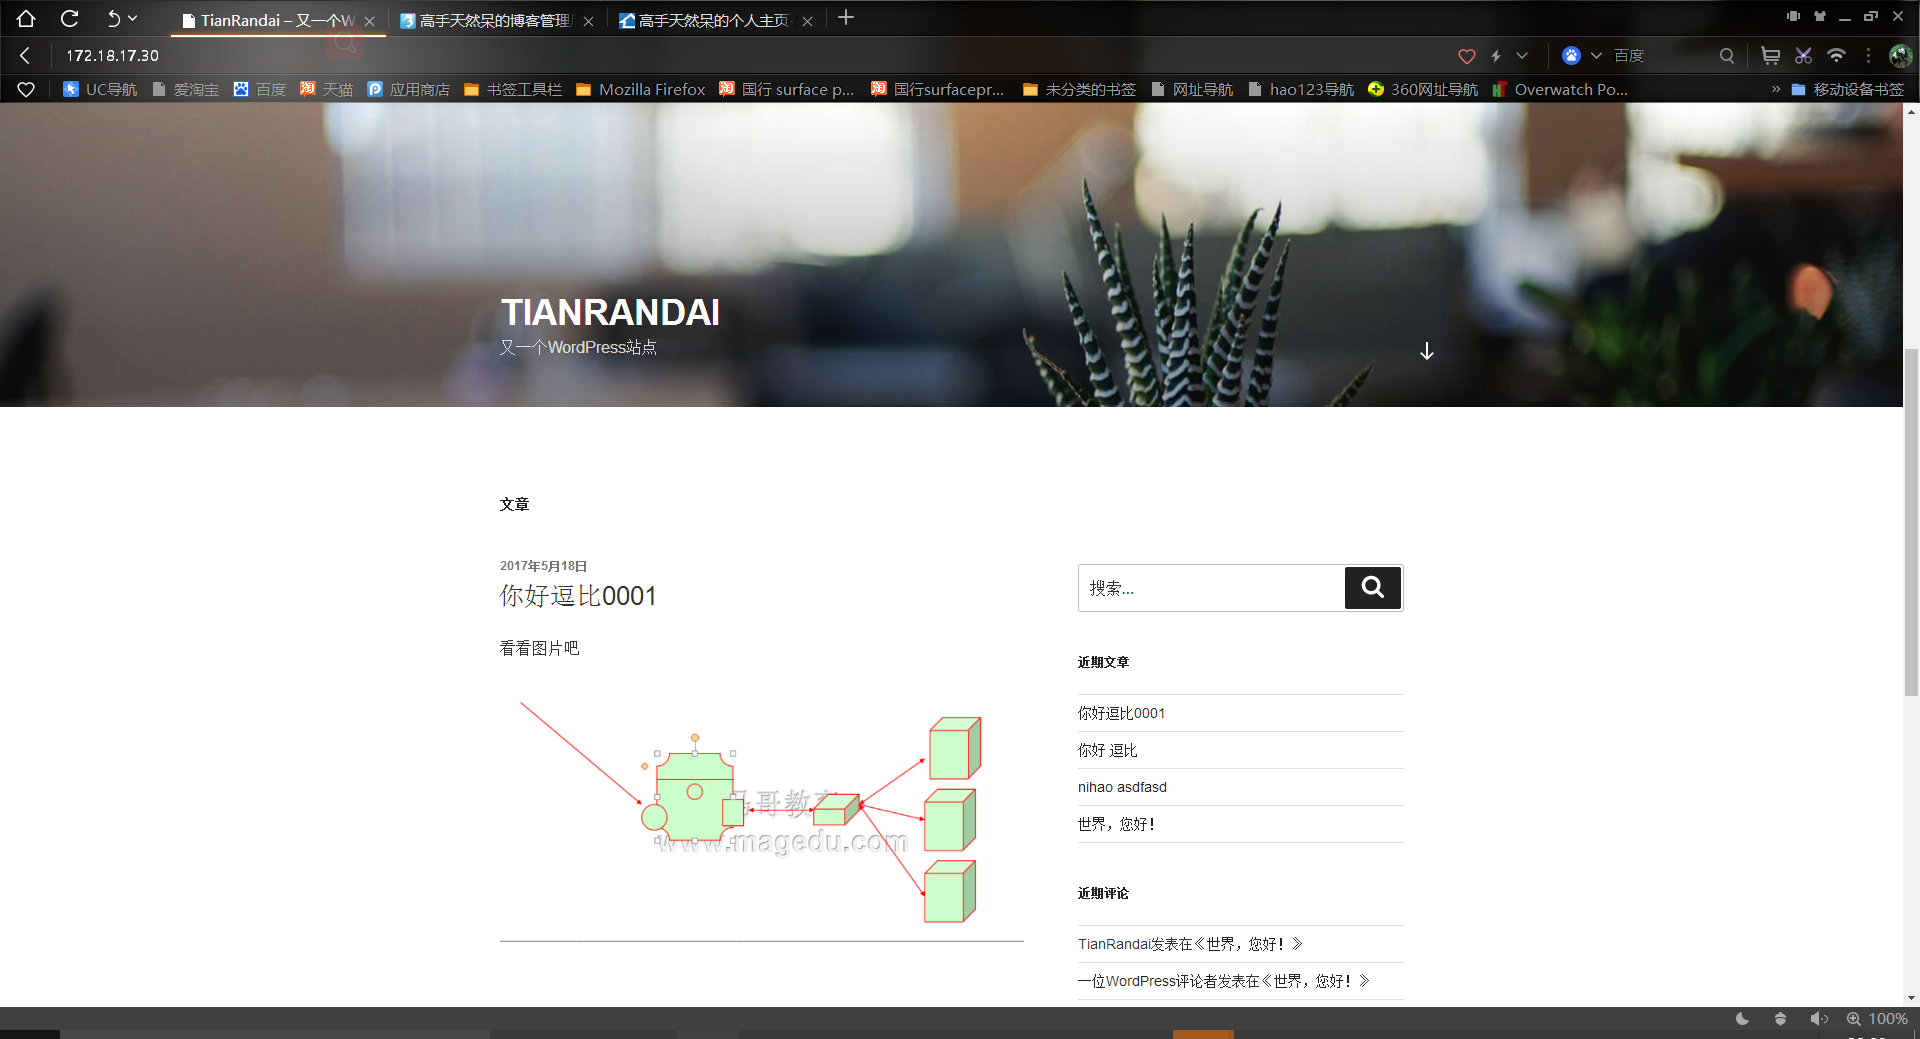
输入VIP地址访问资源,在HAproxy中定义的是默认补加访问具体资源的话,访问的则是动态页面
上传几张图片,用来测试静态站点
测试静态页面
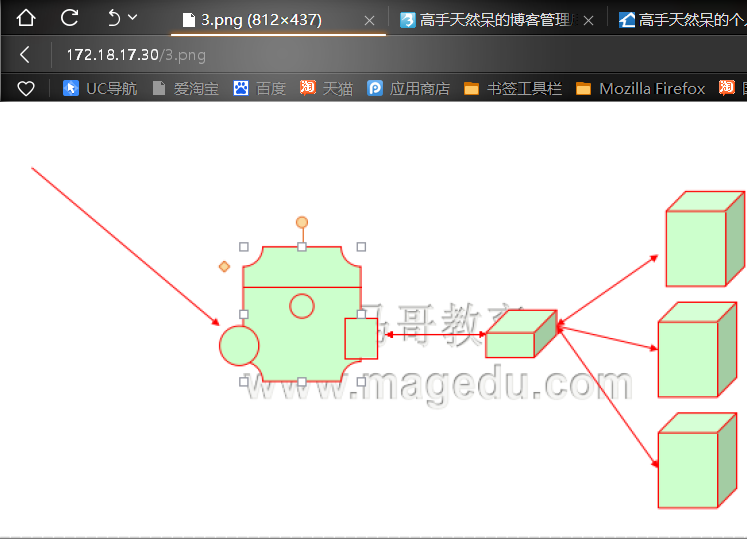
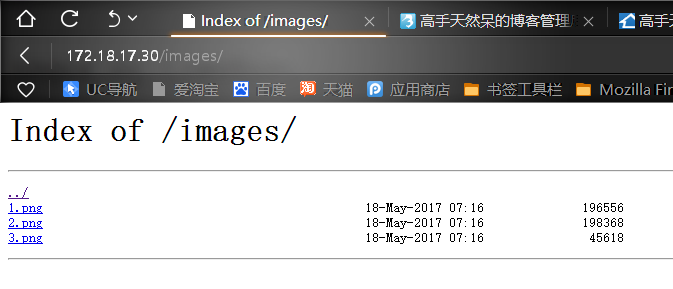
直接访问静态资源
访问静态资源目录,这里可以看到上传的三张图片
关闭Master测试Backup能否提供服务
    [[email protected] ~ ]# systemctl stop keepalived.service
    [[email protected] ~ ]# ip a l
    2: ens33: <BROADCAST,MULTICAST,UP,LOWER_UP> mtu 1500 qdisc pfifo_fast state UP qlen 1000
        link/ether 00:0c:29:1b:f5:ae brd ff:ff:ff:ff:ff:ff
        inet 172.18.17.31/16 brd 172.18.255.255 scope global ens33
           valid_lft forever preferred_lft forever
        inet6 fe80::9030:4641:56bf:2b28/64 scope link
           valid_lft forever preferred_lft forever
    #这里可以看到VIP已经不再MASTER上了

    #查看BACKUP上的IP信息,可以看到VIP在ENS33的网卡上
    [[email protected] ~ ]# ip a l
    2: ens33: <BROADCAST,MULTICAST,UP,LOWER_UP> mtu 1500 qdisc pfifo_fast state UP qlen 1000
        link/ether 00:0c:29:ea:79:6c brd ff:ff:ff:ff:ff:ff
        inet 172.18.17.32/16 brd 172.18.255.255 scope global ens33
           valid_lft forever preferred_lft forever
        inet 172.18.17.30/16 scope global secondary ens33
           valid_lft forever preferred_lft forever
        inet6 fe80::397f:ba12:d70:e1da/64 scope link
           valid_lft forever preferred_lft forever
刷新页面可以看到页面正常被访问。
本文出自 “tianrandai” 博客,谢绝转载!
以上是关于Keepalived高可用+HAproxy实现Nginx+wordpress动静分离的主要内容,如果未能解决你的问题,请参考以下文章
