opencv 图像增强,旋转平移缩放仿射等变化后新坐标计算
Posted myriads_changes_
tags:
篇首语:本文由小常识网(cha138.com)小编为大家整理,主要介绍了opencv 图像增强,旋转平移缩放仿射等变化后新坐标计算相关的知识,希望对你有一定的参考价值。
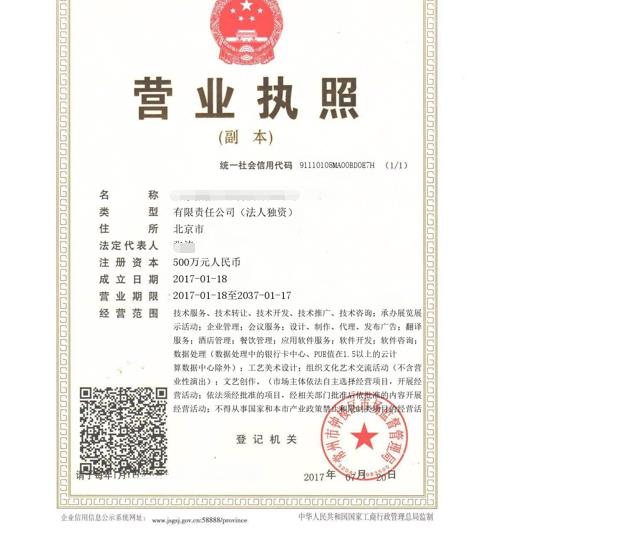
一、旋转
import cv2
import numpy as np
"""
旋转后图片返回
"""
def dumpRotateImage(img, degree): #图片,角度
    height, width = img.shape[:2]
    heightNew = height
    widthNew = width
    matRotation = cv2.getRotationMatrix2D((width//2,height//2), degree, 1)
    imgRotation = cv2.warpAffine(img, matRotation, (widthNew, heightNew), borderValue=(255, 255, 255))
    return imgRotation, matRotation

def draw_box(img, box):#画框
    cv2.line(img, (box[0], box[1]), (box[2], box[3]), (0, 255, 0), 1)
    cv2.line(img, (box[0], box[1]), (box[4], box[5]), (0, 255, 0), 1)
    cv2.line(img, (box[2], box[3]), (box[6], box[7]), (0, 255, 0), 1)
    cv2.line(img, (box[4], box[5]), (box[6], box[7]), (0, 255, 0), 1)
    return img

image = cv2.imread('./image.jpg')
imgRotation, matRotation = dumpRotateImage(image, 45)#旋转
box = [200,200,200,200,200,200,200,200]
pt1 = np.dot(matRotation, np.array([[box[0]], [box[1]], [1]]))
pt2 = np.dot(matRotation, np.array([[box[2]], [box[3]], [1]]))
pt3 = np.dot(matRotation, np.array([[box[4]], [box[5]], [1]]))
pt4 = np.dot(matRotation, np.array([[box[6]], [box[7]], [1]]))
box2 = [pt1[0], pt1[1], pt2[0], pt2[1], pt3[0], pt3[1], pt4[0], pt4[1]]

imgRotation = draw_box(imgRotation, box2)
cv2.imwrite('./{}.png'.format(1), imgRotation)
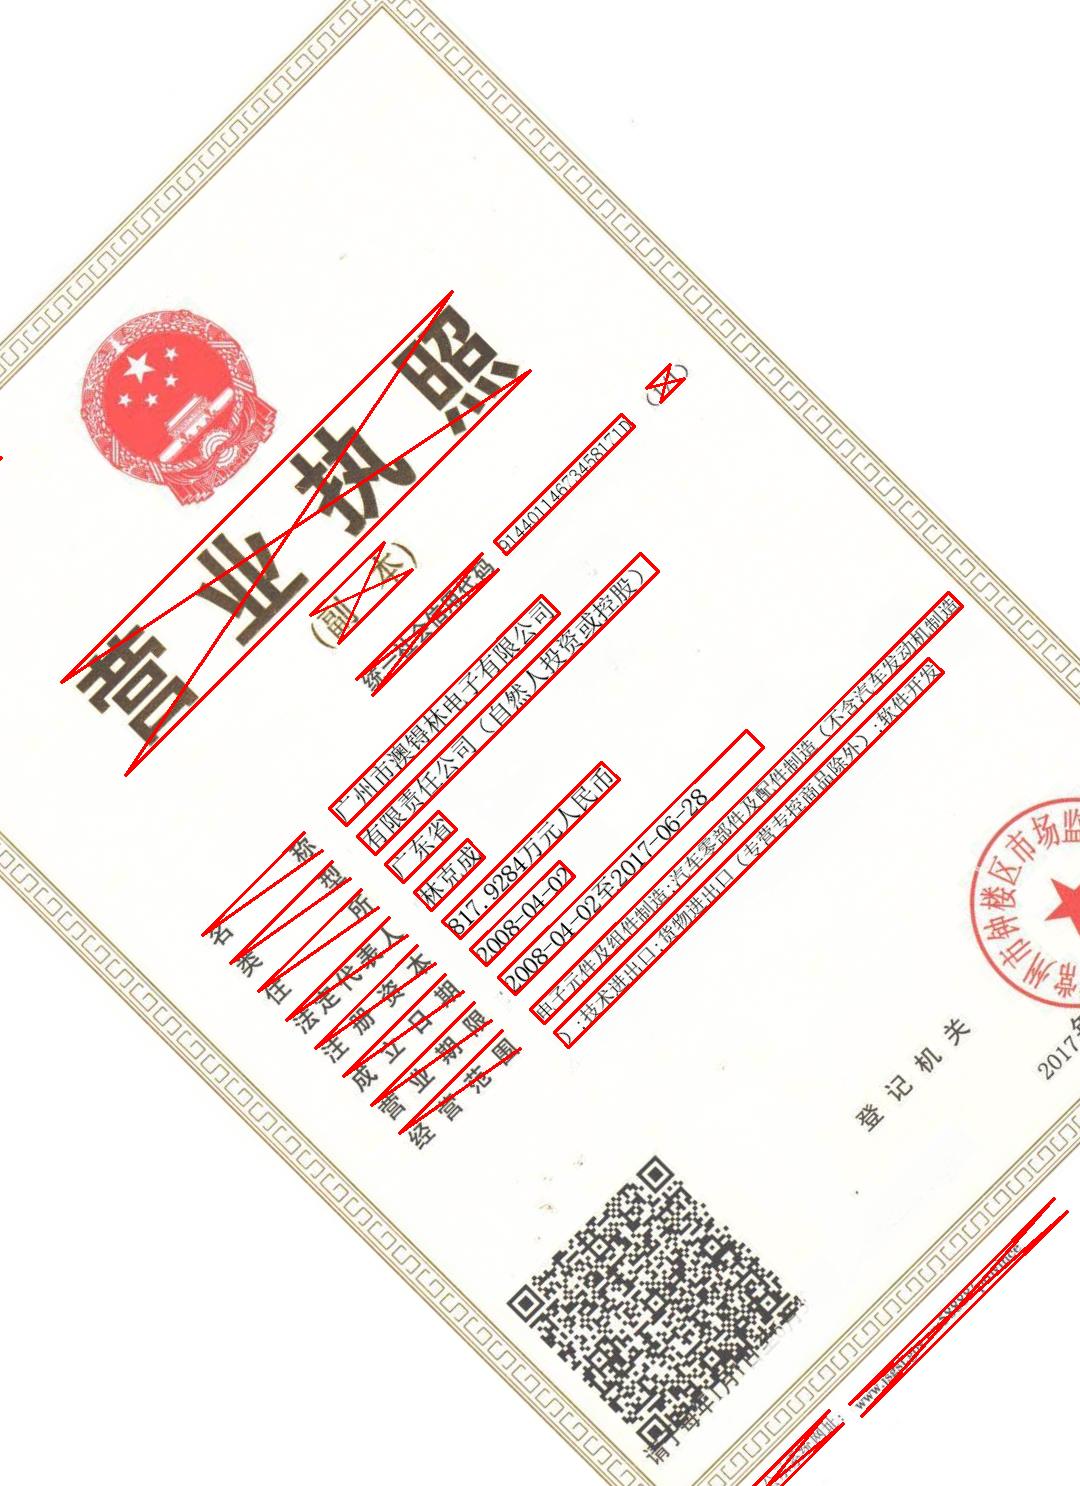
二、缩放
import cv2
import numpy as np
def suofang(img,fx,fy):
    suofanghou = cv2.resize(img, None, fx=fx, fy=fy, interpolation=cv2.INTER_CUBIC)
    return  suofanghou

sfx = 0.5
sfy = 0.5
img_suofang = suofang(image,sfx,sfy )  #缩放
for j in range(len(data)):
    box = list(data.loc[j][:8])
    box2 = [int(box[0]*sfx),int(box[1]*sfy),  int(box[2]*sfx),int(box[3]*sfy),  int(box[4]*sfx),int(box[5]*sfy),  int(box[6]*sfx),int(box[7]*sfy)]
    img_suofang = draw_box(img_suofang, box2)
cv2.imwrite('./train_result/2.png', img_suofang)
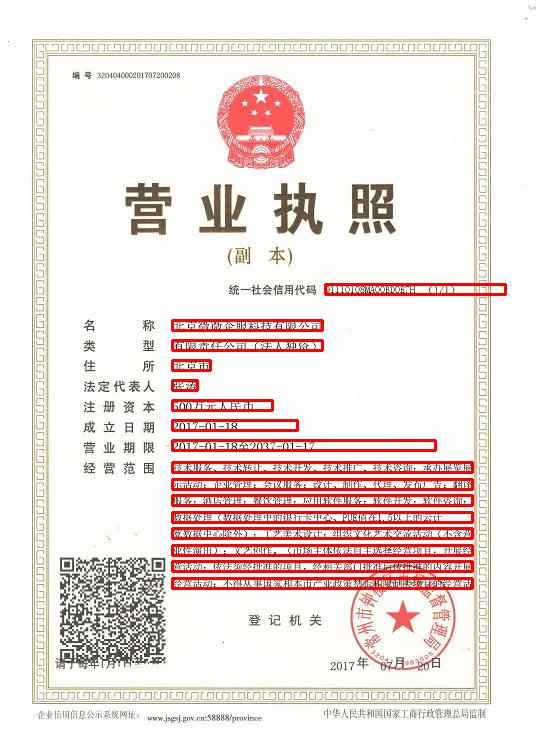
三、平移
import cv2
import pandas as pd
import numpy as np
import os
def pingyi(img,tx,ty):
    M = np.float32([[1, 0, tx], [0, 1, ty]])
    shifted = cv2.warpAffine(img, M, (img.shape[1], img.shape[0]))
    return shifted
def draw_box(img, box):
    cv2.line(img, (box[0], box[1]), (box[2], box[3]), (0, 255, 0), 1)
    cv2.line(img, (box[0], box[1]), (box[4], box[5]), (0, 255, 0), 1)
    cv2.line(img, (box[2], box[3]), (box[6], box[7]), (0, 255, 0), 1)
    cv2.line(img, (box[4], box[5]), (box[6], box[7]), (0, 255, 0), 1)
    return img
img_pingyi = pingyi(image, 50, 90)
box = [200,200,200,200,200,200,200,200]
box2 = [box[0]+50,box[1]+90,  box[2]+50,box[3]+90,  box[4]+50,box[5]+90,  box[6]+50,box[7]+90]
img_pingyi = draw_box(img_pingyi, box2)
cv2.imwrite('./train_result/1.png', img_pingyi)
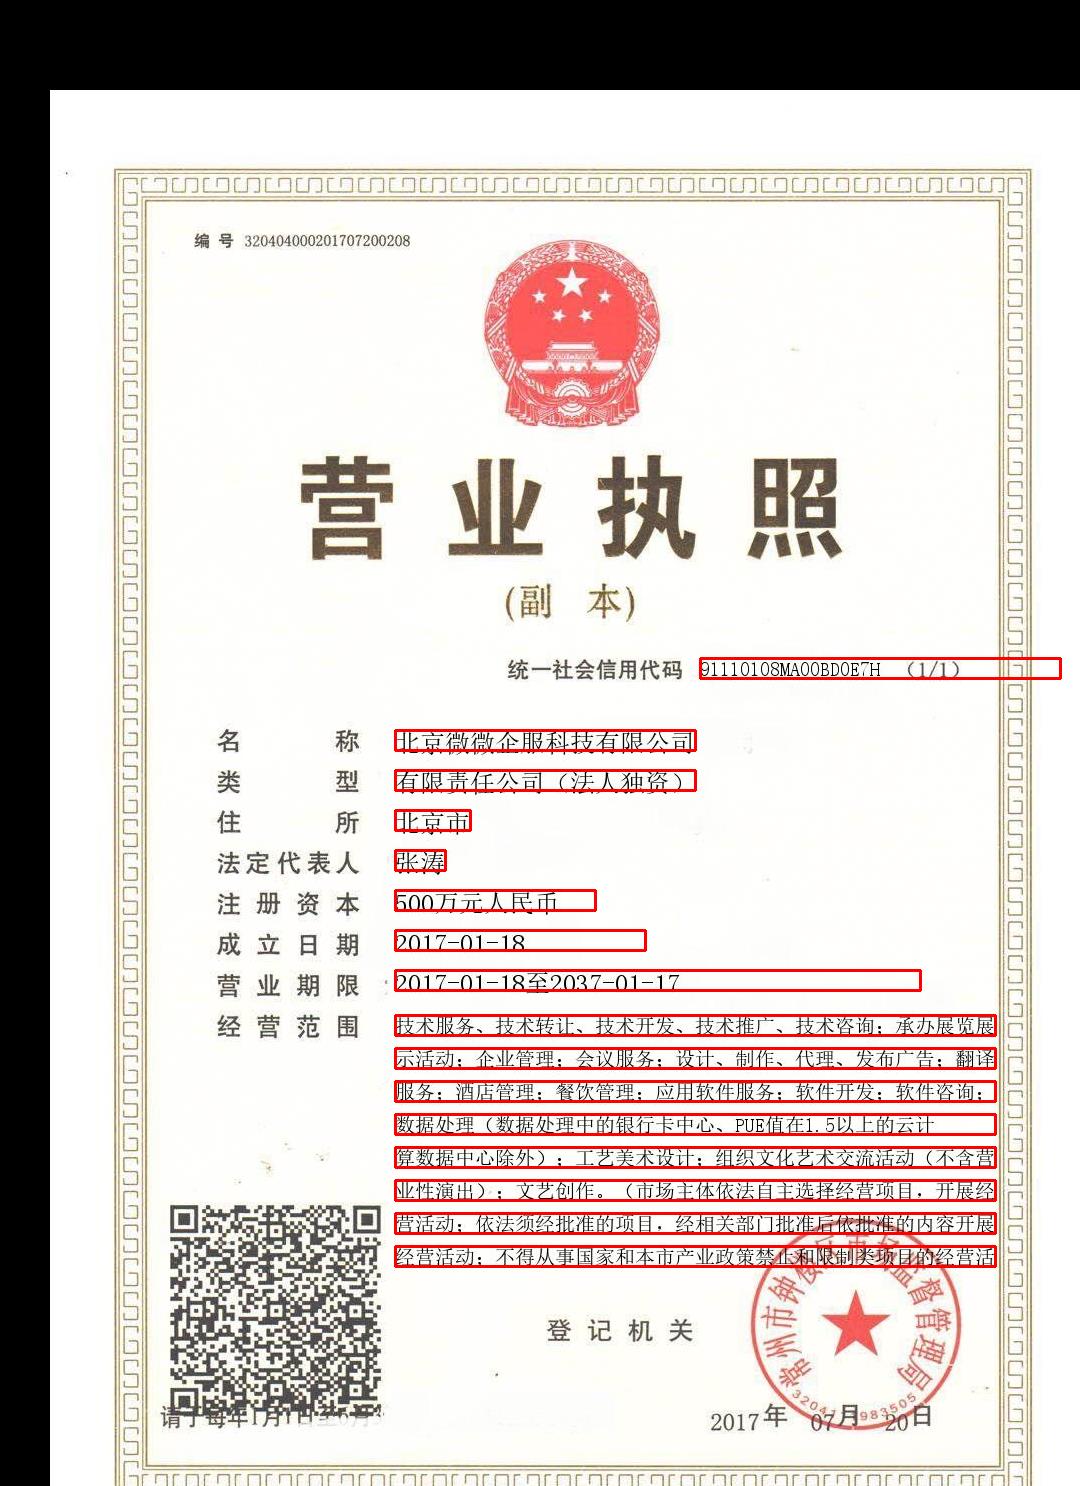
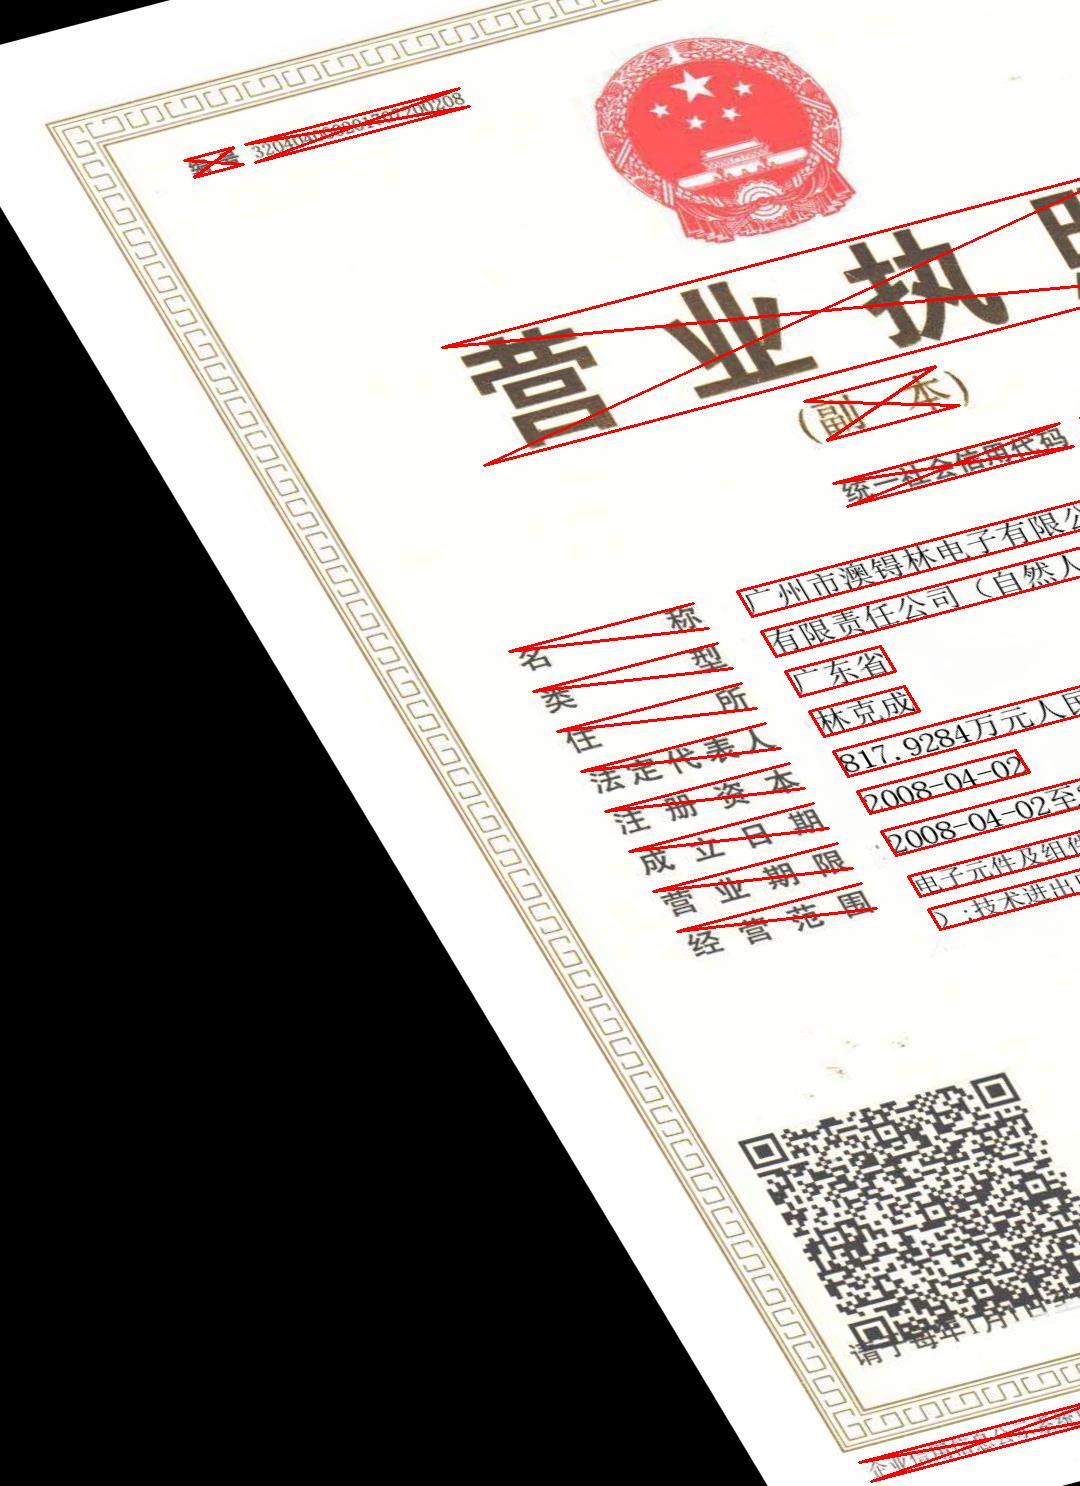
四、仿射
import cv2
import pandas as pd
import numpy as np
import os
image = cv2.imread('/home/zc/桌面/pythonProject2/imgs/1.jpg')
rows, cols, ch = image.shape #仿射
pts1 = np.float32([[50, 50], [200, 50], [50, 200]])
pts2 = np.float32([[10, 100], [200, 50], [100, 250]])
M = cv2.getAffineTransform(pts1, pts2)
dst = cv2.warpAffine(image, M, (cols, rows))
M = cv2.getAffineTransform(pts1, pts2)
box = [200,200,200,200,200,200,200,200]
p1 = np.matrix(M) * np.matrix([box[0],box[1], 1]).T
p2 = np.matrix(M) * np.matrix([box[2], box[3], 1]).T
p3 = np.matrix(M) * np.matrix([box[4], box[5], 1]).T
p4 = np.matrix(M) * np.matrix([box[6], box[7], 1]).T
print(p1,p2,p3,p4)
box2 =[p1[0],p1[1],p2[0],p2[1],p3[0],p3[1],p4[0],p4[1]]
dst = draw_box(dst, box2)
cv2.imwrite('./train_result/3.png', dst)
五、高斯噪声
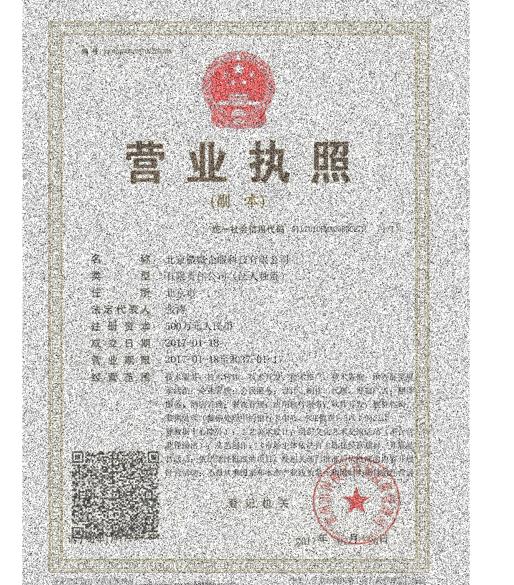
def noise(img,snr):#焦言噪声
    h=img.shape[0]
    w=img.shape[1]
    img1=img.copy()
    sp=h*w   # 计算图像像素点个数
    NP=int(sp*(1-snr))   # 计算图像椒盐噪声点个数
    for i in range (NP):
        randx=np.random.randint(1,h-1)   # 生成一个 1 至 h-1 之间的随机整数
        randy=np.random.randint(1,w-1)   # 生成一个 1 至 w-1 之间的随机整数
        if np.random.random()<=0.5:   # np.random.random()生成一个 0 至 1 之间的浮点数
            img1[randx,randy]=0
        else:
            img1[randx,randy]=255
    return img1
image = cv2.imread('/home/zc/桌面/pythonProject2/imgs/1.jpg')
image = noise(image, 0.6)
cv2.imwrite('./train_result/3.png', image )
六、椒盐噪声
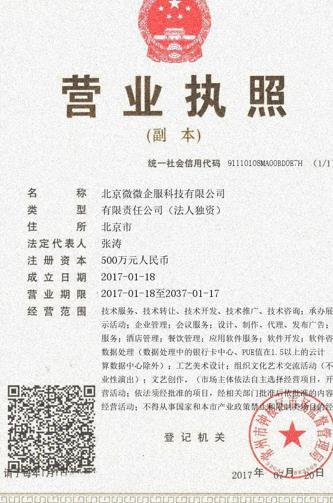
def gauss_noise(img,sigma): #高斯噪声
    temp_img = np.float64(np.copy(img))
    h = temp_img.shape[0]
    w = temp_img.shape[1]
    noise = np.random.randn(h,w) * sigma
    noisy_img = np.zeros(temp_img.shape, np.float64)
    if len(temp_img.shape) == 2:
        noisy_img = temp_img + noise
    else:
        noisy_img[:,:,0] = temp_img[:,:,0] + noise
        noisy_img[:,:,1] = temp_img[:,:,1] + noise
        noisy_img[:,:,2] = temp_img[:,:,2] + noise
    return noisy_img
image = cv2.imread('/home/zc/桌面/pythonProject2/imgs/1.jpg')
image = gauss_noise(image,25)
cv2.imwrite('./train_result/3.png', image )
以上是关于opencv 图像增强,旋转平移缩放仿射等变化后新坐标计算的主要内容,如果未能解决你的问题,请参考以下文章