Vue + Element UI:更换皮肤主题
Posted 经理,天台风好大
tags:
篇首语:本文由小常识网(cha138.com)小编为大家整理,主要介绍了Vue + Element UI:更换皮肤主题相关的知识,希望对你有一定的参考价值。
文章目录
一、命令行主题工具
1、安装主题工具
首先安装 「主题生成工具」 ,可以全局安装或者安装在当前项目下,推荐安装在项目里,方便别人 clone 项目时能直接安装依赖并启动。
npm i element-ui -S 	//也可以参考https://www.npmjs.com/package/element-theme网址
或者
yarn add element-theme --dev
2、安装chalk主题
安装白垩主题,可以从 npm 安装或者从 GitHub 拉取最新代码,这里从 yarn 安装。
npm install chalk -S
或者
yarn add element-theme-chalk -D
3、初始化变量文件
主题生成工具安装成功后,如果全局安装可以在命令行里通过 et 调用工具,如果安装在当前目录下,需要通过 node_modules/.bin/et 访问到命令。执行 -i 初始化变量文件。默认输出到 element-variables.scss,当然你可以传参数指定文件输出目录。
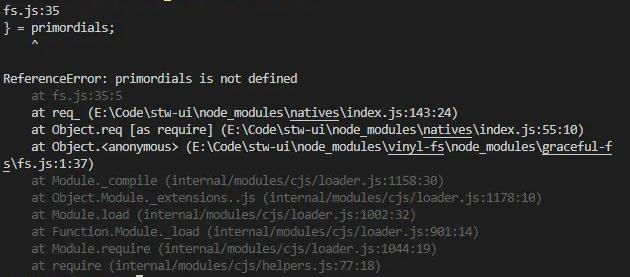
node_modules/.bin/et -i
如果此时出现报错信息:primordials is not defined
解决方案: 使用的node版本更换为11.15.0或者其他的,如果当前已经安装了nvm工具,可直接更换。没有的话需要卸载当前版本,再重新安装,或者安装nvm,通过nvm来安装
参考我的文章:node版本管理工具 – nvm安装与使用
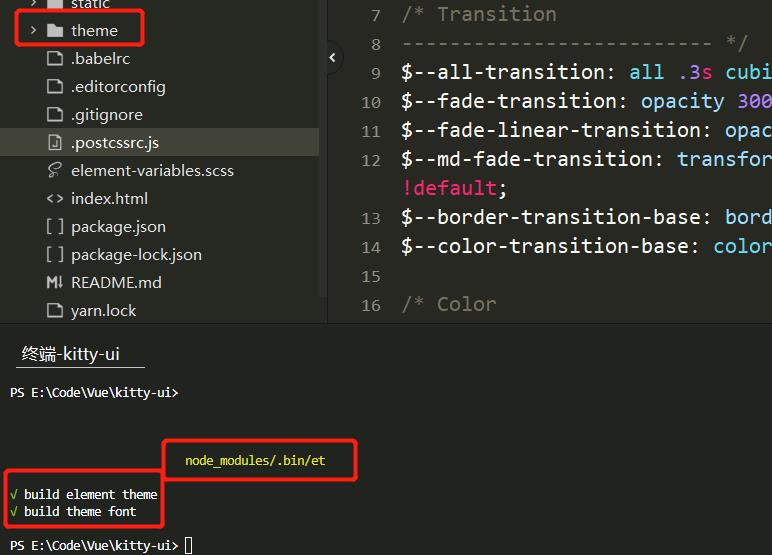
执行命令(我的已经安装完成,执行了两遍,所以显示已经存在)

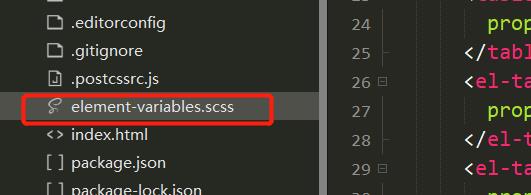
命令执行成功之后,会在根目录生成 scss文件 element-variables.scss
4、修改主题色
在 element-variables.scss 文件里修改 $–color-primary:#4b5f6e,即你想要的主题颜色

5、编译主题
执行主题编译命令生成主题,根目录会生成一个theme的文件夹 。
node_modules/.bin/et
6、引入自定义主题
把生成的主题按颜色改名放置 src/theme 目录下。
在 main.js 中import ‘所在路径/index.css’。

7、效果展示
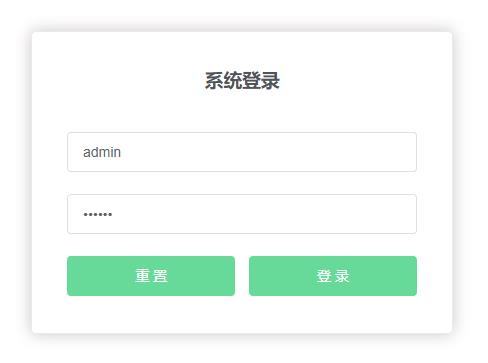
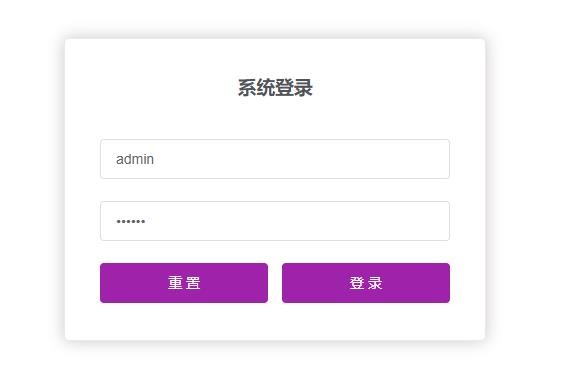
重新加载后,我们看到按钮颜色已经不是默认的蓝色了。
二、动态换肤器方式
1、添加换肤组件
在下图位置添加封装的换肤组件
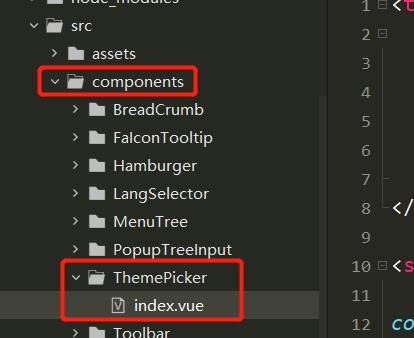
index.vue
<template>
  <el-color-picker
    class="theme-picker"
    popper-class="theme-picker-dropdown"
    v-model="theme"
    :size="size">
  </el-color-picker>
</template>

<script>

const version = require('element-ui/package.json').version // element-ui version from node_modules
const ORIGINAL_THEME = '#409EFF' // default color

export default {
  name: 'ThemePicker',
  props: {
    default: { // 初始化主题,可由外部传入
      type: String,
      default: null
    },
    size: { // 初始化主题,可由外部传入
      type: String,
      default: 'small'
    }
  },
  data() {
    return {
      chalk: '', // content of theme-chalk css
      theme: ORIGINAL_THEME,
      showSuccess: true // 是否弹出换肤成功消息
    }
  },
  mounted() {
    if(this.default != null) {
      this.theme = this.default
      this.$emit('onThemeChange', this.theme)
      this.showSuccess = false
    }
  },
  watch: {
    theme(val, oldVal) {
      if (typeof val !== 'string') return
      const themeCluster = this.getThemeCluster(val.replace('#', ''))
      const originalCluster = this.getThemeCluster(oldVal.replace('#', ''))
      console.log(themeCluster, originalCluster)
      const getHandler = (variable, id) => {
        return () => {
          const originalCluster = this.getThemeCluster(ORIGINAL_THEME.replace('#', ''))
          const newStyle = this.updateStyle(this[variable], originalCluster, themeCluster)

          let styleTag = document.getElementById(id)
          if (!styleTag) {
            styleTag = document.createElement('style')
            styleTag.setAttribute('id', id)
            document.head.appendChild(styleTag)
          }
          styleTag.innerText = newStyle
        }
      }

      const chalkHandler = getHandler('chalk', 'chalk-style')

      if (!this.chalk) {
        const url = `https://unpkg.com/element-ui@${version}/lib/theme-chalk/index.css`
        this.getCSSString(url, chalkHandler, 'chalk')
      } else {
        chalkHandler()
      }

      const styles = [].slice.call(document.querySelectorAll('style'))
        .filter(style => {
          const text = style.innerText
          return new RegExp(oldVal, 'i').test(text) && !/Chalk Variables/.test(text)
        })
      styles.forEach(style => {
        const { innerText } = style
        if (typeof innerText !== 'string') return
        style.innerText = this.updateStyle(innerText, originalCluster, themeCluster)
      })

      // 响应外部操作
      this.$emit('onThemeChange', val)
      if(this.showSuccess) {
        this.$message({
          message: '换肤成功',
          type: 'success'
        })
      } else {
        this.showSuccess = true
      }
    }
  },
  methods: {
    updateStyle(style, oldCluster, newCluster) {
      let newStyle = style
      oldCluster.forEach((color, index) => {
        newStyle = newStyle.replace(new RegExp(color, 'ig'), newCluster[index])
      })
      return newStyle
    },

    getCSSString(url, callback, variable) {
      const xhr = new XMLHttpRequest()
      xhr.onreadystatechange = () => {
        if (xhr.readyState === 4 && xhr.status === 200) {
          this[variable] = xhr.responseText.replace(/@font-face{[^}]+}/, '')
          callback()
        }
      }
      xhr.open('GET', url)
      xhr.send()
    },

    getThemeCluster(theme) {
      const tintColor = (color, tint) => {
        let red = parseInt(color.slice(0, 2), 16)
        let green = parseInt(color.slice(2, 4), 16)
        let blue = parseInt(color.slice(4, 6), 16)

        if (tint === 0) { // when primary color is in its rgb space
          return [red, green, blue].join(',')
        } else {
          red += Math.round(tint * (255 - red))
          green += Math.round(tint * (255 - green))
          blue += Math.round(tint * (255 - blue))

          red = red.toString(16)
          green = green.toString(16)
          blue = blue.toString(16)

          return `#${red}${green}${blue}`
        }
      }

      const shadeColor = (color, shade) => {
        let red = parseInt(color.slice(0, 2), 16)
        let green = parseInt(color.slice(2, 4), 16)
        let blue = parseInt(color.slice(4, 6), 16)

        red = Math.round((1 - shade) * red)
        green = Math.round((1 - shade) * green)
        blue = Math.round((1 - shade) * blue)

        red = red.toString(16)
        green = green.toString(16)
        blue = blue.toString(16)

        return `#${red}${green}${blue}`
      }

      const clusters = [theme]
      for (let i = 0; i <= 9; i++) {
        clusters.push(tintColor(theme, Number((i / 10).toFixed(2))))
      }
      clusters.push(shadeColor(theme, 0.1))
      return clusters
    }
  }
}
</script>

<style>
.theme-picker .el-color-picker__trigger {
  vertical-align: middle;
}

.theme-picker-dropdown .el-color-dropdown__link-btn {
  display: none;
}
</style>
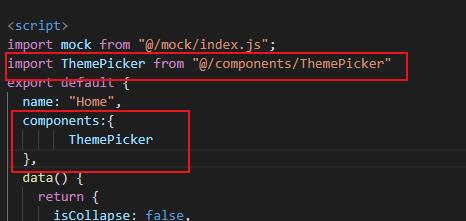
2、直接在组件中引用
在 Home.vue 中引入
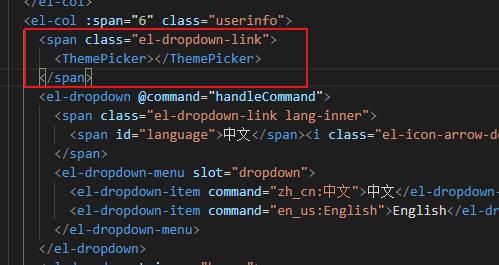
在语言切换左边添加换肤组件
3、换肤测试
点击组件,选择一个颜色确定
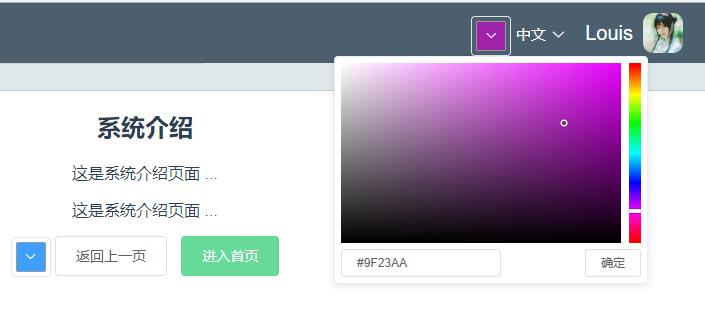
我们看到相关主题颜色即刻生效

退回登录界面查看
以上是关于Vue + Element UI:更换皮肤主题的主要内容,如果未能解决你的问题,请参考以下文章