SpringBoot 多线程和定时任务
Posted *King*
tags:
篇首语:本文由小常识网(cha138.com)小编为大家整理,主要介绍了SpringBoot 多线程和定时任务相关的知识,希望对你有一定的参考价值。
一、SpringBoot多线程
Spring是通过任务执行器(TaskExecutor)来实现多线程和并发编程,使用ThreadPoolTaskExecutor来创建一个基于线城池的TaskExecutor。在使用线程池的大多数情况下都是异步非阻塞的。我们配置注解@EnableAsync可以开启异步任务。然后在实际执行的方法上配置注解@Async上声明是异步任务。

创建一个配置类:
首先使用@EnableAsync来开启Springboot对于异步任务的支持
配置类实现接口AsyncConfigurator,返回一个ThreadPoolTaskExecutor线程池对象
@Configuration
@EnableAsync //开启异步
public class TaskConfig implements AsyncConfigurer {

    @Override
    public Executor getAsyncExecutor() {
        // 设置线程数
        ThreadPoolTaskExecutor taskExecutor = new ThreadPoolTaskExecutor();
        //核心线程数
        taskExecutor.setCorePoolSize(25);
        //最大线程数
        taskExecutor.setMaxPoolSize(50);
        //阻塞队列
        taskExecutor.setQueueCapacity(100);
        //初始化线程
        taskExecutor.initialize();
        return taskExecutor;
    }

    @Override
    public AsyncUncaughtExceptionHandler getAsyncUncaughtExceptionHandler() {
        return null;
    }
}
ThredPoolTaskExcutor的处理流程
当池子大小小于corePoolSize,就新建线程,并处理请求
当池子大小等于corePoolSize,把请求放入workQueue中,池子里的空闲线程就去workQueue中取任务并处理
当workQueue放不下任务时,就新建线程入池,并处理请求,如果池子大小撑到了maximumPoolSize,就用RejectedExecutionHandler来做拒绝处理
当池子的线程数大于corePoolSize时,多余的线程会等待keepAliveTime长时间,如果无请求可处理就自行销毁
HelloController
@RestController
public class HelloController {
@Autowired
private HelloService helloService;
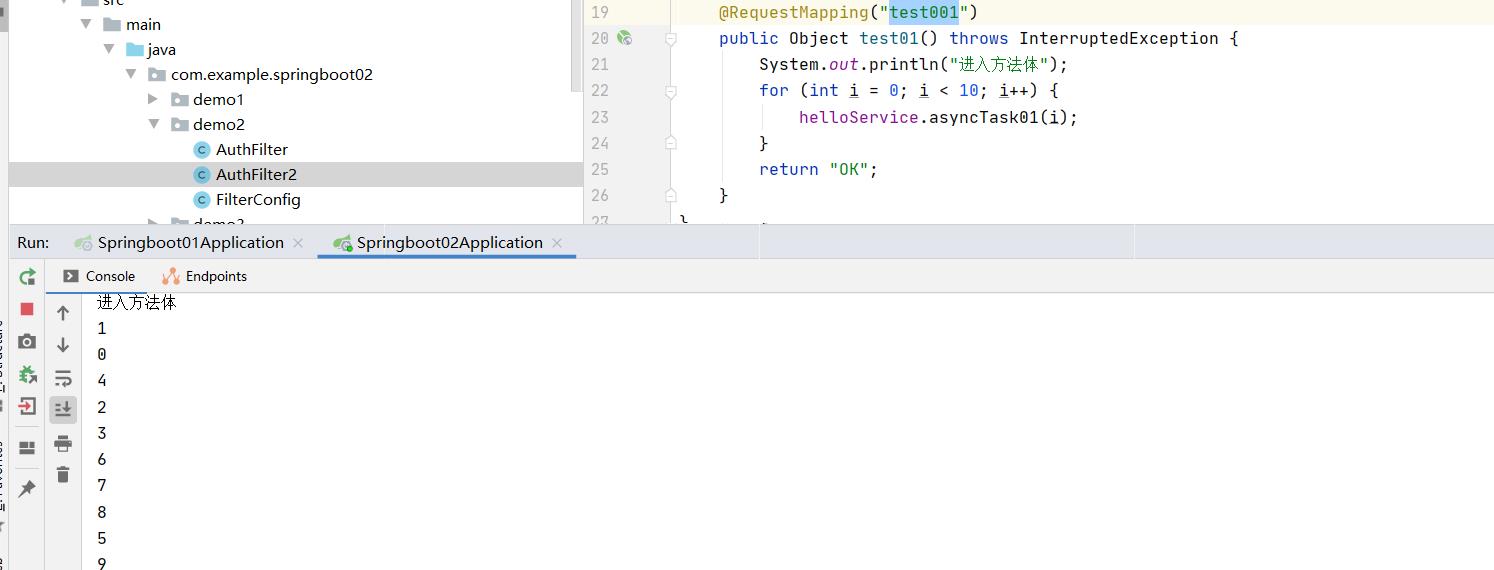
@RequestMapping("test001")
public Object test01() throws InterruptedException {
System.out.println("进入方法体");
for (int i = 0; i < 10; i++) {
helloService.asyncTask01(i);
}
return "OK";
}
}
HelloService
public interface HelloService {
    void asyncTask01(int i) throws InterruptedException;
}
HelloServiceImpl
通过@Async注解表明该方法是异步方法,如果注解在类上,那表明这个类里面的所有方法都是异步的。
@Service
public class HelloServiceImpl implements HelloService {

    @Async  //声明方法为异步方法
    @Override
    public void asyncTask01(int i) throws InterruptedException {
        Thread.sleep(1000L);
        System.out.println(i);
    }
}
测试:
访问:http://localhost:8082/test001
二、SpringBoot定时任务
(1)基于注解的定时任务
基于注解@Scheduled默认为单线程,开启多个任务时,任务的执行时机会受上一个任务执行时间的影响。
代码
SchedulerConfig
/**
* 计划任务配置
* @author wanglu
* @since 1.0, 2021/8/29 22:07
*/
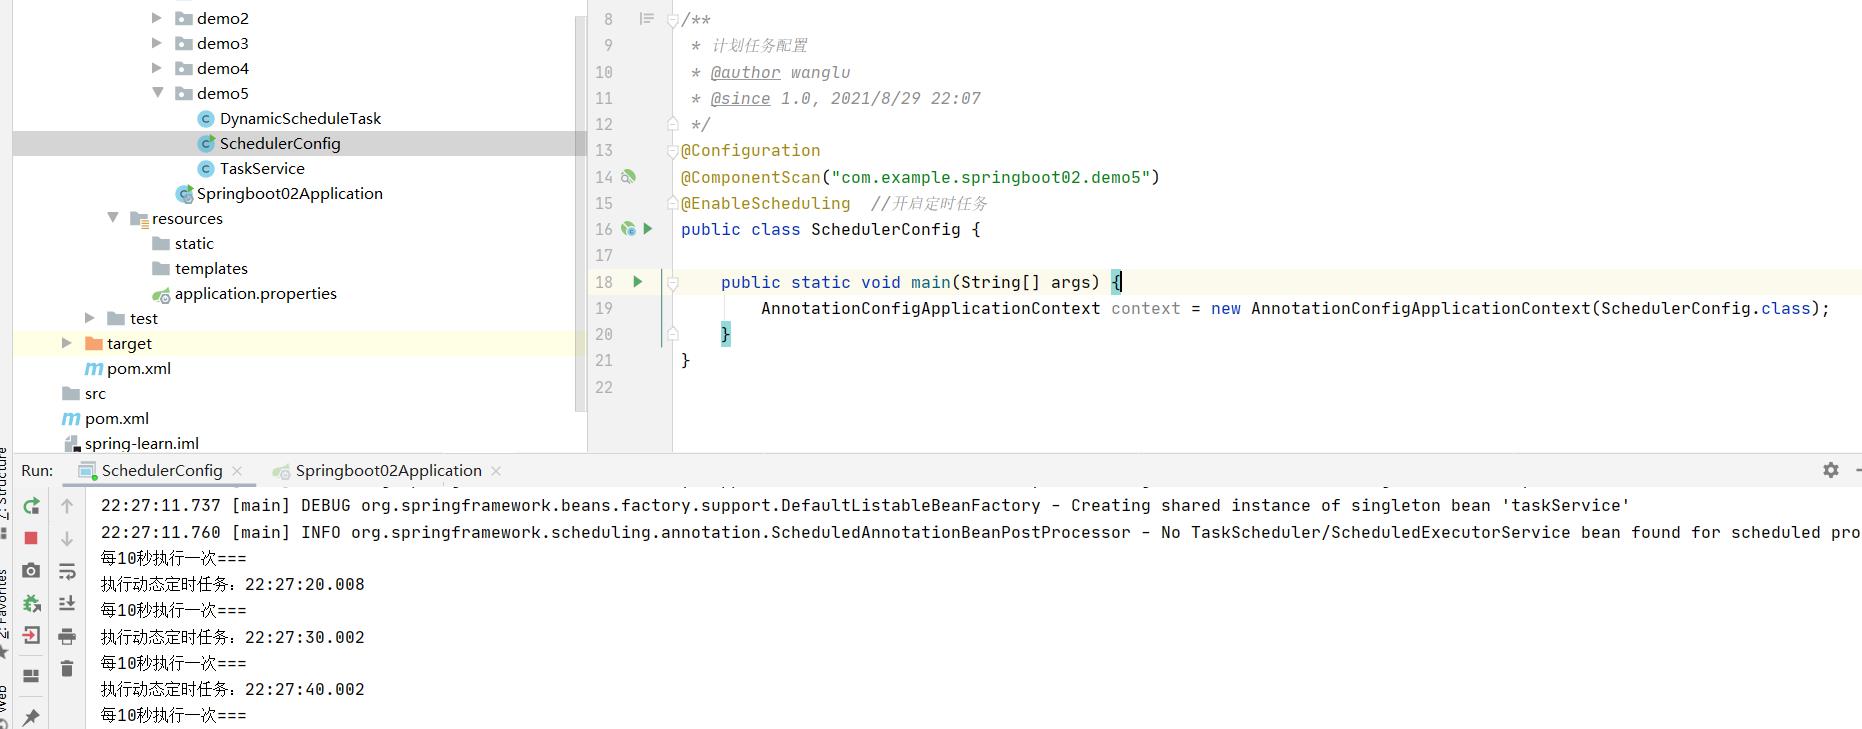
@Configuration
@ComponentScan("com.example.springboot02.demo5")
@EnableScheduling //开启定时任务
public class SchedulerConfig {
public static void main(String[] args) {
AnnotationConfigApplicationContext context = new AnnotationConfigApplicationContext(SchedulerConfig.class);
}
}
TaskService
/**
* 基于注解实现定时任务
* @author wanglu
* @since 1.0, 2021/8/29 22:08
*/
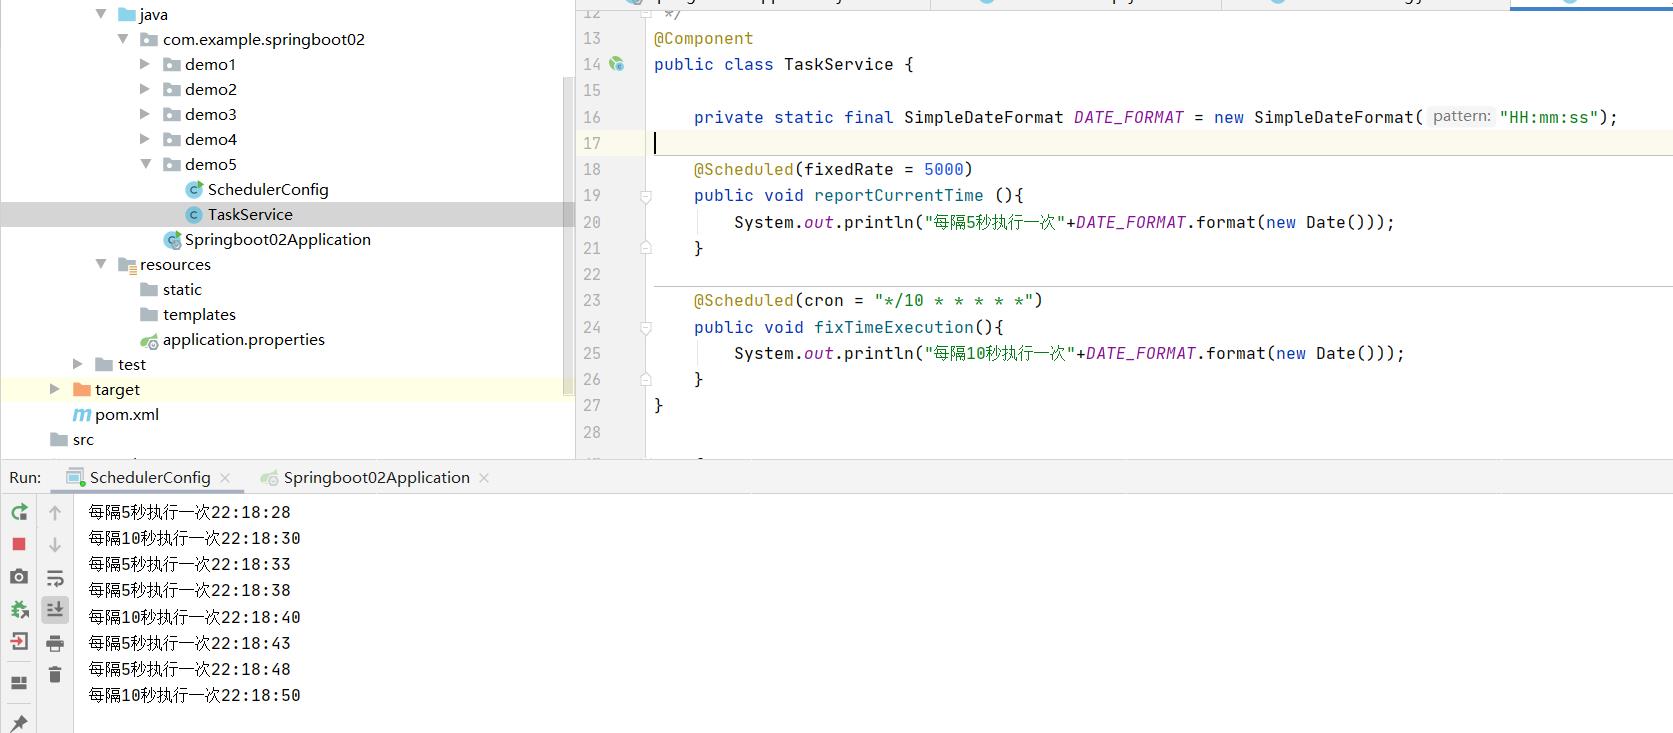
@Component
public class TaskService {
private static final SimpleDateFormat DATE_FORMAT = new SimpleDateFormat("HH:mm:ss");
@Scheduled(fixedRate = 5000)
public void reportCurrentTime (){
System.out.println("每隔5秒执行一次"+DATE_FORMAT.format(new Date()));
}
@Scheduled(cron = "*/10 * * * * *")
public void fixTimeExecution(){
System.out.println("每隔10秒执行一次"+DATE_FORMAT.format(new Date()));
}
}
执行结果:
(2)基于接口的定时任务
代码:
/**
 * 基于接口实现定时任务
 * @author wanglu
 * @since 1.0, 2021/8/29 22:20
 */
@Configuration  //1、主要用于标记配置类,兼备Component的效果
@EnableScheduling  //2、开启定时任务
public class DynamicScheduleTask implements SchedulingConfigurer {

    @Override
    public void configureTasks(ScheduledTaskRegistrar taskRegistrar) {
        taskRegistrar.addTriggerTask(
                //1、添加任务内容(Runnable)
                ()-> System.out.println("执行动态定时任务:"+ LocalDateTime.now().toLocalTime()),
                //2、设置执行周期
                triggerContext -> {
                    System.out.println("每10秒执行一次===");
                    return new CronTrigger("*/10 * * * * *").nextExecutionTime(triggerContext);
                }
        );
    }
}
结果:
三、多线程定时任务
代码:
/**
 * 基于注解创建多线程定时任务
 * @author wanglu
 * @since 1.0, 2021/8/29 22:29
 */
@Component  //用于对那些比较中立的类进行注释;
@EnableScheduling  //开启定时任务
@EnableAsync   //开启多线程
public class MultithreadScheduleTask {

    @Async
    @Scheduled(fixedDelay = 1000)  //每隔1秒执行一次
    public void first(){
        System.out.println("第一个定时任务开始:"+ LocalDateTime.now().toLocalTime() + "\\r\\n线程 : " + Thread.currentThread().getName());
    }

    @Async
    @Scheduled(fixedDelay = 2000) //每隔2秒执行一次
    public void second(){
        System.out.println("第二个定时任务开始:"+ LocalDateTime.now().toLocalTime() + "\\r\\n线程 : " + Thread.currentThread().getName());
    }
}
结果:

以上是关于SpringBoot 多线程和定时任务的主要内容,如果未能解决你的问题,请参考以下文章