MNE学习笔记:Epoch数据结构
Posted Dodo·D·Caster
tags:
篇首语:本文由小常识网(cha138.com)小编为大家整理,主要介绍了MNE学习笔记:Epoch数据结构相关的知识,希望对你有一定的参考价值。
MNE学习笔记(三):Epoch数据结构
参考文章:
https://mp.weixin.qq.com/s/eJz5a1Up8fST0P1AcNs6Ig
https://mne.tools/stable/auto_tutorials/index.html 【官方教程】
https://roses.blog.csdn.net/article/details/103705562
引言
Raw数据结构适合处理连续的数据,但是对于单个时间点的数据,则需要一种新的数据结构来进行处理,也就是今天的主角:Epoch数据结构。
概念
从连续的脑电图信号中提取一些特定时间窗口的信号,这些时间窗口可以称作为epochs
原因:EEG是连续收集的,要分析脑电事件相关的电位时,需要将信号"切分"成时间片段,这些时间片段被锁定到某个事件(例如刺激)中的时间片段。
在MNE中,Epoch对象是一种把连续型数据作为时间段集合的表示方法,形状为(n_events,n_channels,n_times)的数组形式:
与Raw对象
Epochs对象和Raw对象有很多的相似之处:
- 它们都能够加载和存储
.fif格式的数据,也都能够通过get_data()方法导出到Numpy_array中去或者通过to_data_frame()方法导出到Pandas_DataFrame中去 - 它们都能通过
pick(),pick_channels()和pick_types等方法来进行channel的选择 - 它们都能通过
add_proj(),del_proj()和plot_projs_topomap()方法来绘制SSP矢量图 - 它们都有
copy(),crop(),time_as_index(),filter()和resample()方法 - 它们都有
times,ch_names,proj和info属性 - 它们多
plot(),plot_psd(),plot_psd_topomap()这些有内置的绘图方法
创建
创建Epochs对象方式有三种:
- 通过Raw对象和事件点(event times)
- 通过读取.fif文件数据生成Epoch对象
- 通过mne.EpochsArray从头创建Epoch对象
通过Raw对象和事件点(event times)
Tips:这里画图时需要对bad通道进行一些处理,在后面学习完bad通道后再回头来补
PS:如不进行操作则会出现
Channels marked as bad: ['MEG 2443', 'EEG 053']
步骤:
- 读取fif文件,构建raw对象
- 通过
find_events从raw中提取events对象 - 创建epochs对象
代码:
import mne
from mne import io
from mne.datasets import sample

# 文件路径
data_path = "D:\\Data\\MNE-sample-data"
raw_fname = data_path + '/MEG/sample/sample_audvis_filt-0-40_raw.fif'

# 读取fif文件,创建raw对象
raw = io.read_raw_fif(raw_fname)

# 通过find_events从raw中提取events
events = mne.find_events(raw, stim_channel='STI 014')

# 创建epochs
event_dict = {'auditory/left': 1, 'auditory/right': 2, 'visual/left': 3,
              'visual/right': 4, 'face': 5, 'buttonpress': 32}
epochs = mne.Epochs(raw, events, tmin=-0.3, tmax=0.7)
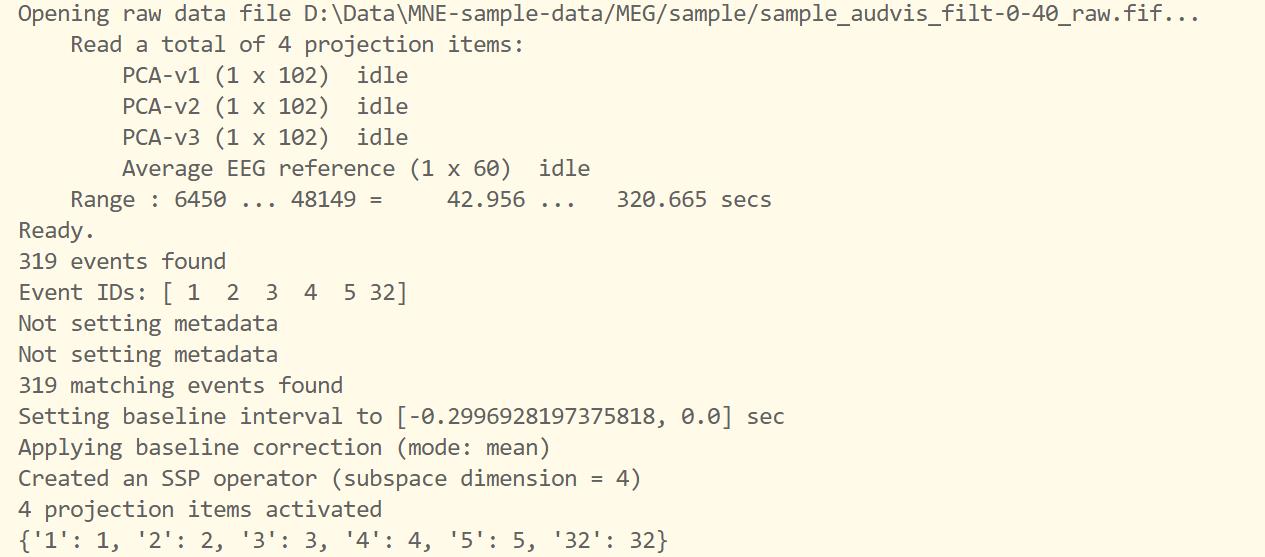
print(epochs.event_id)
结果:
通过读取.fif文件数据生成Epoch对象
步骤:
- 读取fif文件,构建raw对象
- 创建event对象
- 创建epoch对象
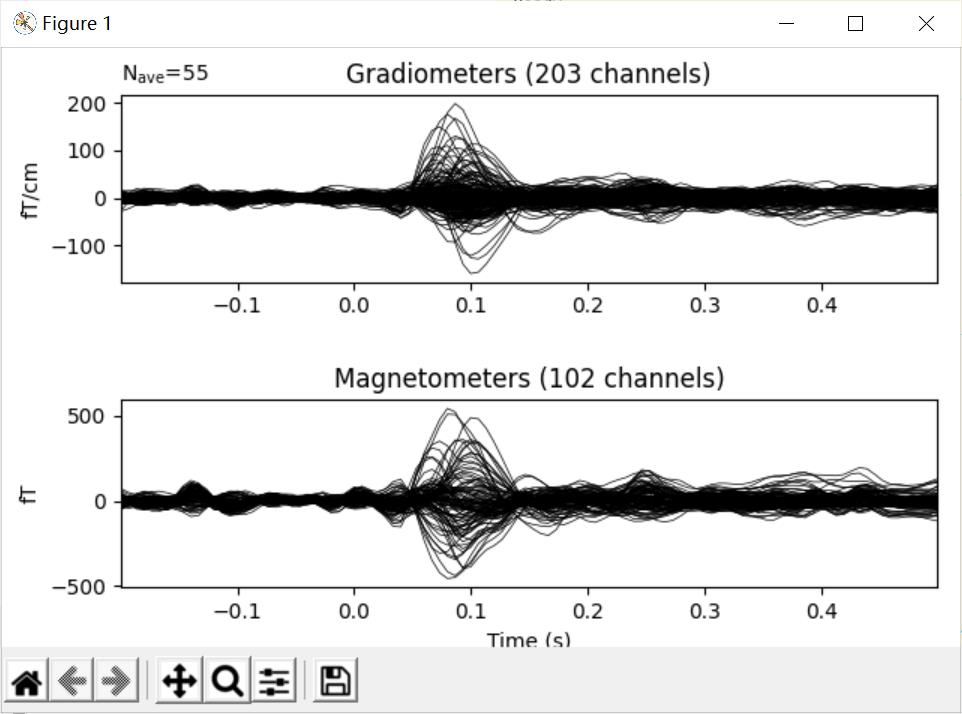
- 对epoch进行叠加平均得到evoked对象
- 绘制evoked
代码:
import mne
from mne import io
from mne.datasets import sample

# 文件路径
data_path = "D:\\Data\\MNE-sample-data"
raw_fname = data_path + '/MEG/sample/sample_audvis_filt-0-40_raw.fif'
event_fname = data_path + '/MEG/sample/sample_audvis_filt-0-40_raw-eve.fif'
event_id, tmin, tmax = 1, -0.2, 0.5

# 读取fif文件,创建raw对象
raw = io.read_raw_fif(raw_fname)
# 读取包含event的fif文件,创建event对象
events = mne.read_events(event_fname)

# 挑选通道:EEG + MEG - bad channels
raw.info['bads'] += ['MEG 2443', 'EEG 053']  # bads + 2 more
picks = mne.pick_types(raw.info, meg=True, eeg=False, stim=True, eog=True,
                       exclude='bads')

# 读取Epoch数据
epochs = mne.Epochs(raw, events, event_id, tmin, tmax, proj=True,
                    picks=picks, baseline=(None, 0), preload=True,
                    reject=dict(grad=4000e-13, mag=4e-12, eog=150e-6))

# 对epochs数据进行求平均获取诱发响应
evoked = epochs.average()

evoked.plot(time_unit='s')
plt.show()
结果:

通过mne.EpochsArray从头创建Epoch对象
方式:利用mne.EpochsArray创建Epochs对象,创建时直接构建numpy数组即可,数组的形状必须是(n_epochs, n_chans, n_times)
数据对应的单位:
V: eeg, eog, seeg, emg, ecg, bio, ecogT: mag
T/m: grad
M: hbo, hbr
Am: dipole
AU: misc
步骤
- 构建数据
- 构建events,设置事件的id
- 创建epochs对象
代码:
import mne
import numpy as np
import matplotlib.pyplot as plt

"""
第一步:构建数据
构建一个大小为10x5x200的三维数组,数组中数据是随机数;
第一维数据表示:10 epochs
第二维数据表示:5 channels
第三维数据表示:2 seconds per epoch
"""
# 采样频率
sfreq = 100
# 10 epochs + 5 channels + 2 seconds per epoch
data = np.random.randn(10, 5, sfreq * 2)
# 创建一个info结构
info = mne.create_info(
    ch_names=['MEG1', 'MEG2', 'EEG1', 'EEG2', 'EOG'],
    ch_types=['grad', 'grad', 'eeg', 'eeg', 'eog'],
    sfreq=sfreq
)

"""
第二步:构建events
在创建Epochs对象时,必须提供一个"events"数组,
事件(event)描述的是某一种波形(症状)的起始点,其为一个三元组,形状为(n_events,3):
第一列元素以整数来描述的事件起始采样点;
第二列元素对应的是当前事件来源的刺激通道(stimulus channel)的先前值(previous value),该值大多数情况是0;
第三列元素表示的是该event的id。
"""
events = np.array([
    [0, 0, 1],
    [1, 0, 2],
    [2, 0, 1],
    [3, 0, 2],
    [4, 0, 1],
    [5, 0, 2],
    [6, 0, 1],
    [7, 0, 2],
    [8, 0, 1],
    [9, 0, 2],
])

"""
设置事件的id
如果是dict,则以后可以使用这些键访问关联的事件。示例:dict(听觉=1,视觉=3)
如果是int,将创建一个id为string的dict。
如果是列表,则使用列表中指定ID的所有事件。
如果没有,则所有事件都将与一起使用,并使用与事件id整数对应的字符串整数名称创建dict。
"""
# 创建event id,受试者或者微笑或者皱眉
event_id = dict(smiling=1, frowning=2)
# tmin : event开始前的时间,如果未指定,则默认为0,这里我们设置事件开始前时间为-0.1s
tmin = -0.1

"""
第三步:利用mne.EpochsArray创建epochs对象
"""
custom_epochs = mne.EpochsArray(data, info, events, tmin, event_id)
print(custom_epochs)
# 绘制
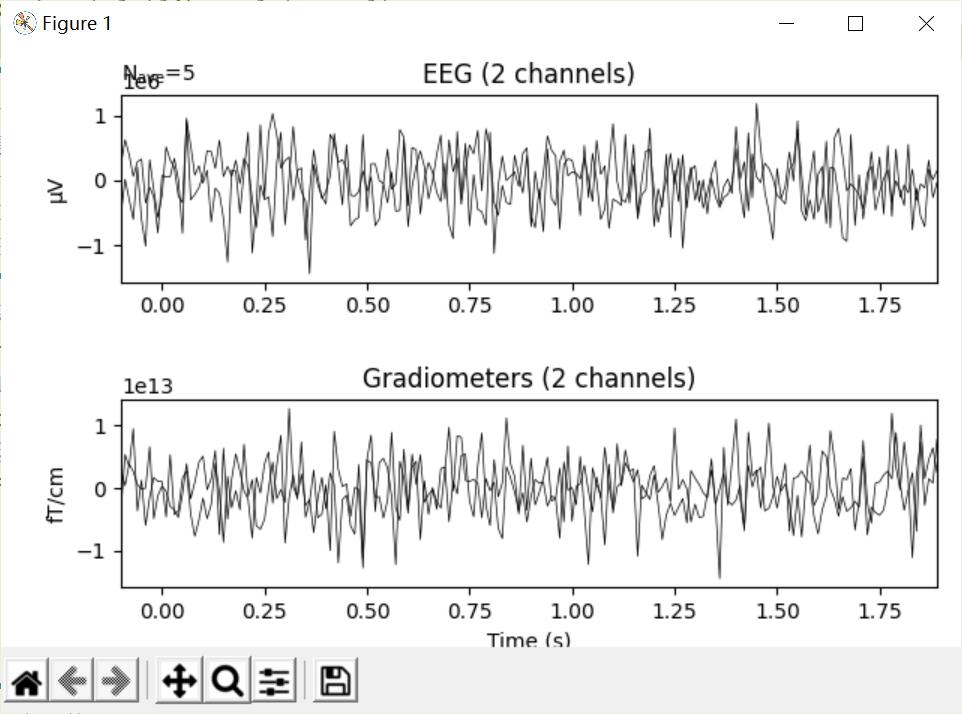
_ = custom_epochs['smiling'].average().plot(time_unit='s')
结果:

查看与可视化
对于epoch对象而言,和Raw对象一样,都能进行查看、可视化等一系列操作。
在下面这个代码中,采用的epochs创建方式是通过Raw对象,这一部分和上面是一样的。
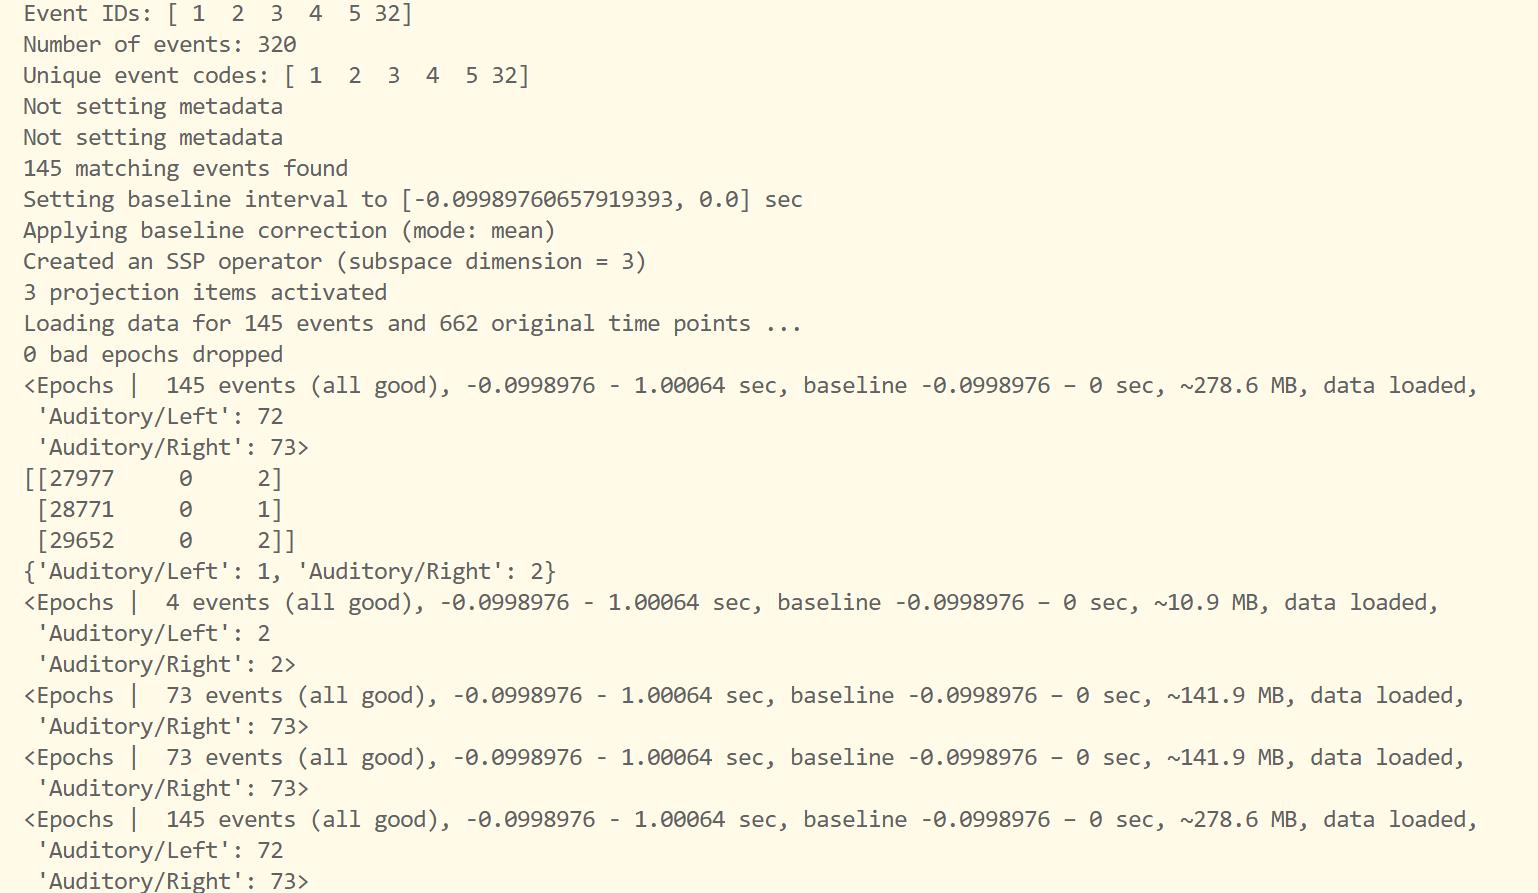
之后是6种对epoch的查看方式,包括通过列表切片、通过event_id和通过描述性名称等方式。
最后是两种不同的可视化,这一部分实际上有很多种,这里也只是选取了两种不同的图而已,具体可以参考mne的官方文档。有空的话我会专门研究一下可视化的各种方法,目前限于时间精力,可视化的部分也只是简单地搬过来用了而已,第一种方式是脑机接口社区里的对epochs平均叠加(average),第二种方式是按时间序列(time series)进行绘制。
代码:
import mne
import os.path as op
import numpy as np
from matplotlib import pyplot as plt

# 创建raw对象
data_path = "D:\\Data\\MNE-sample-data"
# 加载包含事件events的听觉数据集
raw = mne.io.read_raw_fif(
    op.join(data_path, 'MEG', 'sample', 'sample_audvis_raw.fif'))

# 创建events对象
# 构造事件数组
events = mne.find_events(raw, stim_channel='STI 014')
# 显示事件数
print('Number of events:', len(events))
# 显示所有唯一的事件编号(第3列)
print('Unique event codes:', np.unique(events[:, 2]))

"""
使用描述性标签指定感兴趣的事件代码。
给不同的events一个描述性名称。
"""
event_id = {'Auditory/Left': 1, 'Auditory/Right': 2}

# 创建epoch对象
# 取每个event的前0.1秒和后1秒共1.1秒的时间长度作为一个epoch
epochs = mne.Epochs(raw, events, event_id, tmin=-0.1, tmax=1,
                    baseline=(None, 0), preload=True)
print(epochs)

# 查看epoch对象
# 查看event属性,下面是各种不同的查看方式
print(epochs.events[:3])
print(epochs.event_id)
print(epochs[1:5])
print(epochs['Auditory/Right'])
print(epochs['Right'])
print(epochs['Right', 'Left'])

# 可视化1 : c.epoch平均叠加
# 通过调用mne.Epochs.average()方法可返回Evoked对象,average()方法可以通过参数指定需要的信道。
ev_left = epochs['Auditory/Left'].average()
ev_right = epochs['Auditory/Right'].average()
f, axs = plt.subplots(3, 2, figsize=(10, 5))
_ = f.suptitle('Left / Right auditory', fontsize=20)
_ = ev_left.plot(axes=axs[:, 0], show=False, time_unit='s')
_ = ev_right.plot(axes=axs[:, 1], show=False, time_unit='s')
plt.tight_layout()

# 可视化2 : 按时间序列(time series)进行epochs的绘制
catch_trials_and_buttonpresses = mne.pick_events(events, include=[5, 32])
epochs.plot(events=catch_trials_and_buttonpresses, event_id={'Auditory/Left': 1, 'Auditory/Right': 2}, group_by='selection', butterfly=True)

plt.show()
结果:
查看:
可视化1:
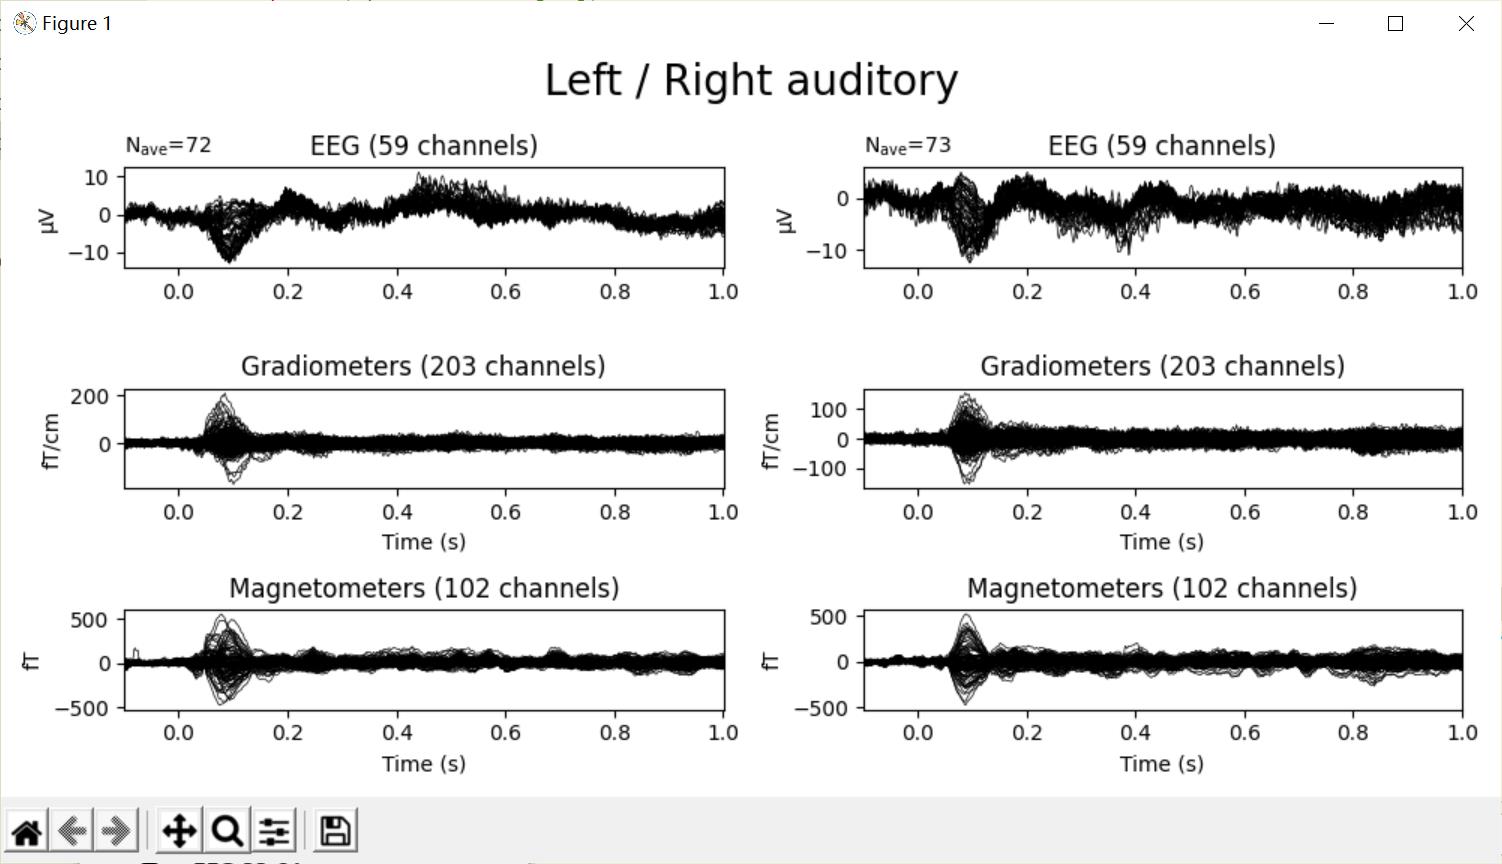
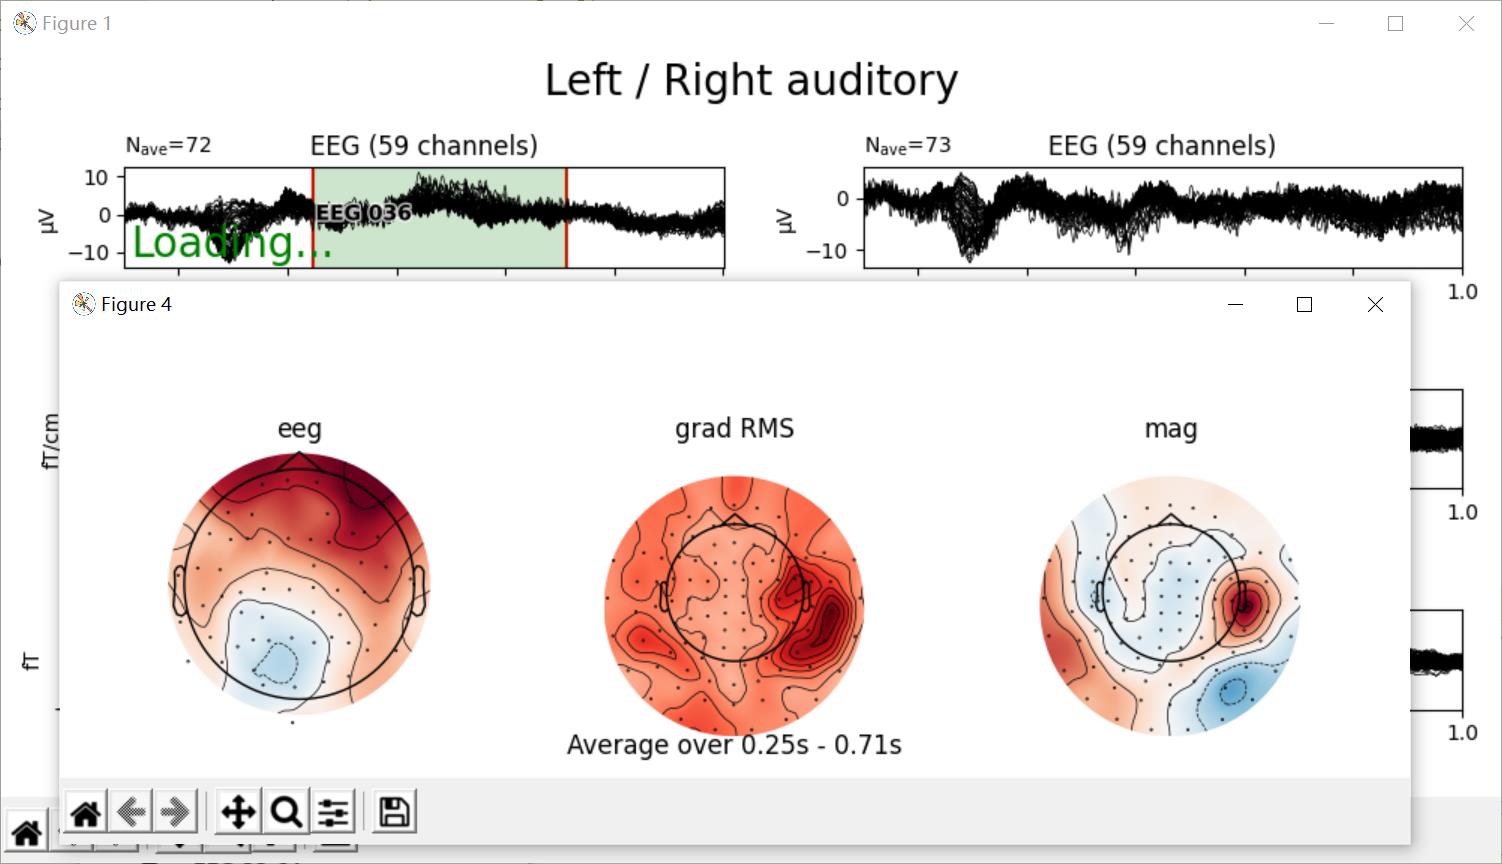
可视化2:
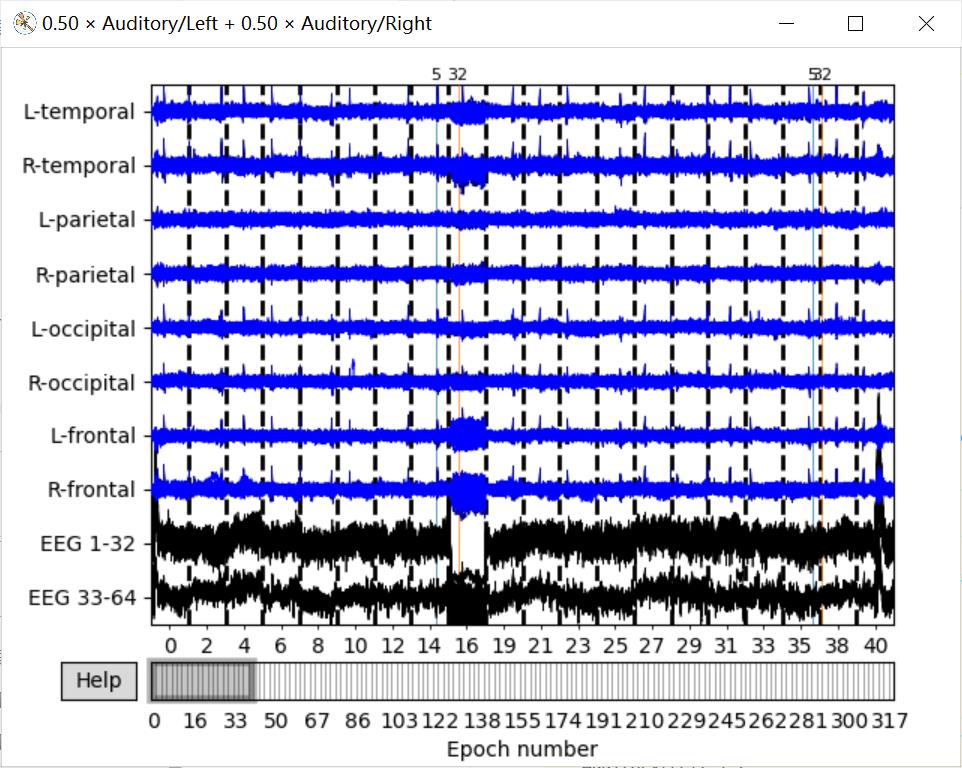
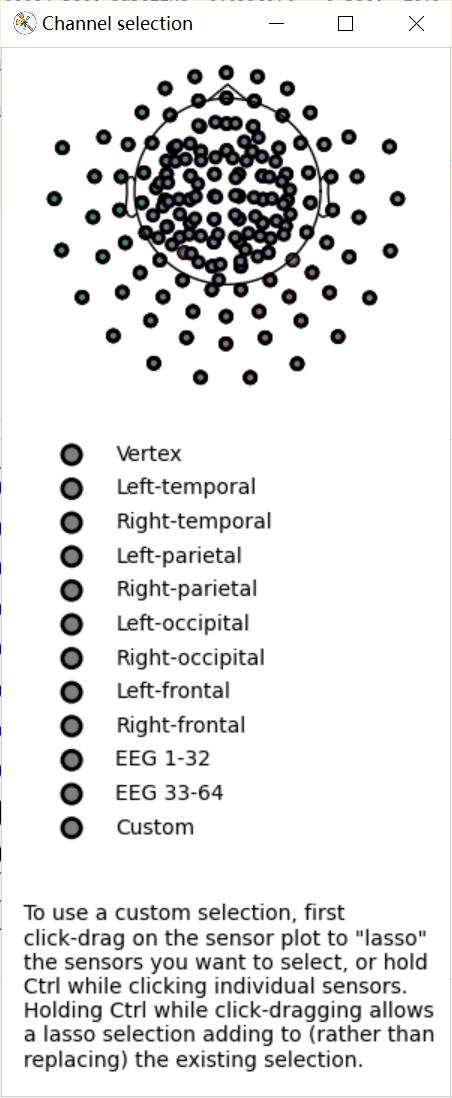
以上是关于MNE学习笔记:Epoch数据结构的主要内容,如果未能解决你的问题,请参考以下文章