Elasticsearch全文检索技术 一篇文章即可从入门到精通(Elasticsearch安装,安装kibana,安装ik分词器,数据的增删改查,全文检索查询,聚合aggregations)(代码片
Posted 蓝盒子bluebox
tags:
篇首语:本文由小常识网(cha138.com)小编为大家整理,主要介绍了Elasticsearch全文检索技术 一篇文章即可从入门到精通(Elasticsearch安装,安装kibana,安装ik分词器,数据的增删改查,全文检索查询,聚合aggregations)(代码片相关的知识,希望对你有一定的参考价值。
一、Elasticsearch介绍和安装
用户访问我们的首页,一般都会直接搜索来寻找自己想要购买的商品。
而商品的数量非常多,而且分类繁杂。如果能正确的显示出用户想要的商品,并进行合理的过滤,尽快促成交易,是搜索系统要研究的核心。
面对这样复杂的搜索业务和数据量,使用传统数据库搜索就显得力不从心,一般我们都会使用全文检索技术,比如之前大家学习过的Solr。
不过今天,我们要讲的是另一个全文检索技术:Elasticsearch。
1、简介
(1)Elastic
Elastic官网:https://www.elastic.co/cn/

Elastic有一条完整的产品线:Elasticsearch、Kibana、Logstash等,前面说的三个就是大家常说的ELK技术栈。
(2)Elasticsearch
Elasticsearch官网:https://www.elastic.co/cn/products/elasticsearch
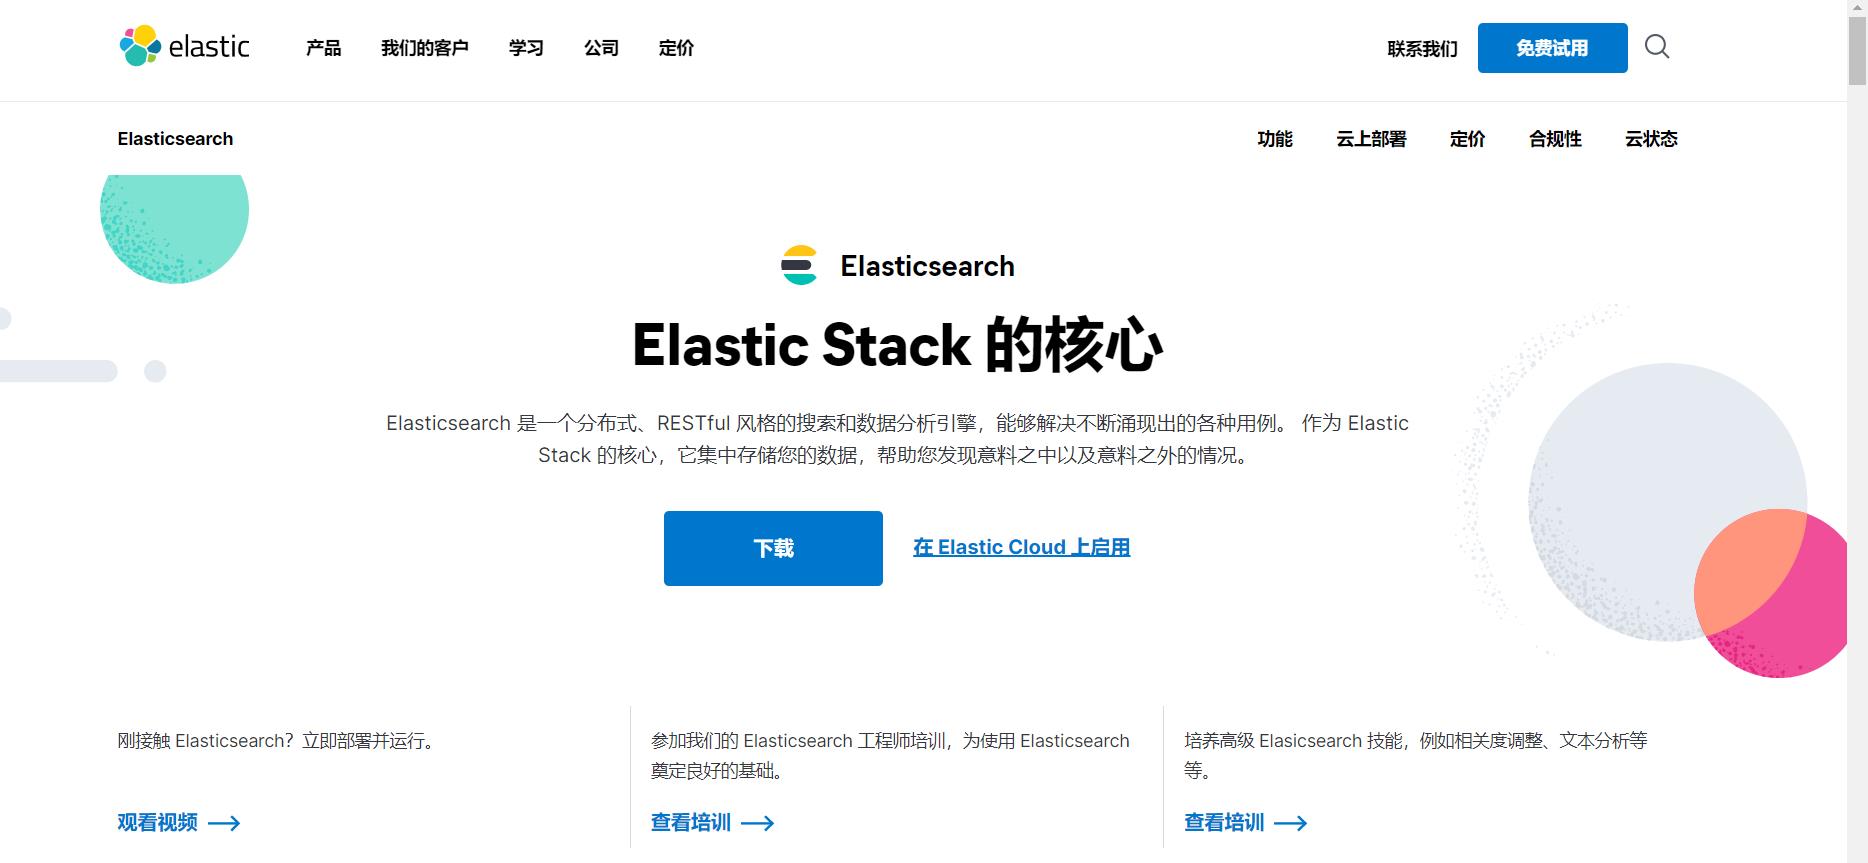
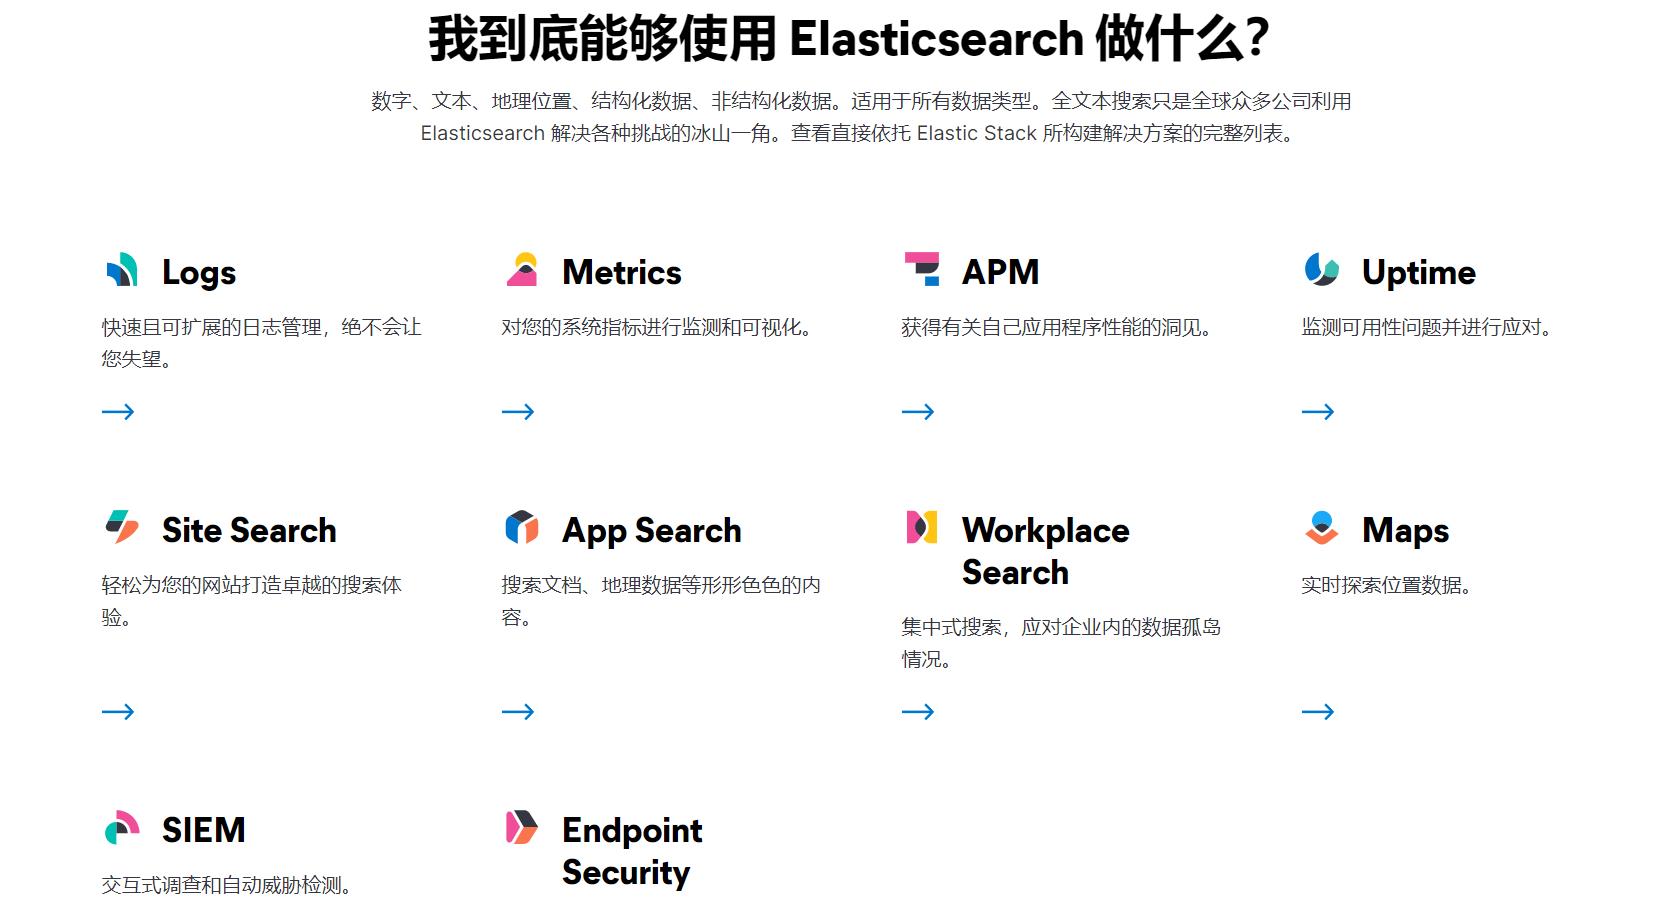
如上所述,Elasticsearch具备以下特点:
- 分布式,无需人工搭建集群(solr就需要人为配置,使用Zookeeper作为注册中心)
- Restful风格,一切API都遵循Rest原则,容易上手
- 近实时搜索,数据更新在Elasticsearch中几乎是完全同步的。
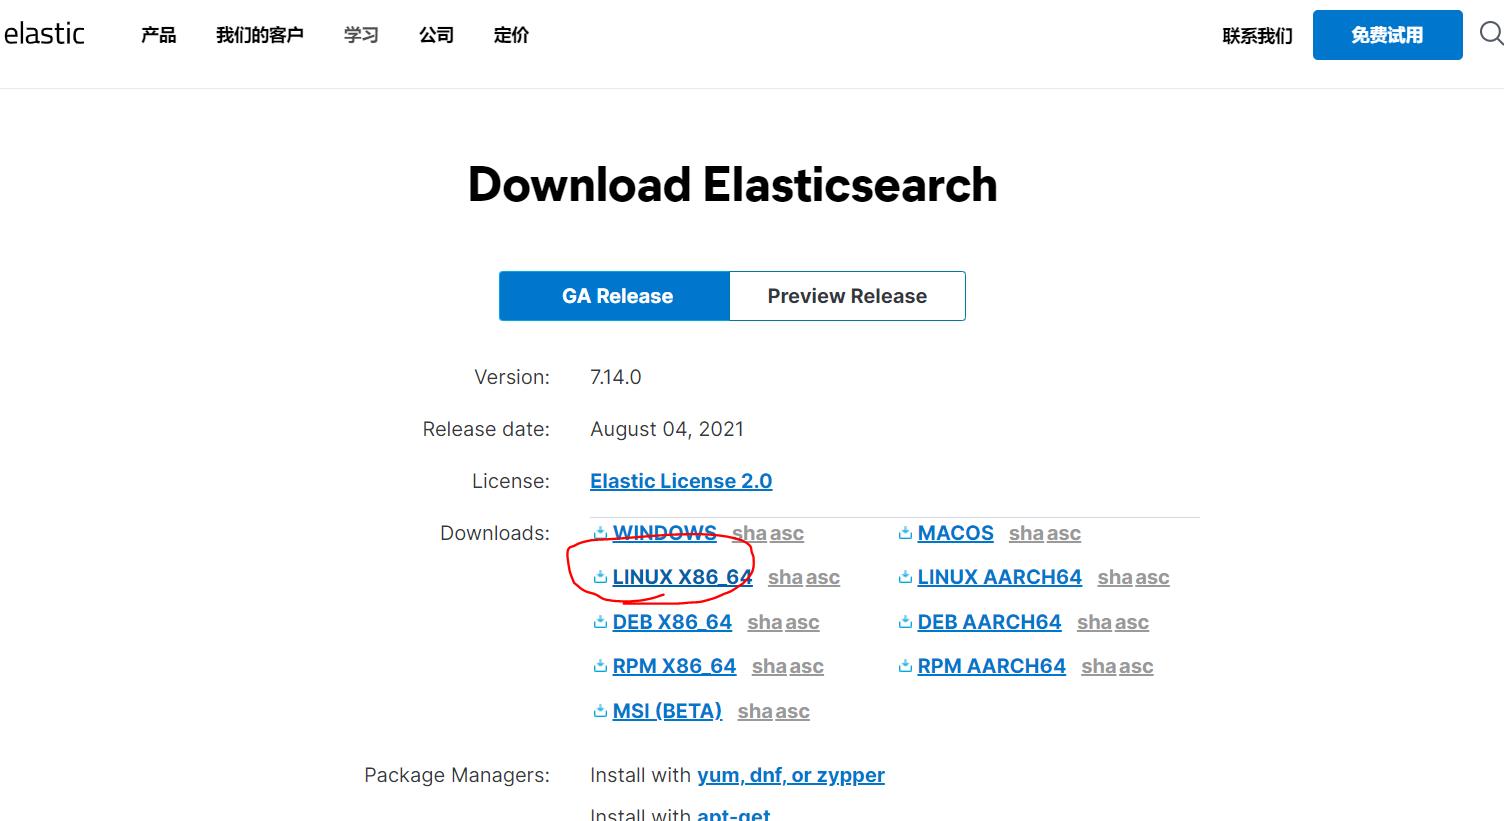
(3)下载
2、Linux下的安装和使用
(1)将下载好的安装包上传到虚拟机当中
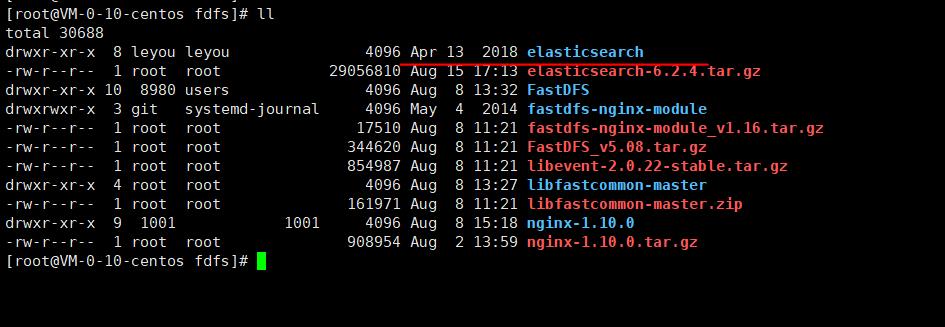
将文件上传到/home/leyou/fdfs下
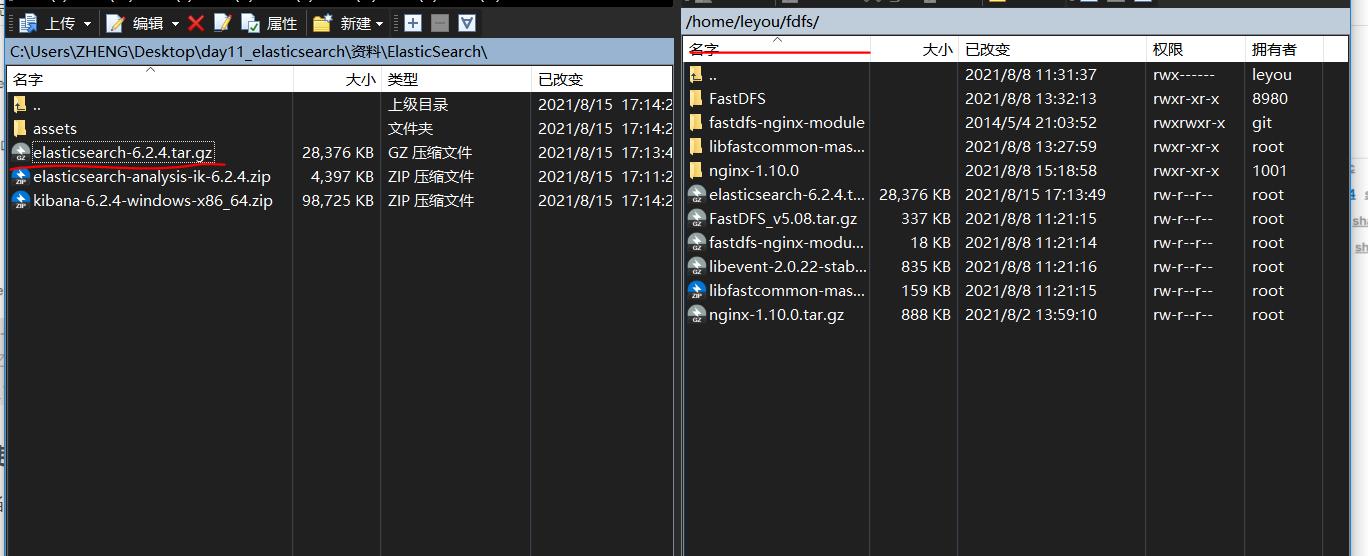
解压
tar -zxvf elasticsearch-6.2.4.tar.gz
(2)elasticsearch有一个特点就是不能使用root用户运行该软件
1)修改此文件的权限修改为leyou用户可以使用,下面设置其用户以及用户组

chown leyou:leyou elasticsearch-6.2.4/ -R
修改成功

2)修改一下文件文件
mv elasticsearch-6.2.4 elasticsearch
修改成功
3)进入config当中设置其配置

a、修改虚拟机配置jvm.options

设置虚拟机占内存小一些

b、修改elasticsearch.yml

vim elasticsearch.yml

path.data: /home/leyou/fdfs/elasticsearch/data

path.logs: /home/leyou/fdfs/elasticsearch/logs
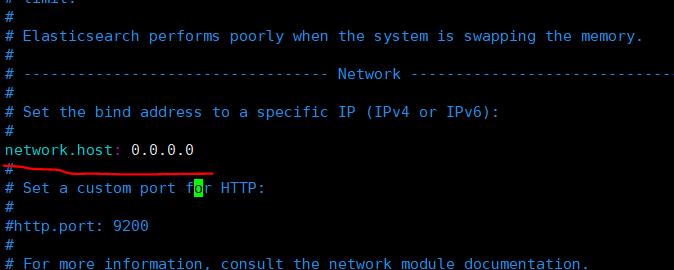
network.host: 0.0.0.0
设置名称
node.name: elasticsearch
cluster.initial_master_nodes: ["elasticsearch"]
保存退出

c、开启端口号
iptables -A INPUT -ptcp --dport 9200 -j ACCEPT
保存配置
service iptables save

d、创建data目录
mkdir data
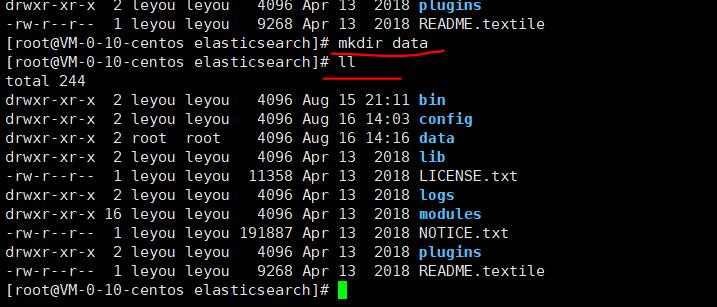
修改data的用户权限
chown leyou:leyou . -R
e、修改config下的elasticsearch.yml最后添加这个配置
bootstrap.system_call_filter: false
错误1:内核过低

我们使用的是centos6,其linux内核版本为2.6。而Elasticsearch的插件要求至少3.5以上版本。不过没关系,我们禁用这个插件即可。
修改elasticsearch.yml文件,在最下面添加如下配置:
bootstrap.system_call_filter: false
然后重启
错误2:文件权限不足
再次启动,又出错了:

[1]: max file descriptors [4096] for elasticsearch process likely too low, increase to at least [65536]
我们用的是leyou用户,而不是root,所以文件权限不足。
首先用root用户登录。
然后修改配置文件:
vim /etc/security/limits.conf
添加下面的内容:
* soft nofile 65536

* hard nofile 131072

* soft nproc 4096

* hard nproc 4096
错误3:线程数不够
刚才报错中,还有一行:
[1]: max number of threads [1024] for user [leyou] is too low, increase to at least [4096]
这是线程数不够。
继续修改配置:
vim /etc/security/limits.d/90-nproc.conf
修改下面的内容:
* soft nproc 1024
改为:
* soft nproc 4096
错误4:进程虚拟内存
[3]: max virtual memory areas vm.max_map_count [65530] likely too low, increase to at least [262144]
vm.max_map_count:限制一个进程可以拥有的VMA(虚拟内存区域)的数量,继续修改配置文件, :
vim /etc/sysctl.conf
添加下面内容:
vm.max_map_count=655360
然后执行命令:
sysctl -p
5重启终端窗口
所有错误修改完毕,一定要重启你的 Xshell终端,否则配置无效。
1.3.6.启动
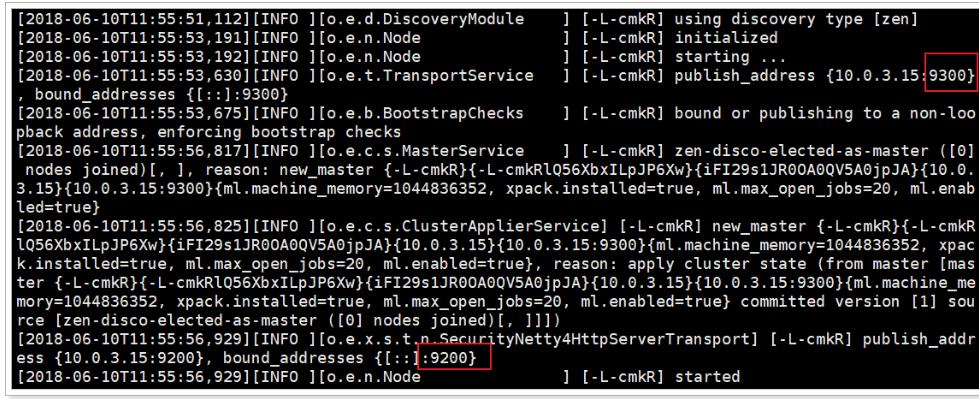
然后启动es(-d参数意思是后台启动,否则关闭命令行窗口后es进程也关闭了)
./bin/elasticsearch -d
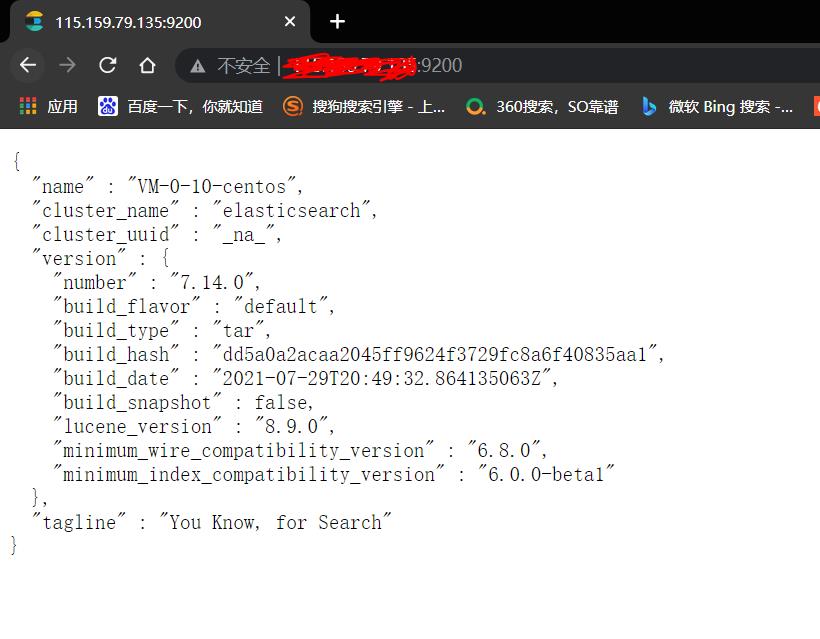
再次启动,终于成功了!
二、安装kibana
1、什么是Kibana
2、下载和使用
https://www.elastic.co/cn/downloads/kibana
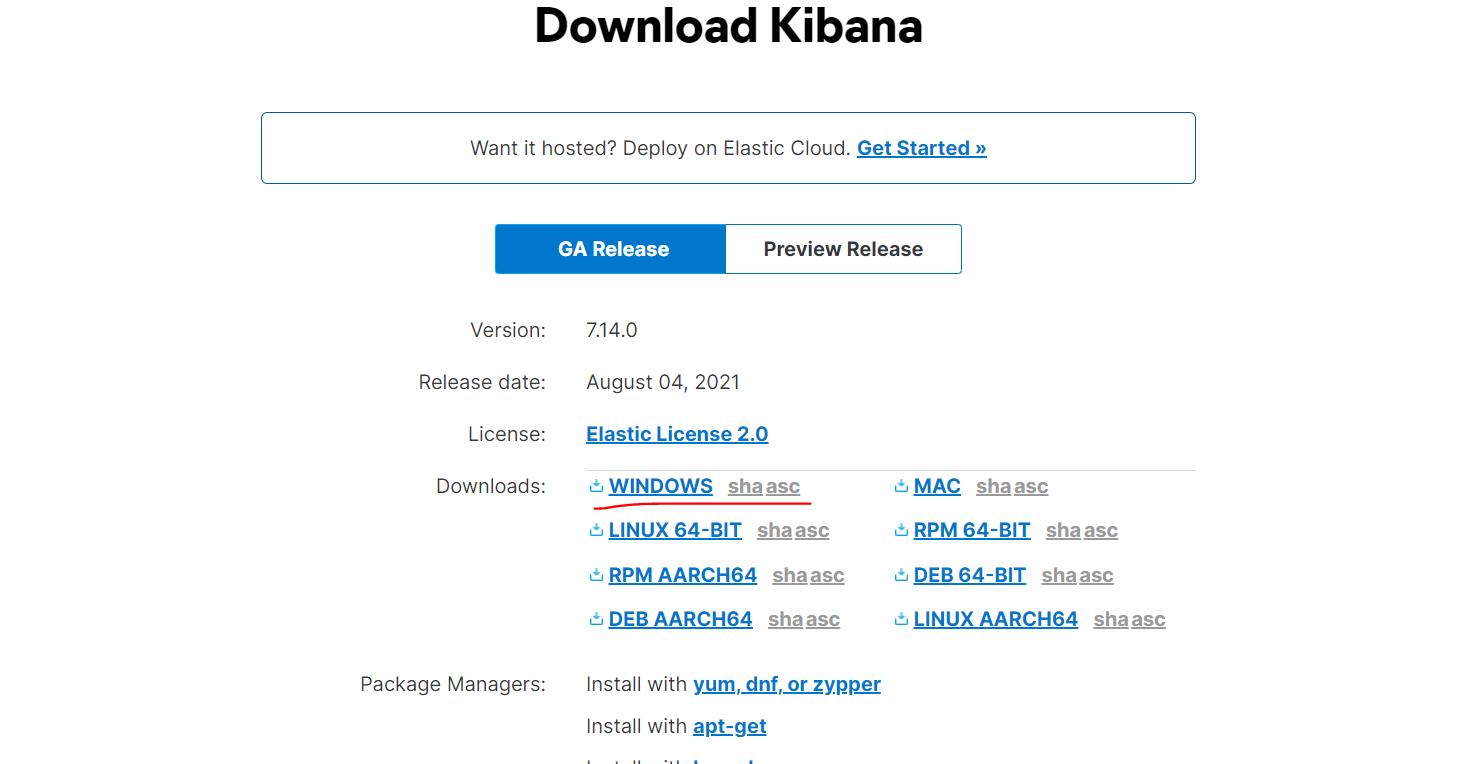
因为Kibana依赖于node,我们的虚拟机没有安装node,而window中安装过。所以我们选择在window下使用kibana。
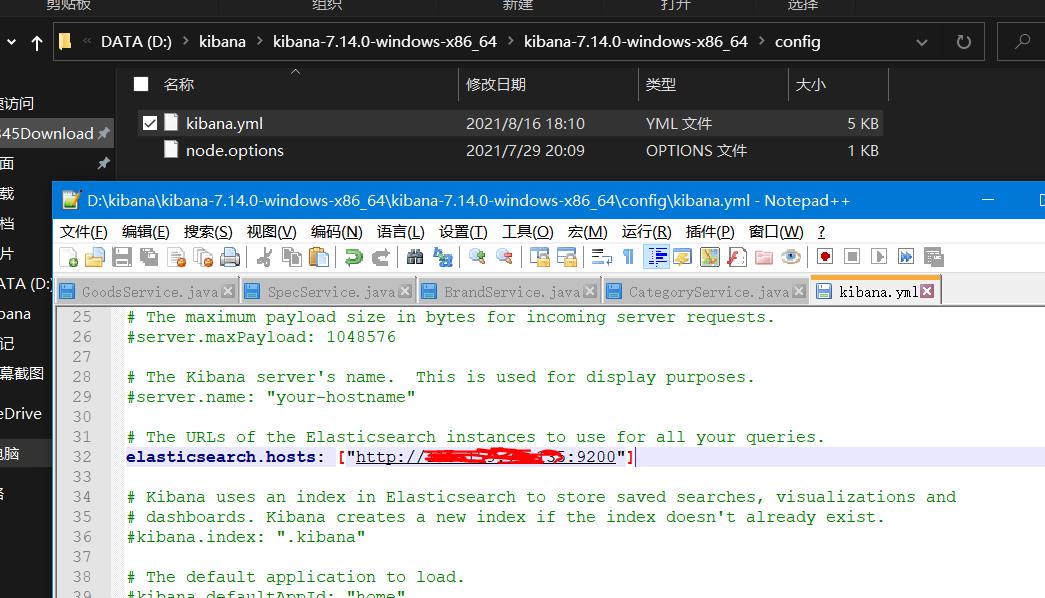
(1)修改其配置的文件:地址为虚拟机的地址
(2)运行
双击启动即可

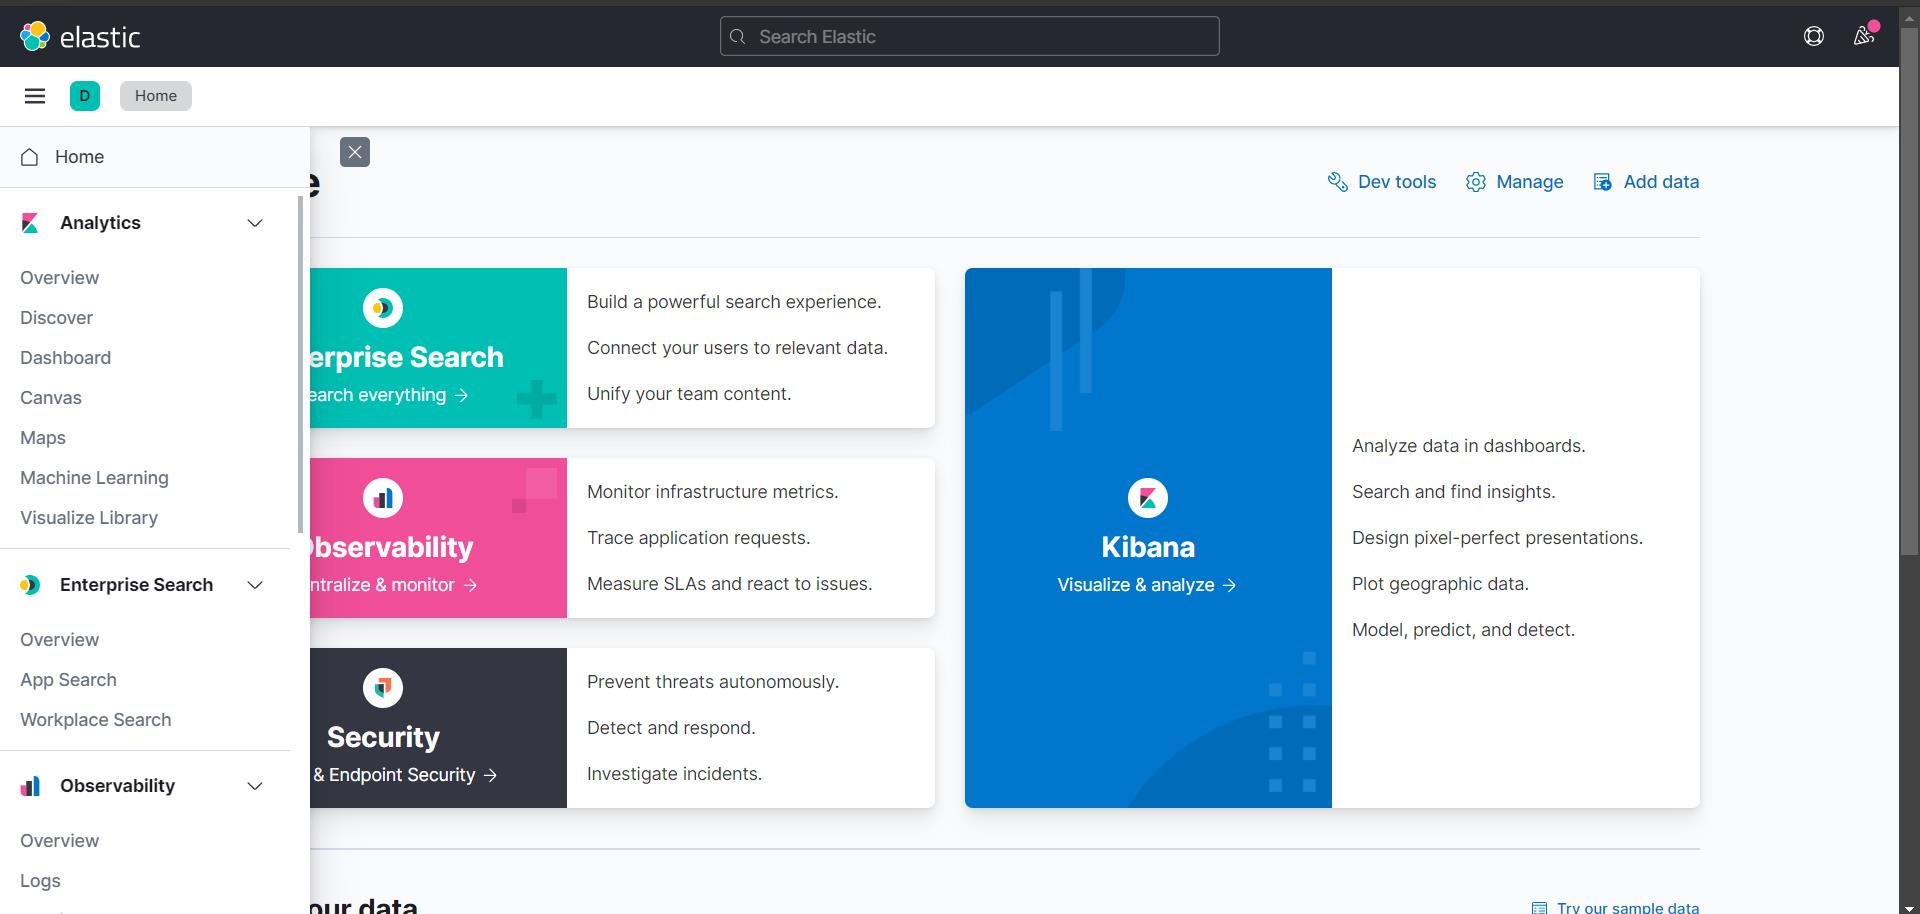
访问:http://127.0.0.1:5601/
三、安装ik分词器
Lucene的IK分词器早在2012年已经没有维护了,现在我们要使用的是在其基础上维护升级的版本,并且开发为ElasticSearch的集成插件了,与Elasticsearch一起维护升级,
1、下载使用
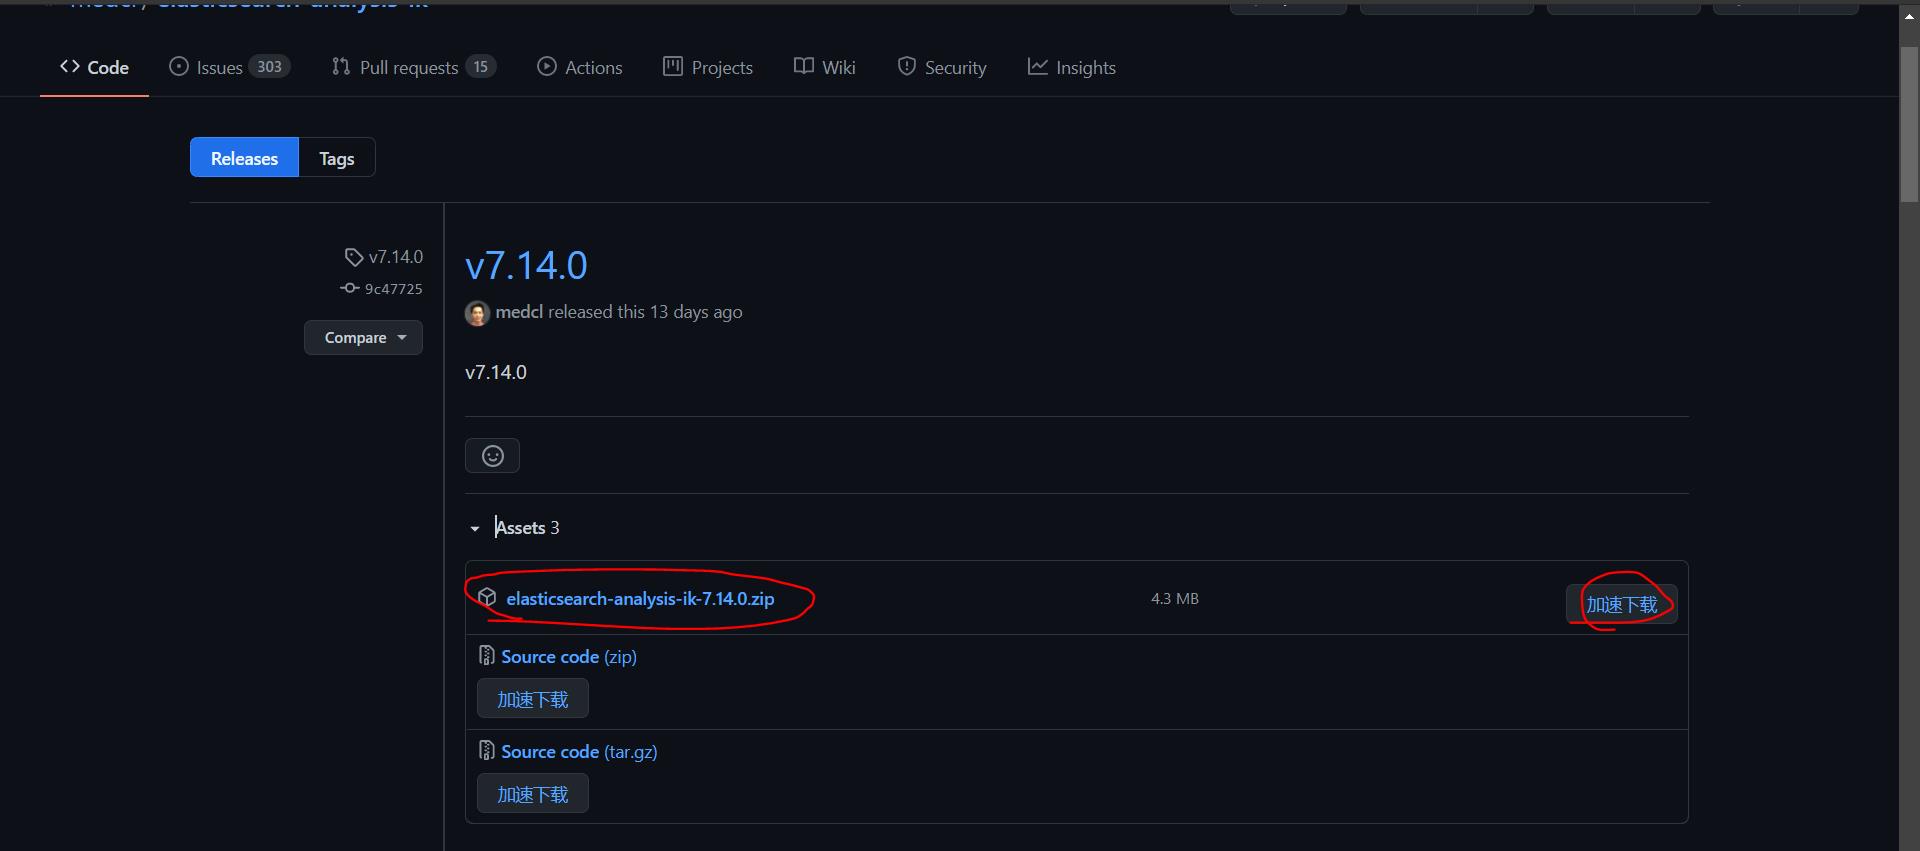
(1)下载
https://github.com/medcl/elasticsearch-analysis-ik/releases
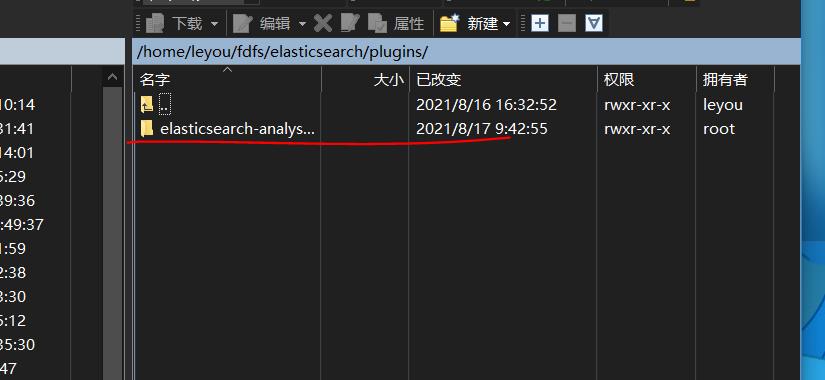
(2)将其上传到elasticsearch下的/home/leyou/fdfs/elasticsearch/plugins下
因为不大直接在window上解压
(3)重新在bin目录下运行elasticsearch
ps -ef | grep elastic

注意:下面的那个进程是当前这条命令的,不是真正的elasticsearch进程
step2 杀掉ES进程
kill -9 3250

在elasticsearch/bin下的重新运行
./elasticsearch -d
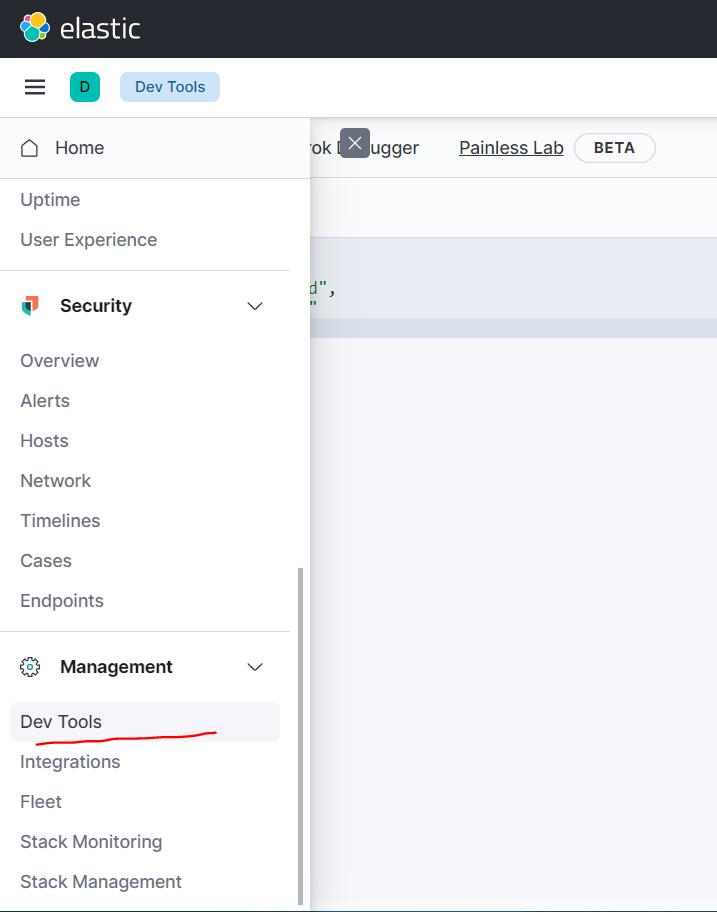
2、在kibana上使用ik分词器
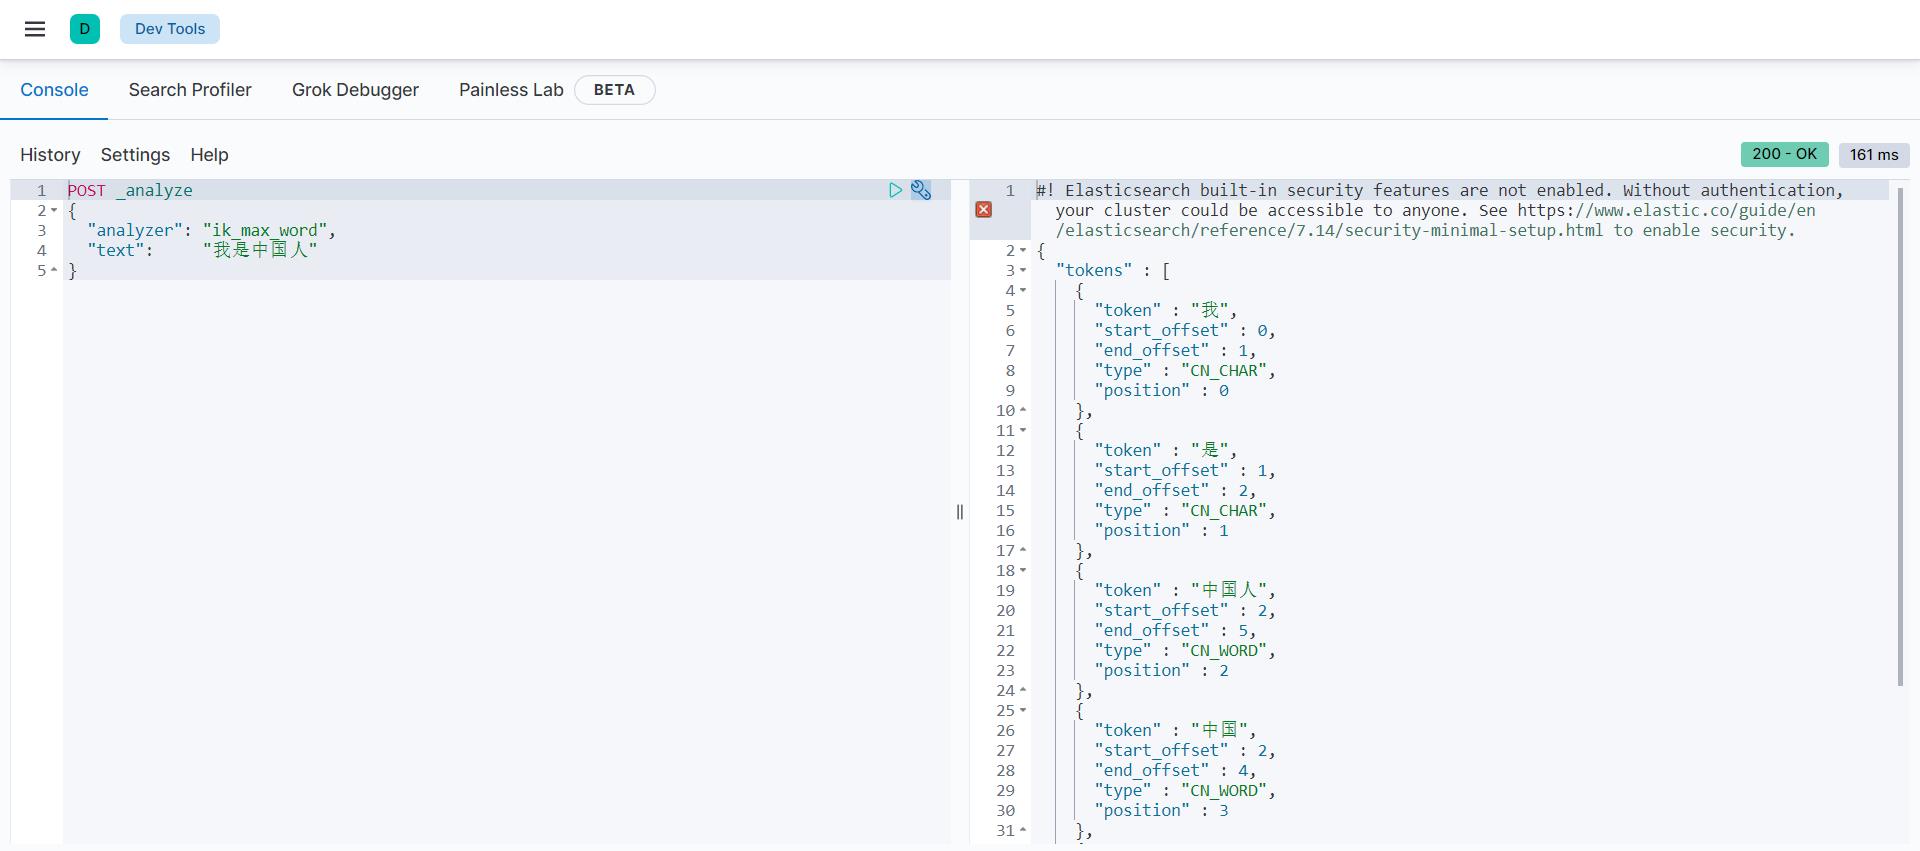
(1)最细分词法
POST _analyze
{
  "analyzer": "ik_max_word",
  "text":     "我是中国人"
}
运行结果
{
  "tokens" : [
    {
      "token" : "我",
      "start_offset" : 0,
      "end_offset" : 1,
      "type" : "CN_CHAR",
      "position" : 0
    },
    {
      "token" : "是",
      "start_offset" : 1,
      "end_offset" : 2,
      "type" : "CN_CHAR",
      "position" : 1
    },
    {
      "token" : "中国人",
      "start_offset" : 2,
      "end_offset" : 5,
      "type" : "CN_WORD",
      "position" : 2
    },
    {
      "token" : "中国",
      "start_offset" : 2,
      "end_offset" : 4,
      "type" : "CN_WORD",
      "position" : 3
    },
    {
      "token" : "国人",
      "start_offset" : 3,
      "end_offset" : 5,
      "type" : "CN_WORD",
      "position" : 4
    }
  ]
}
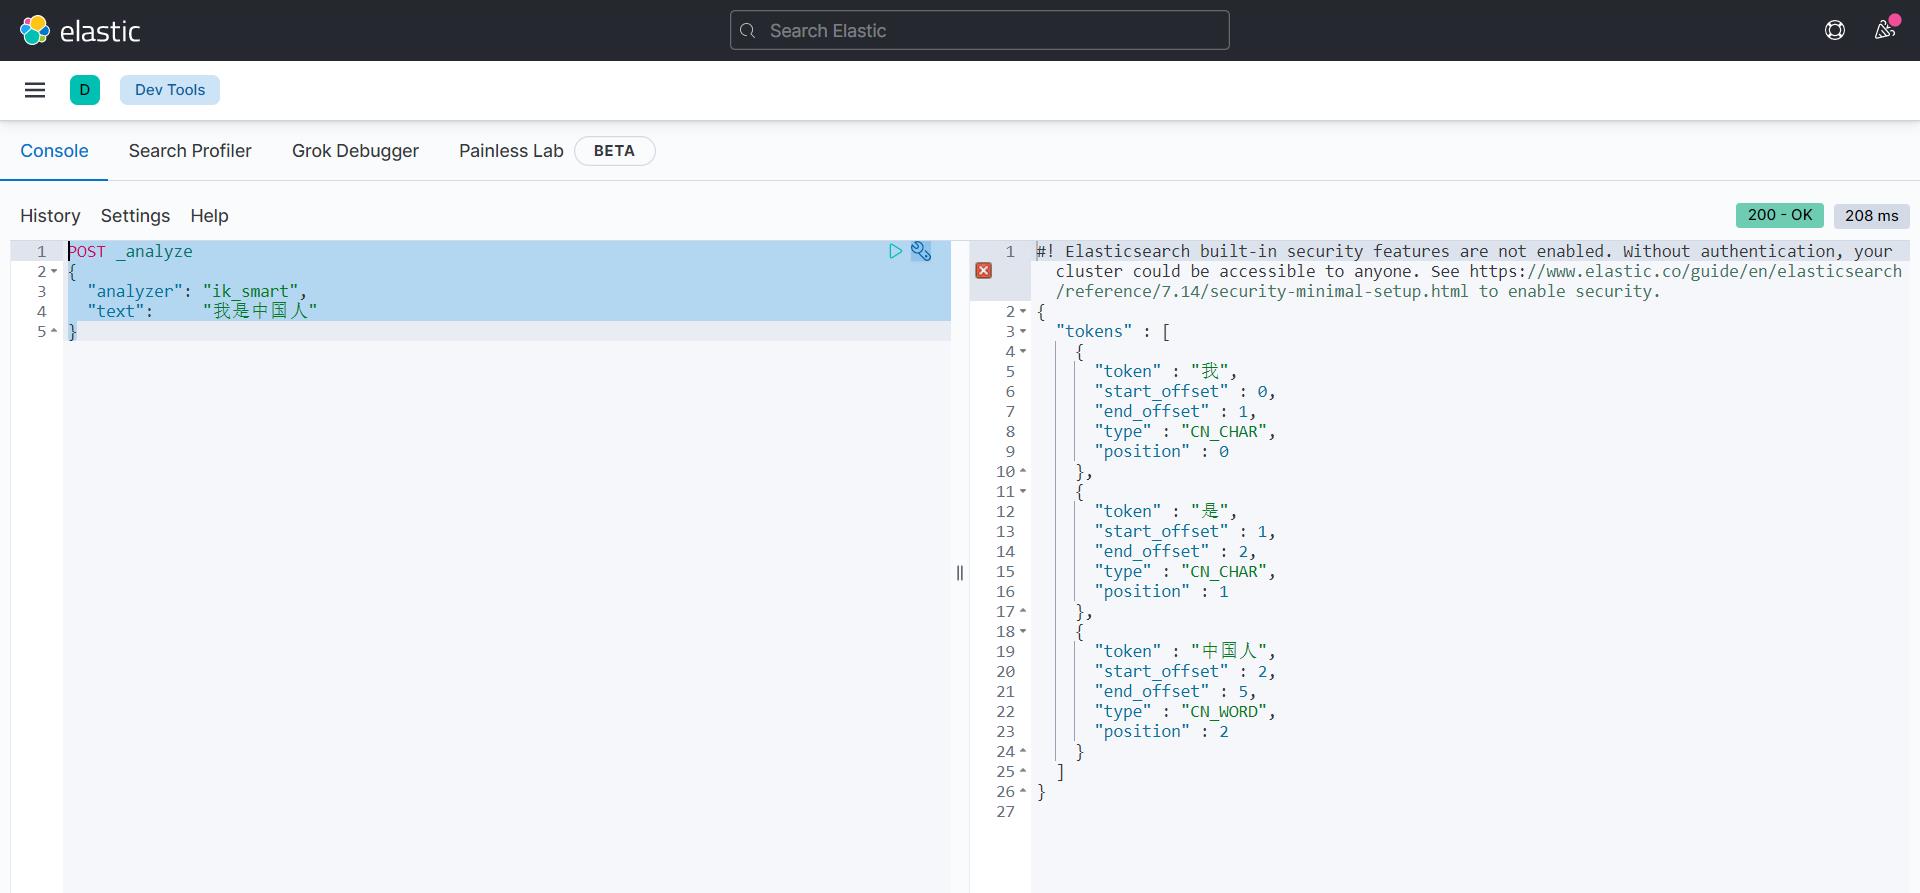
(2)智能分词法
POST _analyze
{
  "analyzer": "ik_smart",
  "text":     "我是中国人"
}
运行结果
{
  "tokens" : [
    {
      "token" : "我",
      "start_offset" : 0,
      "end_offset" : 1,
      "type" : "CN_CHAR",
      "position" : 0
    },
    {
      "token" : "是",
      "start_offset" : 1,
      "end_offset" : 2,
      "type" : "CN_CHAR",
      "position" : 1
    },
    {
      "token" : "中国人",
      "start_offset" : 2,
      "end_offset" : 5,
      "type" : "CN_WORD",
      "position" : 2
    }
  ]
}
四、API(数据的增删改查)
Elasticsearch提供了Rest风格的API,即http请求接口,而且也提供了各种语言的客户端API
1、Rest风格API
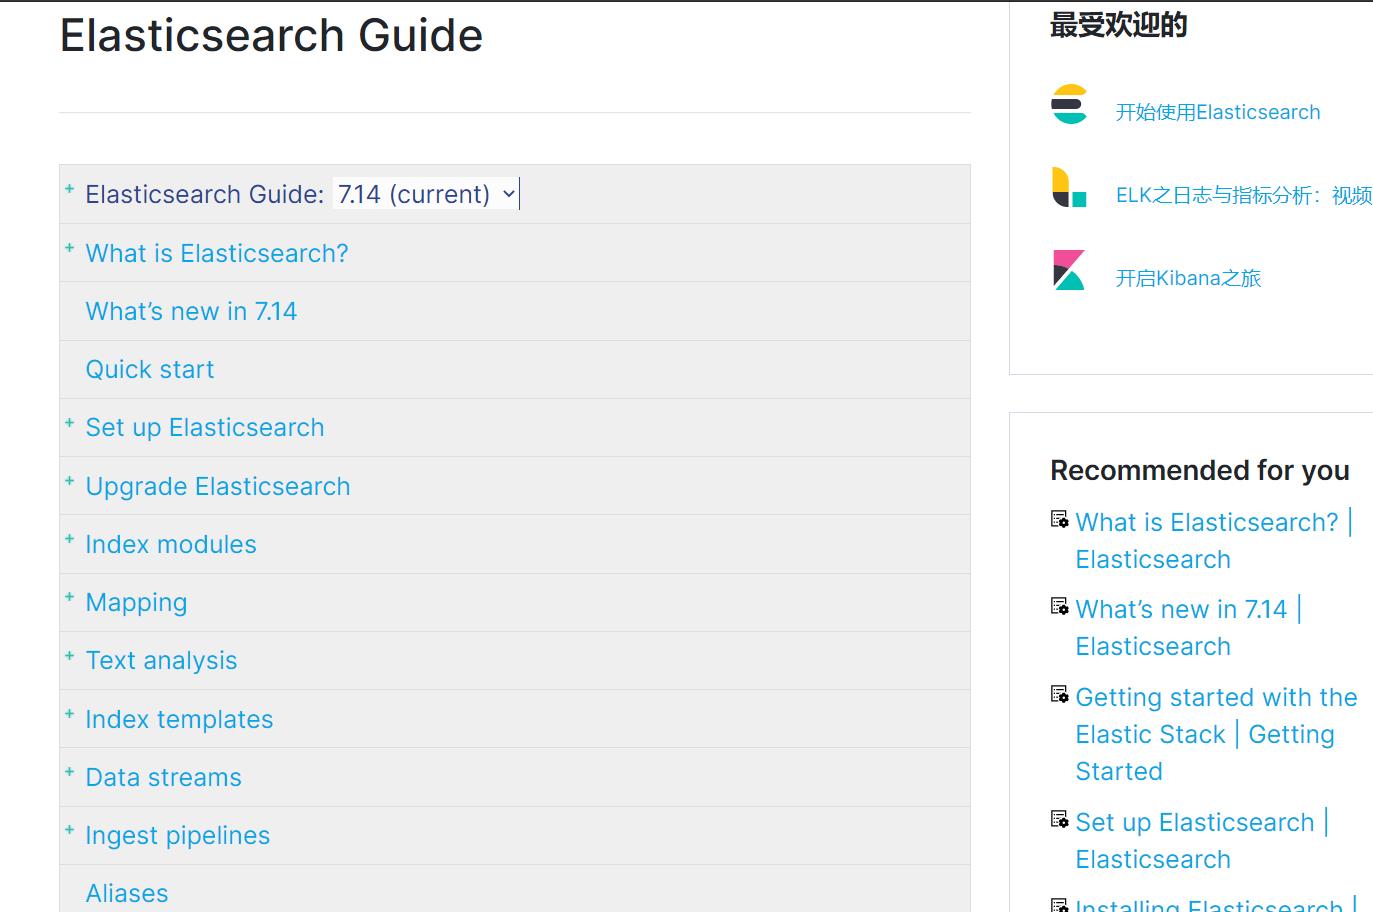
文档地址:https://www.elastic.co/guide/en/elasticsearch/reference/current/index.html

2、操作索引
(1)基本概念
Elasticsearch也是基于Lucene的全文检索库,本质也是存储数据,很多概念与mysql类似的。
对比关系:
索引集(indices)--------------------------------Databases 数据库
	类型(type)-----------------------------Table 数据表
		 文档(Document)----------------Row 行
   				字段(Field)-------------------Columns 列
详细说明:
| 概念 | 说明 |
|---|---|
| 索引库(indices) | indices是index的复数,代表许多的索引, |
| 类型(type) | 类型是模拟mysql中的table概念,一个索引库下可以有不同类型的索引,比如商品索引,订单索引,其数据格式不同。不过这会导致索引库混乱,因此未来版本中会移除这个概念 |
| 文档(document) | 存入索引库原始的数据。比如每一条商品信息,就是一个文档 |
| 字段(field) | 文档中的属性 |
| 映射配置(mappings) | 字段的数据类型、属性、是否索引、是否存储等特性 |
是不是与Lucene和solr中的概念类似。
另外,在SolrCloud中,有一些集群相关的概念,在Elasticsearch也有类似的:
-
索引集(Indices,index的复数):逻辑上的完整索引
-
分片(shard):数据拆分后的各个部分

-
副本(replica):每个分片的复制
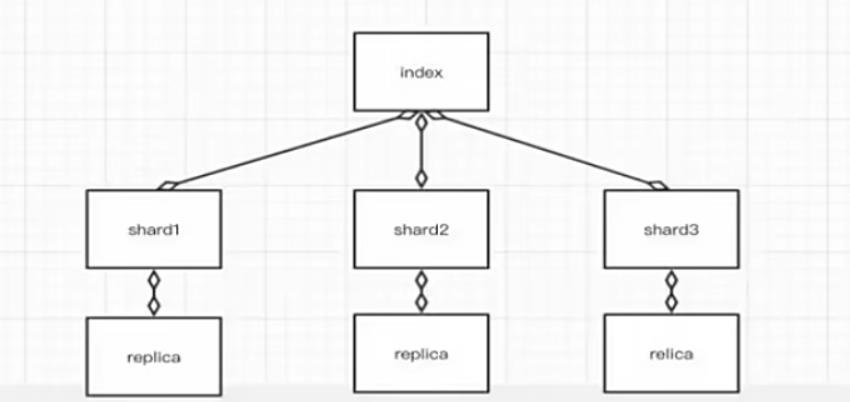
要注意的是:Elasticsearch本身就是分布式的,因此即便你只有一个节点,Elasticsearch默认也会对你的数据进行分片和副本操作,当你向集群添加新数据时,数据也会在新加入的节点中进行平衡。
(2)创建索引
1)语法
Elasticsearch采用Rest风格API,因此其API就是一次http请求,你可以用任何工具发起http请求
创建索引的请求格式:
-
请求方式:PUT
-
请求路径:/索引库名
-
请求参数:json格式:
{ "settings": { "number_of_shards": 3, "number_of_replicas": 2 } }- settings:索引库的设置
- number_of_shards:分片数量
- number_of_replicas:副本数量
- settings:索引库的设置
2)测试使用kibana创建
PUT /itzheng2
{
    "settings": {
        "number_of_shards": 3,
        "number_of_replicas": 2
      }
}
返回结果
{
  "acknowledged" : true,
  "shards_acknowledged" : true,
  "index" : "itzheng2"
}

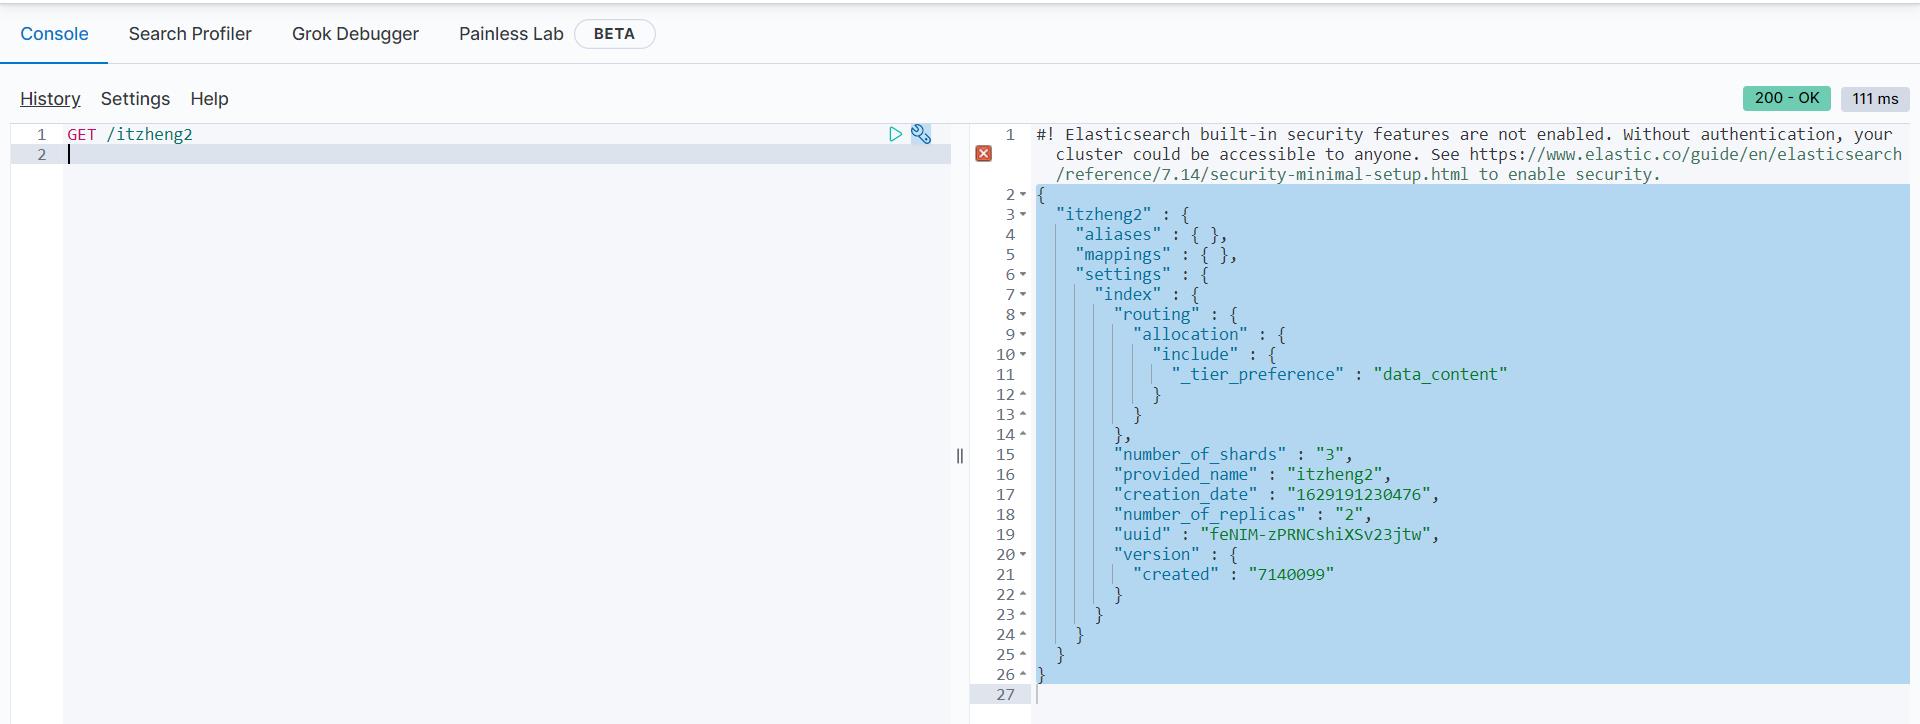
(3)查看索引设置
Get请求可以帮我们查看索引信息,格式:
GET /索引库名
GET /itzheng2
返回结果
{
  "itzheng2" : {
    "aliases" : { },
    "mappings" : { },
    "settings" : {
      "index" : {
        "routing" : {
          "allocation" : {
            "include" : {
              "_tier_preference" : "data_content"
            }
          }
        },
        "number_of_shards" : "3",
        "provided_name" : "itzheng2",
        "creation_date" : "1629191230476",
        "number_of_replicas" : "2",
        "uuid" : "feNIM-zPRNCshiXSv23jtw",
        "version" : {
          "created" : "7140099"
        }
      }
    }
  }
}
(4)删除索引
删除索引使用DELETE请求
语法
DELETE /索引库名
DELETE /itzheng2
{
  "acknowledged" : true
}

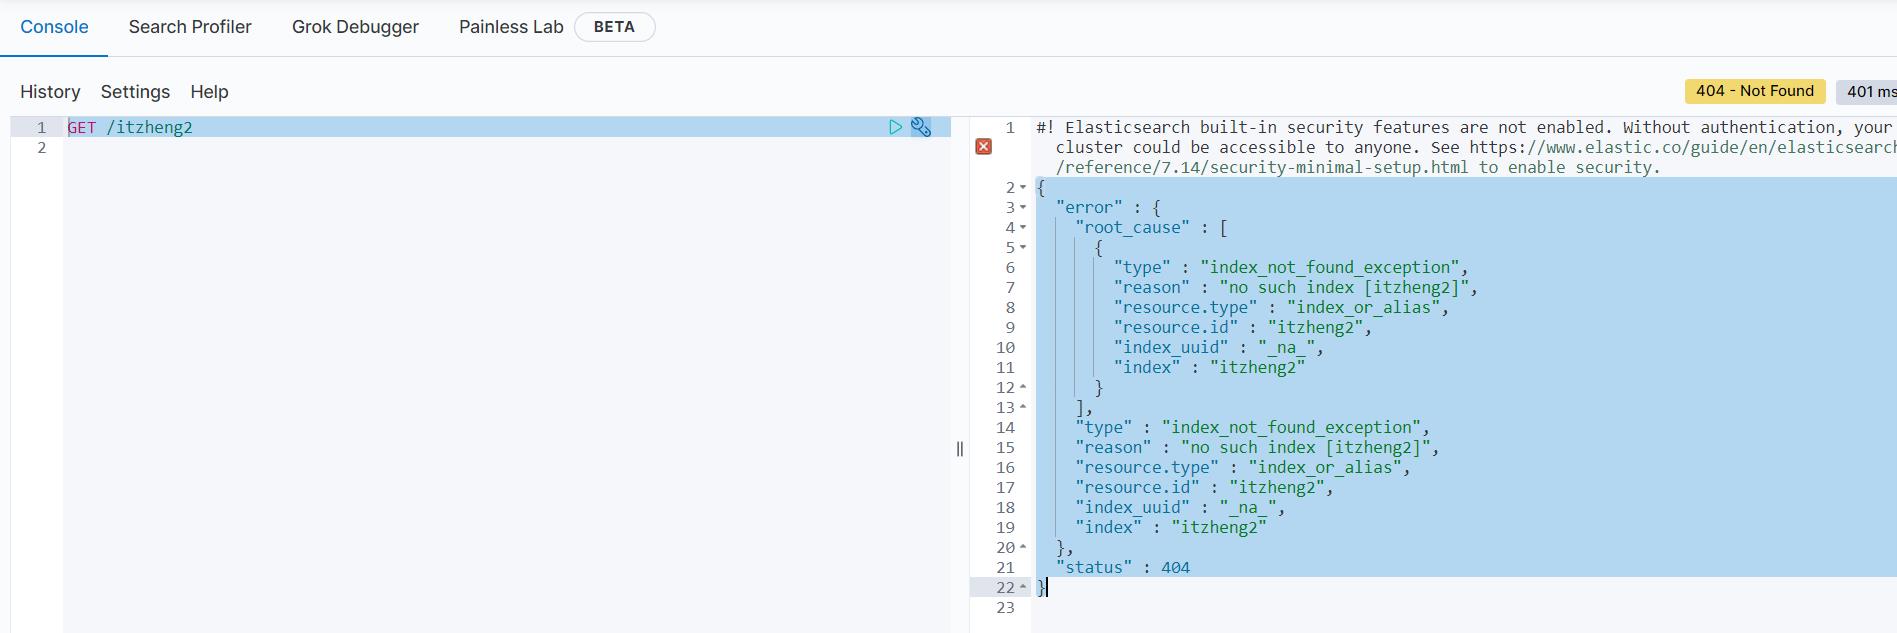
再次查看
GET /itzheng2
返回值
{
  "error" : {
    "root_cause" : [
      {
        "type" : "index_not_found_exception",
        "reason" : "no such index [itzheng2]",
        "resource.type" : "index_or_alias",
        "resource.id" : "itzheng2",
        "index_uuid" : "_na_",
        "index" : "itzheng2"
      }
    ],
    "type" : "index_not_found_exception",
    "reason" : "no such index [itzheng2]",
    "resource.type" : "index_or_alias",
    "resource.id" : "itzheng2",
    "index_uuid" : "_na_",
    "index" : "itzheng2"
  },
  "status" : 404
}
3、映射配置
索引有了,接下来肯定是添加数据。但是,在添加数据之前必须定义映射。
什么是映射?
映射是定义文档的过程,文档包含哪些字段,这些字段是否保存,是否索引,是否分词等
只有配置清楚,Elasticsearch才会帮我们进行索引库的创建(不一定)
(1)创建映射字段
请求方式依然是PUT
PUT /索引库名/_mapping/类型名称
{
  "properties": {
    "字段名": {
      "type": "类型",
      "index": true,
      "store": true,
      "analyzer": "分词器"
    }
  }
}
- 类型名称:就是前面将的type的概念,类似于数据库中的不同表
字段名:任意填写 ,可以指定许多属性,例如: - type:类型,可以是text、long、short、date、integer、object等
- index:是否索引,默认为true
- store:是否存储,默认为false
- analyzer:分词器,这里的
ik_max_word即使用ik分词器
示例
发起请求:
PUT itzheng/_mapping/goods?include_type_name=true
{
  "properties": {
    "title": {
      "type": "text",
      "analyzer": "ik_max_word"
    },
    "images": {
      "type": "keyword",
      "index": "false"
    },
    "price": {
      "type": "float"
    }
  }
}
响应结果:
{
  "acknowledged": true
}

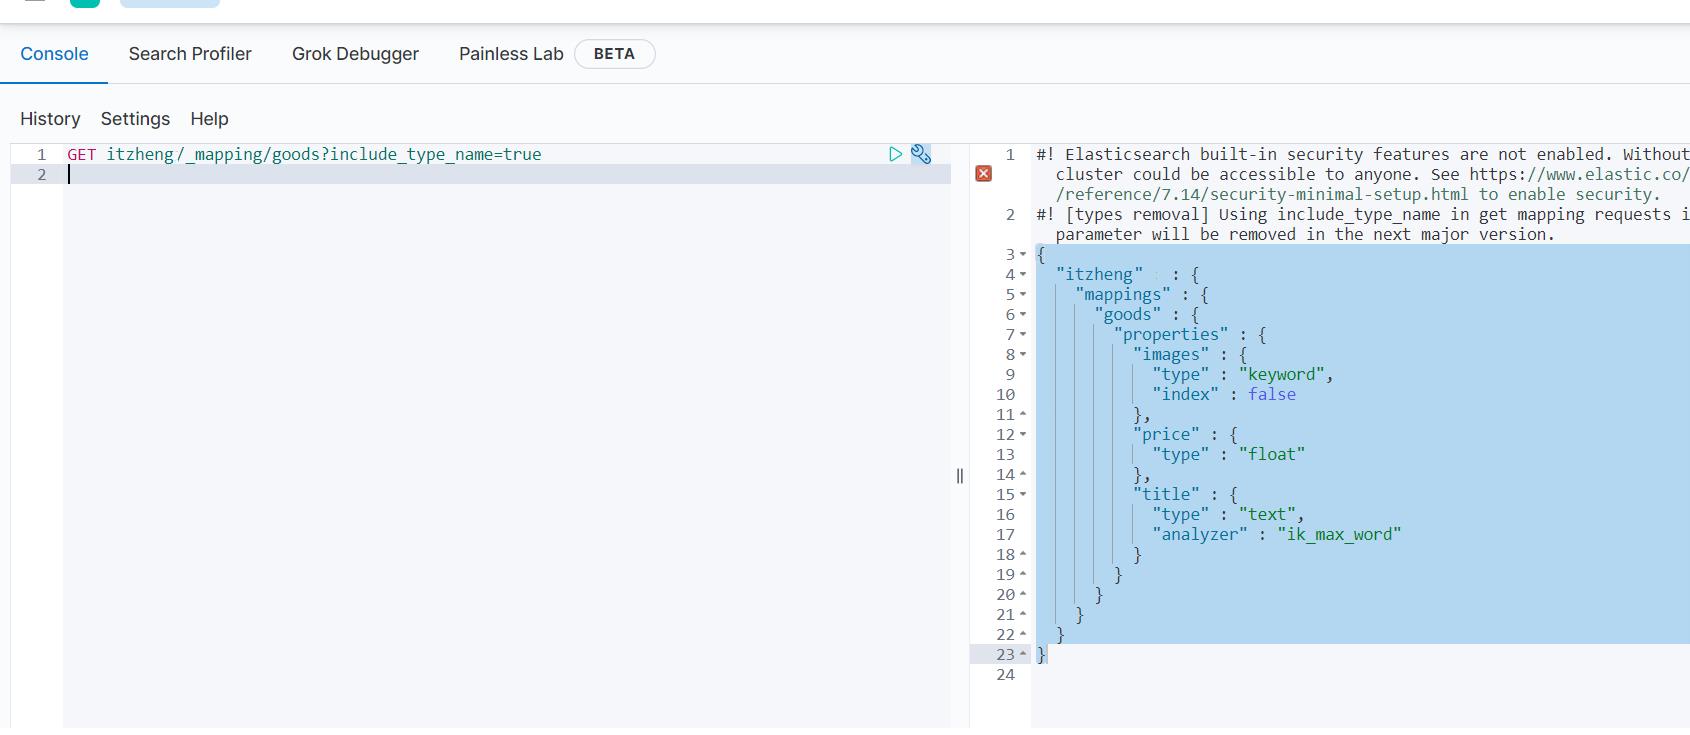
(2)查看映射关系
语法:
GET /索引库名/_mapping
示例:
GET itzheng11/_mapping/goods?include_type_name=true
响应:
{
  "itzheng" : {
    "mappings" : {
      "goods" : {
        "properties" : {
          "images" : {
            "type" : "keyword",
            "index" : false
          },
          "price" : {
            "type" : "float"
          },
          "title" : {
            "type" : "text",
            "analyzer" : "ik_max_word"
          }
        }
      }
    }
  }
}
(3)字段属性详解
1)type
Elasticsearch中支持的数据类型非常丰富:
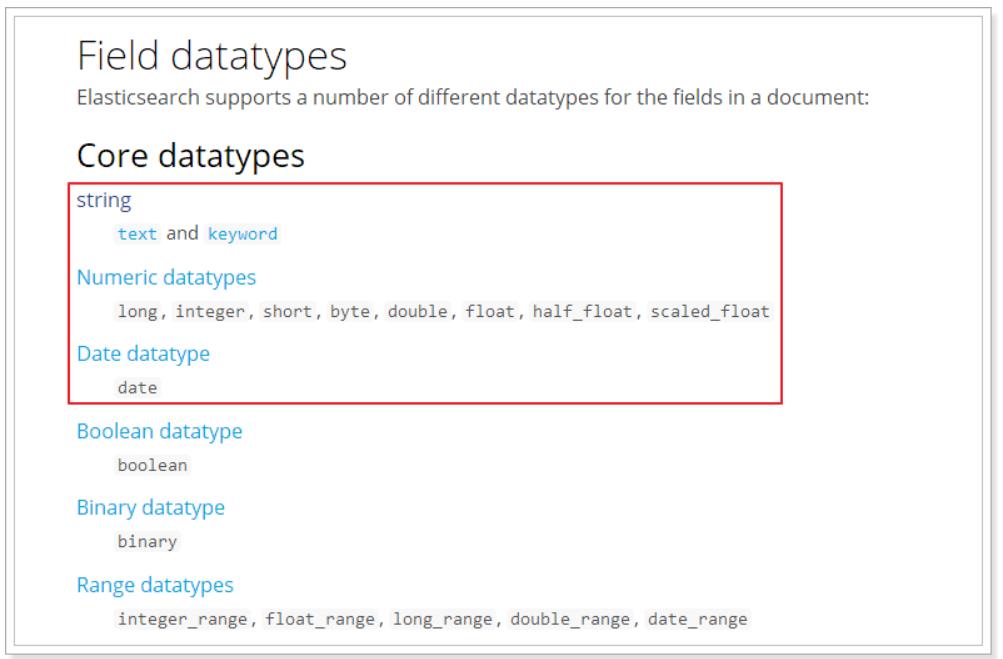
我们说几个关键的:
-
String类型,又分两种:
- text:可分词,不可参与聚合
- keyword:不可分词,数据会作为完整字段进行匹配,可以参与聚合
-
Numerical:数值类型,分两类
- 基本数据类型:long、interger、short、byte、double、float、half_float
- 浮点数的高精度类型:scaled_float
- 需要指定一个精度因子,比如10或100。elasticsearch会把真实值乘以这个因子后存储,取出时再还原。
-
Date:日期类型
elasticsearch可以对日期格式化为字符串存储,但是建议我们存储为毫秒值,存储为long,节省空间。
2)index
index影响字段的索引情况。
- true:字段会被索引,则可以用来进行搜索。默认值就是true
- false:字段不会被索引,不能用来搜索
index的默认值就是true,也就是说你不进行任何配置,所有字段都会被索引。
但是有些字段是我们不希望被索引的,比如商品的图片信息,就需要手动设置index为false。
3)store
是否将数据进行额外存储。
在学习lucene和solr时,我们知道如果一个字段的store设置为false,那么在文档列表中就不会有这个字段的值,用户的搜索结果中不会显示出来。
但是在Elasticsearch中,即便store设置为false,也可以搜索到结果。
原因是Elasticsearch在创建文档索引时,会将文档中的原始数据备份,保存到一个叫做_source的属性中。而且我们可以通过过滤_source来选择哪些要显示,哪些不显示。
而如果设置store为true,就会在_source以外额外存储一份数据,多余,因此一般我们都会将store设置为false,事实上,store的默认值就是false。
4)boost
激励因子,这个与lucene中一样
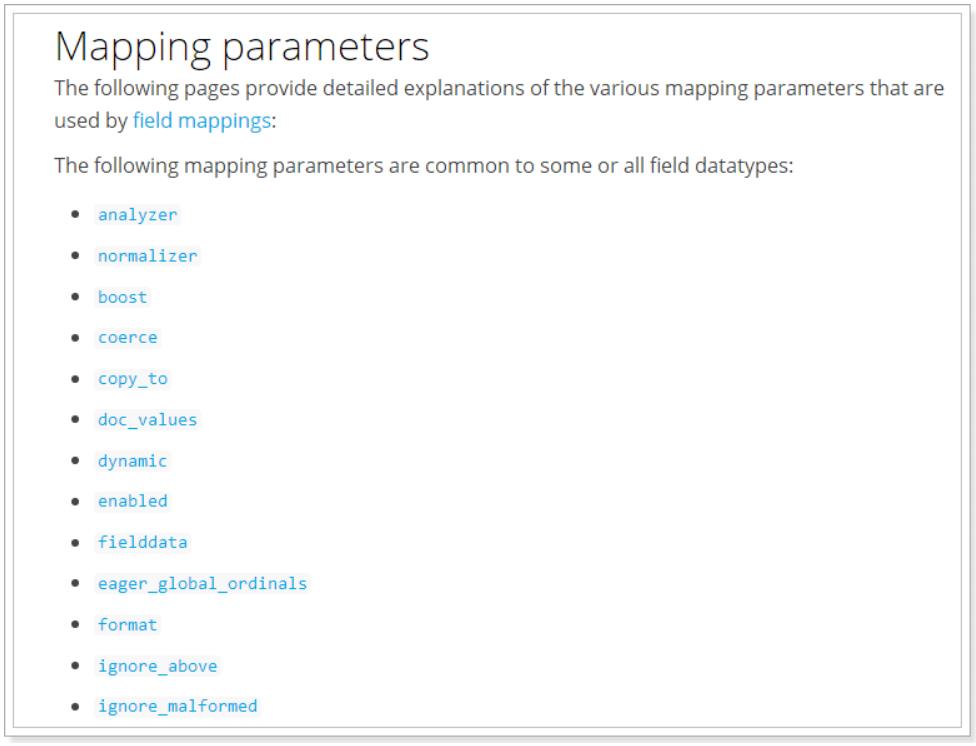
其它的不再一一讲解,用的不多,大家参考官方文档:
4、新增数据
通过POST请求,可以向一个已经存在的索引库中添加数据。
语法:
POST /索引库名/类型名
{
    "key":"value"
}
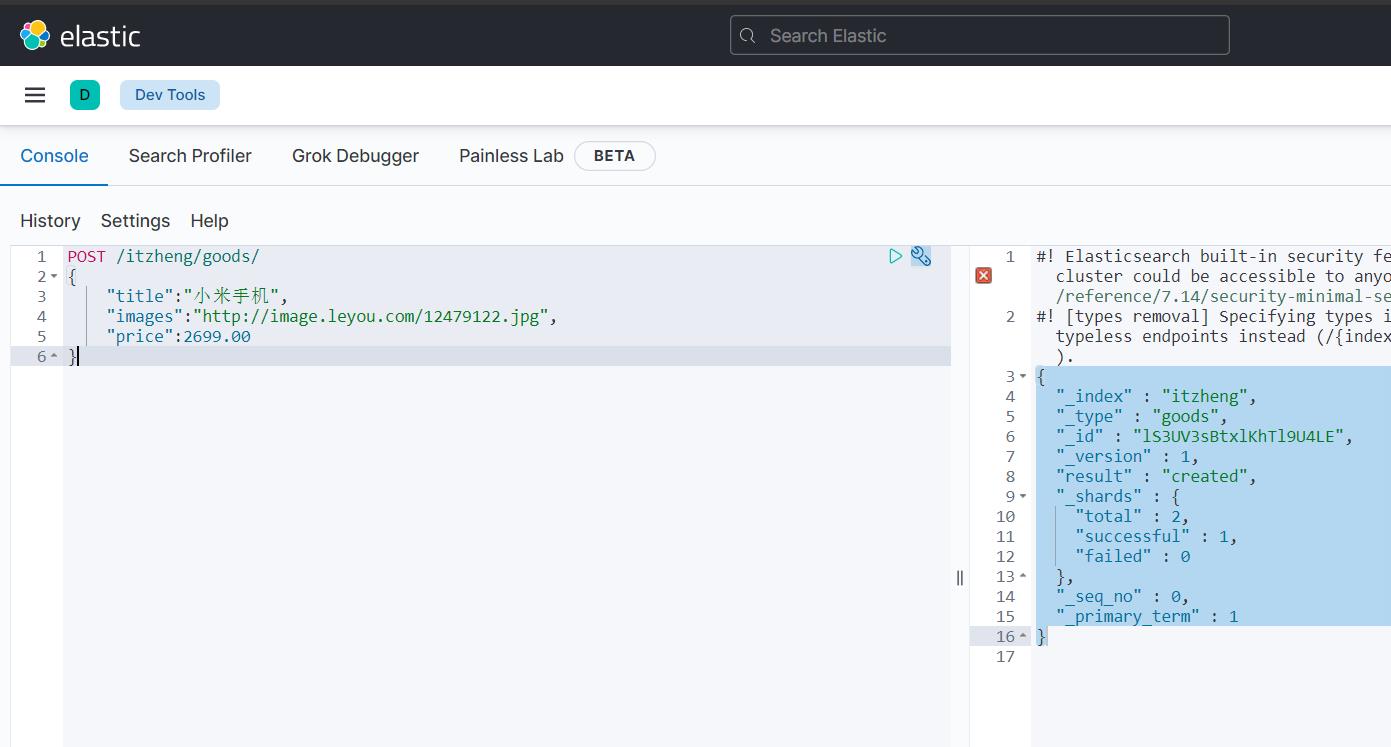
示例:
POST /itzheng/goods/
{
    "title":"小米手机",
    "images":"http://image.leyou.com/12479122.jpg",
    "price":2699.00
}
响应:
{
  "_index" : "itzheng",
  "_type" : "goods",
  "_id" : "lS3UV3sBtxlKhTl9U4LE",
  "_version" : 1,
  "result" : "created",
  "_shards" : {
    "total" : 2,
    "successful" : 1,
    "failed" : 0
  },
  "_seq_no" : 0,
  "_primary_term" : 1
}
再次 添加一组数据
```json
POST /itzheng/goods/1
{
    "title":"红米手机",
    "images":"http://image.leyou.com/12479122.jpg",
    "price":2699.00
}
通过kibana查看数据:
GET /itzheng/_search
{
  "query": { "match_all": {} }
}
{
  "took" : 981,
  "timed_out" : false,
  "_shards" : {
    "total" : 1,
    "successful" : 1,
    "skipped" : 0,
    "failed" : 0
  },
  "hits" : {
    "total" : {
      "value" : 2,
      "relation" : "eq"
    },
    "max_score" : 1.0,
    "hits" : [
      {
        "_index" : "itzheng",
        "_type" : "goods",
        "_id" : "lS3UV3sBtxlKhTl9U4LE",
        "_score" : 1.0,
        "_source" : {
          "title" : "小米手机",
          "images" : "http://image.leyou.com/12479122.jpg",
          "price" : 2699.0
        }
      },
      {
        "_index" : "itzheng",
        "_type" : "goods",
        "_id" : "1",
        "_score" : 1.0,
        "_source" : {
          "title" : "红米手机",
          "images" : "http://image.leyou.com/12479122.jpg",
          "price" : 1699.0
        }
      }
    ]
  }
}
_source:源文档信息,所有的数据都在里面。_id:这条文档的唯一标示,与文档自己的id字段没有关联
(1)自定义id
如果我们想要自己新增的时候指定id,可以这么做:
POST /索引库名/类型/id值
{
    ...
}
示例:
POST /itzheng/goods/2
{
    "title":"大米手机",
    "images":"http://image.leyou.com/12479122.jpg",
    "price":2899.00
}
得到的数据:
{
  "_index": "heima",
  "_type": "goods",
  以上是关于Elasticsearch全文检索技术 一篇文章即可从入门到精通(Elasticsearch安装,安装kibana,安装ik分词器,数据的增删改查,全文检索查询,聚合aggregations)(代码片的主要内容,如果未能解决你的问题,请参考以下文章