[Yocto]快速开始
Posted jiangwei0512
tags:
篇首语:本文由小常识网(cha138.com)小编为大家整理,主要介绍了[Yocto]快速开始相关的知识,希望对你有一定的参考价值。
说明
本章将通过具体的操作构建(Build)一个名为Poky的嵌入式系统,在此基础上再介绍如何根据特定的硬件来配置构建过程。
环境要求
为了完成构建,需要准备一个构建环境(Build Host),这里使用Ubuntu 18.04作为构建环境。
构建环境要求如下:
- 50G以上的空间(是的,构建过程需要花费很大的空间);
- 支持构建的操作系统(这里使用的Ubuntu18.04就是支持的);
- Git、tar、Python、gcc等工具(这里不指定版本了,因为构建系统源代码一直在更新,需要根据实际的源代码设定)。
环境准备
主要是需要在构建环境中安装一些工具,具体如下:
sudo apt install gawk wget git-core diffstat unzip texinfo gcc-multilib build-essential chrpath socat cpio python python3 python3-pip python3-pexpect xz-utils debianutils iputils-ping
有些工具可能原本就已经安装过了,不过再次安装也不会有什么影响,直接执行命令即可。
下载源码
“源码”这个词可能会让人误解,这里要下载的是Poky构建系统的源码,而不是构建Poky系统本身需要的源码(这些源码将在构建过程中下载)。可以使用前面下载的git工具来下载“源码”,具体命令如下:
git clone git://git.yoctoproject.org/poky
不过使用这个链接下载会比较慢,所以这里上传了Gitee,可以使用如下的命令:
git clone https://gitee.com/mirrors/poky.git
之后代码会被下载到poky目录。
构建
首先进入poky目录,执行source oe-init-build-env初始化构建环境:
jw@X1C:~/code/poky$ source oe-init-build-env
You had no conf/local.conf file. This configuration file has therefore been
created for you with some default values. You may wish to edit it to, for
example, select a different MACHINE (target hardware). See conf/local.conf
for more information as common configuration options are commented.

You had no conf/bblayers.conf file. This configuration file has therefore been
created for you with some default values. To add additional metadata layers
into your configuration please add entries to conf/bblayers.conf.

The Yocto Project has extensive documentation about OE including a reference
manual which can be found at:
 http://yoctoproject.org/documentation

For more information about OpenEmbedded see their website:
 http://www.openembedded.org/


### Shell environment set up for builds. ###

You can now run 'bitbake <target>'

Common targets are:
 core-image-minimal
 core-image-full-cmdline
 core-image-sato
 core-image-weston
 meta-toolchain
 meta-ide-support

You can also run generated qemu images with a command like 'runqemu qemux86'

Other commonly useful commands are:

 - 'devtool' and 'recipetool' handle common recipe tasks
 - 'bitbake-layers' handles common layer tasks
 - 'oe-pkgdata-util' handles common target package tasks
这里显示的内容中包含了下一步可以做什么,就是Common targets are:下的内容,它们其实来自conf-notes.txt 文件,这个文件来自具体meta-X下的conf目录。
执行脚本之后,poky下会多一个build目录,并且已经进入了该目录。之后的构建都在这个目录下进行,它通过变量TOPDIR来指定。不过当前里面只有一个conf目录:

它们的内容如下(有删除无用的信息,并添加部分注释):
bblayers.conf:
# POKY_BBLAYERS_CONF_VERSION is increased each time build/conf/bblayers.conf changes incompatibly
POKY_BBLAYERS_CONF_VERSION = "2"
# 就是构建目录(Build Directory),默认就是build目录,也可由前面的source命令的第二个参数指定
BBPATH = "${TOPDIR}"
BBFILES ?= ""
# 以下的目录都在poky中存在,可以通过bitbake-layers编辑
BBLAYERS ?= " \\
  /home/jw/code/poky/meta \\
  /home/jw/code/poky/meta-poky \\
  /home/jw/code/poky/meta-yocto-bsp \\
  "
local.conf:
MACHINE ??= "qemux86-64"
DISTRO ?= "poky"
PACKAGE_CLASSES ?= "package_rpm"
EXTRA_IMAGE_FEATURES ?= "debug-tweaks"
USER_CLASSES ?= "buildstats image-mklibs image-prelink"
PATCHRESOLVE = "noop"
BB_DISKMON_DIRS ??= "\\
    STOPTASKS,${TMPDIR},1G,100K \\
    STOPTASKS,${DL_DIR},1G,100K \\
    STOPTASKS,${SSTATE_DIR},1G,100K \\
    STOPTASKS,/tmp,100M,100K \\
    ABORT,${TMPDIR},100M,1K \\
    ABORT,${DL_DIR},100M,1K \\
    ABORT,${SSTATE_DIR},100M,1K \\
    ABORT,/tmp,10M,1K"
PACKAGECONFIG_append_pn-qemu-system-native = " sdl"
CONF_VERSION = "1"
templateconf.cfg:
meta-poky/conf
上述的conf文件将在以后介绍,这里不作说明。
oe-init-build-env脚本的另外一个作用就是将scripts/(实际上oe-init-build-env脚本就会调用scripts目录下的脚本)和bitbake/bin/目录加入的Shell的PATH环境变量中,这样就可以执行bitbake命令了。
之后就可以进行构建了,构建使用的就是bitbake命令,后接目标参数,这个参数就是执行oe-init-build-env时打印的值:
core-image-minimal
core-image-full-cmdline
core-image-sato
core-image-weston
meta-toolchain
meta-ide-support
这里选择ore-image-sato(也可以是core-image-minimal,构建会更快一些)这个目标进行构建,过程如下:
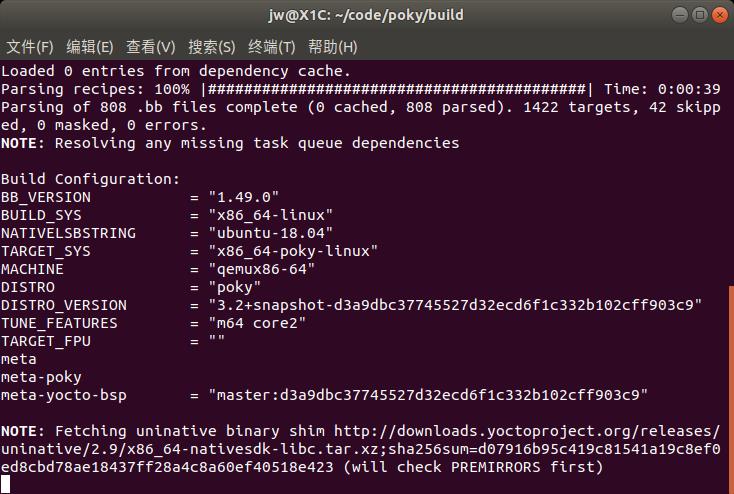
上图做的事情是Fetching,即下载真正的源代码,由于网络的问题,这个过程需要花很长的时间,需耐心等待。下载完成之后就执行打补丁、配置、编译和安装等操作:
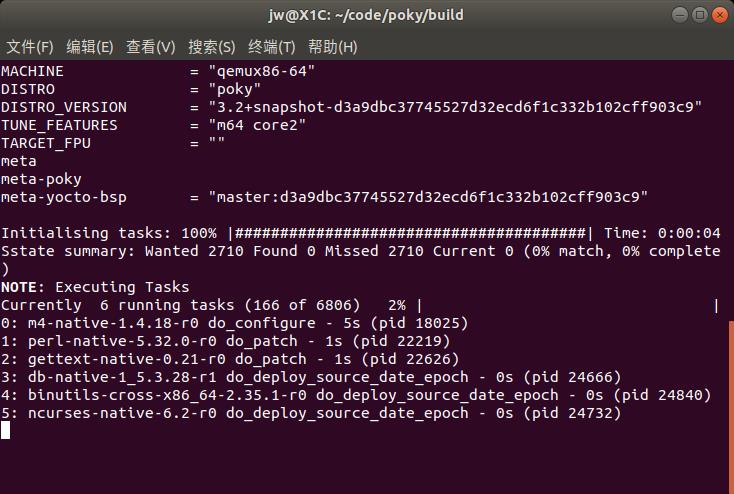
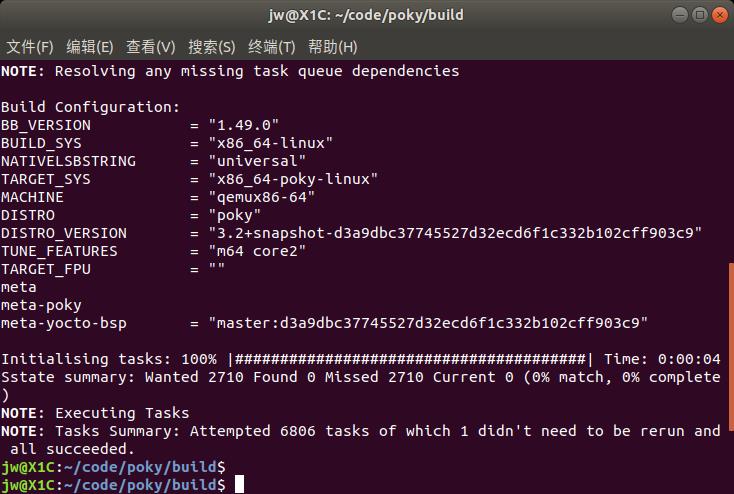
这个过程就看电脑速度了,其中需要注意的是中间的进度条,可以看到这里有6806个任务需要执行,执行完成之后才会进行后续的打包安装等操作,总之在等待了很长时间之后,构建完成:
之后使用QEMU来启动构建好的镜像,命令如下:
runqemu qemux86-64
执行结果如下:
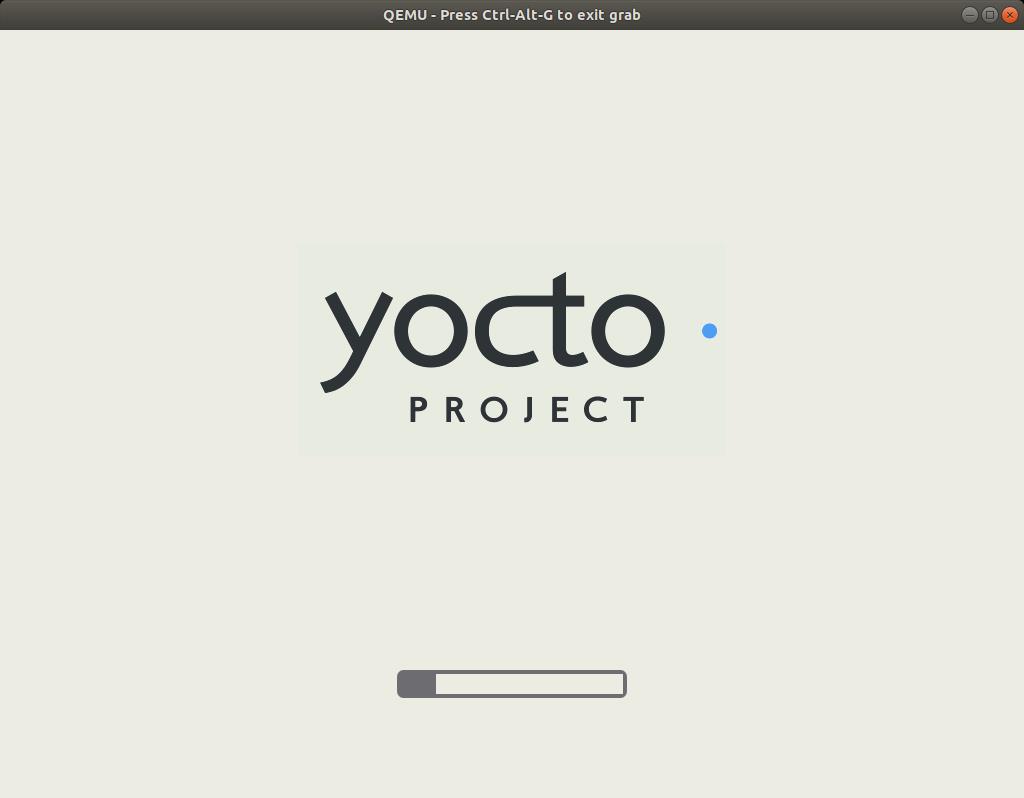
不过使用这个版本会比较很卡,目前不知道原因,这个时候可以尝试构建core-image-minimal,结果如下:
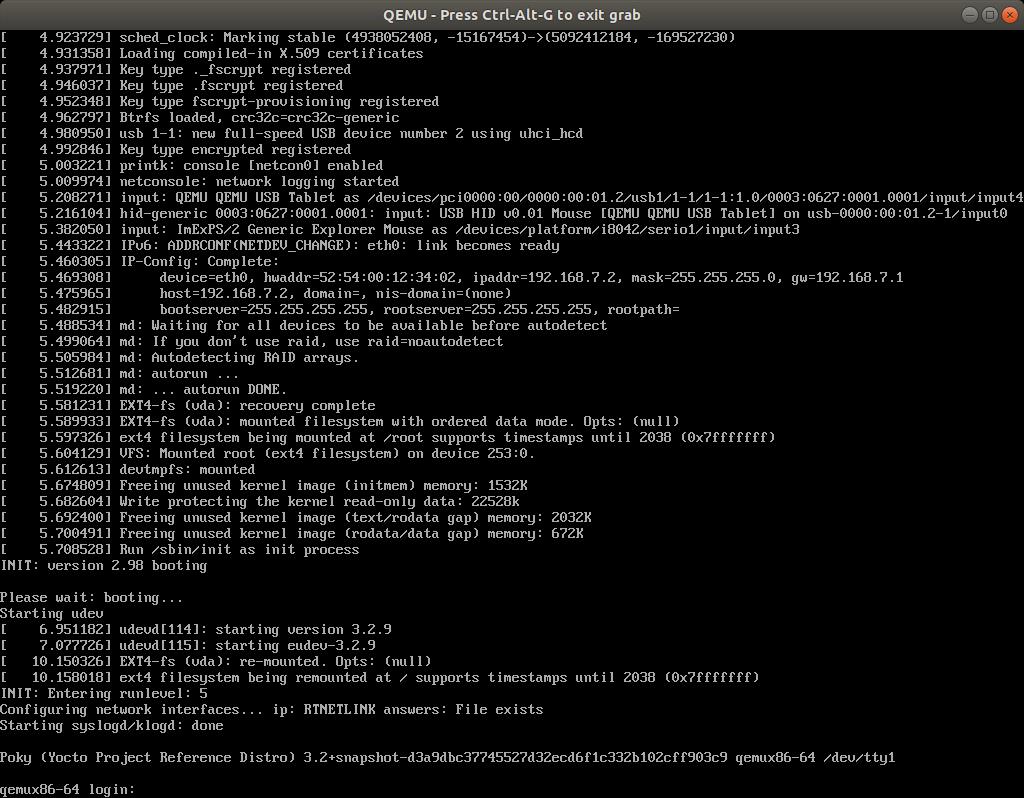
使用root即可登录操作。
根据特定硬件自定义构建
前面的Poky可以构建的系统是固定的,只有前面显示的那几个。但是它其实支持非常多的系统,只要定义好自己的元数据(meta-data)即可。这样的元数据通常是一个以meta-开头的文件夹,它被称为一个Layer。可以在很多地方下载到开源的Layer,比如https://github.com/kraj/meta-altera.git,可以将其下载到Poky目录下:
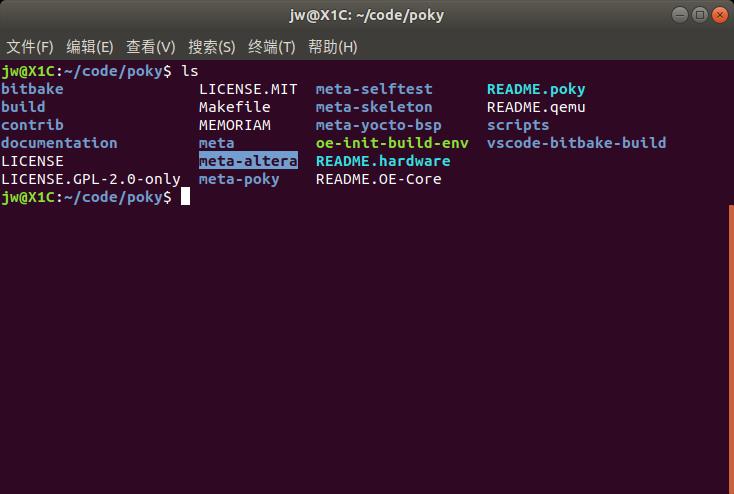
有了它,我们就可以通过bitbake来构建新的系统,不过在此之前还有需要的操作:
- 修改build/conf/local.conf文件中的
MACHINE参数:
# MACHINE ??= "qemux86-64"
MACHINE ??= "cyclone5"
MACHINE的名称可以在meta-xxx/conf/machine目录下找到,它们通常也是一个个的conf文件。
- 通过
bitbake-layers add-layer增加新的Layer:
jw@X1C:~/code/poky$ source oe-init-build-env
jw@X1C:~/code/poky/build$ bitbake-layers add-layer …/meta-altera/
NOTE: Starting bitbake server…
该操作实际修改的是build/conf/bblayers.conf:
BBLAYERS ?= " \\
  /home/jw/code/poky/meta \\
  /home/jw/code/poky/meta-poky \\
  /home/jw/code/poky/meta-yocto-bsp \\
  /home/jw/code/poky/meta-altera \\
  "
可以看到多了一行/home/jw/code/poky/meta-altera。
之后再执行bitbake core-image-minimal,会有新的构建过程:
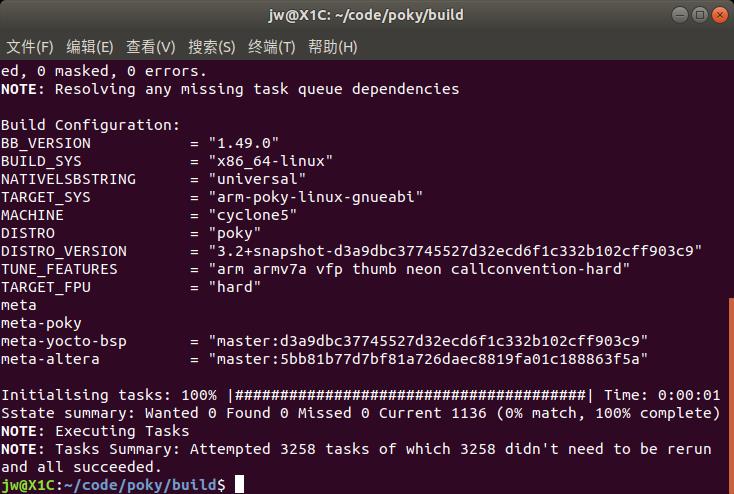
经过又一轮的下载、打补丁、编译、安装之后,构建成功:
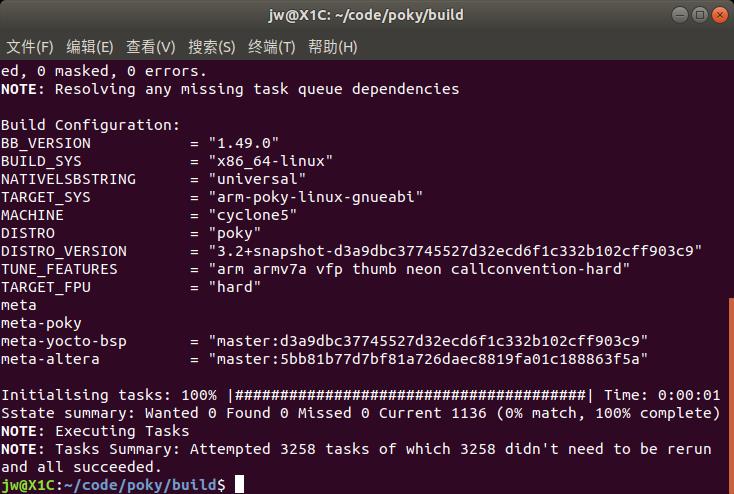
得到两份镜像:
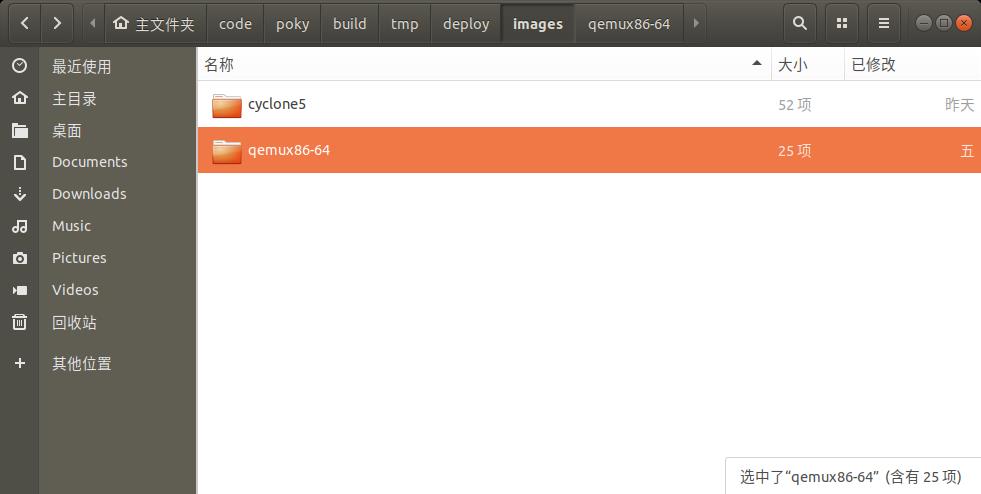
以上只是使用其它特定硬件构建的一个示例,如果后续想要改回原来的构建,只需要将local.cong中的MACHINE改回原来的参数即可。
创建自己的Layer
除了从其它地方获取Layer,当然还可以创建自己的Layer,同样可以通过bitbake-layers工具:
jw@X1C:~/code/poky$ bitbake-layers create-layer meta-mylayer
NOTE: Starting bitbake server...
Add your new layer with 'bitbake-layers add-layer meta-mylayer'
这里就是创建了一个新的目录meta-mylayer,里面有若干的默认文件:
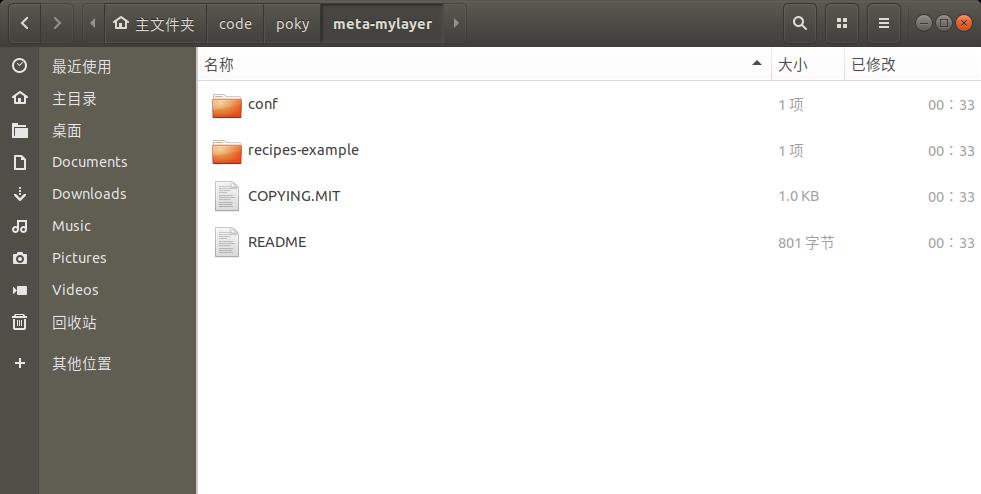
之后还是可以将创建的Layer添加到原有的Layer中:
jw@X1C:~/code/poky/build$ bitbake-layers add-layer ../meta-mylayer
NOTE: Starting bitbake server...
注意必须在build目录下执行该操作,否则会报错找不到bblayers.conf。执行成功之后在bblayers.conf文件中就又多了一行:
BBLAYERS ?= " \\
  /home/jw/code/poky/meta \\
  /home/jw/code/poky/meta-poky \\
  /home/jw/code/poky/meta-yocto-bsp \\
  /home/jw/code/poky/meta-altera \\
  /home/jw/code/poky/meta-mylayer \\
  "
也可以通bitbake-layers查看:
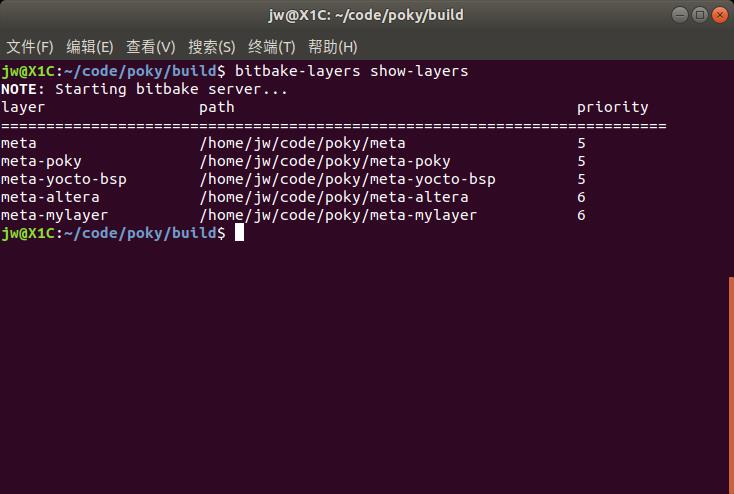
目前还不知道如何使用这个Layer,后续会进一步说明。
以上是关于[Yocto]快速开始的主要内容,如果未能解决你的问题,请参考以下文章