Qt-demo-affine
Posted COCO_PEAK_NOODLE
tags:
篇首语:本文由小常识网(cha138.com)小编为大家整理,主要介绍了Qt-demo-affine相关的知识,希望对你有一定的参考价值。
这个demo告诉我们通过使用painter可以画出任何想要的效果
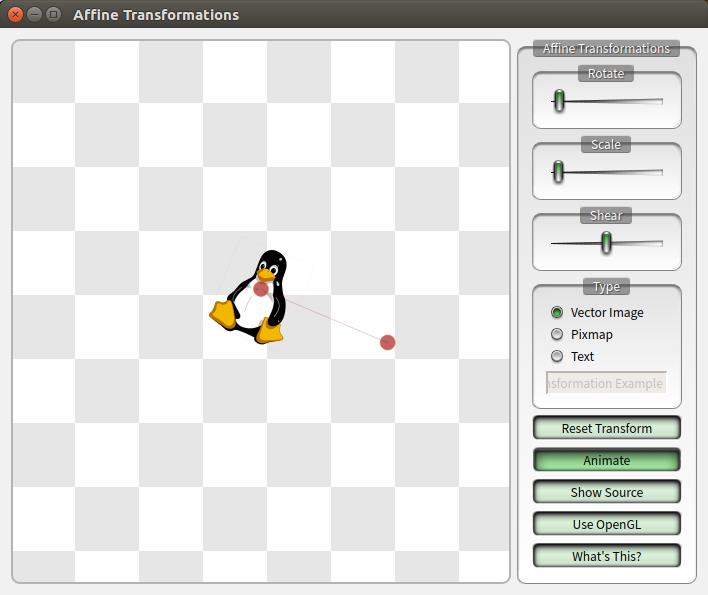
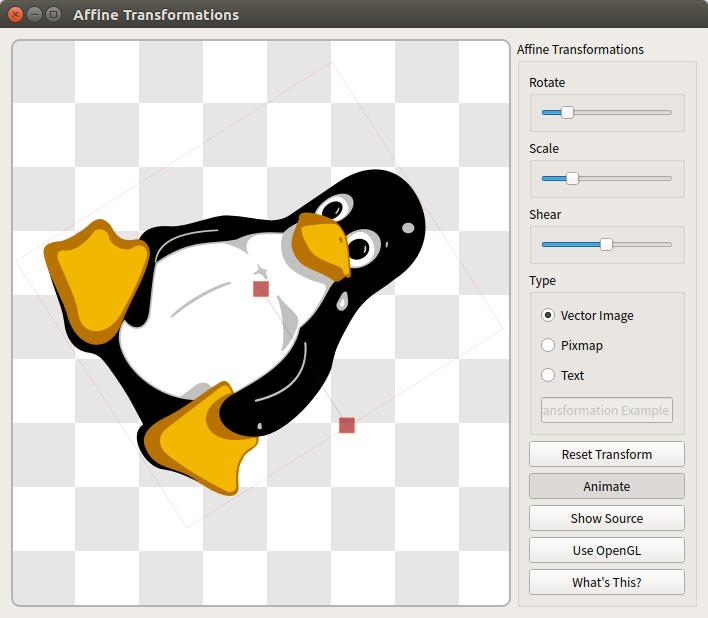
先来张图

上面这个红点,作者通过重载EventFiler实现了通过操纵红点来转转平移图像
这里面主要要学习的类
1-QPainter(感觉要学好要花时间)
2-QCommonStyle(有点类似java中的css)
3-QWidget(重载paintEvent)
不使用新样式的界面

使用新样式只要加载就可以,还可以遍历让所有子模块也加载样式
    QStyle *arthurStyle = new ArthurStyle();
    xformWidget.setStyle(arthurStyle);

    QList<QWidget *> widgets = xformWidget.findChildren<QWidget *>();
    foreach (QWidget *w, widgets) {
        w->setStyle(arthurStyle);
        w->setAttribute(Qt::WA_AcceptTouchEvents);
    }
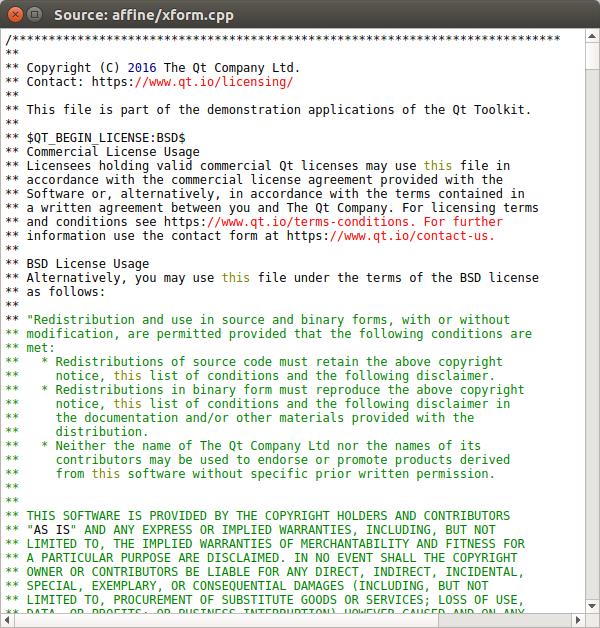
如何把代码显示出来,作者的操作也是666,效果代码如下,反正要我写估计很难

代码实现,这些红红绿绿的,作者是在代码里实现的
void ArthurFrame::showSource()
{
// Check for existing source
if (findChild<QTextBrowser *>())
return;
QString contents;
if (m_sourceFileName.isEmpty()) {
contents = QString("No source for widget: '%1'").arg(objectName());
} else {
QFile f(m_sourceFileName);
if (!f.open(QFile::ReadOnly))
contents = QString("Could not open file: '%1'").arg(m_sourceFileName);
else
contents = f.readAll();
}
contents.replace('&', "&");
contents.replace('<', "<");
contents.replace('>', ">");
QStringList keywords;
keywords << "for " << "if " << "switch " << " int " << "#include " << "const"
<< "void " << "uint " << "case " << "double " << "#define " << "static"
<< "new" << "this";
foreach (QString keyword, keywords)
contents.replace(keyword, QLatin1String("<font color=olive>") + keyword + QLatin1String("</font>"));
contents.replace("(int ", "(<font color=olive><b>int </b></font>");
QStringList ppKeywords;
ppKeywords << "#ifdef" << "#ifndef" << "#if" << "#endif" << "#else";
foreach (QString keyword, ppKeywords)
contents.replace(keyword, QLatin1String("<font color=navy>") + keyword + QLatin1String("</font>"));
contents.replace(QRegExp("(\\\\d\\\\d?)"), QLatin1String("<font color=navy>\\\\1</font>"));
QRegExp commentRe("(//.+)\\\\n");
commentRe.setMinimal(true);
contents.replace(commentRe, QLatin1String("<font color=red>\\\\1</font>\\n"));
QRegExp stringLiteralRe("(\\".+\\")");
stringLiteralRe.setMinimal(true);
contents.replace(stringLiteralRe, QLatin1String("<font color=green>\\\\1</font>"));
QString html = contents;
html.prepend("<html><pre>");
html.append("</pre></html>");
QTextBrowser *sourceViewer = new QTextBrowser(0);
sourceViewer->setWindowTitle("Source: " + m_sourceFileName.mid(5));
sourceViewer->setParent(this, Qt::Dialog);
sourceViewer->setAttribute(Qt::WA_DeleteOnClose);
sourceViewer->setLineWrapMode(QTextEdit::NoWrap);
sourceViewer->setHtml(html);
sourceViewer->resize(600, 600);
sourceViewer->show();
}
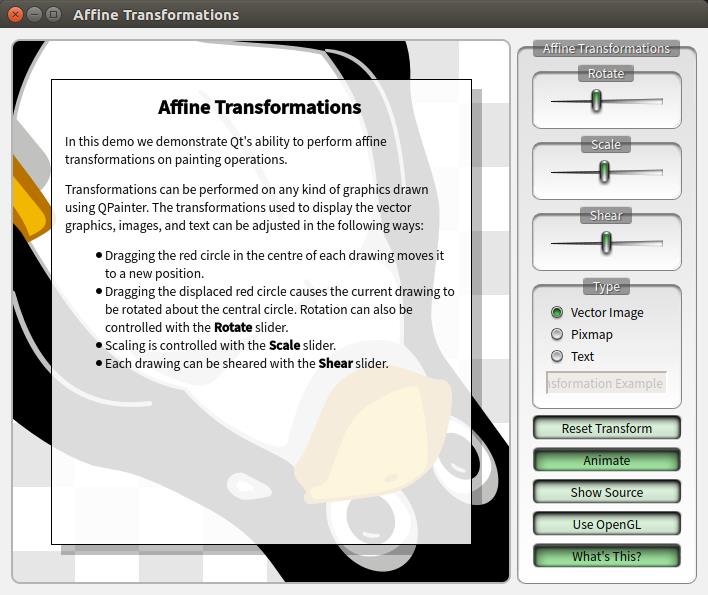
最后还有一个What This,这个是画出来的而不是一张图片或者一个显现模块,效果和代码如下

代码实现
void ArthurFrame::paintDescription(QPainter *painter)
{
    if (!m_document)
        return;

    int pageWidth = qMax(width() - 100, 100);
    int pageHeight = qMax(height() - 100, 100);
    if (pageWidth != m_document->pageSize().width()) {
        m_document->setPageSize(QSize(pageWidth, pageHeight));
    }

    QRect textRect(width() / 2 - pageWidth / 2,
                   height() / 2 - pageHeight / 2,
                   pageWidth,
                   pageHeight);
    int pad = 10;
    QRect clearRect = textRect.adjusted(-pad, -pad, pad, pad);
    painter->setPen(Qt::NoPen);
    painter->setBrush(QColor(0, 0, 0, 63));
    int shade = 10;
    painter->drawRect(clearRect.x() + clearRect.width() + 1,
                      clearRect.y() + shade,
                      shade,
                      clearRect.height() + 1);
    painter->drawRect(clearRect.x() + shade,
                      clearRect.y() + clearRect.height() + 1,
                      clearRect.width() - shade + 1,
                      shade);

    painter->setRenderHint(QPainter::Antialiasing, false);
    painter->setBrush(QColor(255, 255, 255, 220));
    painter->setPen(Qt::black);
    painter->drawRect(clearRect);

    painter->setClipRegion(textRect, Qt::IntersectClip);
    painter->translate(textRect.topLeft());

    QAbstractTextDocumentLayout::PaintContext ctx;

    QLinearGradient g(0, 0, 0, textRect.height());
    g.setColorAt(0, Qt::black);
    g.setColorAt(0.9, Qt::black);
    g.setColorAt(1, Qt::transparent);

    QPalette pal = palette();
    pal.setBrush(QPalette::Text, g);

    ctx.palette = pal;
    ctx.clip = QRect(0, 0, textRect.width(), textRect.height());
    m_document->documentLayout()->draw(painter, ctx);
}
Qt很强大,学好感觉可以去改变世界了
最后最关键的是,这些动态画面是如何现实的,其实是一个定时器实时画出来的,通过重载实现的。
void paintEvent(QPaintEvent *) Q_DECL_OVERRIDE;
还有这个红点是如何和主界面产生联系的,仔细观察发现是它安装了主界面的事件过滤器,代码如下:
这是构造:
pts = new HoverPoints(this, HoverPoints::CircleShape);
这是构造函数:
HoverPoints::HoverPoints(QWidget *widget, PointShape shape)
    : QObject(widget)
{
    m_widget = widget;
    //这句很关键    //这句很关键    //这句很关键
    widget->installEventFilter(this);
    widget->setAttribute(Qt::WA_AcceptTouchEvents);

    m_connectionType = CurveConnection;
    m_sortType = NoSort;
    m_shape = shape;
    m_pointPen = QPen(QColor(255, 255, 255, 191), 1);
    m_connectionPen = QPen(QColor(255, 255, 255, 127), 2);
    m_pointBrush = QBrush(QColor(191, 191, 191, 127));
    m_pointSize = QSize(11, 11);
    m_currentIndex = -1;
    m_editable = true;
    m_enabled = true;

    connect(this, SIGNAL(pointsChanged(QPolygonF)),
            m_widget, SLOT(update()));
}
以上是关于Qt-demo-affine的主要内容,如果未能解决你的问题,请参考以下文章