swift使用AVFoundation实现自定义相机
Posted hequnwang10
tags:
篇首语:本文由小常识网(cha138.com)小编为大家整理,主要介绍了swift使用AVFoundation实现自定义相机相关的知识,希望对你有一定的参考价值。
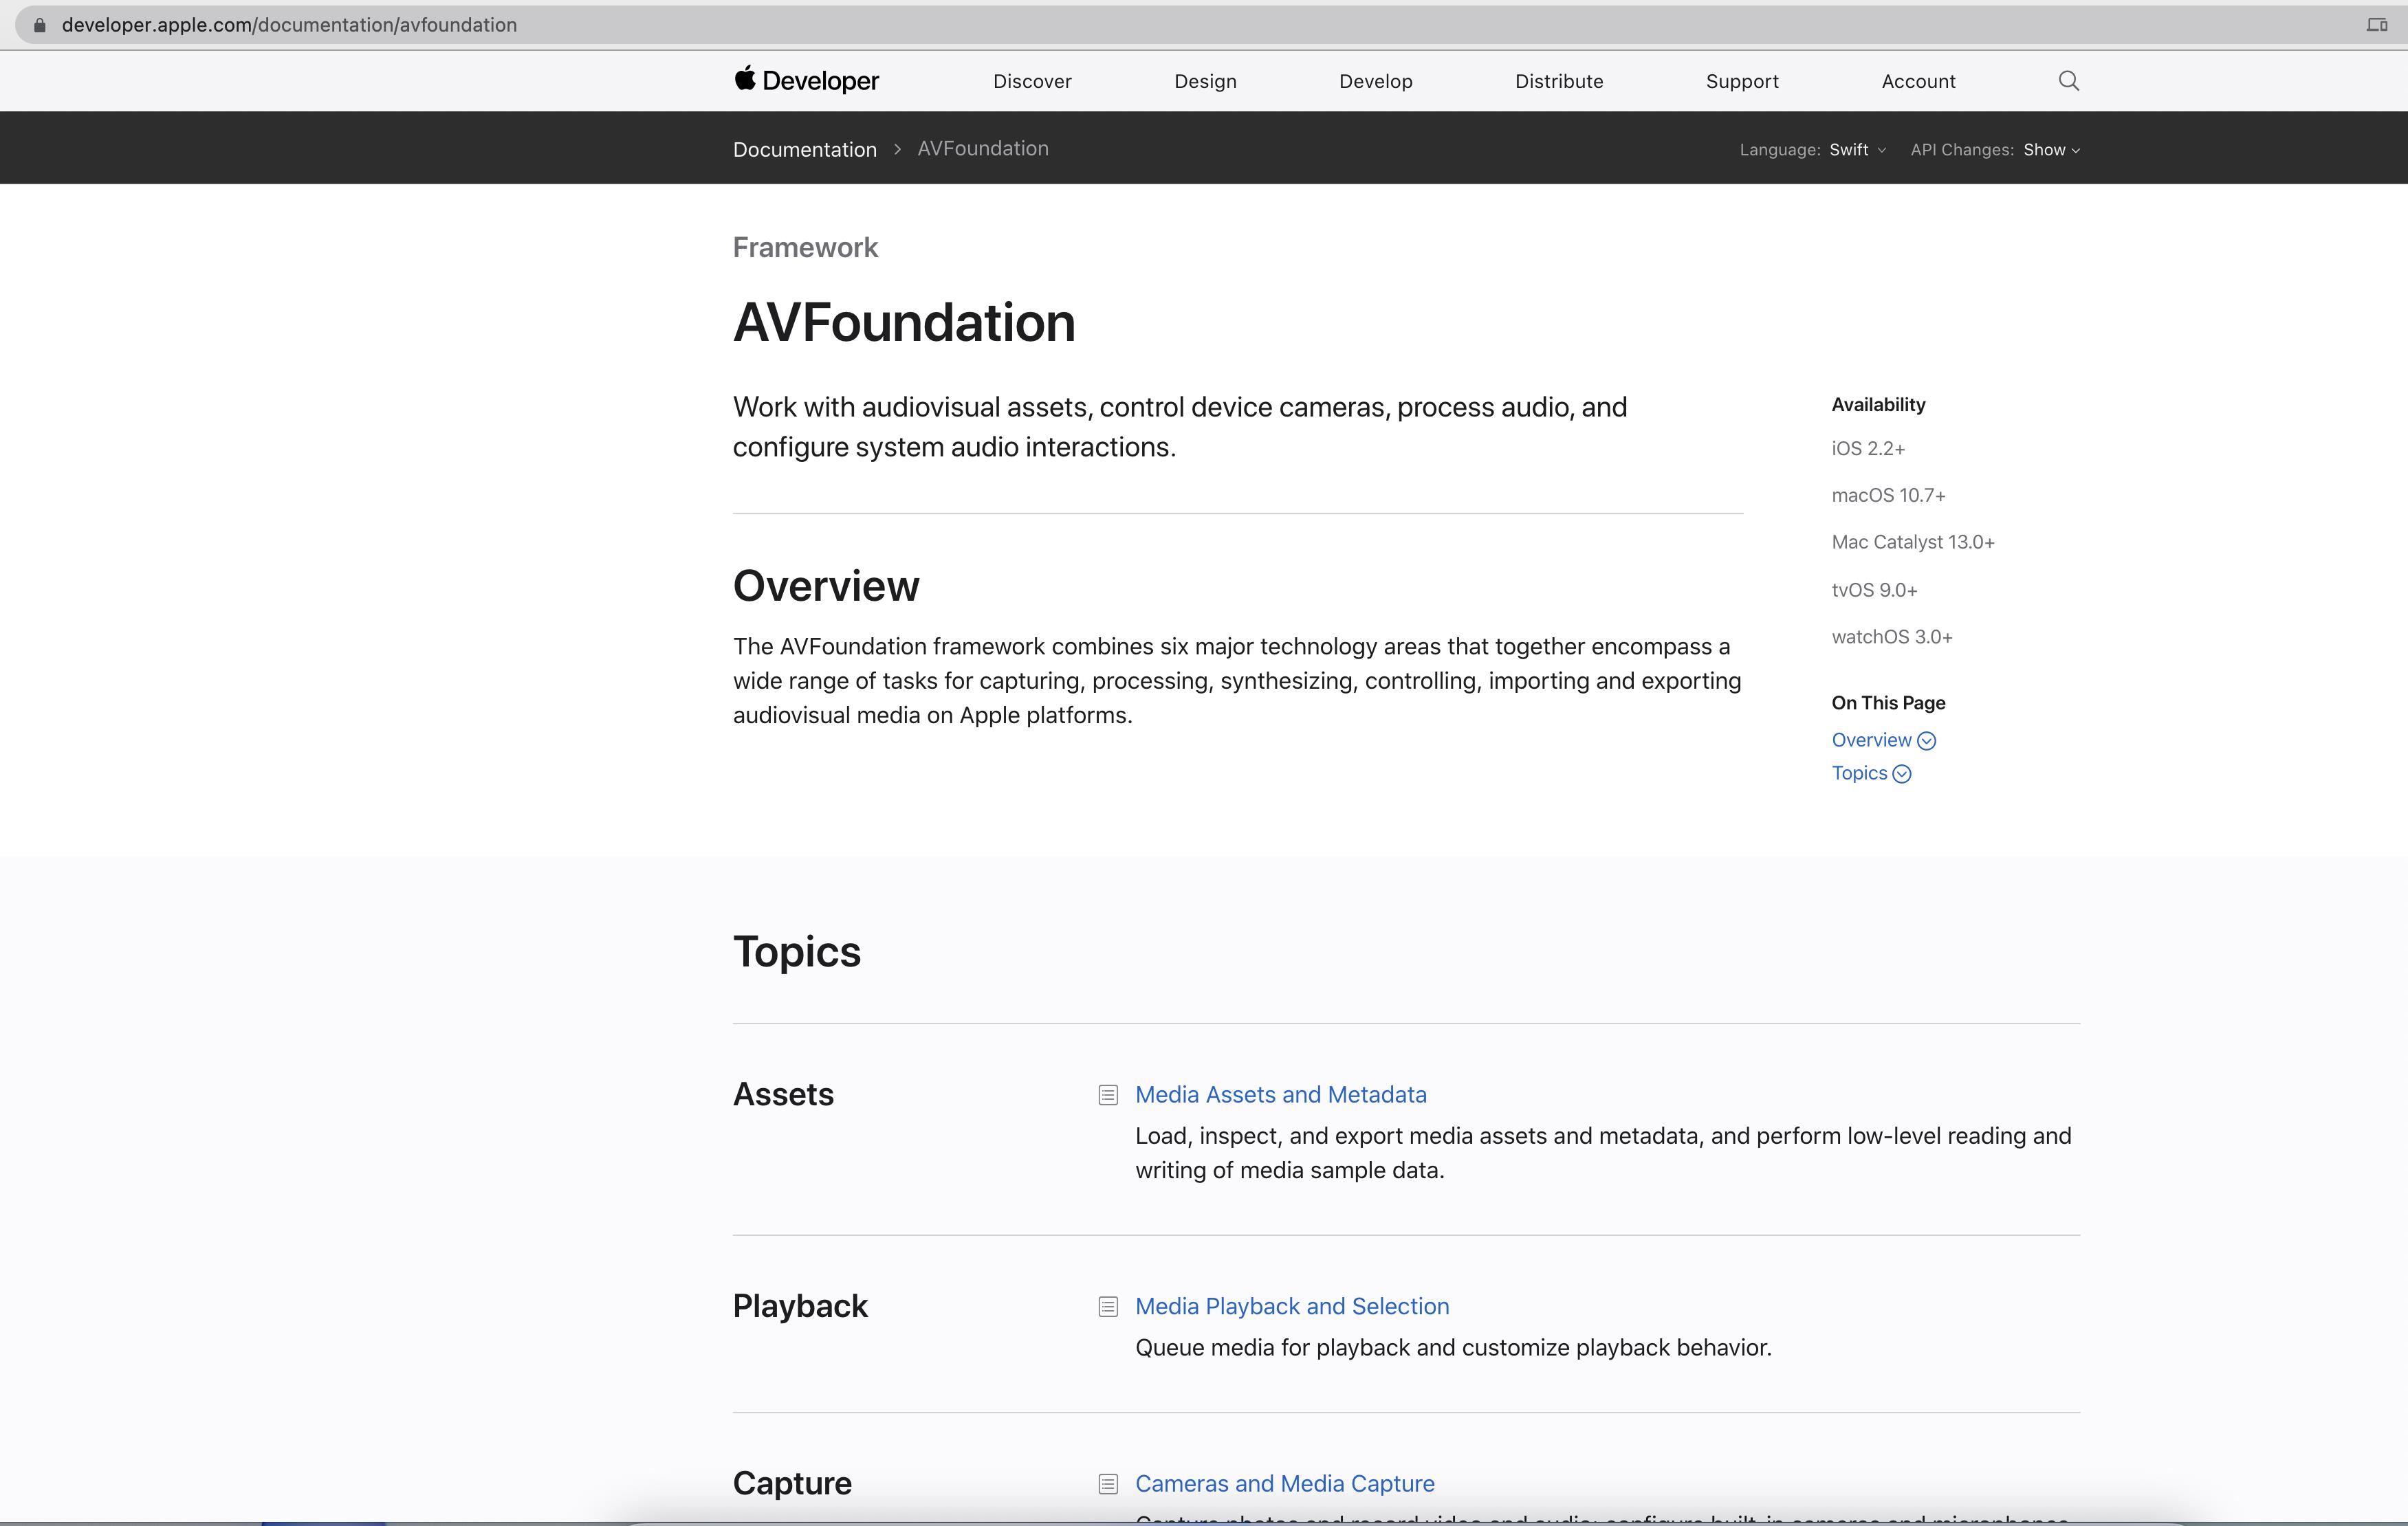
这篇文章如何创建一个自定义的苹果相机。AVFoundation的介绍可以在官方文档中查看

官方介绍的流程图如下:

代码ContentView:
//
//  ContentView.swift
//  MyCamera
//
//  Created by whq on 2021/8/15.
//

import SwiftUI
import AVFoundation

struct ContentView: View {
    var body: some View {
        CameraView()
    }
}

struct ContentView_Previews: PreviewProvider {
    static var previews: some View {
        ContentView()
    }
}

struct CameraView:View {
    @StateObject var camera = CameraModel()
    var body: some View{
        ZStack{
            CameraPreview(camera: camera)
                .ignoresSafeArea(.all,edges: .all)
            VStack{


                if camera.isTaken{
                    HStack {
                        Spacer()

                        Button(action: camera.reTake, label: {
                            Image(systemName: "arrow.triangle.2.circlepath.camera")
                                .foregroundColor(.black)
                                .padding()
                                .background(Color.white)
                                .clipShape(Circle())
                        })
                        .padding(.trailing,10)
                    }
                }


                Spacer()

                HStack{

                    if camera.isTaken{

                        Button(action: {if !camera.isSaved{camera.savePic()}}, label: {
                            Text(camera.isSaved ? "Saved":"Save")
                                .foregroundColor(.black)
                                .fontWeight(.semibold)
                                .padding(.vertical,10)
                                .padding(.horizontal,20)
                                .background(Color.white)
                                .clipShape(Capsule())
                        })
                        .padding(.leading)

                        Spacer()

                    }else{
                        Button(action: camera.takePic, label: {
                            ZStack{

                                Circle()
                                    .fill(Color.white)
                                    .frame(width: 65, height: 65, alignment: /*@START_MENU_TOKEN@*/.center/*@END_MENU_TOKEN@*/)
                                Circle()
                                    .stroke(Color.white,lineWidth: 2)
                                    .frame(width: 75, height: 75, alignment: /*@START_MENU_TOKEN@*/.center/*@END_MENU_TOKEN@*/)


                            }
                        })
                    }
                }
                .frame(height:75)
            }
        }
        .onAppear(perform: {
            camera.Check()
        })
    }

}
class CameraModel: NSObject, ObservableObject, AVCapturePhotoCaptureDelegate {
    @Published var isTaken = false

    @Published var session = AVCaptureSession()

    @Published var alert = false

    @Published var output = AVCapturePhotoOutput()

    @Published var preview : AVCaptureVideoPreviewLayer!

    @Published var isSaved = false

    @Published var picData = Data(count: 0)

    func Check(){
        switch AVCaptureDevice.authorizationStatus(for: .video) {
        case .authorized:
            setUp()
            return
        case .notDetermined:
            AVCaptureDevice.requestAccess(for: .video) { (status) in
                if status{
                    self.setUp()
                }
            }
        case .denied:
            self.alert.toggle()
            return
        default:
            return
        }
    }


    func setUp(){
        do{
            self.session.beginConfiguration()

            let decive = AVCaptureDevice.default(.builtInDualCamera, for: .video, position: .back)


            let input = try AVCaptureDeviceInput(device: decive!)
            if self.session.canAddInput(input) {
                self.session.addInput(input)
            }

            if self.session.canAddOutput(self.output){
                self.session.addOutput(self.output)
            }

            self.session.commitConfiguration()


        }catch{
            print(error.localizedDescription)
        }


    }


    func takePic(){
        DispatchQueue.global(qos: .background).async {


            self.output.capturePhoto(with: AVCapturePhotoSettings(), delegate: self)

            self.session.stopRunning()

            DispatchQueue.main.async {
                withAnimation {
                    self.isTaken.toggle()
                }
            }
        }
    }

    func reTake(){
        DispatchQueue.global(qos: .background).async {
            self.session.startRunning()
            DispatchQueue.main.async {
                withAnimation {
                    self.isTaken.toggle()
                }
                self.isSaved = false
            }
        }
    }


    func photoOutput(_ output: AVCapturePhotoOutput, didFinishProcessingPhoto photo: AVCapturePhoto, error: Error?) {
        if error != nil{
            return
        }
        print("pic taken...")

        guard let imageData = photo.fileDataRepresentation() else {
            return
        }
        self.picData = imageData
    }


    func savePic(){
        let image = UIImage(data: self.picData)!
        UIImageWriteToSavedPhotosAlbum(image, nil, nil, nil)

        self.isSaved = true
        print("Saved Successfully...")
    }

}
struct CameraPreview : UIViewRepresentable {
    @ObservedObject var camera : CameraModel

    func makeUIView(context: Context) -> UIView {
        let view = UIView(frame: UIScreen.main.bounds)
        camera.preview = AVCaptureVideoPreviewLayer(session: camera.session)
        camera.preview.frame = view.frame

        camera.preview.videoGravity = .resizeAspectFill

        view.layer.addSublayer(camera.preview)

        camera.session.startRunning()
        return view

    }

    func updateUIView(_ uiView: UIView, context: Context) {
        return
    }
}
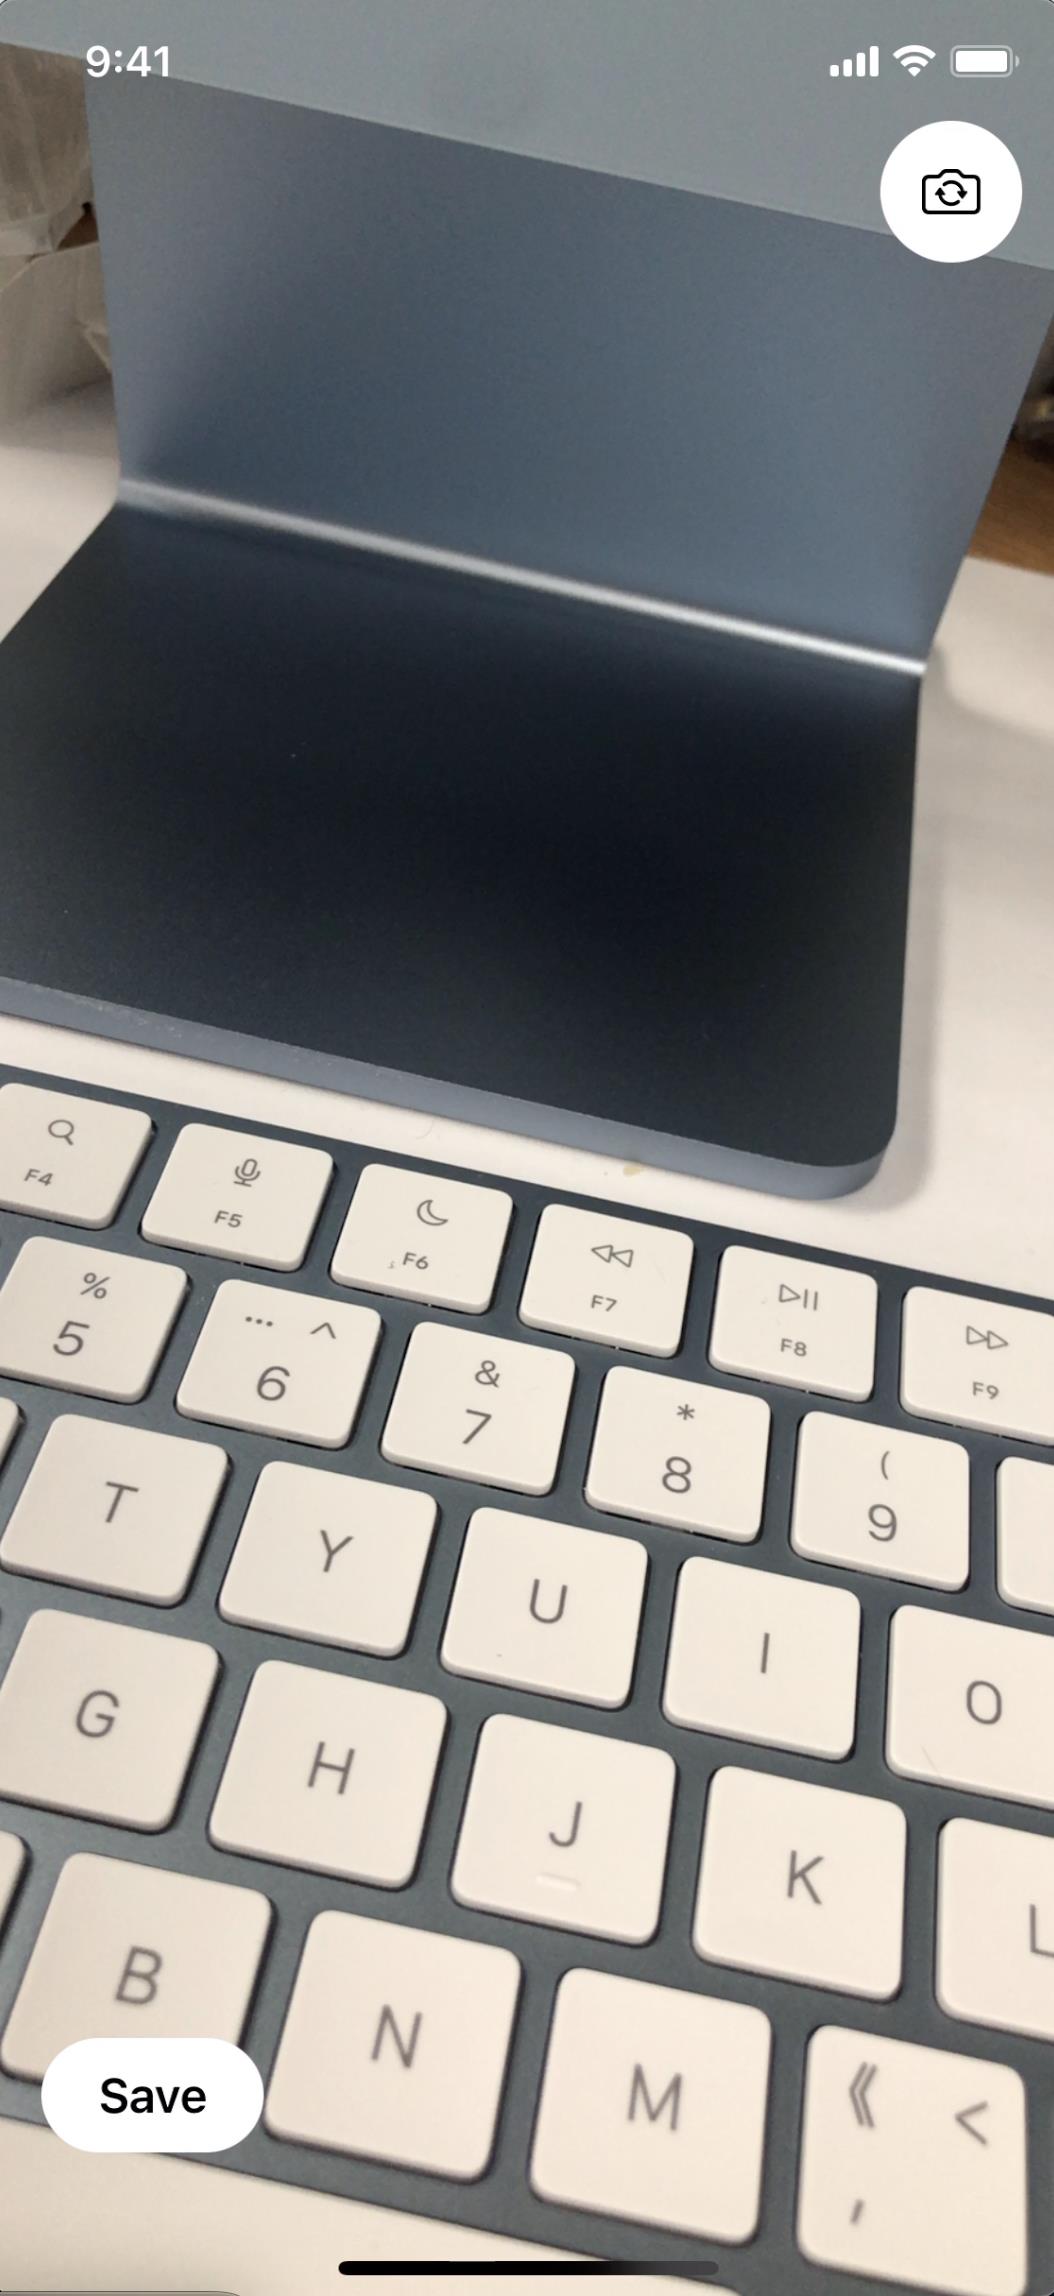
这里主要实现的功能是进行camera的预览,并进行拍照保存至相册,并且还可以继续预览。
info.list中添加权限
Privacy - Camera Usage Description
Privacy - Photo Library Usage Description

以上是关于swift使用AVFoundation实现自定义相机的主要内容,如果未能解决你的问题,请参考以下文章