Nginx——nginx作为负载均衡服务(backup状态和down状态示例)
Posted 小志的博客
tags:
篇首语:本文由小常识网(cha138.com)小编为大家整理,主要介绍了Nginx——nginx作为负载均衡服务(backup状态和down状态示例)相关的知识,希望对你有一定的参考价值。
一、lz虚拟机说明
| ip | 说明 |
|---|---|
| 192.168.3.10(已安装nginx) | 此虚拟机作为负载均衡服务器 |
| 192.168.3.11(已安装nginx) | 此虚拟机通过nginx配置三个端口访问三个不同的页面(模拟三台虚拟机应用) |
二、配置192.168.3.11虚拟机(即模拟三台虚拟机应用服务器)
1、分别在/opt/app/code1、code2、code3目录下创建index.html页面(模拟三台服务器分别对应的index页面)
-
/opt/app/code1/目录下创建index.html页面,内容如下:
<html lang="en"> <head> <meta charset="utf-8"> <title>server1</title> </head> <body style="background-color:red;"> <h1>server1</h1> </body> </html> -
/opt/app/code2/目录下创建index.html页面,内容如下:
<html lang="en"> <head> <meta charset="utf-8"> <title>server2</title> </head> <body style="background-color:yellow;"> <h1>server2</h1> </body> </html> -
/opt/app/code3/目录下创建index.html页面,内容如下:
<html lang="en">
	<head>
		<meta charset="utf-8">
		<title>server3</title>
	</head>

	<body style="background-color:blue;">
		<h1>server3</h1>
	</body>
</html>
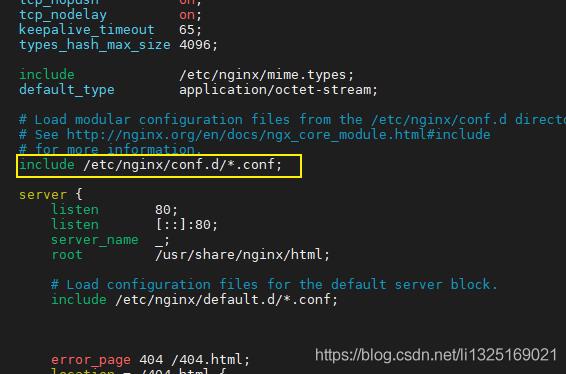
2、编辑 nginx.conf 配置文件可以看到在/etc/nginx/conf.d/目录下可以创建子配置文件,如下图:
3、在/etc/nginx/conf.d/目录下分别创建server1.conf、server2.conf和server3.conf三个配置文件(模拟三台服务器通过不同的端口访问对应目录下的index页面,即模拟三台服务三个不同的应用)
-
server1.conf配置文件内容如下:
server { listen 8001; #8001端口 server_name localhost; #ip地址 location / { root /opt/app/code1;#指定code1目录下的文件 index index.html index.htm; } error_page 404 /404.html; location = /404.html { } error_page 500 502 503 504 /50x.html; location = /50x.html { } } -
server2.conf配置文件内容如下:
server { listen 8002; #8002端口 server_name localhost; #ip地址 location / { root /opt/app/code2;#指定code2目录下的文件 index index.html index.htm; } error_page 404 /404.html; location = /404.html { } error_page 500 502 503 504 /50x.html; location = /50x.html { } } -
server3.conf配置文件内容如下:
server {
        listen       8003; #8003端口
        server_name  localhost; #ip地址

	location / {
	root /opt/app/code3;#指定code3目录下的文件
	index index.html index.htm;
	}


	error_page 404 /404.html;
	location = /404.html {
	}

	error_page 500 502 503 504 /50x.html;
	location = /50x.html {
	}
}
4、启动nginx服务并从新加载配置文件
-
启动nginx服务
[root@localhost conf.d]# systemctl start nginx.service -
检查配置修改的配置文件是否正确,返回successful表示配置文件修改无错
[root@localhost nginx]# nginx -t -c /etc/nginx/nginx.conf
-
重新加载nginx配置文件,并查看
[root@localhost conf.d]# nginx -s reload -c /etc/nginx/nginx.conf -
查看本机启用nginx的端口
[root@localhost conf.d]# netstat -luntp|grep nginx
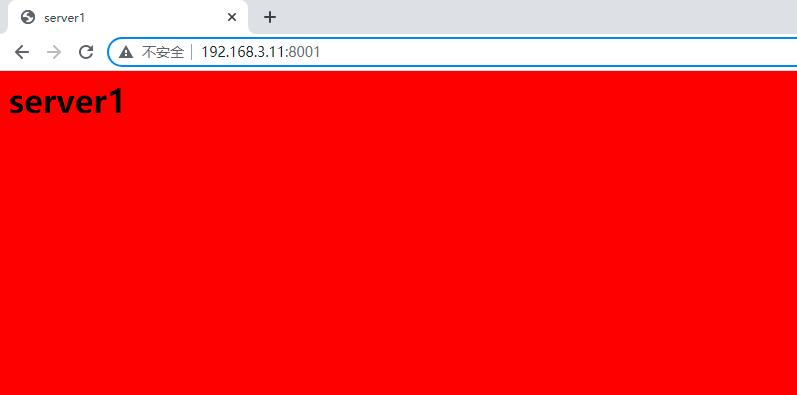
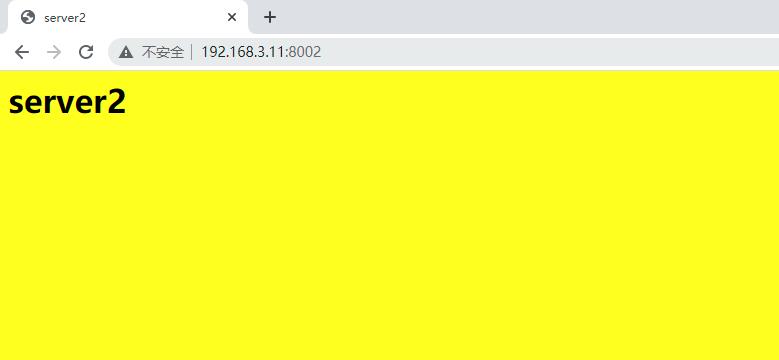
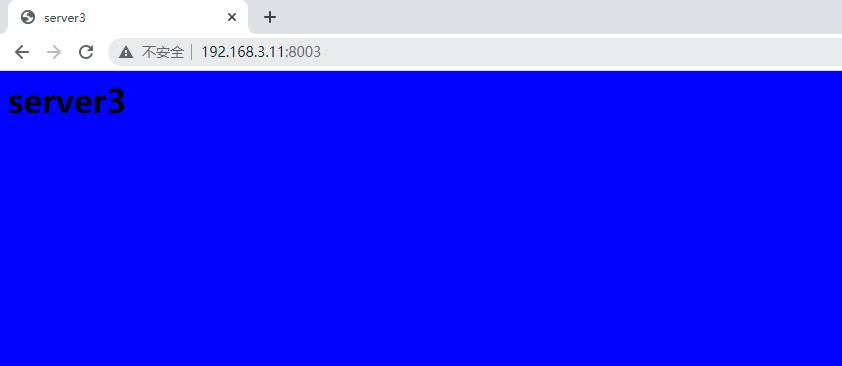
5、浏览器分别输入地址,访问模拟的三台服务器分别对应的index页面(即模拟三台服务三个不同的应用)
-
http://192.168.3.11:8001
-
http://192.168.3.11:8002
-
http://192.168.3.11:8003
三、配置192.168.3.10虚拟机(即负载均衡服务器)
1、编辑 nginx.conf 配置文件可以看到在/etc/nginx/conf.d/目录下可以创建子配置文件,如下图:
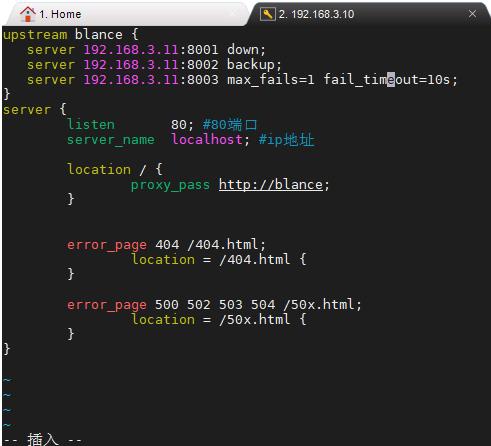
2、在/etc/nginx/conf.d/目录下创建upstream_server.conf配置文件,内容如下:
upstream blance {#配置服务器的分别对应的应用ip和的端口
   #当前的server暂时不参与负载均衡
   server 192.168.3.11:8001 down;
   #预留的备份服务器
   server 192.168.3.11:8002 backup;
   #允许请求失败1次,失败后服务暂停10秒
   server 192.168.3.11:8003 max_fails=1 fail_timeout=10s;
}
server {
	listen       80; #80端口
	server_name  localhost; #ip地址

	location / {#配置代理,名称与upstream后面追加的名称相同
		proxy_pass http://blance;
	}


	error_page 404 /404.html;
		location = /404.html {
	}

	error_page 500 502 503 504 /50x.html;
		location = /50x.html {
	}
}
3、启动nginx服务并从新加载配置文件
-
启动nginx服务
[root@localhost conf.d]# systemctl start nginx.service -
检查配置修改的配置文件是否正确,返回successful表示配置文件修改无错
[root@localhost nginx]# nginx -t -c /etc/nginx/nginx.conf -
重新加载nginx配置文件,并查看
[root@localhost conf.d]# nginx -s reload -c /etc/nginx/nginx.conf -
查看本机启用nginx的端口
[root@localhost conf.d]# netstat -luntp|grep nginx
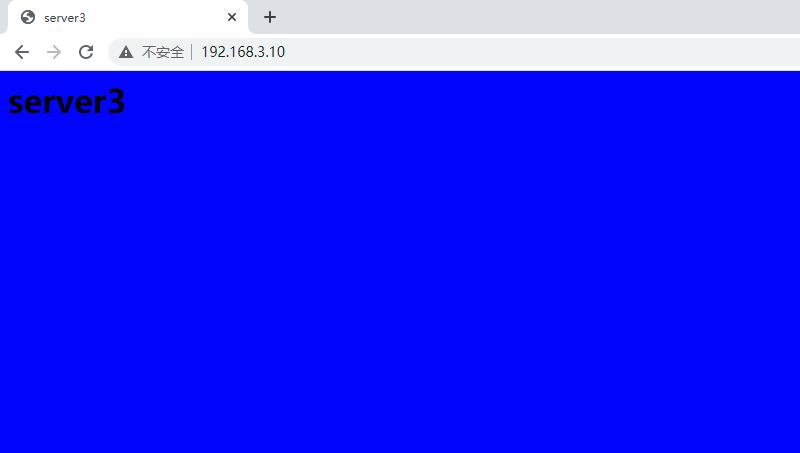
4、浏览器输入负载均衡服务器的访问地址http://192.168.3.10/,因为负载均衡服务器的端口为80可以直接省略,依次刷新服务器,可以看到只能访问到8003端口的server3应用服务,如下图:
- 因为8001端口的server1服务设置的down,不参与负载均衡;
- 而8002端口的server2服务设置的backup,当其他节点服务正常时,不对外提供服务,当其他节点服务挂掉之后才会自动启用此备份服务;
- 所以只能访问到8003端口的server3应用服务
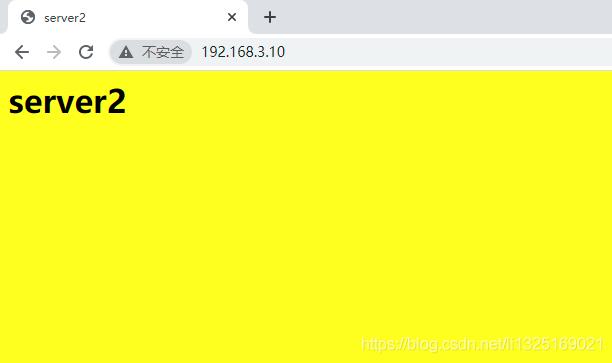
5、关闭8003端口,再次刷新浏览器,访问http://192.168.3.10/,可以看到只能访问到8002端口的server2备份应用服务,如下图:
以上是关于Nginx——nginx作为负载均衡服务(backup状态和down状态示例)的主要内容,如果未能解决你的问题,请参考以下文章