一uniapp项目(封装异步请求moment.js时间处理封装手势滑动组件下载图片到本地)
Posted 小小白学计算机
tags:
篇首语:本文由小常识网(cha138.com)小编为大家整理,主要介绍了一uniapp项目(封装异步请求moment.js时间处理封装手势滑动组件下载图片到本地)相关的知识,希望对你有一定的参考价值。
一、封装异步请求:
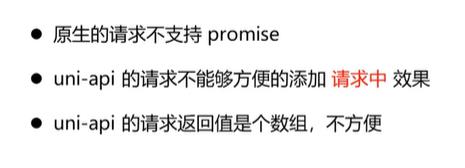
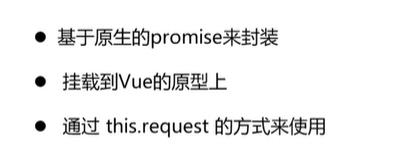
1. 为什么要封装?
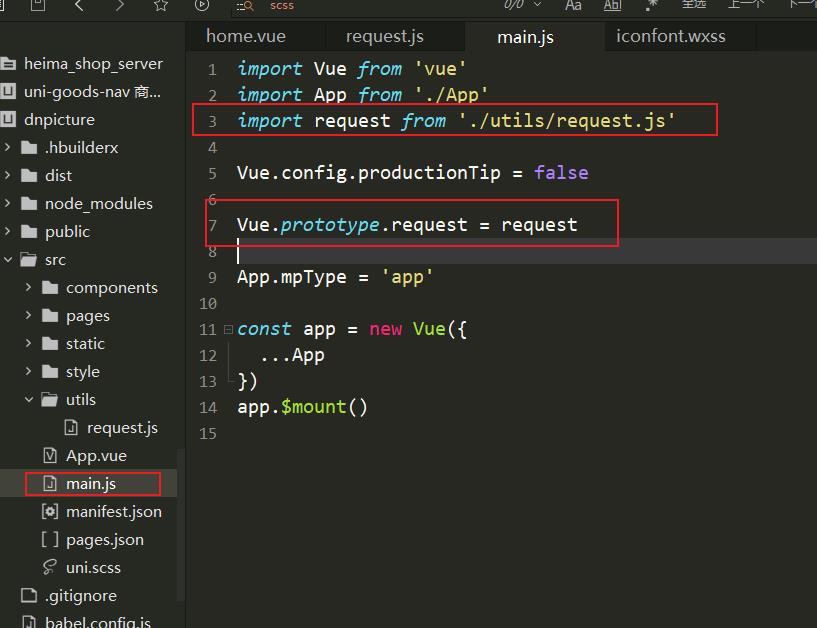
2. 封装的思路
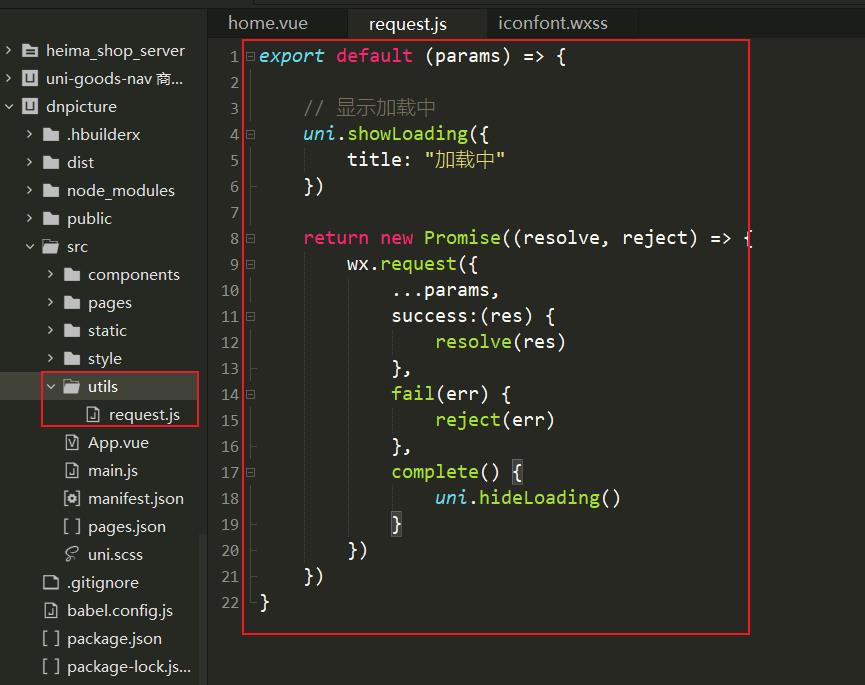
export default (params) => {

	// 显示加载中
	uni.showLoading({
		title: "加载中"
	})

	return new Promise((resolve, reject) => {
		wx.request({
			...params,
			success(res) {
				resolve(res)
			},
			fail(err) {
				reject(err)
			},
			complete() {
				uni.hideLoading()
			}
		})
	})
}
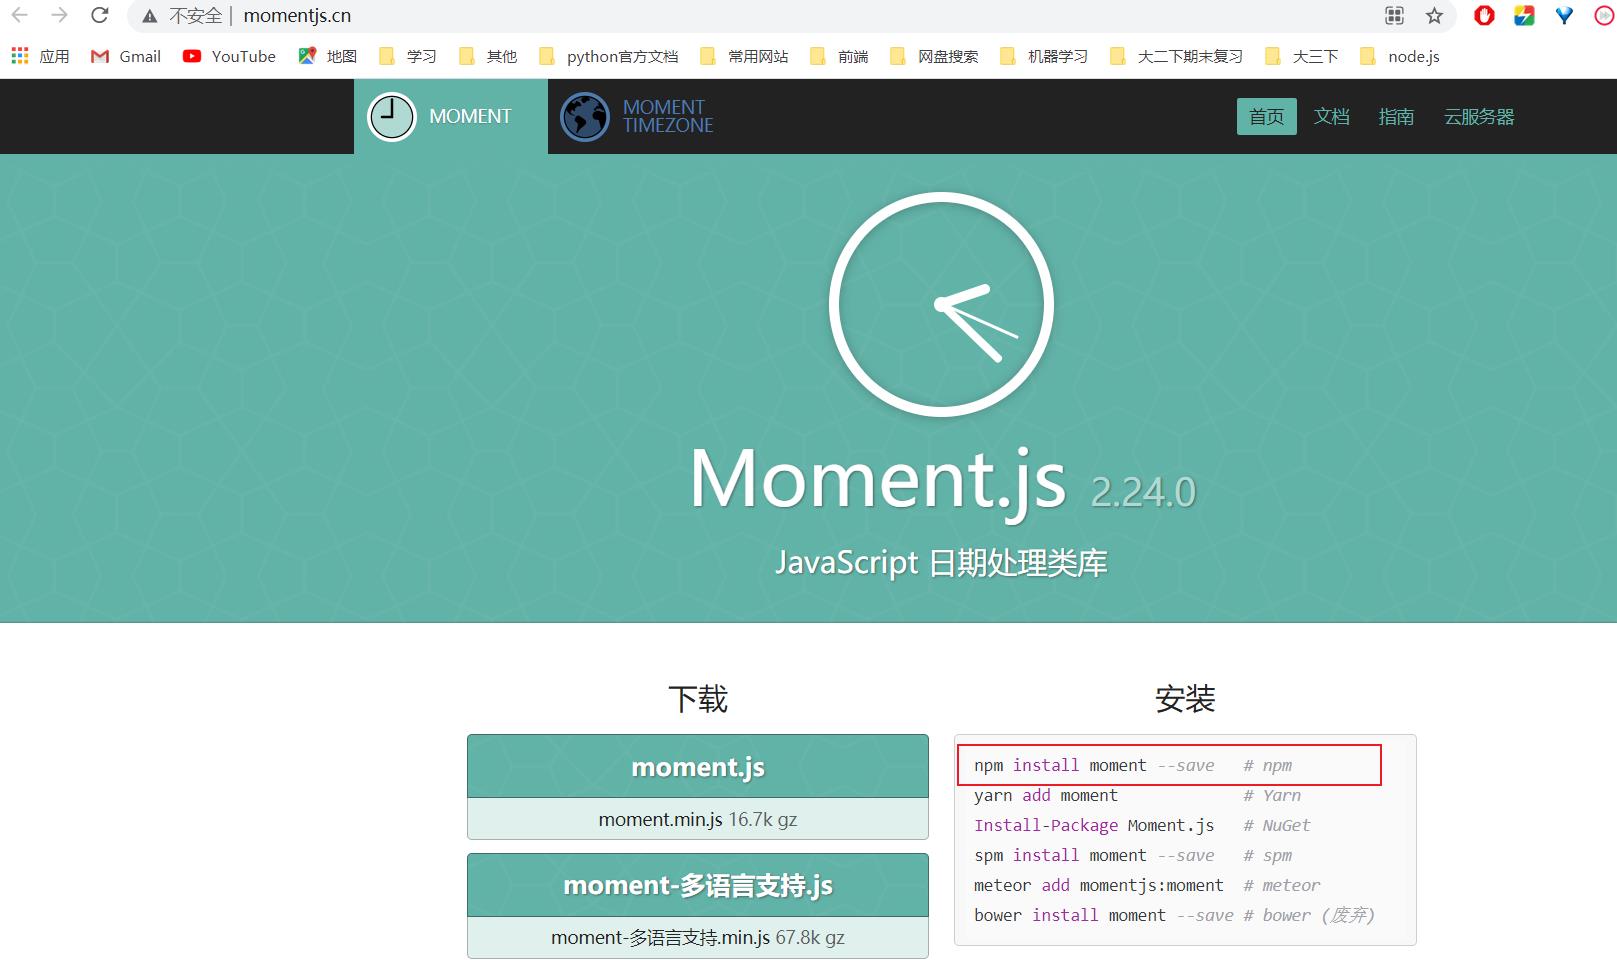
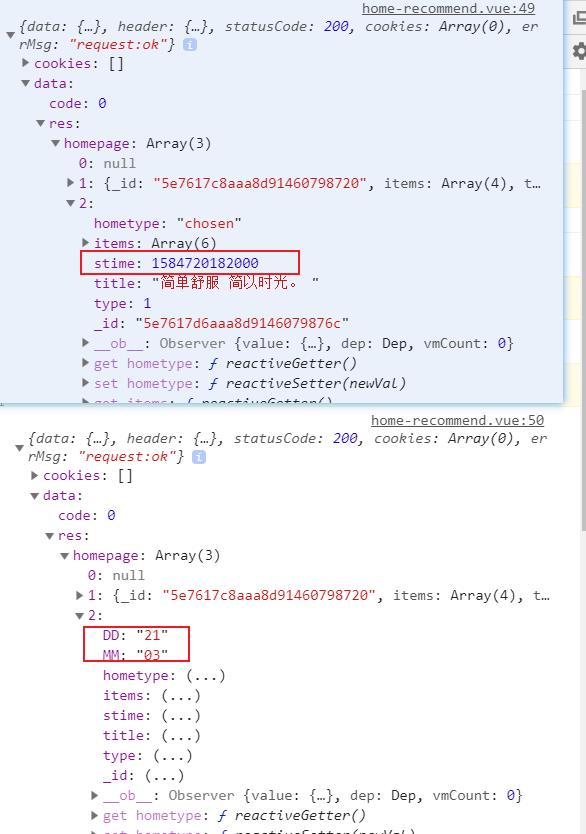
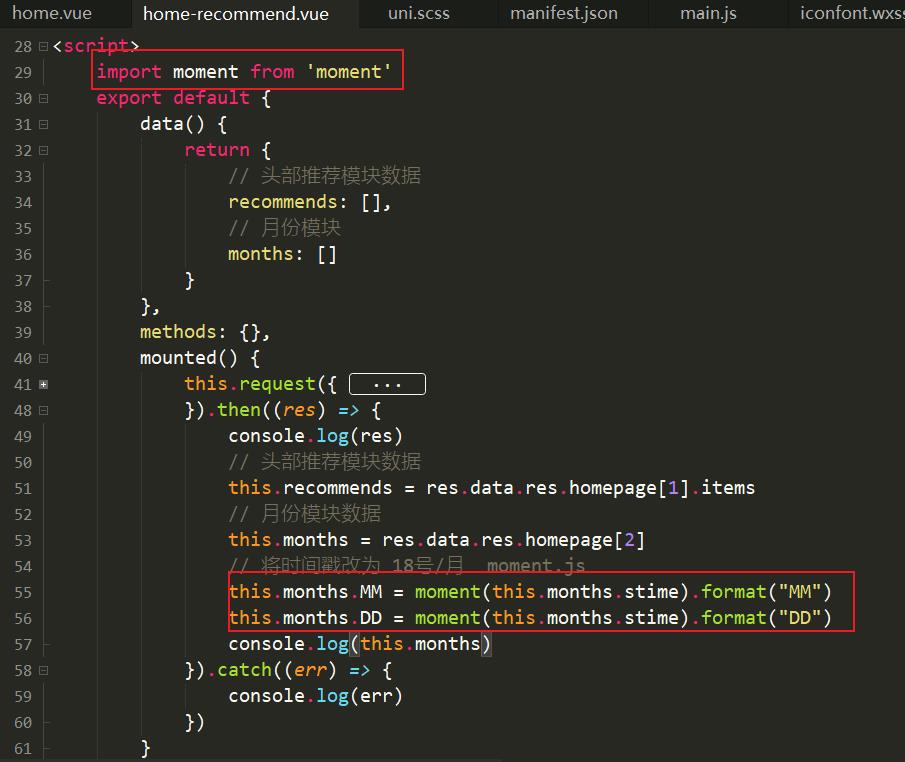
二、处理时间moment.js
三、封装手势滑动组件
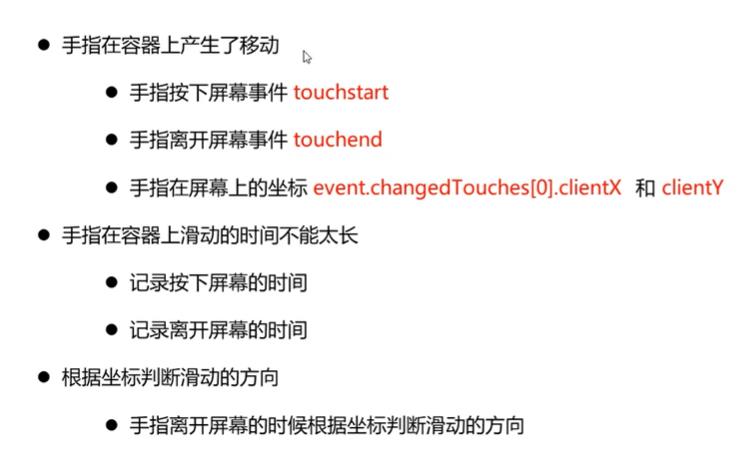
3.1 实现思路

3.2 关键代码
<template>
	<view
	@touchstart="handleTouchStart"
	@touchend="handleTouchEnd"
	>
		学习触屏事件
	</view>
</template>

<script>
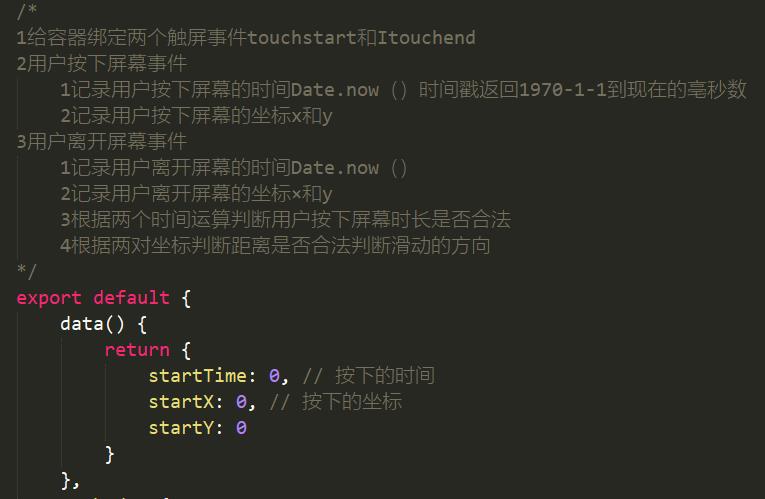
	/*
	1给容器绑定两个触屏事件touchstart和Itouchend
	2用户按下屏幕事件
		1记录用户按下屏幕的时间Date.now()时间戳返回1970-1-1到现在的亳秒数
		2记录用户按下屏幕的坐标x和y
	3用户离开屏幕事件
		1记录用户离开屏幕的时间Date.now()
		2记录用户离开屏幕的坐标×和y
		3根据两个时间运算判断用户按下屏幕时长是否合法
		4根据两对坐标判断距离是否合法判断滑动的方向
	*/
	export default {
		data() {
			return {
				startTime: 0, // 按下的时间
				startX: 0, // 按下的坐标
				startY: 0
			}
		},
		methods: {
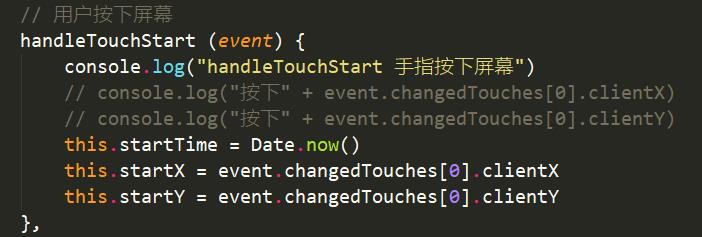
			// 用户按下屏幕
			handleTouchStart (event) {
				console.log("handleTouchStart 手指按下屏幕")
				// console.log("按下" + event.changedTouches[0].clientX)
				// console.log("按下" + event.changedTouches[0].clientY)
				this.startTime = Date.now()
				this.startX = event.changedTouches[0].clientX
				this.startY = event.changedTouches[0].clientY
			},
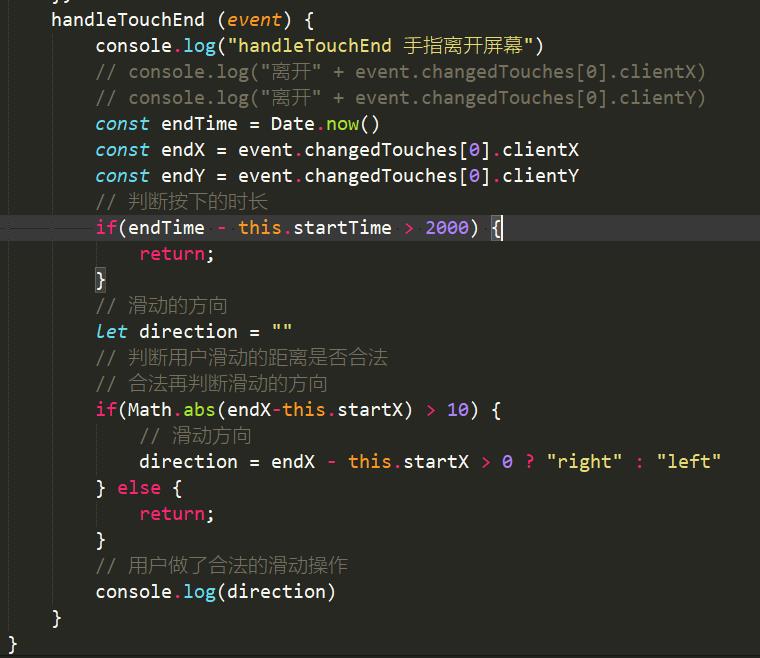
			handleTouchEnd (event) {
				console.log("handleTouchEnd 手指离开屏幕")
				// console.log("离开" + event.changedTouches[0].clientX)
				// console.log("离开" + event.changedTouches[0].clientY)
				const endTime = Date.now()
				const endX = event.changedTouches[0].clientX
				const endY = event.changedTouches[0].clientY
				// 判断按下的时长
				if(endTime - this.startTime > 2000) {
					return;
				}

				// 滑动的方向
				let direction = ""
				// 判断用户滑动的距离是否合法
				// 合法再判断滑动的方向
				if(Math.abs(endX-this.startX) > 10) {
					// 滑动方向
					direction = endX - this.startX > 0 ? "right" : "left"
				} else {
					return;
				}
				// 用户做了合法的滑动操作
				console.log(direction)
			}
		}
	}
</script>

<style>
	view {
		width: 100%;
		height: 500rpx;
		background-color: aqua;
	}
</style>
3.3 实现滑动手势组件 SwiperAction

swiperAction组件代码:
<template>
	<view>
		<view>swiperAction</view>
		<view
			@touchstart="handleTouchStart"
			@touchend="handleTouchEnd"
		>
			<slot></slot>
		</view>

	</view>
</template>

<script>
	/*
	1给容器绑定两个触屏事件touchstart和Itouchend
	2用户按下屏幕事件
		1记录用户按下屏幕的时间Date.now()时间戳返回1970-1-1到现在的亳秒数
		2记录用户按下屏幕的坐标x和y
	3用户离开屏幕事件
		1记录用户离开屏幕的时间Date.now()
		2记录用户离开屏幕的坐标×和y
		3根据两个时间运算判断用户按下屏幕时长是否合法
		4根据两对坐标判断距离是否合法判断滑动的方向
	*/
	export default {
		data() {
			return {
				startTime: 0, // 按下的时间
				startX: 0, // 按下的坐标
				startY: 0
			}
		},
		methods: {
			// 用户按下屏幕
			handleTouchStart (event) {
				console.log("handleTouchStart 手指按下屏幕")
				// console.log("按下" + event.changedTouches[0].clientX)
				// console.log("按下" + event.changedTouches[0].clientY)
				this.startTime = Date.now()
				this.startX = event.changedTouches[0].clientX
				this.startY = event.changedTouches[0].clientY
			},
			handleTouchEnd (event) {
				console.log("handleTouchEnd 手指离开屏幕")
				// console.log("离开" + event.changedTouches[0].clientX)
				// console.log("离开" + event.changedTouches[0].clientY)
				const endTime = Date.now()
				const endX = event.changedTouches[0].clientX
				const endY = event.changedTouches[0].clientY
				// 判断按下的时长
				if(endTime - this.startTime > 2000) {
					return;
				}
				// 滑动的方向
				let direction = ""
				// 判断用户滑动的距离是否合法
				// 合法再判断滑动的方向
				if(Math.abs(endX-this.startX) > 10) {
					// 滑动方向
					direction = endX - this.startX > 0 ? "right" : "left"
				} else {
					return;
				}
				// 用户做了合法的滑动操作
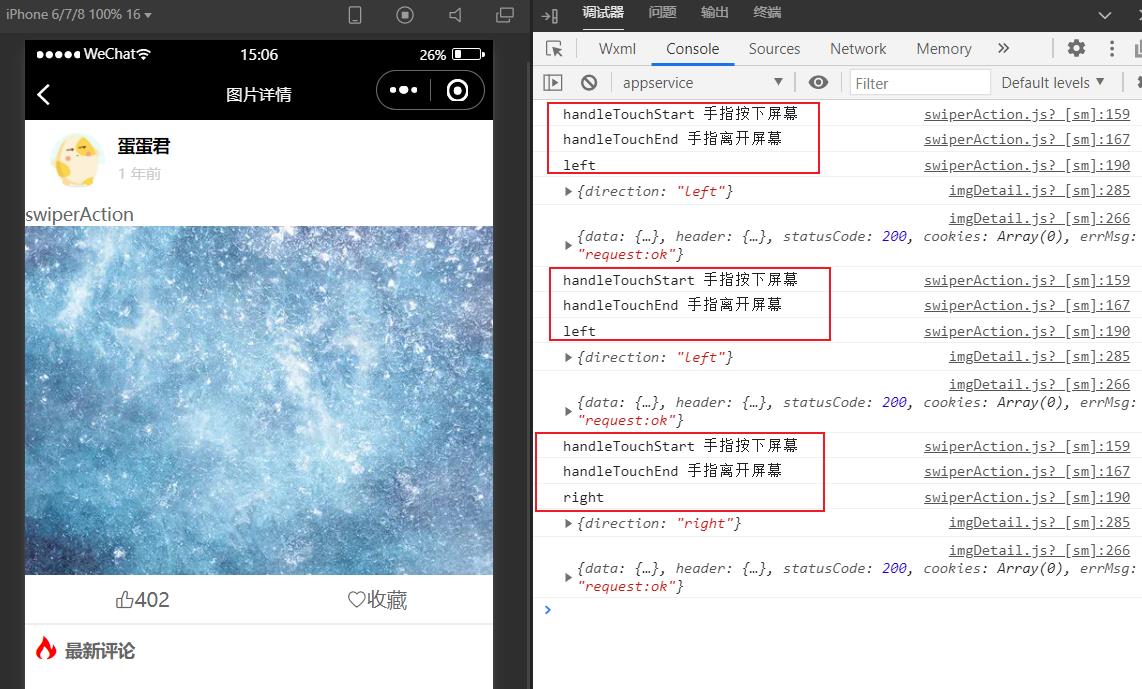
				console.log(direction)
				this.$emit("swiperAction", {direction})
			}
		}
	}
</script>


<style lang="scss">

</style>
在imgDetail页面中使用:
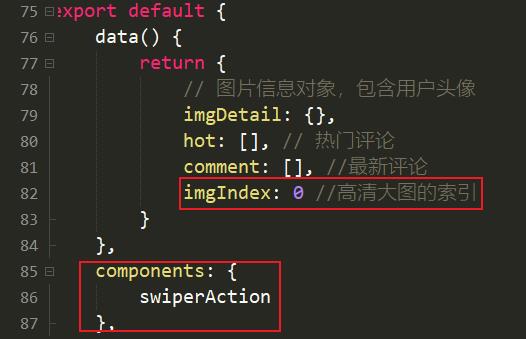
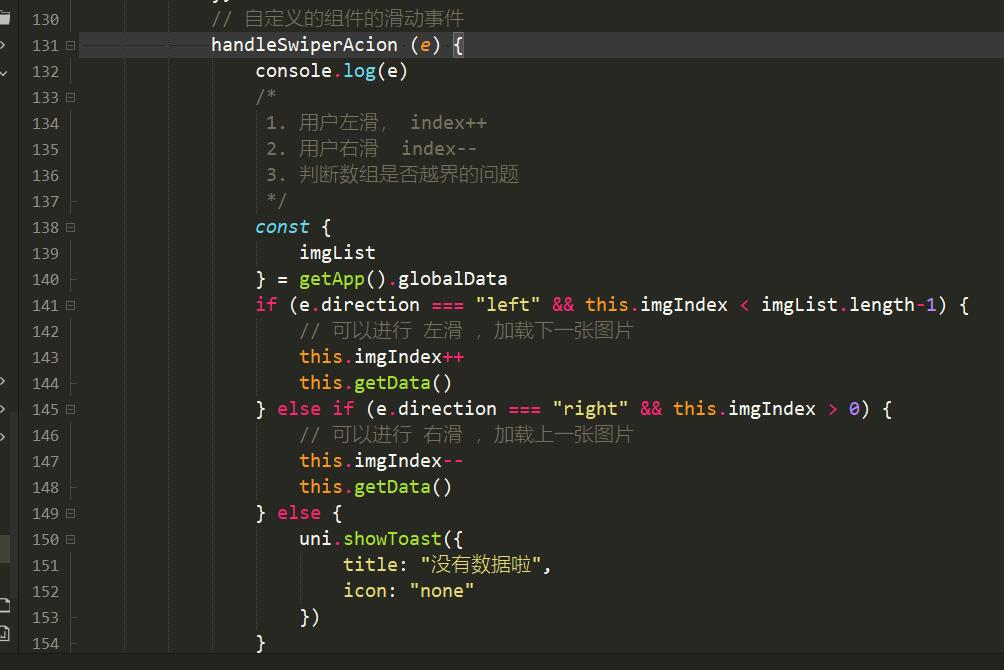
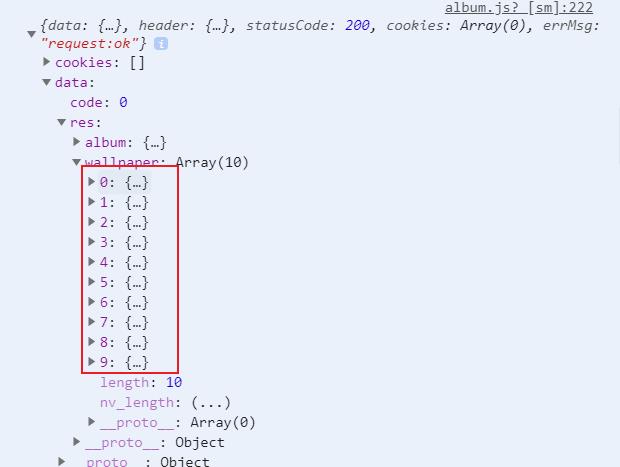
通过改变imgIndex来切换图片



<template>
	<view>
		<!-- 用户信息开始 -->
		<view class="user_info">
			<view class="user_icon">
				<image :src="imgDetail.user.avatar" mode="widthFix"></image>
			</view>
			<view class="user_desc">
				<view class="user_name">{{ imgDetail.user.name }}</view>
				<view class="user_time">{{ imgDetail.cnTime }}</view>
			</view>
		</view>
		<!-- 用户信息结束 -->
		<!-- 高清大图开始 -->
		<view class="high_img">
			<swiper-action @swiperAction="handleSwiperAcion">
				<image :src="imgDetail.img" mode="widthFix"></image>
			</swiper-action>
		</view>
		<!-- 高清大图结束 -->
		<!-- 点赞 开始 -->
		<view class="user_rank">
			<view class="rank">
				<text class="iconfont icon-dianzan">{{ imgDetail.rank }}</text>
			</view>
			<view class="user_collect">
				<text class="iconfont icon-shoucang">收藏</text>
			</view>
		</view>
		<!-- 点赞 结束 -->
		<!-- 最新评论 开始 -->
		<view class="comment_hot">
			<view class="comment_title">
				<text class="iconfont icon-hot1"></text>
				<text class="comment_text">最新评论</text>
			</view>
			<view class="comment_list">
				<view class="comment_item" :key="item.id" v-for="item in comment">
					<!-- 用户信息 -->
					<view class="comment_user">
						<!-- 用户头像 -->
						<view class="user_icon">
							<image :src="item.user.avatar" mode="widthFix"></image>
							<!-- 用户名称 -->
							<view class="user_name">
								<view class="user_nickname">{{item.user.name}}</view>
								<view class="user_time">{{item.cnTime}}</view>
							</view>
							<!-- 用户徽章 -->
							<view class="user_badge">
								<image v-for="item2 in item.user.title" :key="item2.icon" :src="item2.icon" mode="">
								</image>
							</view>
						</view>
					</view>
					<!-- 评论数据 -->
					<view class="comment_desc">
						<view class="comment_content">{{ item.content }}</view>
						<view class="comment_like">
							<text class="iconfont icon-dianzan">{{ item.size }}</text>
						</view>
					</view>
				</view>
			</view>
		</view>
		<!-- 最新评论 结束 -->
	</view>
</template>

<script>
	import moment from "moment"
	// 设置语言为中文
	moment.locale("zh-cn")
	import swiperAction from "@/components/swiperAction.vue"
	export default {
		data() {
			return {
				// 图片信息对象,包含用户头像
				imgDetail: {},
				hot: [], // 热门评论
				comment: [], //最新评论
				imgIndex: 0 //高清大图的索引
			}
		},
		components: {
			swiperAction
		},
		onLoad() {
			console.log(getApp().globalData.imgList)
			const {
				imgList,
				imgIndex
			} = getApp().globalData
			this.imgIndex = imgIndex
			// this.imgDetail = imgList[this.imgIndex]
			// // xxx 年前
			// this.imgDetail.cnTime = moment(this.imgDetail.atime * 1000).fromNow()

			// // 获取图片详情的id
			// // this.imgDetail.id
			// this.getComments(this.imgDetail.id)
			this.getData()
		},
		methods: {
			getComments(id) {
				this.request({
					url: `http://157.122.54.189:9088/image/v2/wallpaper/wallpaper/${id}/comment`
				}).then((res) => {
					console.log(res)
					this.hot = res.data.res.hot
					this.comment = res.data.res.comment
					res.data.res.comment.forEach(v => {
						v.cnTime = moment(v.atime*1000).fromNow()
					})
				})
			},


			getData() {
				const {
					imgList
				} = getApp().globalData
				this.imgDetail = imgList[this.imgIndex]
				// xxx 年前
				this.imgDetail.cnTime = moment(this.imgDetail.atime * 1000).fromNow()

				// 获取图片详情的id
				// this.imgDetail.id
				this.getComments(this.imgDetail.id)
			},
			// 自定义的组件的滑动事件
			handleSwiperAcion (e) {
				console.log(e)
				/*
				 1. 用户左滑, index++
				 2. 用户右滑  index--
				 3. 判断数组是否越界的问题
				 */
				const {
					imgList
				} = getApp().globalData
				if (e.direction === "left" && this.imgIndex < imgList.length-1) {
					// 可以进行 左滑 ,加载下一张图片
					this.imgIndex++
					this.getData()
				} else if (e.direction === "right" && this.imgIndex > 0) {
					// 可以进行 右滑 ,加载上一张图片
					this.imgIndex--
					this.getData()
				} else {
					uni.showToast({
						title: "没有数据啦",
						icon: "none"
					})
				}
			}
		}
	}
</script>

<style lang="scss" scoped>
	.user_info {
		display: flex;
		align-items: center;
		padding: 20rpx;

		.user_icon {
			padding: 0 20rpx;

			image {
				width: 88rpx;
				border-radius: 50%;
			}
		}

		.user_desc {
			.user_name {
				color: #000000;
				font-weight: 600;
			}

			.user_time {
				color: #CCCCCC;
				font-size: 24rpx;
				padding: 10rpx 0;
			}
		}
	}

	.user_rank {
		display: flex;
		height: 80rpx;
		border-bottom: 5rpx solid #EEEEEE;

		.rank {
			display: flex;
			justify-content: center;
			align-items: center;
			flex: 1;

			.iconfont {}
		}

		.user_collect {
			display: flex;
			justify-content: center;
			align-items: center;
			flex: 1;

			.iconfont {}
		}
	}

	.comment_hot {
		.comment_title {
			padding: 15rpx;

			.iconfont {
				color: red;
				font-size: 40rpx;
			}

			.comment_text {
				font-weight: 600;
				font-size: 28rpx;
				color: #666666;
				margin-left: 10rpx;
			}
		}

		.comme以上是关于一uniapp项目(封装异步请求moment.js时间处理封装手势滑动组件下载图片到本地)的主要内容,如果未能解决你的问题,请参考以下文章
