Linux基础
Posted
tags:
篇首语:本文由小常识网(cha138.com)小编为大家整理,主要介绍了Linux基础相关的知识,希望对你有一定的参考价值。
作业一:
1) 开启Linux系统前添加一块大小为15G的SCSI硬盘
2) 开启系统,右击桌面,打开终端
3) 为新加的硬盘分区,一个主分区大小为5G,剩余空间给扩展分区,在扩展分区上划分1个逻辑分区,大小为5G

4) 格式化主分区为ext3系统

5) 将逻辑分区设置为交换分区
6) 启用上一步的交换分区
7) 查看交换分区的状态

作业二:free命令查看内存

整理buffer与cache的作用
cache是缓存区,是一种高速缓存,速度高于主存的速度,他一般将cpu刚刚使用过的数据或者循环使用的部分数据保存着,以便cpu下次读取,提高运行速度。
buffer是缓冲区,用于存储速度不同的设备,在执行多个不同进程中,需要将数据写入硬盘时,为了提高效率会将数据先存放在buffer内,在此期间cpu可以去做其他事情,
然后cpu来读取数据时可以无间断的连续的并高速的读取,减少等待时间。
计算真实的内存使用率
如上图真实的内存使用率就是:(buffer/cache + used ) /total
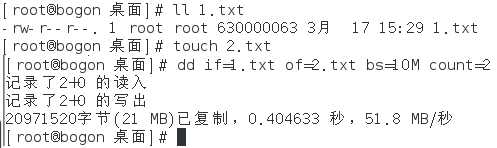
作业三:dd命令测试硬盘速度。
我新建了一个1.txt文件,并在里面写入一万行,以作拷贝用。注:if是input file;of是output file;bs是block size(复制文件的大小);count是复制的数目。
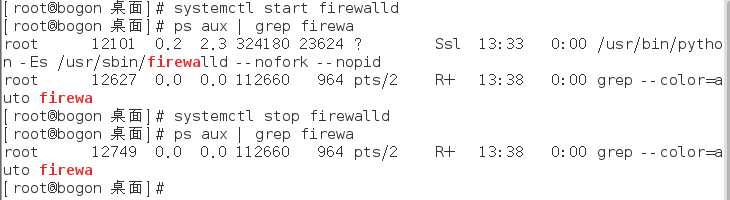
作业四:查找一个名为firewall的进程,并且将其强制杀死
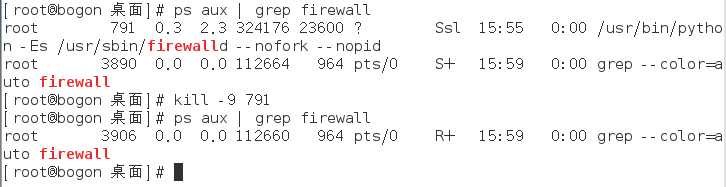
注:重新打开firewall的命令为:systemctl start firewall,也可利用stop关闭
作业五:rpm命令
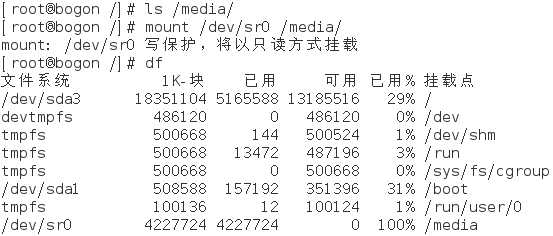
1) 挂载光盘文件到/media目录
2) 进去/media目录下的Packages目录
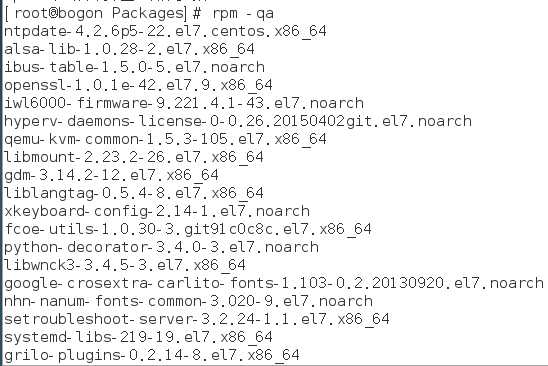
3) 查看系统已安装的所有rpm包
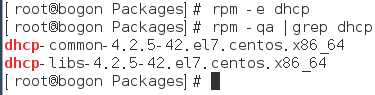
4) 查看系统是否安装dhcp软件包

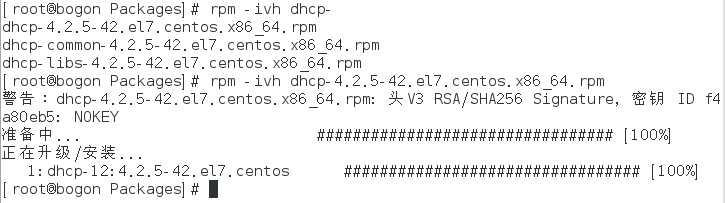
5) 安装dhcp软件包
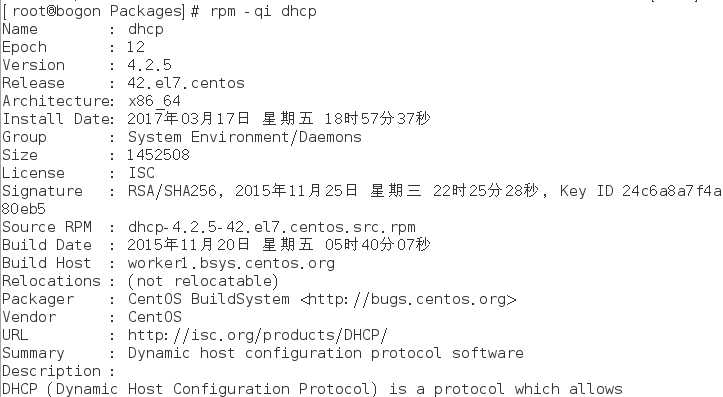
6) 查看dhcp软件包的信息
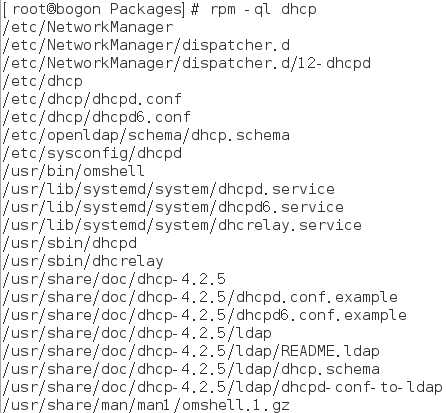
7) 查看dhcp软件包中所包含的所有文件
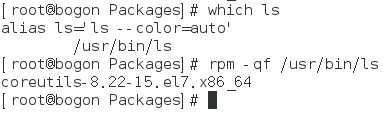
8) 查看/bin/ls文件是由哪个软件包产生
9) 卸载dhcp软件包
作业六:yum命令
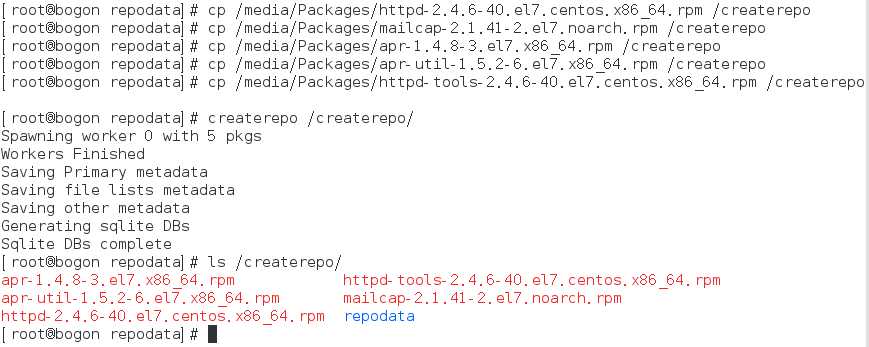
1) 自定义yum仓库:createrepo
首先在根下面创建createrepo目录,由于是安装httpd软件包,我需要先知道安装httpd需要哪些依赖的软件包,因此我先利用rpm安装查看需要从网络或其他地方下载(为了方便我们从光盘packages里面copy)哪些依赖包。
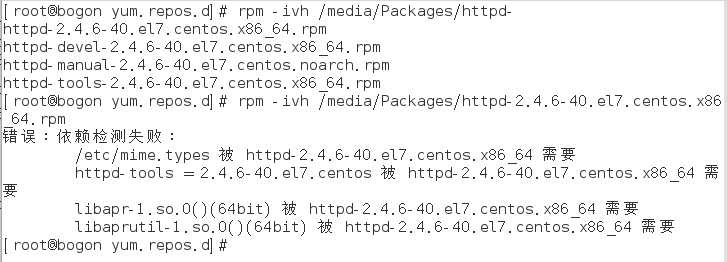
由图片显示可知,我们需要四个依赖包和一个需要安装的软件包,我们将这几个软件包拷到/createrepo下,并建立软件包关系repodeta,制作成createrepo仓库。
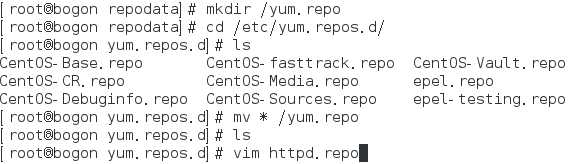
2) 自定义repo文件
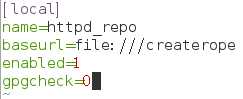
然后yum仓库建立完毕后我们需要利用yum安装,需要将yum这个指令指向这个仓库,也就是创建yum的配置文件(repo文件),首先我们需要进入/etc/yum.repos.d中,并将里面的系统自带的repo文件移到其他位置 ,因为这些配置文件里面的yum源是指向centos官网,如果不移走,它会挨个执行这些文件,可能会更新系统与软件等,导致某些操作失常。当然如果如果不移走,我们将配置文件的enabled选项改成0也可。现在我们先自定义安装httpd的repo文件,利用vim httpd.repo。
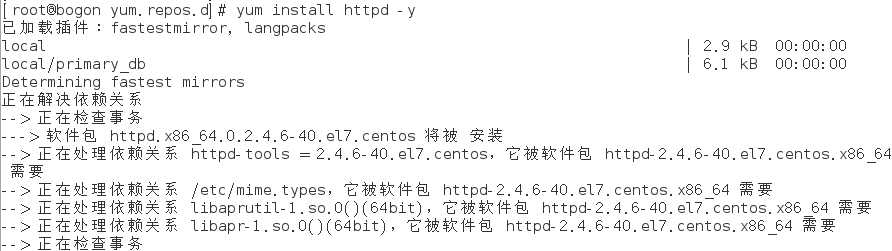
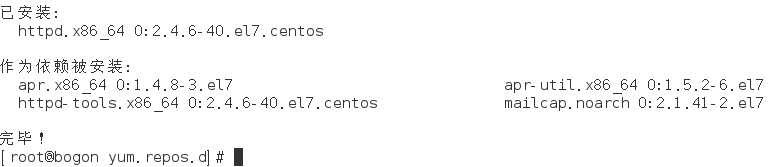
3) 使用yum命令安装httpd软件包
完成以上步骤后就可以进行安装httpd软件包了。(其中-y表示yes )
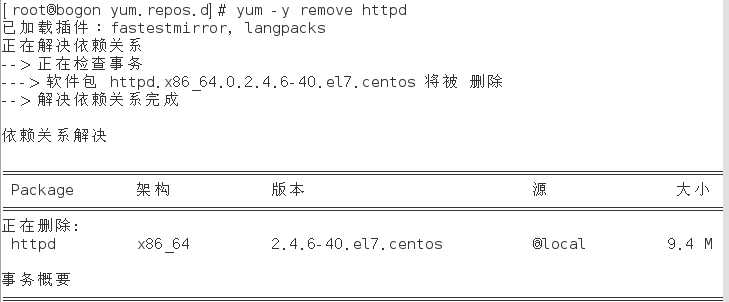
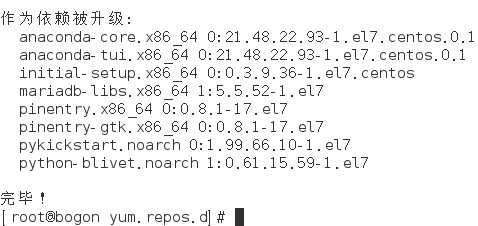
4) 卸载httpd软件包:yum –y remove 软件名
5) 使用yum安装组件‘KDE 桌面‘:yum –y groupinstall 组件名
在安装前,我们先需要把yum.repos.d内的配置文件移回来,才会根据可靠的yum源在网上找到KDE桌面软件包。

6) 掌握使用yum删除组件‘KDE 桌面’:yum –y groupremove 组件名

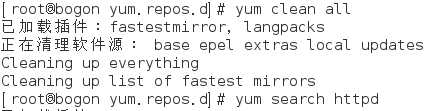
7) 掌握清除yum缓存:yum clean all
注:为什么要清除缓存;缓存会把之前安装过的安装包放到里面,如果你再没清缓存的情况下,再次进行yum安装,他找的是你之前安装软件的那个源,
这种情况下可能会报错或者找不到你想要安装的软件,如果清理一次的话, 他会重新加载一次源,加在你所设置的配置文件。
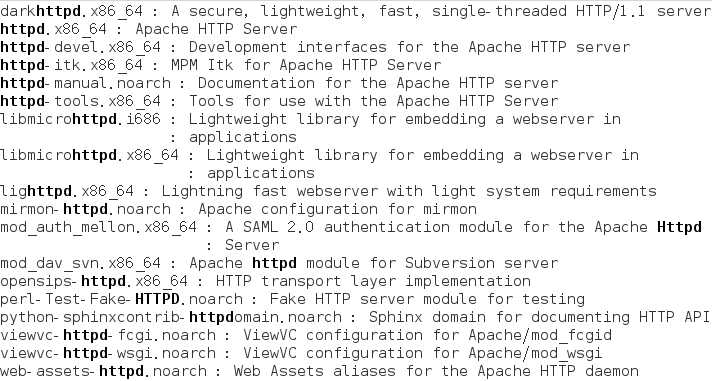
8) 使用yum查找软件包:yum search 软件包名
在连网搜寻后,我们会发现这是带有httpd的软件包。
作业六:源码安装python
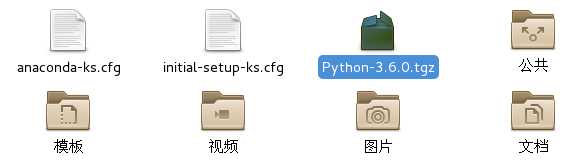
1.首先我们需要在官网上下载Python3.6版本的压缩包,然后将压缩包直接从物理机上拖到虚拟机上你想存放的目录下(这里我们放在root下),由于这是源码基于c,我们需要安装gcc用来编译这些源代码。
对于gcc,属于一个glibc的库文件,他们就是可以编译c的开发工具,而这些在Packages包里存在,因此像上面安装软件包一样,我们需要先配置一个yum的repo文件。然后安装。

注:在这里我们需要注意的是在制作repo文件时,需要将源指向本地.因此你需要先将/dev/sr0挂载到一个目录下(因为原挂载路径里面包含空格,作为源链接可能会报错)
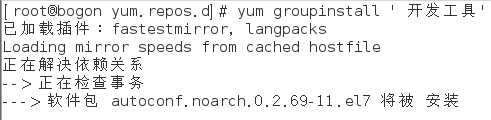
注:我们安装的是所有的开发工具,其中包括gcc(用以编译c)
2.安装完毕后,我们就可以编译Python安装包了,由于我们下载的是压缩包,在这里我们先解压。

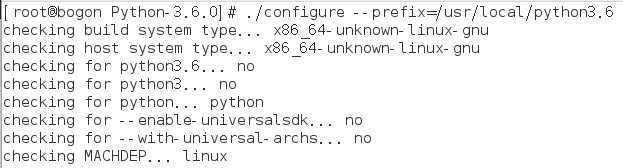
解压完毕后我们cd到解压的目录下(cd Python-3.6.0)

在这里我们需要执行configure文件(他可以配置安装选项),我们将它设置安装到/usr/local/python3.6.
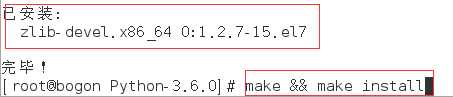
3.最后我们编译(make)和安装(make install)。代码写为(make && make install)
在安装过程中,出现了zlib不可用,在这里我们安装一个zlib就可以了。安装完毕后重新执行之前的命令。

安装完毕后重新执行之前的命令。
4.这样我们就完成了对于Python3.6的安装。如果想要运行它我们需要cd到他安装到的地方,下面会有一个bin目录,里面装的是可执行文件,进入后我们./Python3.6就可以使用了。

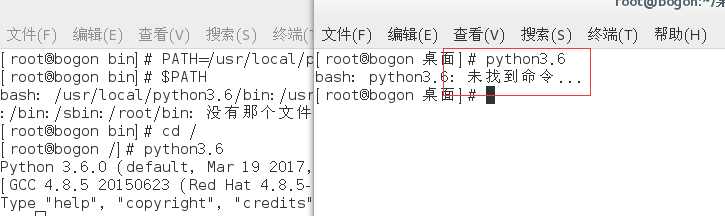
5.当然如果这样每次这样运行会很麻烦,我们可以将它加入环境变量,让他在任何目录下只要输入Python3.6都可以运行。
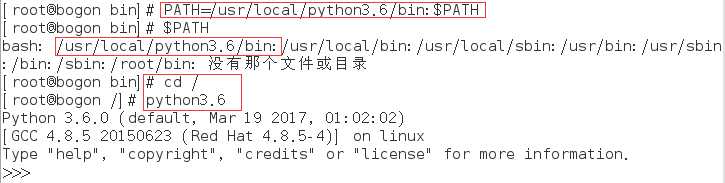
我们可以看到上图已经将其加入环境变量PATH中,并且cd到任何目录下都可以运行,可是为了可以永久保存这一特性(即在其他终端或者再次开机后也可以使用),我们需要将其加入/etc/profile中,(执行vim /etc/profile),并保存退出。
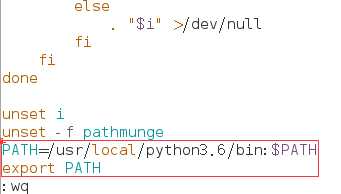
这样就完成了Python的整个安装。
以上是关于Linux基础的主要内容,如果未能解决你的问题,请参考以下文章