JavaFx:窗口切换和ListView以及TableView的值绑定
Posted 你是小KS
tags:
篇首语:本文由小常识网(cha138.com)小编为大家整理,主要介绍了JavaFx:窗口切换和ListView以及TableView的值绑定相关的知识,希望对你有一定的参考价值。
1. 声明
当前内容主要用于本人学习和使用JavaFx实现窗口切换,以及为ListView和TableView绑定数据的操作
主要坑
- 由于前面使用了openjfx 11的版本,
结果在为ListView获取点击事件的时候出现了字节码不匹配的错误(果断切换回jdk自带的javafx) - TableView绑定数据时需要将bean的属性和字段绑定
2. 前期工作(切换jdk8的javafx)
找到java的jdk目录下jfxrt.jar这个jar包就可以了
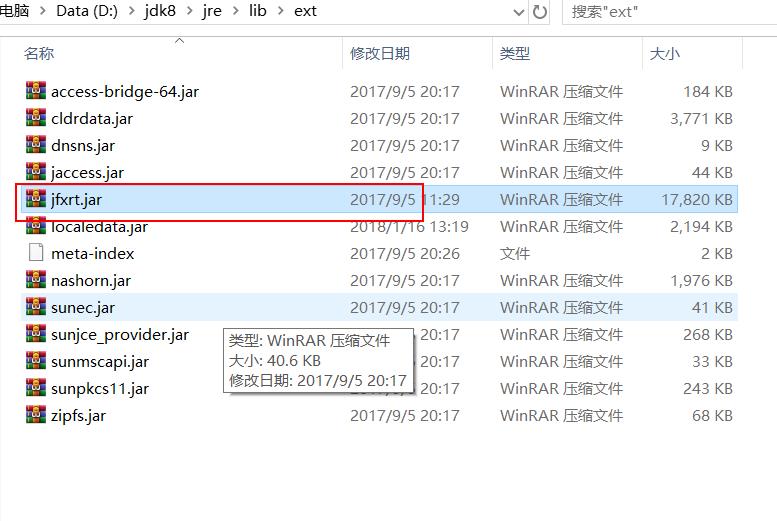
将之前的openjfx 11的版本从库中删除,添加这个即可

3.开始使用SceneBuilder画图(实现登录和数据展示页面)

然后为其添加各种fx:id和点击事件
最后fxml为
1.login.fxml
<?xml version="1.0" encoding="UTF-8"?>

<?import javafx.scene.control.Button?>
<?import javafx.scene.control.Label?>
<?import javafx.scene.control.TextField?>
<?import javafx.scene.layout.Pane?>
<?import javafx.scene.layout.VBox?>
<?import javafx.scene.text.Font?>


<VBox maxHeight="-Infinity" maxWidth="-Infinity" minHeight="-Infinity" minWidth="-Infinity" prefHeight="400.0" prefWidth="600.0" xmlns="http://javafx.com/javafx/8.0.151" xmlns:fx="http://javafx.com/fxml/1" fx:controller="com.hy.java.gui.javafx.iotdb.controller.LoginController">
   <children>
      <Pane prefHeight="404.0" prefWidth="600.0">
         <children>
            <Button layoutX="396.0" layoutY="331.0" mnemonicParsing="false" onAction="#login" text="登录" />
            <Label layoutX="133.0" layoutY="116.0" text="ip" />
            <TextField fx:id="iotdbIp" layoutX="246.0" layoutY="107.0" />
            <Label layoutX="133.0" layoutY="168.0" text="port" />
            <TextField fx:id="iotdbPort" layoutX="246.0" layoutY="159.0" />
            <Label layoutX="133.0" layoutY="228.0" text="username" />
            <TextField fx:id="iotdbUsername" layoutX="246.0" layoutY="219.0" />
            <Label layoutX="168.0" layoutY="32.0" text="欢迎使用IOTDB可视化访问工具">
               <font>
                  <Font size="18.0" />
               </font>
            </Label>
            <Label layoutX="133.0" layoutY="283.0" text="password" />
            <TextField fx:id="iotdbPassword" layoutX="246.0" layoutY="274.0" />
            <Label fx:id="loginMsg" layoutX="197.0" layoutY="336.0" prefHeight="20.0" prefWidth="150.0" />
         </children>
      </Pane>
   </children>
</VBox>
2.main.fxml
<?xml version="1.0" encoding="UTF-8"?>
<?import javafx.scene.control.ListView?>
<?import javafx.scene.control.SplitPane?>
<?import javafx.scene.control.TableColumn?>
<?import javafx.scene.control.TableView?>
<?import javafx.scene.layout.AnchorPane?>
<?import javafx.scene.layout.VBox?>
<VBox maxHeight="-Infinity" maxWidth="-Infinity" minHeight="-Infinity" minWidth="-Infinity" prefHeight="601.0" prefWidth="874.0" xmlns="http://javafx.com/javafx/8.0.151" xmlns:fx="http://javafx.com/fxml/1" fx:controller="com.hy.java.gui.javafx.iotdb.controller.MainController">
<children>
<SplitPane dividerPositions="0.17879948914431673" prefHeight="606.0" prefWidth="874.0">
<items>
<AnchorPane minHeight="0.0" minWidth="0.0" prefHeight="160.0" prefWidth="100.0">
<children>
<ListView fx:id="storageGroupList" prefHeight="499.0" prefWidth="136.0" AnchorPane.bottomAnchor="0.0" AnchorPane.leftAnchor="0.0" AnchorPane.rightAnchor="0.0" AnchorPane.topAnchor="0.0" />
</children>
</AnchorPane>
<AnchorPane minHeight="0.0" minWidth="0.0" prefHeight="160.0" prefWidth="100.0">
<children>
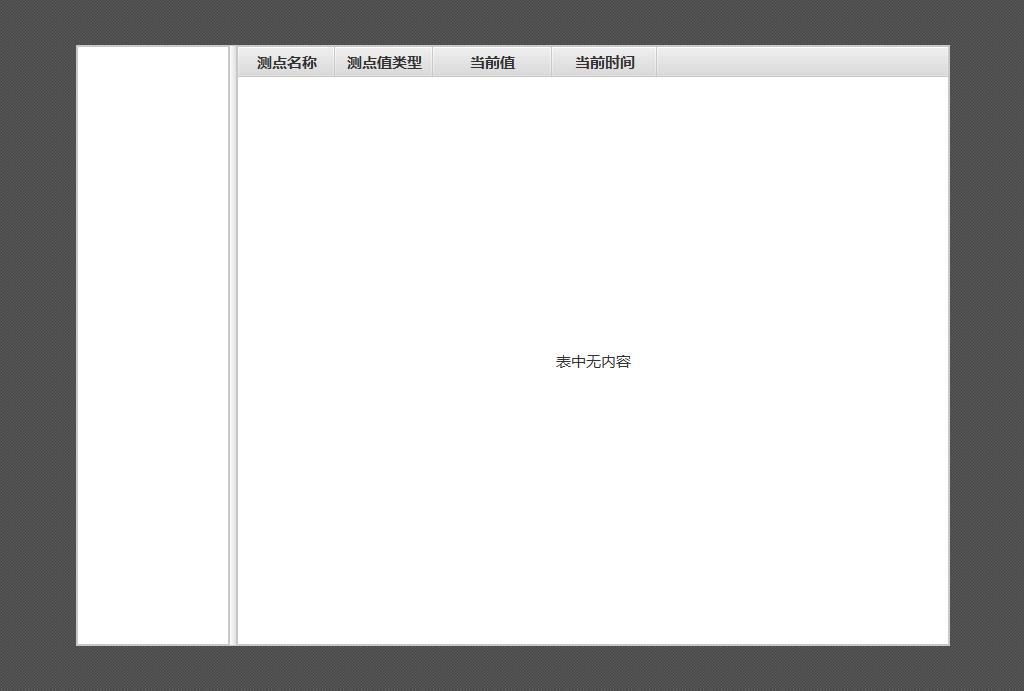
<TableView fx:id="mpInfo" prefHeight="499.0" prefWidth="639.0" AnchorPane.bottomAnchor="0.0" AnchorPane.leftAnchor="0.0" AnchorPane.rightAnchor="0.0" AnchorPane.topAnchor="0.0">
<columns>
<TableColumn prefWidth="97.0" text="测点名称">
</TableColumn>
<TableColumn prefWidth="98.0" text="当前时间">
</TableColumn>
<TableColumn prefWidth="119.0" text="当前值">
</TableColumn>
</columns>
</TableView>
</children>
</AnchorPane>
</items>
</SplitPane>
</children>
</VBox>
4. 简单的实现
1.关于窗口切换,个人简单的思路就是使用全局的进行标记,然后调用Stage的hide()和show(),来完成窗口的显示和隐藏,完成窗口的切换
1.基本的controller层
LoginController
package com.hy.java.gui.javafx.iotdb.controller;

import java.io.IOException;

import com.hy.java.gui.javafx.iotdb.AppConstant;
import com.hy.java.gui.javafx.iotdb.properties.IotDBProperties;
import com.hy.java.gui.javafx.iotdb.utils.MsgUtils;
import com.hy.java.gui.javafx.iotdb.utils.NumberUtils;
import com.hy.java.gui.javafx.iotdb.utils.StringUtils;
import javafx.event.Event;
import javafx.fxml.FXML;
import javafx.fxml.FXMLLoader;
import javafx.scene.Parent;
import javafx.scene.Scene;
import javafx.scene.control.Label;
import javafx.scene.control.TextField;
import javafx.scene.paint.Color;
import javafx.stage.Stage;
import javafx.scene.control.Alert.AlertType;
/**
 *
 * @author hy
 * @createTime 2021-07-25 17:09:00
 * @description 主要的登录界面
 *
 */
public class LoginController {
	@FXML
	TextField iotdbIp;
	@FXML
	TextField iotdbPort;
	@FXML
	TextField iotdbUsername;
	@FXML
	TextField iotdbPassword;
	@FXML
	Label loginMsg;

	@FXML
	public void login(Event event) {
		// 检查登录参数是否填写完毕
		boolean check = loginCheck();
		if (check) {
			IotDBProperties iotDBProperties = createIotDBProperties();
			boolean checkCanConnectionTODB = checkCanConnectionTODB(iotDBProperties);
			if (!checkCanConnectionTODB) {
				MsgUtils.alert(AlertType.ERROR, "错误", "打开连接失败!");
				loginMsg.setText("打开连接失败!");
				loginMsg.setTextFill(Color.RED);
			} else {
				// 直接打开另外一个界面
				try {
					if (AppConstant.mainStage == null) {
						openMainStage(new Stage());
					}else {
						openMainStage(AppConstant.mainStage);
					}

				} catch (IOException e) {
					e.printStackTrace();
					MsgUtils.alert(AlertType.ERROR, "错误", e.getMessage());
				}

			}
		}

	}

	private void openMainStage(Stage mainStage) throws IOException {
		Parent root = FXMLLoader.load(getClass().getResource("../resources/main.fxml"));
		Scene scene = new Scene(root, 500, 450);
		mainStage.setTitle("open other window");
		mainStage.setScene(scene);
		mainStage.setOnCloseRequest((event) -> {
			AppConstant.loginStage.show();
			mainStage.close();
		});
		// 保存上一次的状态
		AppConstant.mainStage = mainStage;
		AppConstant.loginStage.hide();
		mainStage.show();
	}

	private boolean loginCheck() {
		String ipString = iotdbIp.getText();
		String portString = iotdbPort.getText();
		String usernameString = iotdbUsername.getText();
		String passwordString = iotdbPassword.getText();

		if (StringUtils.isEmpty(ipString)) {
			iotdbIp.setText(AppConstant.DEFAULT_IP);
		}
		if (StringUtils.isEmpty(portString)) {
			iotdbPort.setText(String.valueOf(AppConstant.DEFAULT_PORT));
		} else {
			boolean intNum = NumberUtils.isIntNum(portString);
			if (!intNum) {
				MsgUtils.alert(AlertType.ERROR, "错误", "当前输入的端口=" + portString + "不是整数");
				return false;
			}
		}
		if (StringUtils.isEmpty(usernameString)) {
			iotdbUsername.setText(AppConstant.DEFAULT_USERNAME);
		}
		if (StringUtils.isEmpty(passwordString)) {
			iotdbPassword.setText(AppConstant.DEFAULT_PASSWORD);
		}
		return true;

	}

	private IotDBProperties createIotDBProperties() {
		String ipString = iotdbIp.getText();
		String portString = iotdbPort.getText();
		String usernameString = iotdbUsername.getText();
		String passwordString = iotdbPassword.getText();
		IotDBProperties iotDBProperties = new IotDBProperties();
		iotDBProperties.setIp(ipString);
		iotDBProperties.setPort(portString);
		iotDBProperties.setUsername(usernameString);
		iotDBProperties.setPassword(passwordString);
		return iotDBProperties;
	}

	private boolean checkCanConnectionTODB(IotDBProperties iotDBProperties) {
		return true;
	}

}
MainController
package com.hy.java.gui.javafx.iotdb.controller;

import java.net.URL;
import java.util.ResourceBundle;
import com.hy.java.gui.javafx.iotdb.pojo.MeasurementPointData;
import com.sun.javafx.scene.control.skin.LabeledText;
import javafx.collections.ObservableList;
import javafx.event.EventTarget;
import javafx.fxml.FXML;
import javafx.fxml.Initializable;
import javafx.scene.control.ListView;
import javafx.scene.control.TableColumn;
import javafx.scene.control.TableView;
import javafx.scene.control.cell.PropertyValueFactory;
/**
 *
 * @author hy
 * @createTime 2021-07-25 17:08:29
 * @description 主要查看iotdb数据的地方
 *
 */
public class MainController implements Initializable {
	@FXML
	ListView<String> storageGroupList; // 左边显示存储组
	@FXML
	TableView<MeasurementPointData> mpInfo; // 右边存放mpInfo的信息

	@Override
	public void initialize(URL arg0, ResourceBundle arg1) {
		// TODO Auto-generated method stub
		// SimpleListProperty<String> storageGroupDatas=new
		// SimpleListProperty<String>();
		ObservableList<String> items = storageGroupList.getItems();
		items.add("root.test.machine");
		items.add("root.test.machine1");
		// 开始获取当前的table中的数据,必须通过点击事件获取,例如点击左边的测点
		storageGroupList.setOnMouseClicked((event) -> {
			// System.out.println("listView==>event=" + event);
			EventTarget target = event.getTarget();
			System.out.println(target);
			// 这里不能执行强制类型转换操作,由于字节码文件不支持(54,而当前为52)
			if (target == null) {
				return;
			}
			if (target instanceof LabeledText) {
				LabeledText clickLabeledText = (LabeledText) target;
				String text = clickLabeledText.getText();

				System.out.println("获取当前点击的目标存储组为:" + text);
				// 下面这里可能从iotdb中获取实际的数据,并加载数据到TableView
				setMpDataFromDB(text);
			}

		});

		ObservableList以上是关于JavaFx:窗口切换和ListView以及TableView的值绑定的主要内容,如果未能解决你的问题,请参考以下文章