RedHat 6 安装配置Apache 2.2
Posted
tags:
篇首语:本文由小常识网(cha138.com)小编为大家整理,主要介绍了RedHat 6 安装配置Apache 2.2相关的知识,希望对你有一定的参考价值。
本文主要测试Redhat 6安装配置Apache httpd 2.2.31,内容包括:安装部署Apache 2.2.31、配置基于域名的虚拟主机、配置基于端口的虚拟主机、配置虚拟目录、修改默认页面和设置开机启动。
测试环境:
操作系统版本:Red Hat Enterprise Linux Server release 6.5 (Santiago),最小化安装
gcc版本:gcc-4.4.7-4.el6.x86_64(操作系统介质自带)
Apache版本:httpd-2.2.31.tar.gz
apr与apr-util版本:1.3(httpd-2.2.31.tar.gz自带)
一、安装部署
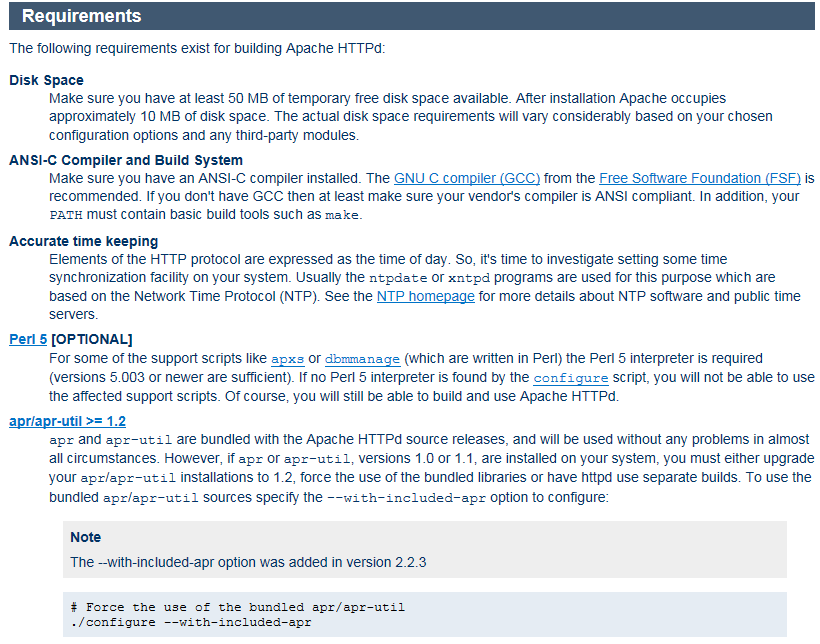
1、通过官网查阅安装Apache 2.2的要求(见下图)主要有:磁盘可用空间大于50M、ANSI-C编译器及编译环境(如gcc)、确保准确的时间(如NTP时间同步,其实不配置也不影响安装)、Perl5(可选)、apr与apr-util(1.2及以上版本)。通过官网说明可知其中apr与apr-util的安装又有两种方式,分别是强制使用附随的源代码安装和手动单独安装,这两种方式本文将分别进行测试
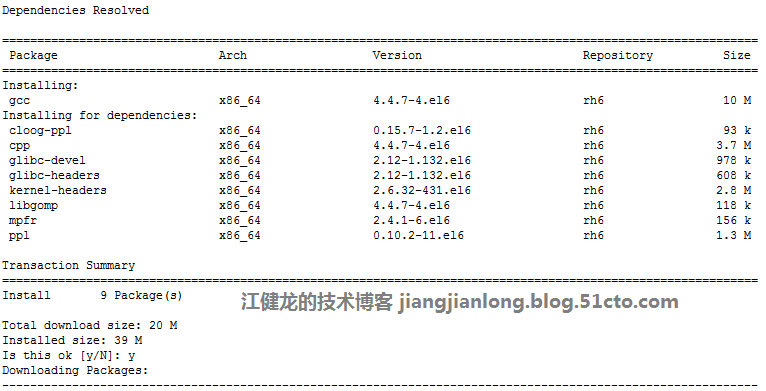
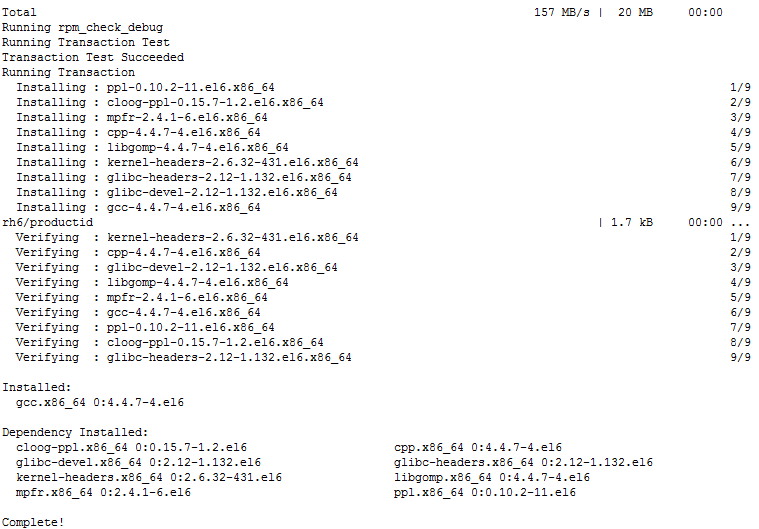
2、使用yum安装gcc
[[email protected] tmp]# yum install gcc
3、将httpd-2.2.31.tar.gz上传到/tmp,使用命令tar -zxvf httpd-2.2.31.tar.gz进行解压,然后对虚拟机做一个快照,方便测试完安装方式一后回滚快照,再测试安装方式二
[[email protected]]# tar -zxvf
httpd-2.2.31.tar.gz
A:使用安装方式一:强制使用附随的apr/apr-util源代码
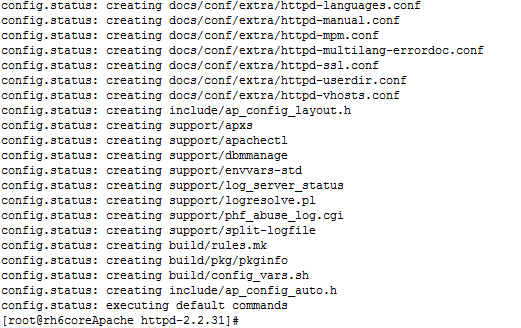
(1)进入Apache httpd-2.2.31的解压后的目录,通过命令./configure --with-included-apr进行Apache httpd的源代码配置
[[email protected] httpd-2.2.31]# ./configure --with-included-apr
(2)通过命令make编译Apache
[[email protected] httpd-2.2.31]# make
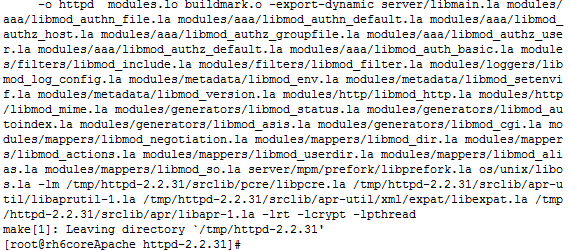
(3)通过命令make install编译安装Apache
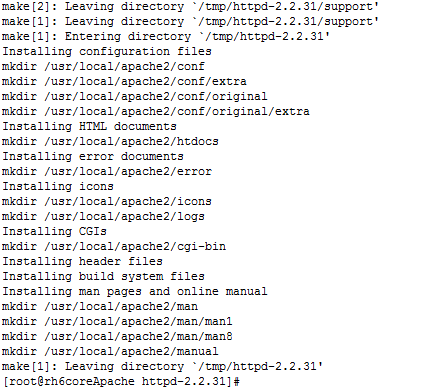
[[email protected] httpd-2.2.31]# make install
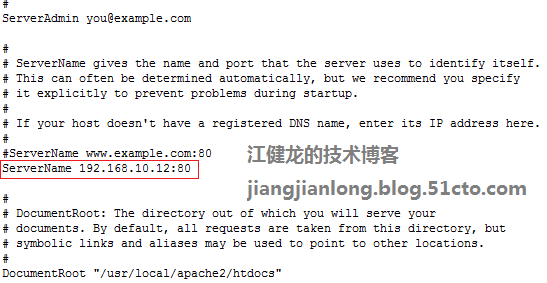
(4)编译安装完的默认安装路径为/usr/local/apache2,修改conf下的httpd.conf文件,修改ServerName为服务器IP地址:80
(5)到bin目录下执行命令./apachectl -k start 启动Apache服务
(6)通过浏览器访问服务器IP,出现It works!表明Apache服务器已正常启动运行
B:安装方式二:单独编译安装apr、apr-util
(1)通过快照回滚,进行测试单独编译安装apr与apr-util,首先进入解压后的Apache源码包的srclib目录,可以看到Apache httpd-2.2.31源码包自带了apr\apr-util,是1.3版的,当然,我们也可以去下载最新版的apr\apr-util
(2)编译安装apr,进入apr的目录,依次执行命令./configure --prefix=/usr/local/apr-httpd、make、make install
[[email protected] apr]# ./configure --prefix=/usr/local/apr-httpd
[[email protected] apr]# make
[[email protected] apr]# make install
(3)编译安装apr-util,进入apr-util的目录,依次执行命令./configure --prefix=/usr/local/apr-util-httpd --with-apr=/usr/local/apr-httpd、make、make install
[[email protected] apr-util]# ./configure --prefix=/usr/local/apr-util-httpd --with-apr=/usr/local/apr-httpd/
[[email protected] apr-util]# make
[[email protected] apr-util]# make install
(4)编译安装Apache,依次执行命令 ./configure --with-apr=/usr/local/apr-httpd/ --with-apr-util=/usr/local/apr-util-httpd、make、make install
[[email protected] apr-util]# cd ../../
[[email protected] httpd-2.2.31]# ./configure --with-apr=/usr/local/apr-httpd/ --with-apr-util=/usr/local/apr-util-httpd/
[[email protected] httpd-2.2.31]# make
[[email protected] httpd-2.2.31]# make install
(5)编译安装完的默认安装路径为/usr/local/apache2,修改conf下的httpd.conf文件,修改ServerName为服务器IP地址:80
(6)到bin目录下执行命令./apachectl -k start 启动Apache服务
(7)通过浏览器访问服务器IP,出现“It works!”表明Apache服务器已正常启动运行
(8)启动、停止、重启Apache服务的命令
启动服务 apachectl -k start
停止服务 apachectl -k stop
重启服务 apachectl -k resar
优雅地重启 apachectl -k graceful
优雅地停止 apachectl -k graceful-stop
二、配置基于域名的虚拟主机
本文原始出处:江健龙的技术博客 http://jiangjianlong.blog.51cto.com/3735273/1858453
1、建立目录/test1,并在其中创建一个index.html文件,内容为 welcome to jiangjianlong.blog.51cto.com
2、建立目录/test2,并在其中创建一个index.html文件,内容为 hello world
3、修改conf/httpd.conf文件,将Include conf/extra/httpd-vhosts.conf这一行的注释符删掉,以启用conf/extra/httpd-vhosts.conf
4、修改conf/extra/httpd-vhosts.conf文件,将两个默认示例修改为下图所示,分别配置为www.test1.com和www.test2.com两个虚拟主机
<VirtualHost *:80>
ServerAdmin [email protected]
DocumentRoot "/test1"
ServerName www.test1.com
ErrorLog "logs/test1.com-error_log"
CustomLog "logs/test1.com-access_log" common
<Directory "/test1">
AllowOverride None
Options None
Order allow,deny
Allow from all
</Directory>
</VirtualHost>
<VirtualHost *:80>
ServerAdmin [email protected]
DocumentRoot "/test2"
ServerName www.test2.com
ErrorLog "logs/test2.com-error_log"
CustomLog "logs/test2.com-access_log" common
<Directory "/test2">
AllowOverride None
Options None
Order allow,deny
Allow from all
</Directory>
</VirtualHost>
5、重启服务bin/apachectl -k graceful
6、在笔记本做hosts解析,将www.test1.com和www.test2.com都解析到相同的服务器IP
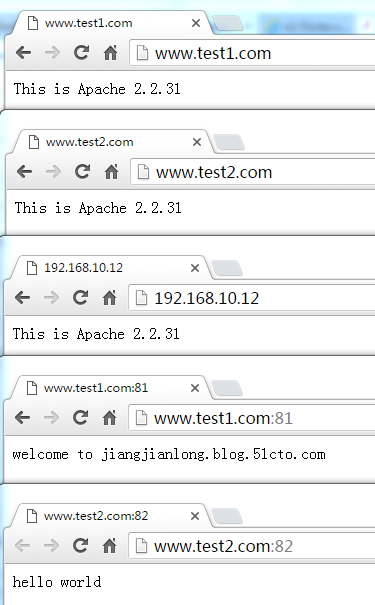
7、使用浏览器访问www.test1.com,成功访问到/test1/index.html的页面
8、使用浏览器访问www.test2.com,成功访问到/test2/index.html的页面
9、而此时如果用IP访问,仍是访问到默认页面
三、配置基于端口的虚拟主机
本文原始出处:江健龙的技术博客 http://jiangjianlong.blog.51cto.com/3735273/1858453
1、修改conf/httpd.conf文件,增加监听 81和82端口
2、修改conf/extra/httpd-vhosts.conf文件,将两个虚拟主机的*:80分别修改成*:81和*:82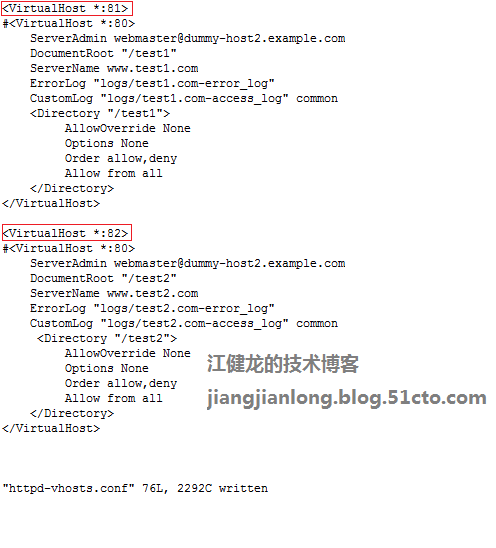
3、重启Apache服务
[[email protected] extra]# /usr/local/apache2/bin/apachectl -k restart
4、使用IP地址+端口进行访问,成功访问到不同页面
5、使用域名+不同端口进行访问,也成功访问到不同页面,如果不加端口则访问到默认页面
四、配置虚拟目录
本文原始出处:江健龙的技术博客 http://jiangjianlong.blog.51cto.com/3735273/1858453
1、在/test1中建立子目录/test1/abc,并创建一个index.html页面,内容为“abc”
2、在/test2中建立子目录/test2/opq,并创建一个index.html页面,内容为“opq”
3、修改conf/httpd.conf文件,在文件末尾增加2行,分别是Alias /abc "/test1/abc"、Alias /opq "/test2/opq“
4、重启Apache服务
[[email protected] extra]# /usr/local/apache2/bin/apachectl -k restart
5、分别使用IP+端口+虚拟目录或者域名+端口+虚拟目录进行访问,都能成功访问到对应的页面
六、修改默认页面并设置开机启动
本文原始出处:江健龙的技术博客 http://jiangjianlong.blog.51cto.com/3735273/1858453
1、创建/www/index.html,内容为 This is Apache 2.2.31
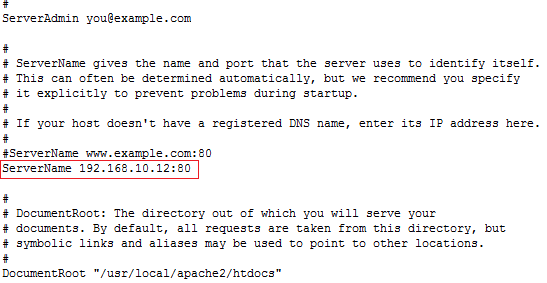
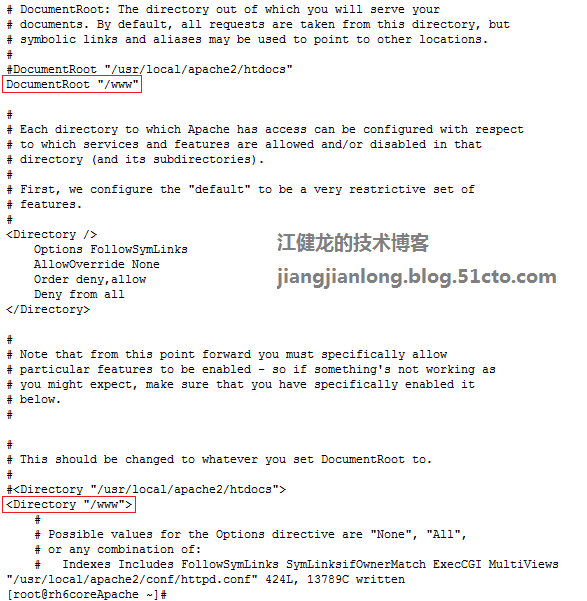
2、编辑conf/httpd.conf文件,修改下图红框处的路径为 /www
3、重启Apache服务
[[email protected] extra]# /usr/local/apache2/bin/apachectl -k restart
3、使用域名或IP+默认的80端口成功访问到/www下的页面,说明默认页面已成功修改,加上端口则访问到对应的其他页面
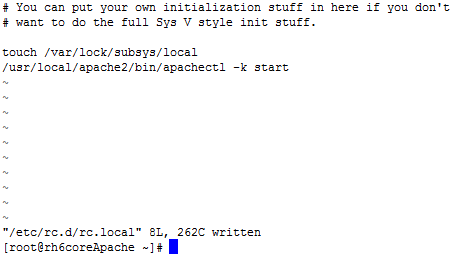
4、将启动Apache的命令加入到/etc/rc.d/rc.local文件中,实现开机启动
本文出自 “江健龙的技术博客” 博客,请务必保留此出处http://jiangjianlong.blog.51cto.com/3735273/1858453
以上是关于RedHat 6 安装配置Apache 2.2的主要内容,如果未能解决你的问题,请参考以下文章
linux redhat 5.5 apache tomcat,RedHat企业版5.5下Tomcat的安装配置
