基于深度卷积神经网络的车牌识别
Posted 饿了就去写代码
tags:
篇首语:本文由小常识网(cha138.com)小编为大家整理,主要介绍了基于深度卷积神经网络的车牌识别相关的知识,希望对你有一定的参考价值。
ANPR算法(车牌自动识别系统)
1.车牌检测
在整个视频帧中检测到车牌的位置。
2.车牌识别
当在图像中检测到车牌时,使用OCR(光学字符识别)算法来识别车牌上的字母和数字。
1.1车牌检测
这一步要检测当前帧中的所有车牌,我们将其分为两个主要步骤,分割和分类。
在第一步(分割)中,将应用不同的滤波器,形态学算子,轮廓算法来验证图像中可能包含的车牌的部分。
在第二步(分类)中,将对每个图像块(特征)应用SVM分类器进行分类。先训练两个不同的类:车牌和非车牌。
1.1.1分割
车牌分割的一个重要特征是:假设图像是正面拍的,车牌没有旋转,则车牌会有大量的垂直边缘,首次分割的时候,可以利用这个特征来深处没有任何垂直边缘的区域。
在找到垂直边缘之前,需要将彩色图像转换为灰度图像,并消除可能由相机或其他因素产生的噪点,利用5x5高斯模糊去噪。
//转化为灰度图像
Mat img_gray;
cvtColor(input,img_gray,CV_BGR2GRAY);
blur(img_gray,img_gray,Size(5,5));
为了找到垂直边缘,采用Sobel滤波器对水平方向(x)求一阶导数,这个导数是一个数学导数,可以在图像上找到垂直边缘,函数定义如下:
CV_EXPORTS_W void Sobel( InputArray src, OutputArray dst, int ddepth,
                         int dx, int dy, int ksize = 3,
                         double scale = 1, double delta = 0,
                         int borderType = BORDER_DEFAULT );
这里ddepth是目标图像深度,xorder是对x求导的阶数,yorder是对y求导的阶数,ksize表示kernel的大小,取值为1,3,5,7(默认3),scale是计算导数值的可选因子,delta是加入结果的可选值(默认0),borderType是橡树内插方法。
这里采用xorder=1,yorder=0,ksize=3。
//寻找垂直边缘
Mat img_sobel;
Sobel(img_gray,img_sobel,CV_8U,1,0,3,1,0);
Sobel滤波器后,采用阈值滤波器来获得二值图像,阈值通过Otsu算法得到(Otsu算法通过输入一个8位图像,自动获取图像的最优阈值)
//阈值图像
Mat img_threshold;
threshold(img_sobel,img_threshold,0,255,CV_THRESH_OTSU+CV_THRESH_BINARY;
通过使用一个闭形态学算子,可以去除每条垂直边缘线之间的空白区,并将边缘数目较多的区域连接在一起,在此步骤中,可能包含车牌区域。
先定义形态学算子中使用的结构元素,这里定义具有17x3大小的结构矩形元素,其他图像可能元素尺寸不一样
Mat element = getStructuringElement(MORPH_RECT,Size(17,3));然后,在闭形态学算子中通过morphologyEx函数使用这个结构元素。
morphologyEx(img_threshold,img_threshold,CV_MOP_CLOSE_element);上述操作后,得到了包含车牌的区域,但是大多数区域并不包含插排,可以使用findContours函数来拆分这些区域,下面这个函数用来获取二进制图像的轮廓。
    // Find contours of possibles plates
    vector<vector<Point>> contours;
    findContours(img_threshold,
        contours, // a vector of contours
        cv::RETR_EXTERNAL, // retrieve the external contours
        cv::CHAIN_APPROX_NONE); // all pixels of each contours
可用minAreaRect函数对检测到的每一个轮廓,提取最小面积的边界矩形。
    // Remove patch that are no inside limits of aspect ratio and area.
    while (itc != contours.end()) {
        // Create bounding rect of object
        RotatedRect mr = minAreaRect(Mat(*itc));
        if (!verifySizes(mr)) {
            itc = contours.erase(itc);
        } else {
            ++itc;
            rects.push_back(mr);
        }
    }
根据区域面积和纵横比,对检测到的区域进行基本验证,若纵横比约为520/110=4.727272,那么认为该区域是个车牌,误差范围位40%,车牌区域高度误差在15~125个像素,这些参数因为图像的大小,相机的位置而不同。
bool DetectRegions::verifySizes(RotatedRect mr)
{
    float error = 0.4;
    // Spain car plate size: 52x11 aspect 4,7272
    float aspect = 4.7272;
    // Set a min and max area. All other patchs are discarded
    int min = 15 * aspect * 15; // minimum area
    int max = 125 * aspect * 125; // maximum area
    // Get only patchs that match to a respect ratio.
    float rmin = aspect - aspect * error;
    float rmax = aspect + aspect * error;

    int area = mr.size.height * mr.size.width;
    float r = (float)mr.size.width / (float)mr.size.height;
    if (r < 1)
        r = (float)mr.size.height / (float)mr.size.width;

    if ((area < min || area > max) || (r < rmin || r > rmax)) {
        return false;
    } else {
        return true;
    }
}
所有的车牌都有白色的背景,为了得到精确的裁剪,可使用漫水填充算法来获取旋转的矩形。
    for (int i = 0; i < rects.size(); i++) {
        // For better rect cropping for each posible box
        // Make floodfill algorithm because the plate has white background
        // And then we can retrieve more clearly the contour box
        circle(result, rects[i].center, 3, Scalar(0, 255, 0), -1);
        // get the min size between width and height
        float minSize = (rects[i].size.width < rects[i].size.height) ? rects[i].size.width
                                                                     : rects[i].size.height;
        minSize = minSize - minSize * 0.5;
        // initialize rand and get 5 points around center for floodfill algorithm
        srand(time(NULL));
        // Initialize floodfill parameters and variables
        Mat mask;
        mask.create(input.rows + 2, input.cols + 2, CV_8UC1);
        mask = Scalar::all(0);
        const int loDiff = 30;
        const int upDiff = 30;
        const int connectivity = 4;
        const int newMaskVal = 255;
        const int NumSeeds = 10;
        Rect ccomp;
        const int flags = connectivity
            + (newMaskVal << 8)
            + cv::FLOODFILL_FIXED_RANGE
            + cv::FLOODFILL_MASK_ONLY;
        for (int j = 0; j < NumSeeds; j++) {
            Point seed;
            seed.x = rects[i].center.x + rand() % (int)minSize - (minSize / 2);
            seed.y = rects[i].center.y + rand() % (int)minSize - (minSize / 2);
            circle(result, seed, 1, Scalar(0, 255, 255), -1);
            int area = floodFill(input, mask, seed, Scalar(255, 0, 0), &ccomp,
                Scalar(loDiff, loDiff, loDiff), Scalar(upDiff, upDiff, upDiff), flags);
        }
一旦有了裁剪掩码,可用利用图像掩码来得到一个最小面积的矩形,并再次检查他的有效大小。
// Check new floodfill mask match for a correct patch.
        // Get all points detected for get Minimal rotated Rect
        vector<Point> pointsInterest;
        Mat_<uchar>::iterator itMask = mask.begin<uchar>();
        Mat_<uchar>::iterator end = mask.end<uchar>();
        for (; itMask != end; ++itMask)
            if (*itMask == 255)
                pointsInterest.push_back(itMask.pos());

        RotatedRect minRect = minAreaRect(pointsInterest);

        if (verifySizes(minRect)) {
            // rotated rectangle drawing
            Point2f rect_points[4];
            minRect.points(rect_points);
            for (int j = 0; j < 4; j++)
                line(result, rect_points[j], rect_points[(j + 1) % 4], Scalar(0, 0, 255), 1, 8);

            // Get rotation matrix
            float r = (float)minRect.size.width / (float)minRect.size.height;
            float angle = minRect.angle;
            if (r < 1)
                angle = 90 + angle;
            Mat rotmat = getRotationMatrix2D(minRect.center, angle, 1);

            // Create and rotate image
            Mat img_rotated;
            warpAffine(input, img_rotated, rotmat, input.size(), cv::INTER_CUBIC);

            // Crop image
            Size rect_size = minRect.size;
            if (r < 1)
                swap(rect_size.width, rect_size.height);
            Mat img_crop;
            getRectSubPix(img_rotated, rect_size, minRect.center, img_crop);
裁剪到的图像不适合用于训练与分类,因为他们的大小不同,此外他们的光照条件也不同,为此,可将所有的图像都缩放至相同的尺寸,并用光照直方图来调整所有的图像。
            Mat resultResized;
            resultResized.create(33, 144, CV_8UC3);
            resize(img_crop, resultResized, resultResized.size(), 0, 0, INTER_CUBIC);
            // Equalize croped image
            Mat grayResult;
            cvtColor(resultResized, grayResult, cv::COLOR_BGR2GRAY);
            blur(grayResult, grayResult, Size(3, 3));
            grayResult = histeq(grayResult);
            if (saveRegions) {
                stringstream ss(stringstream::in | stringstream::out);
                ss << "tmp/" << filename << "_" << i << ".jpg";
                imwrite(ss.str(), grayResult);
            }
将裁剪后的检测图像以及位置存储到一个向量中。
output.push_back(Plate(grayResult, minRect.boundingRect()));1.2分类
分类之前的首要任务是训练分类器,这里我们采用75张车牌图像和35张不是车牌的图像但同样是144x33像素的图像来训练系统。
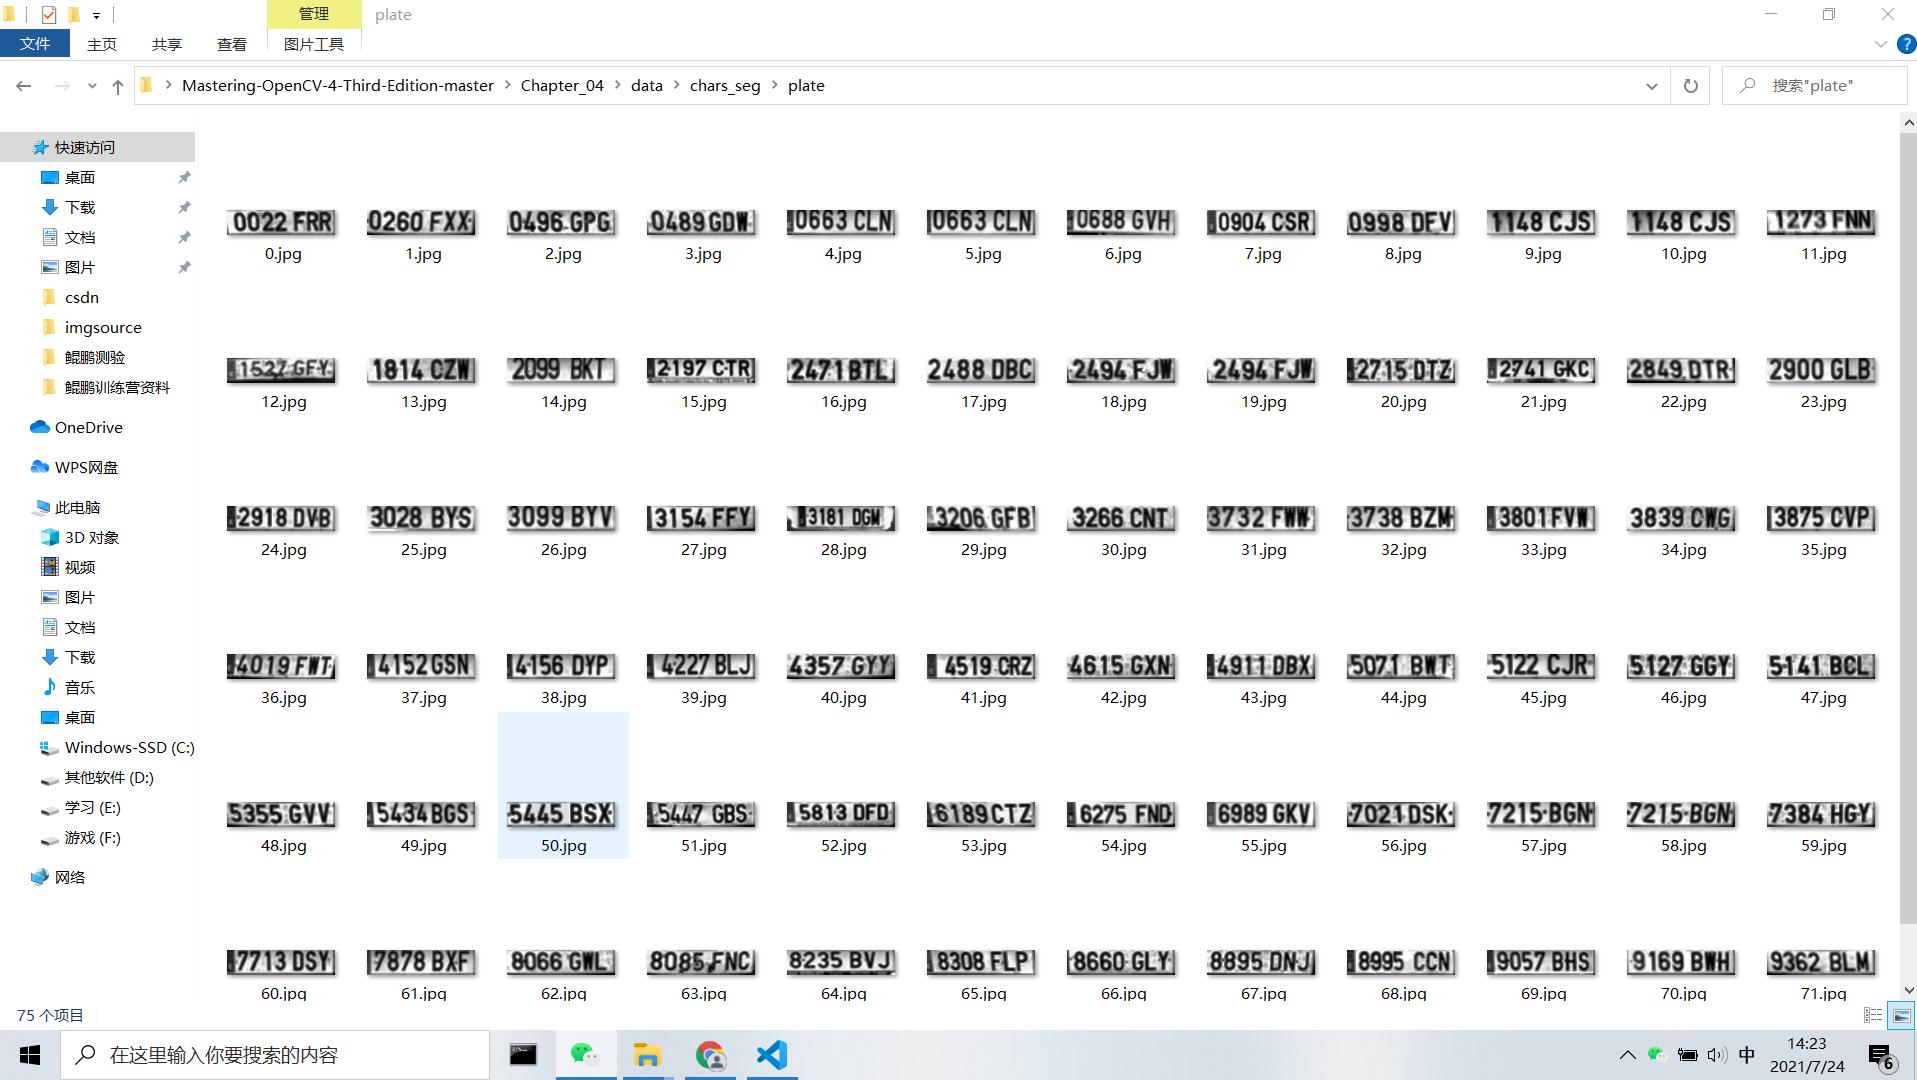
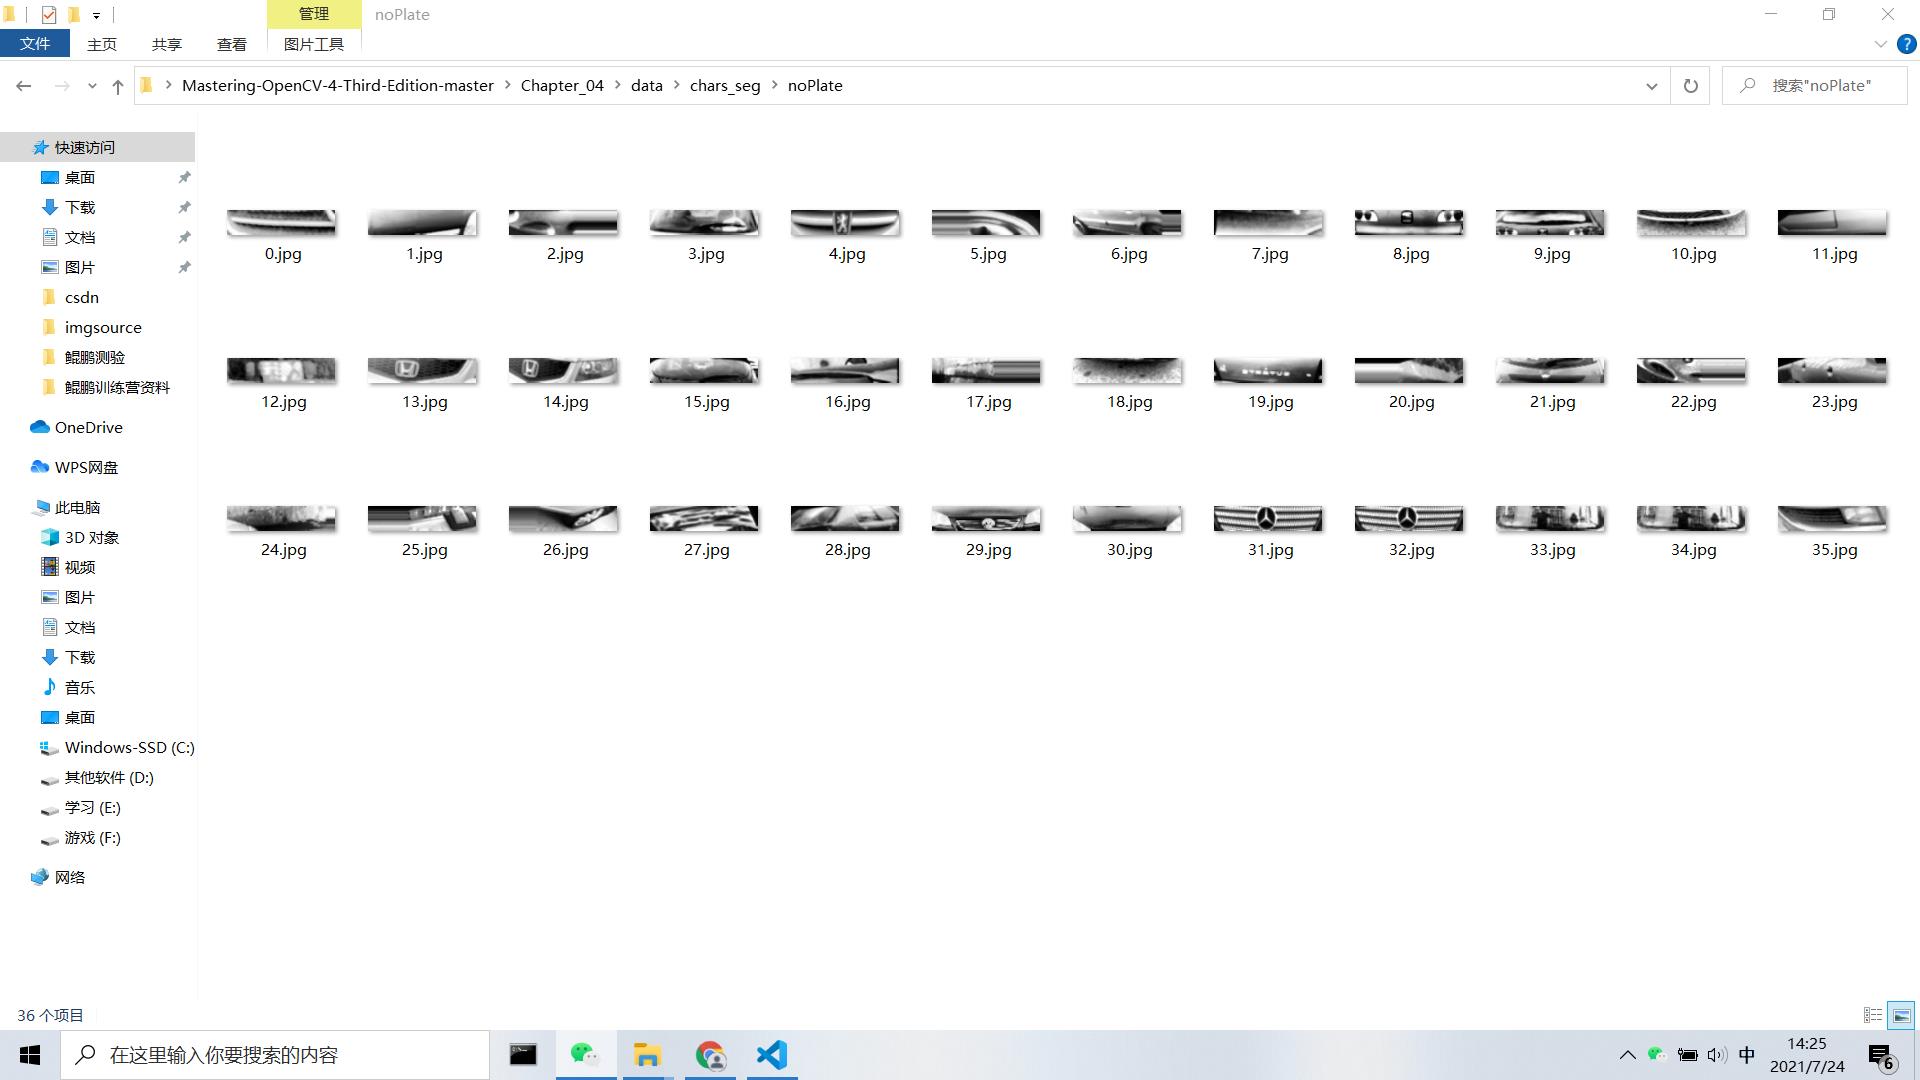
我们使用图像像素特征来训练分类器算法,需要用DetectRegions类来创建用于训练的图像系统,并将SavingRegions变量设置为true保存图像,用脚本文件segmentAllFiles.sh对文件夹中的所有文件图像重复处理。
我们将准备的所有图像训练数据存储为XML文件,以便直接与SVM函数一起使用,trainSVM.cpp通过指定的文件夹和图像文件编号来创建XML文件。
OpenCV通过FileStorage类管理XML和YAML格式的数据文件,使用该函数,可用读取训练数据矩阵和类标签,并将信息保存在SVM_TrainingData和SVM_Classes中。
FileStorage fs;
fs.open("SVM.xml",FileStorage::READ);
Mat SVM_TrainingData;
Mat SVM_Classes;
fs["TrainingData"]>>SVM_TrainingData;
fs["Classes"]>>SVM_Classes;
现在我们在SVM_TrainingData变量中存储了训练数据,在SVM_Classes中存储了标签,接着,只需要创建训练数据对象,链接数据和标签就可以在机器学习算法中使用了。
    Ptr<SVM> svmClassifier = cv::ml::SVM::create();
    svmClassifier->setType(cv::ml::SVM::C_SVC);
    svmClassifier->setKernel(cv::ml::SVM::LINEAR);
    svmClassifier->setDegree(0.0);
    svmClassifier->setGamma(1.0);
    svmClassifier->setCoef0(0);
    svmClassifier->setC(1);
    svmClassifier->setNu(0.0);
    svmClassifier->setP(0);
    svmClassifier->setTermCriteria(TermCriteria(TermCriteria::MAX_ITER, 1000, 0.01));

    Ptr<TrainData> tdata = TrainData::create(SVM_TrainingData, ROW_SAMPLE, SVM_Classes);

    svmClassifier->train(tdata);

    // For each possible plate, classify with svm if it's a plate or no
    vector<Plate> plates;
    for (int i = 0; i < posible_regions.size(); i++) {
        Mat img = posible_regions[i].plateImg;
        Mat p = img.reshape(1, 1);
        p.convertTo(p, CV_32FC1);

        int response = (int)svmClassifier->predict(p);
        if (response == 1)
            plates.push_back(posible_regions[i]);
    }
2车牌识别
2.1OCR分割
首先,对获取的车牌图像用直方图均衡进行处理,将其作为OCR函数的输入,然后,应用阈值滤波器对图像进行处理,并将处理后的图像作为查找轮廓算法的输入。
    // Threshold input image
    Mat img_threshold;
    threshold(input, img_threshold, 60, 255, cv::THRESH_BINARY_INV);
    if (DEBUG)
        imshow("Threshold plate", img_threshold);
    Mat img_contours;
    img_threshold.copyTo(img_contours);
    // Find contours of possibles characters
    vector<vector<Point>> contours;
    findContours(img_contours,
        contours, // a vector of contours
        cv::RETR_EXTERNAL, // retrieve the external contours
        cv::CHAIN_APPROX_NONE); // all pixels of each contours
bool OCR::verifySizes(Mat r)
{
    // Char sizes 45x77
    float aspect = 45.0f / 77.0f;
    float charAspect = (float)r.cols / (float)r.rows;
    float error = 0.35;
    float minHeight = 15;
    float maxHeight = 28;
    // We have a different aspect ratio for number 1, and it can be ~0.2
    float minAspect = 0.2;
    float maxAspect = aspect + aspect * error;
    // area of pixels
    float area = countNonZero(r);
    // bb area
    float bbArea = r.cols * r.rows;
    //% of pixel in area
    float percPixels = area / bbArea;

    if (DEBUG)
        cout << "Aspect: " << aspect << " [" << minAspect << "," << maxAspect << "] "
             << "Area " << percPixels << " Char aspect " << charAspect << " Height char " << r.rows
             << "\\n";
    if (percPixels < 0.8 && charAspect > minAspect && charAspect < maxAspect && r.rows >= minHeight
        && r.rows < maxHeight)
        return true;
    else
        return false;
}
2.2基于卷积神经网络的字符分类
这里训练一个新的TenserFlow模型,先检查图像数据集并生成用于训练模型的资源。
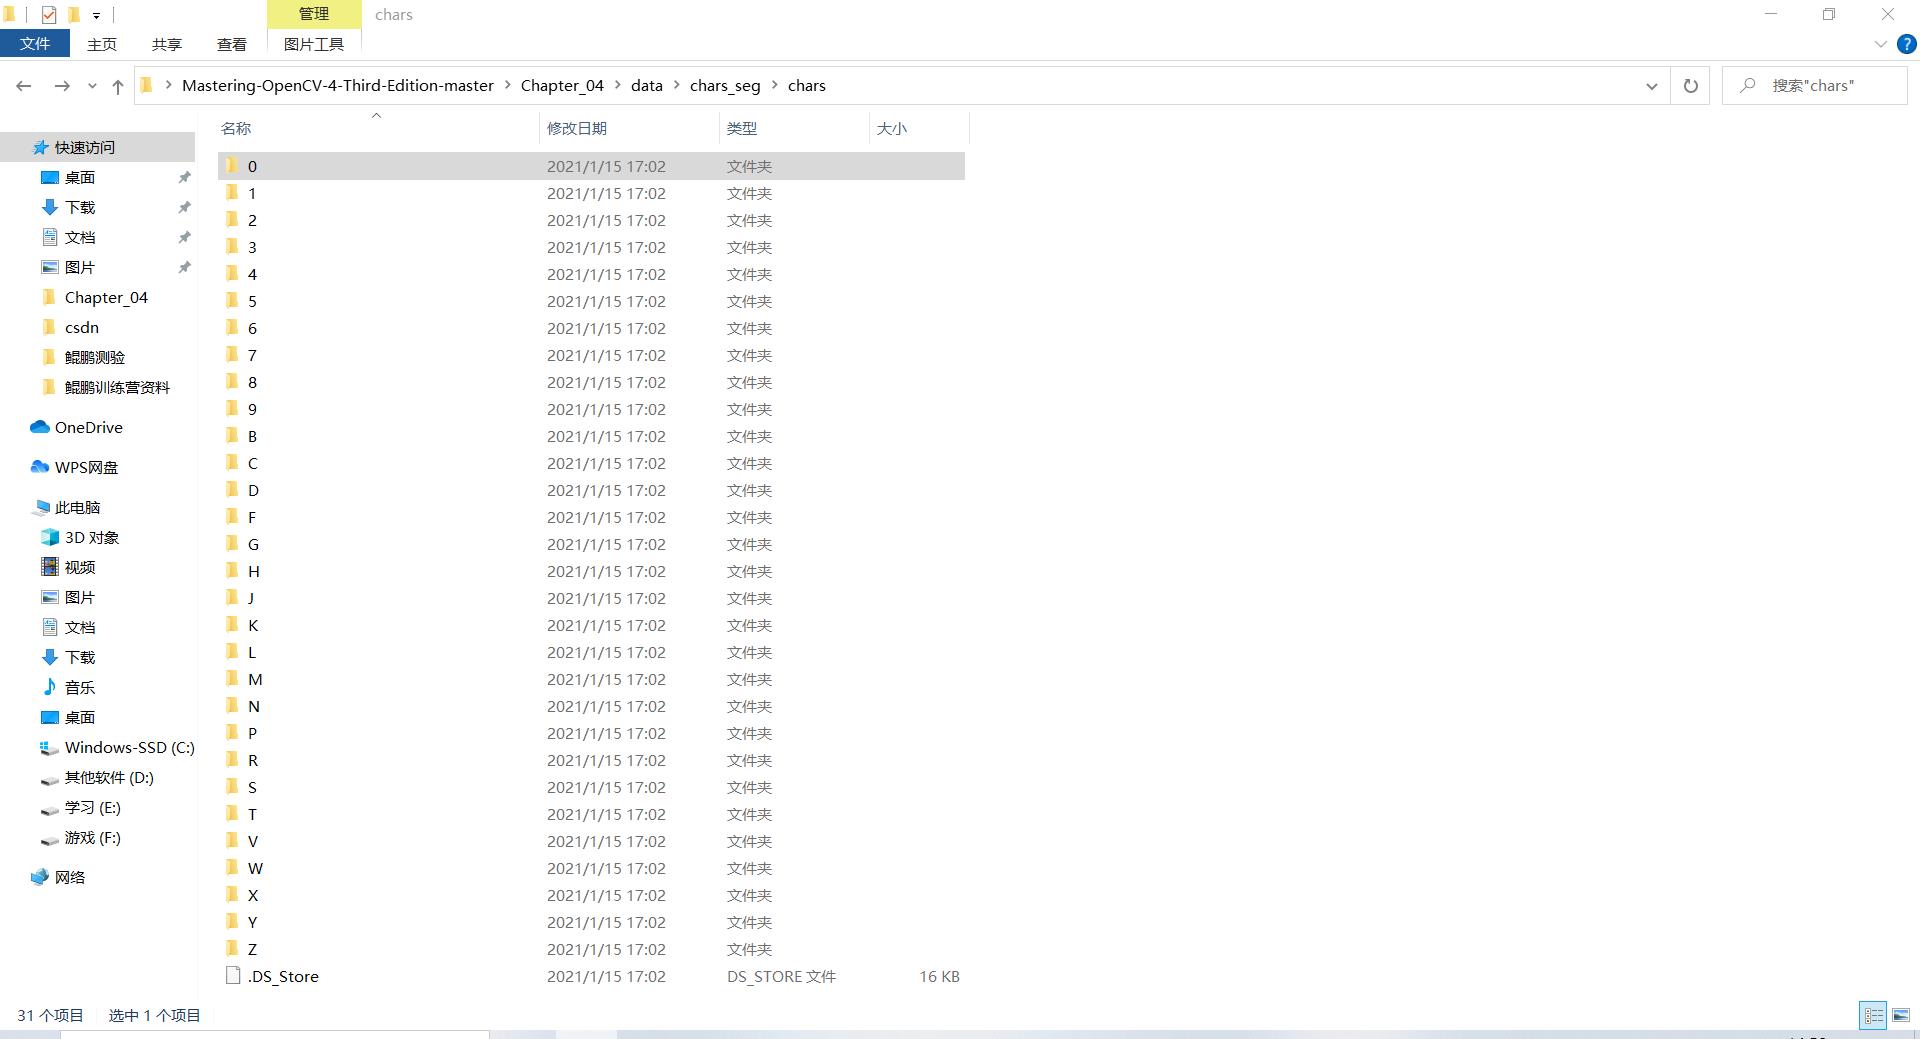
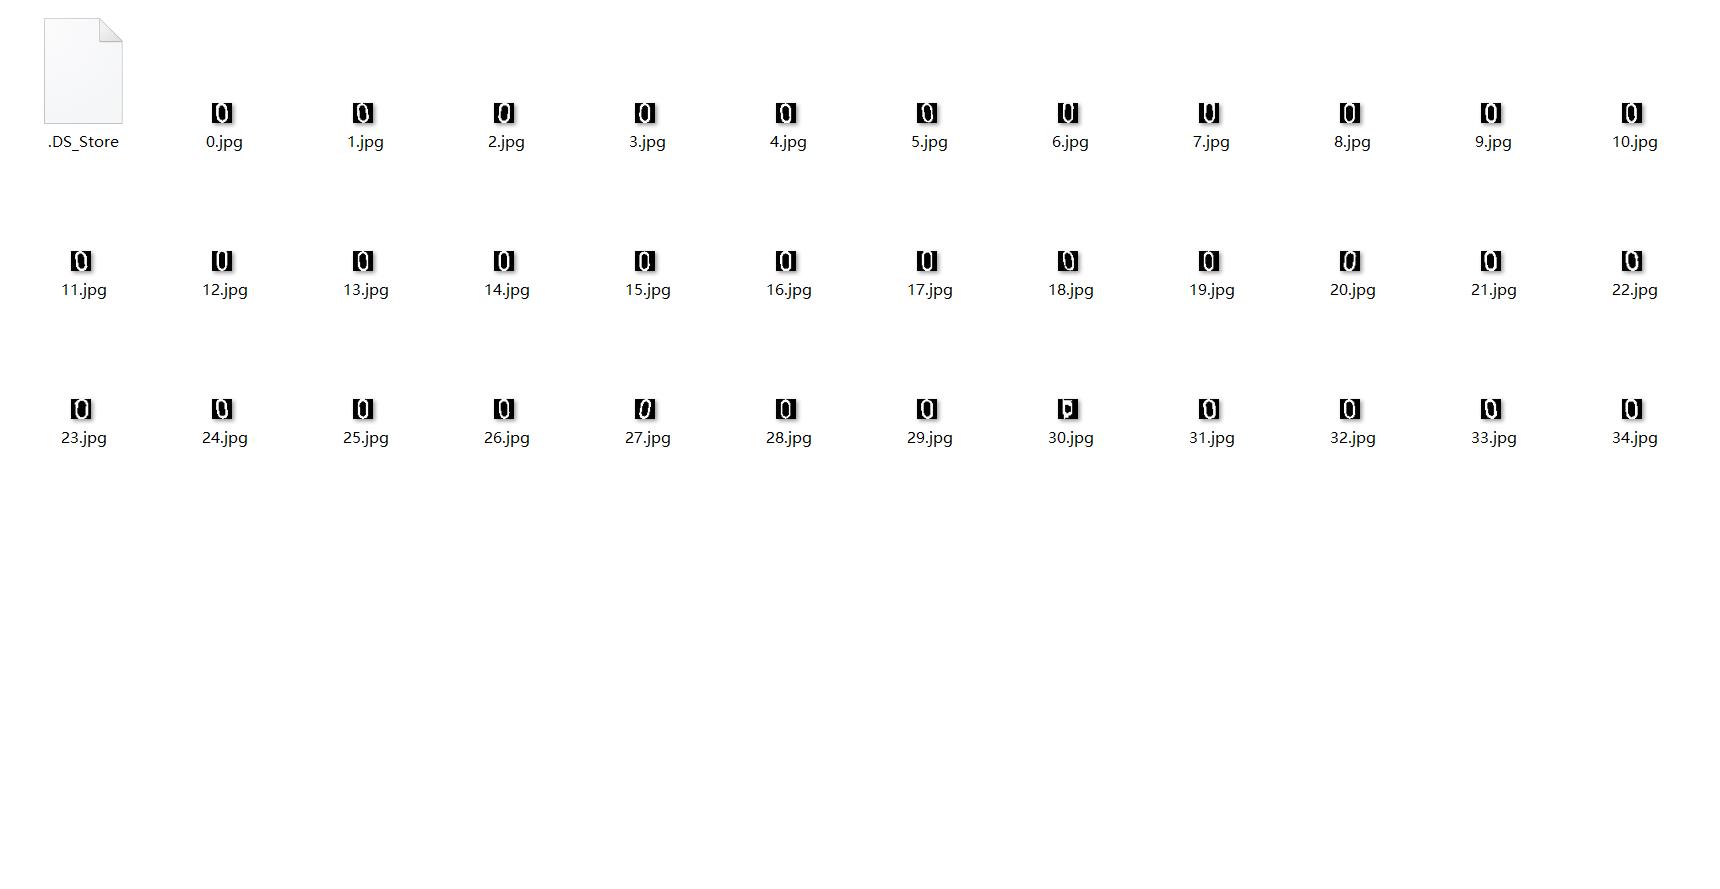
深度学习需要大量的样本,很多时候,需要对原始数据进行数据集增强(通过旋转、翻转图像、透视变换、添加噪声),来创建新的样本的方法。
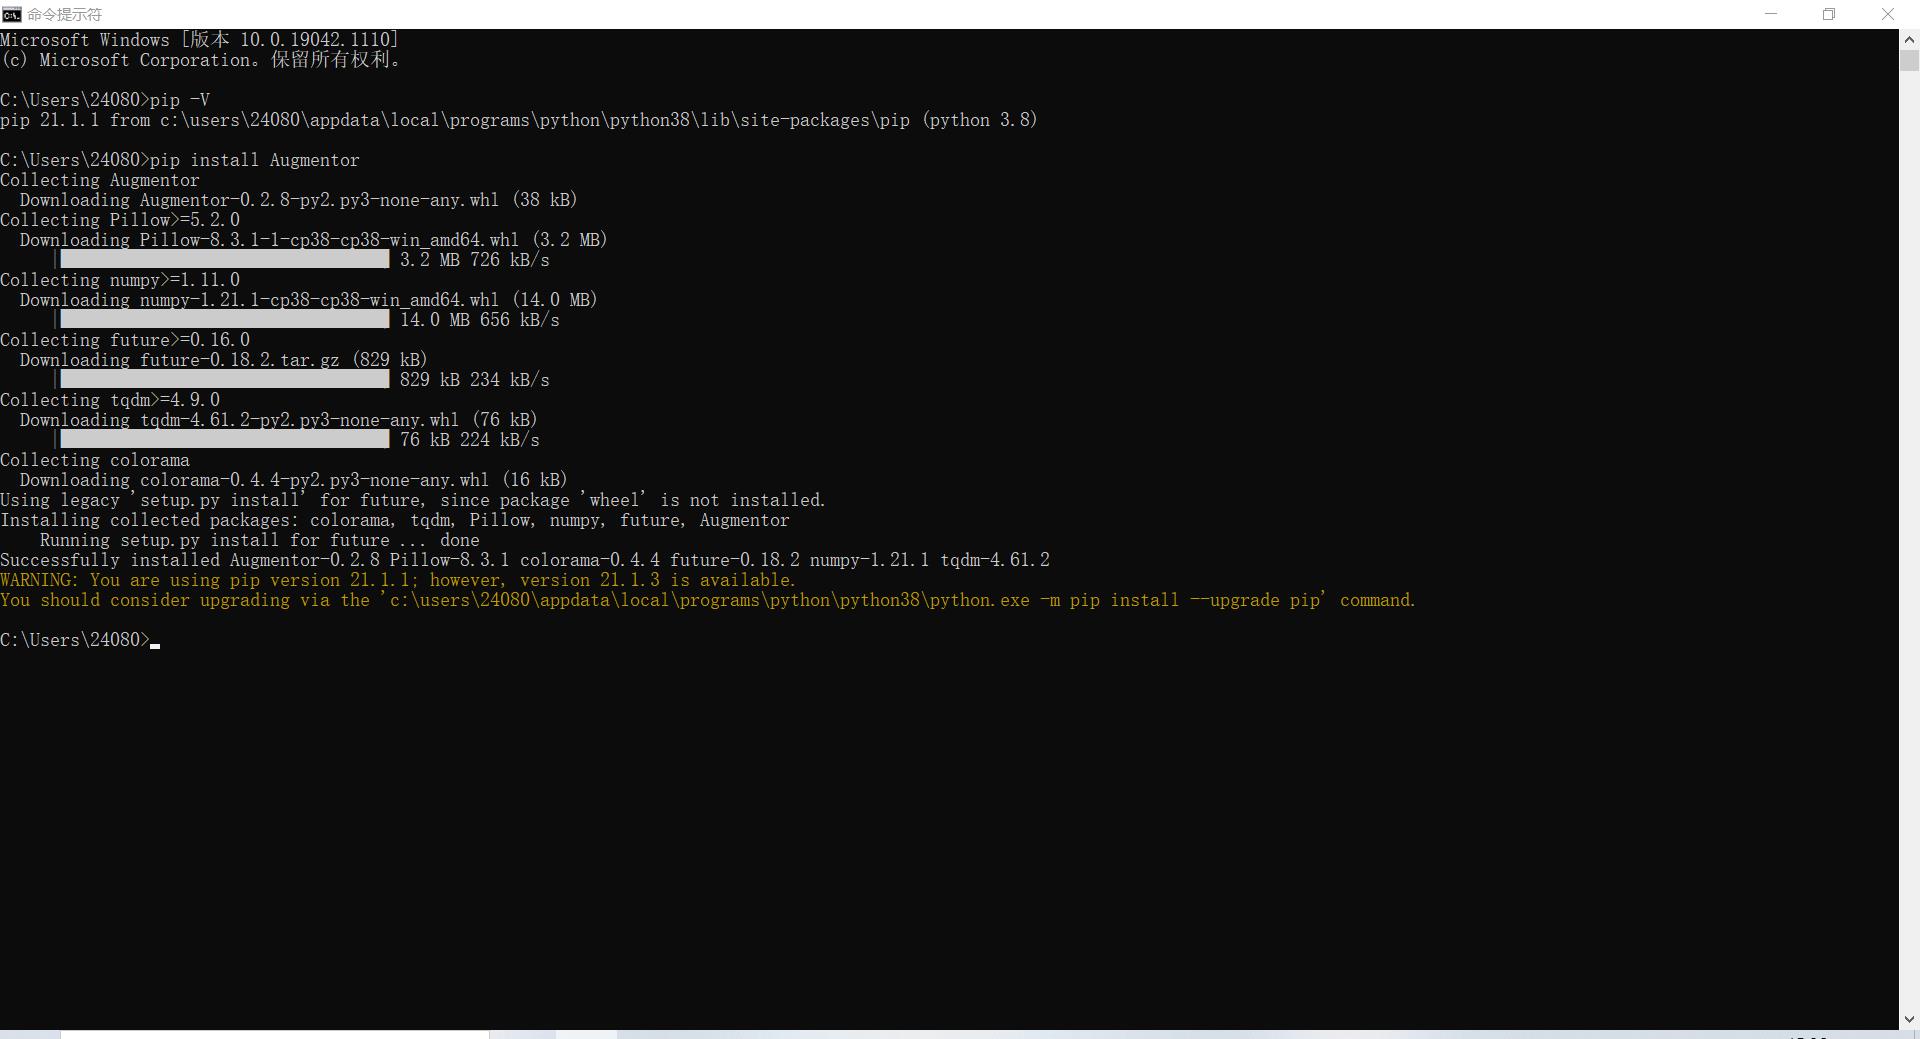
这里我们使用Augmentor工具,他是一个python库,允许我们通过想要的变换来增加需要的样本数量。
查看你的pip版本,如果你没有pip,那么你就去装一个吧。
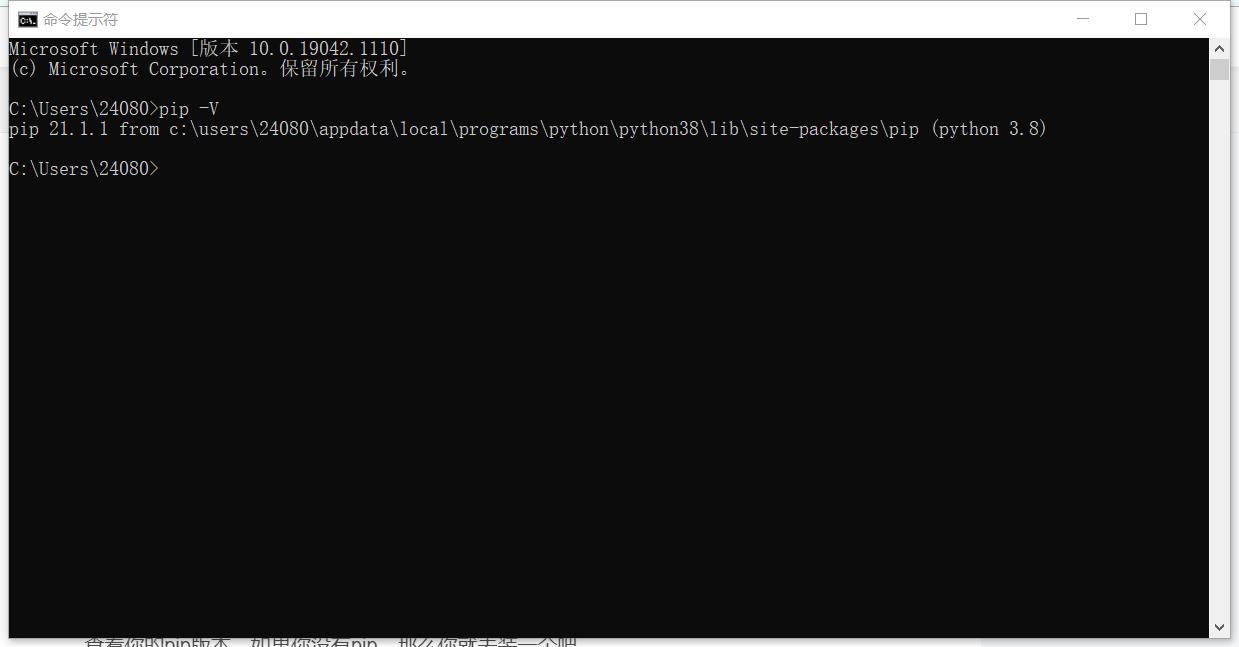
通过pip安装Augmentor
创建一个py脚本,这里的number_samples控制生成的样本数量
import Augmentor
number_samples=2000
p = Augmentor.Pipeline("/home/damiles/Projects/Damiles/Mastering-OpenCV-4-Third-Edition/Chapter_05/data/chars_seg/chars/")

p.random_distortion(probability=0.4, grid_width=4, grid_height=4, magnitude=1)
p.shear(probability=0.5, max_shear_left=5, max_shear_right=5)
p.skew_tilt(probability=0.8, magnitude=0.1)
p.rotate(probability=0.7, max_left_rotation=5, max_right_rotation=5)

p.sample(number_samples)
该脚本生成一个输出文件夹,存储所有产生的图像,并保持在原路径下,生成两个数据集,一个用来训练,一个用来测试算法,这里修改number_samples=20000生成2w个训练的图像和2000个用来测试的图像。
有了图像,要将他们输入到TensorFlow算法中,最好使用TFRecordDataset文件格式输入。
首先用 pip install tensorflow 安装TensorFlow
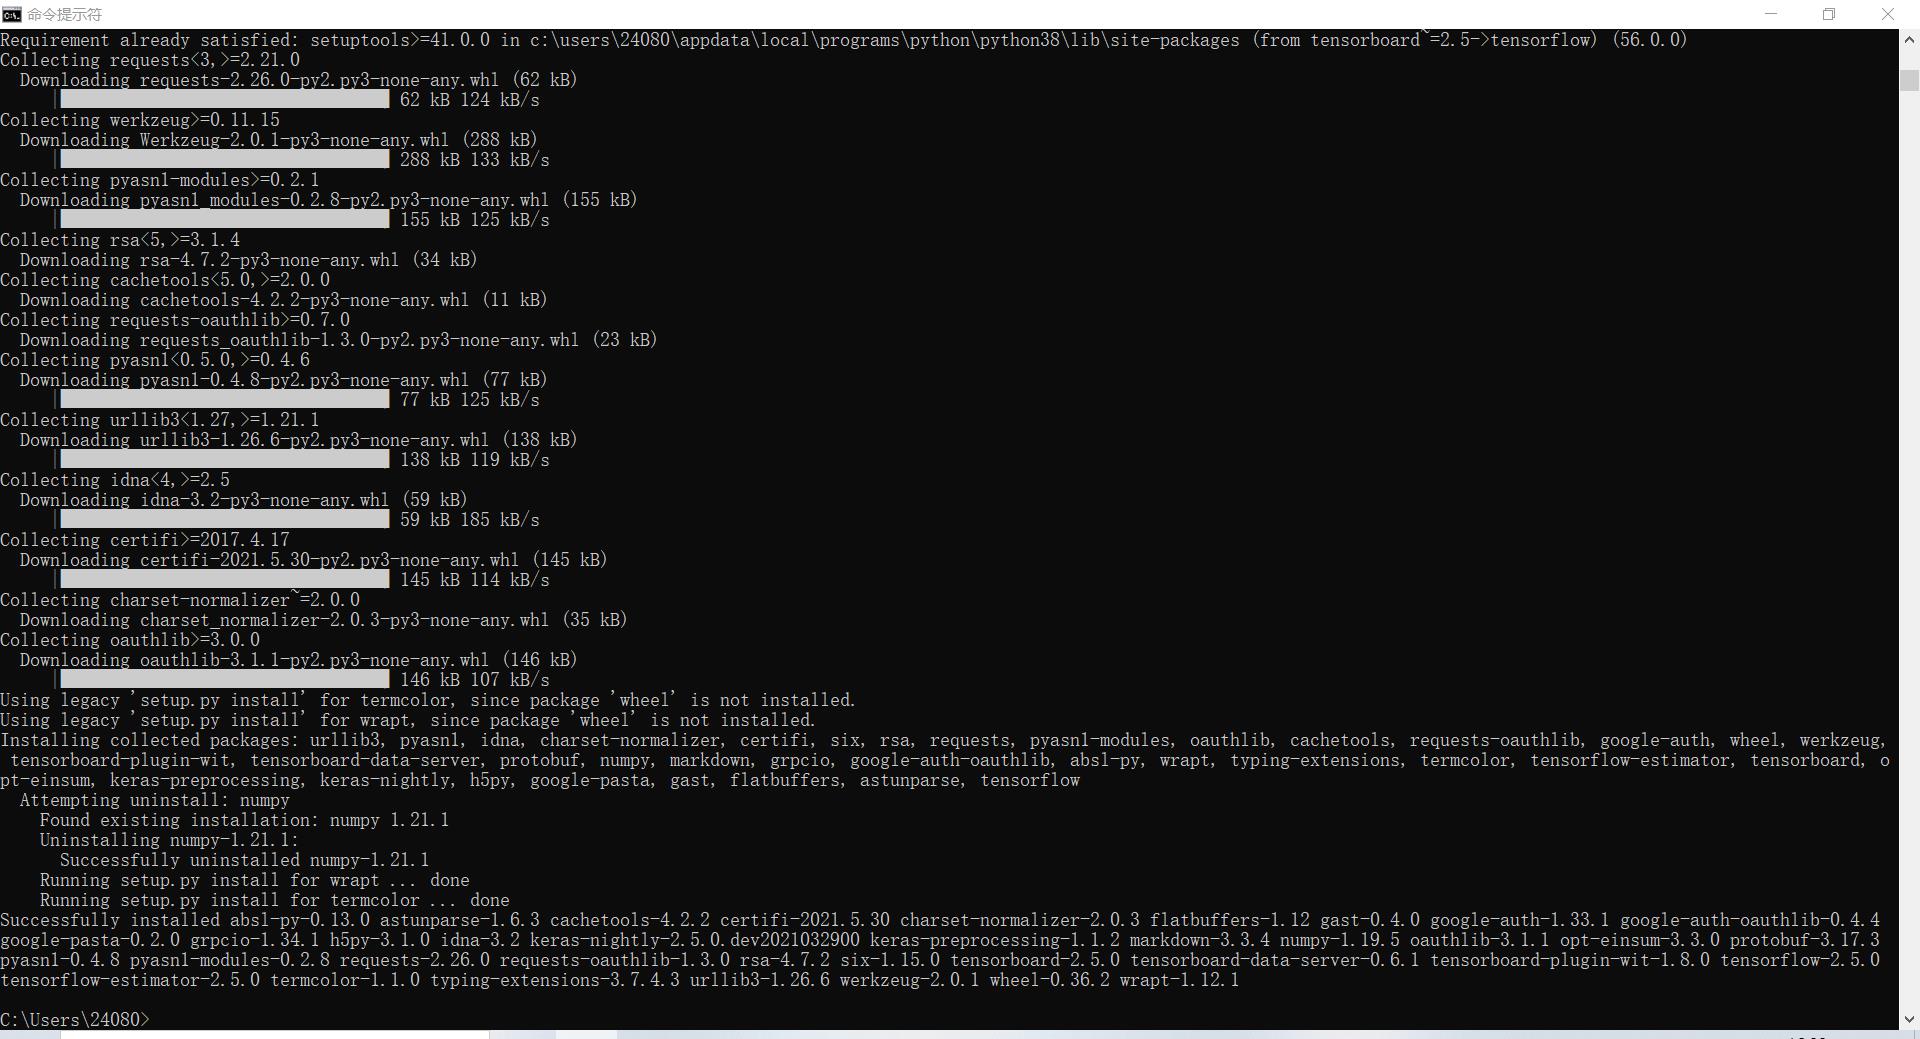
然后使用提供的脚本创建数据集文件来训练我们的模型,生成test.tfrecords和train.tfrecords文件。
创建一个 CNN层结构的卷积网络:
| 卷积层1 | 32个5x5滤波器,具有ReLU激活函数 |
| 池化层2 | 步长为2的2x2滤波器的最大池化层 |
| 卷积层3 | 64个5x5滤波器,具有ReLU激活函数 |
| 池化层4 | 步长为2的2x2滤波器的最大池化层 |
| 密集层5 | 1024个神经元 |
| Dropout层6 | 比例为0.4的Dropout正则化处理 |
| 密集层7 | 30个神经元,每个数字和字符对应一个神经元 |
| Softmax层8 | 具有梯度下降优化器的Softmax损失函数,学习率0.0001,20000个训练步骤 |
得到的TensorFlow代码如下:
import tensorflow as tf
import argparse
import os

BASE_PATH="./chars_seg/DNN_data/"
project_name="ANPR_v2"
train_csv_file=BASE_PATH+"train.tfrecords"
test_csv_file=BASE_PATH+"test.tfrecords"
image_resize=[20,20]

def model_fn(features, labels, mode, params):

    convolutional_2d_1537261701724 = tf.layers.conv2d(
            name="convolutional_2d_1537261701724",
            inputs=features,
            filters=32,
            kernel_size=[5,5],
            strides=(1,1),
            padding="same",
            data_format="channels_last",
            dilation_rate=(1,1),
            activation=tf.nn.relu,
            use_bias=True)

    max_pool_2d_1537261722515 = tf.layers.max_pooling2d(
        name='max_pool_2d_1537261722515',
        inputs=convolutional_2d_1537261701724,
        pool_size=[2,2],
        strides=[2,2],
        padding='same',
        data_format='channels_last')

    convolutional_2d_1537261728442 = tf.layers.conv2d(
            name="convolutional_2d_1537261728442",
            inputs=max_pool_2d_1537261722515,
            filters=64,
            kernel_size=[5,5],
            strides=(1,1),
            padding="same",
            data_format="channels_last",
            dilation_rate=(1,1),
            activation=tf.nn.relu,
            use_bias=True)

    max_pool_2d_1537261754562 = tf.layers.max_pooling2d(
        name='max_pool_2d_1537261754562',
        inputs=convolutional_2d_1537261728442,
        pool_size=[2,2],
        strides=[2,2],
        padding='same',
        data_format='channels_last')

    flatten_1537261781778 = tf.reshape(max_pool_2d_1537261754562, [-1, 1600])

    dense_1537261790190 = tf.layers.dense(inputs=flatten_1537261781778, units=1024, activation=tf.nn.relu)

    dropout_1537261796854= tf.layers.dropout(inputs=dense_1537261790190, rate=0.4, training=mode == tf.estimator.ModeKeys.TRAIN)

    dense_1537261807397 = tf.layers.dense(inputs=dropout_1537261796854, units=30, activation=tf.nn.relu)

    logits=dense_1537261807397

    predictions = {
        "classes": tf.argmax(input=logits, axis=1),
        "probabilities": tf.nn.softmax(logits, name="softmax_tensor")
    }
    #Prediction and training
    if mode == tf.estimator.ModeKeys.PREDICT:
        return tf.estimator.EstimatorSpec(mode=mode, predictions=predictions)

    # Calculate Loss (for both TRAIN and EVAL modes)
    onehot_labels = tf.one_hot(indices=tf.cast(labels, tf.int32), depth=30)
    loss = tf.losses.softmax_cross_entropy(
        onehot_labels=onehot_labels, logits=logits)

    # Compute evaluation metrics.
    accuracy = tf.metrics.accuracy(labels=labels,
                                   predictions=predictions["classes"],
                                   name='acc_op')
    metrics = {'accuracy': accuracy}
    tf.summary.scalar('accuracy', accuracy[1])

    # Configure the Training Op (for TRAIN mode)
    if mode == tf.estimator.ModeKeys.TRAIN:
        optimizer = tf.train.GradientDescentOptimizer(learning_rate=0.001)
        train_op = optimizer.minimize(
            loss=loss,
            global_step=tf.train.get_global_step())
        return tf.estimator.EstimatorSpec(mode=mode, loss=loss, train_op=train_op)

    # Add evaluation metrics (for EVAL mode)
    eval_metric_ops = {
        "accuracy": tf.metrics.accuracy(
            labels=labels, predictions=predictions["classes"])}
    return tf.estimator.EstimatorSpec(
        mode=mode, loss=loss, eval_metric_ops=eval_metric_ops)


def _parser_function(example_proto):
    features = {"label": tf.FixedLenFeature((), tf.int64, default_value=0),
                "data": tf.FixedLenFeature((), tf.string, default_value="")
                }
    parsed_features = tf.parse_single_example(example_proto, features)
    image = tf.decode_raw(parsed_features['data'], tf.uint8)
    image = tf.cast(image, tf.float16)
    height = 20
    width = 20

    image_shape = tf.stack([height, width, 1])
    image = tf.reshape(image, image_shape)

    return image, parsed_features["label"]

def data_train_estimator():
    tfrecord_filenames = [train_csv_file]
    dataset = tf.data.TFRecordDataset(tfrecord_filenames)
    dataset = dataset.repeat()
    dataset = dataset.map(_parser_function, num_parallel_calls=100)
    dataset = dataset.batch(100)
    dataset = dataset.shuffle(100)
    iterator = dataset.make_one_shot_iterator()  # create one shot iterator
    feature, label = iterator.get_next()
    return feature, label

def data_test_estimator():
    tfrecord_filenames = [test_csv_file]
    dataset = tf.data.TFRecordDataset(tfrecord_filenames)
    dataset = dataset.map(_parser_function, num_parallel_calls=100)
    dataset = dataset.batch(100)
    iterator = dataset.make_one_shot_iterator()  # create one shot iterator
    feature, label = iterator.get_next()
    return feature, label


def build_estimator(model_dir):
    # Create the Estimator
    return tf.estimator.Estimator(
        model_fn=model_fn,
        model_dir=model_dir,
        params={
            # PARAMS
        }
    )

def run_experiment(args):
    """Run the training and evaluate using the high level API"""

    estimator = build_estimator(args.job_dir)

    train_spec = tf.estimator.TrainSpec(input_fn=data_train_estimator, max_steps=20000)
    eval_spec = tf.estimator.EvalSpec(input_fn=data_test_estimator)

    tf.estimator.train_and_evaluate(estimator, train_spec, eval_spec)


if __name__ == '__main__':
    parser = argparse.ArgumentParser()
    # Input Arguments
    parser.add_argument(
        '--job-dir',
        help='GCS location to write checkpoints and export models',
        required=True
    )

    # Argument to turn on all logging
    parser.add_argument(
        '--verbosity',
        choices=[
            'DEBUG',
            'ERROR',
            'FATAL',
            'INFO',
            'WARN'
        ],
        default='INFO',
    )

    args = parser.parse_args()

    # Set python level verbosity
    tf.logging.set_verbosity(args.verbosity)
    # Set C++ Graph Execution level verbosity
    os.environ['TF_CPP_MIN_LOG_LEVEL'] = str(
        tf.logging.__dict__[args.verbosity] / 10)

    # Run the training job
    run_experiment(args)
现在,我们可以使用TensorFlow来开始训练算法,使用下面的命令行。
python code.py --job-dir=./model_output
这里的--job-dir参数定义了存储训练输出模型的输出文件夹,在终端中,我们可以看到每次迭代的输出,以及损失值和精度值。
这里一运行就报错了,各种版本不兼容,各种动态链接库找不到,心态崩了,下次再更新了!
吐了。。。。。。
好吧,下了个CUDA,找到你了。
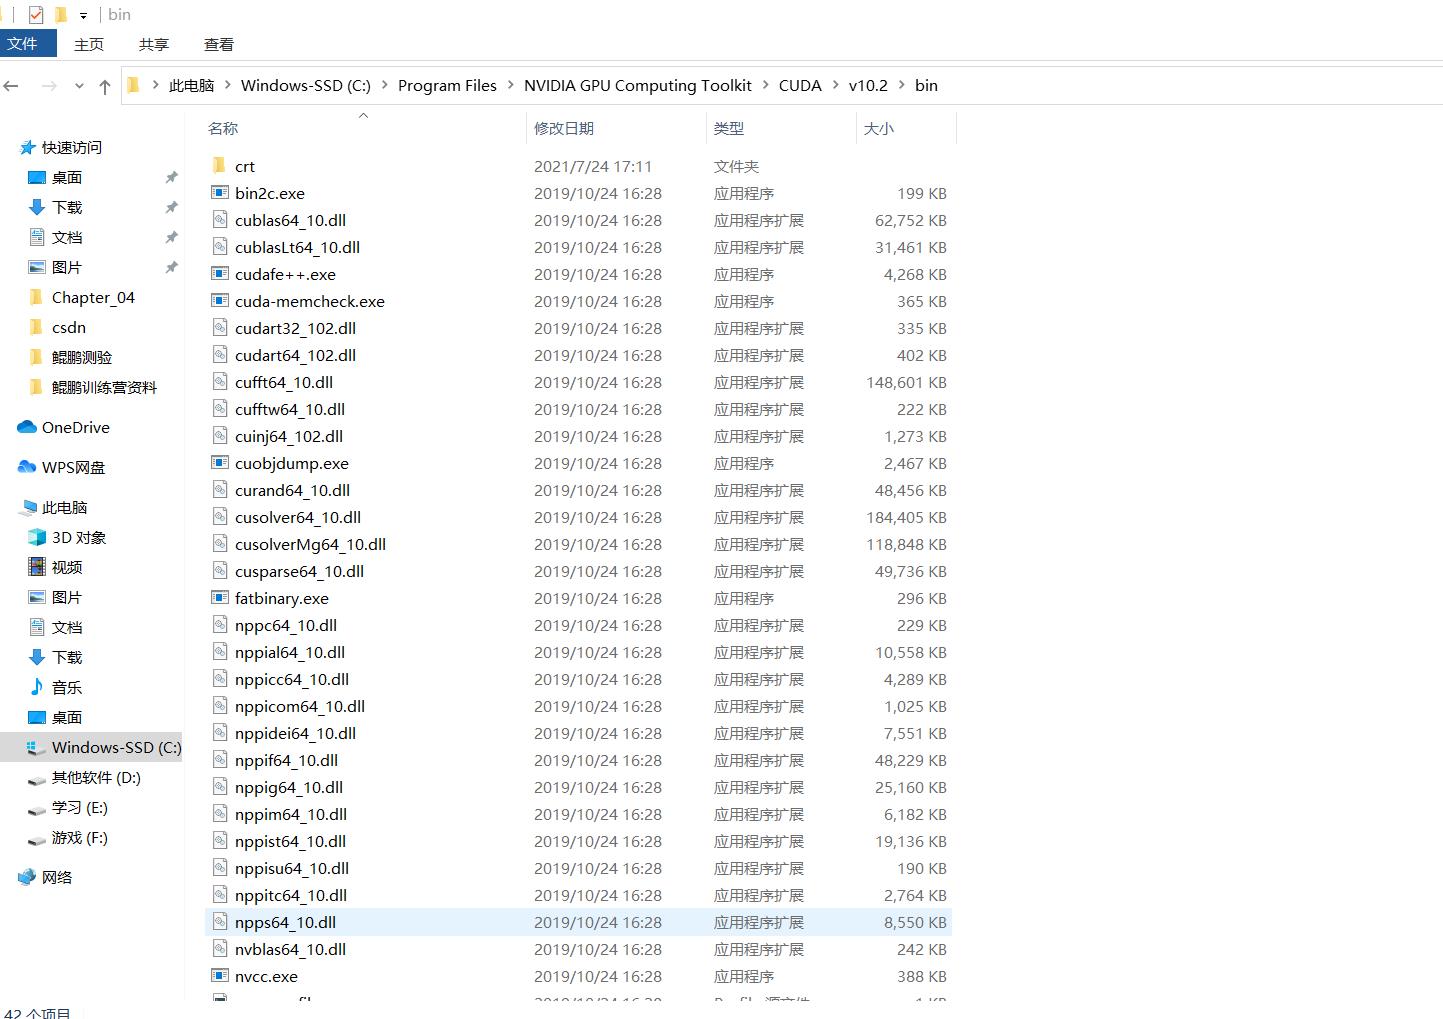
还是不行,再装了个CUDNN。。dll找不到的问题解决了,但是还是各种版本兼容问题
真不更了。。。。
以上是关于基于深度卷积神经网络的车牌识别的主要内容,如果未能解决你的问题,请参考以下文章