Java 微服务 day02 源代码 SpringBoot 实战开发 整合Mybatis(数据库连接池),通用Mapper整合,业务层整合
Posted 蓝盒子bluebox
tags:
篇首语:本文由小常识网(cha138.com)小编为大家整理,主要介绍了Java 微服务 day02 源代码 SpringBoot 实战开发 整合Mybatis(数据库连接池),通用Mapper整合,业务层整合相关的知识,希望对你有一定的参考价值。
一、整合Mybatis
1、配置Mybatis
(1)配置启动器

 <!--mybatis-->
        <dependency>
            <groupId>org.mybatis.spring.boot</groupId>
            <artifactId>mybatis-spring-boot-starter</artifactId>
            <version>1.3.2</version>
        </dependency>
(2)配置驼峰和别名包

# 配置驼峰
mybatis:
  configuration:
    map-underscore-to-camel-case: true
  type-aliases-package: com.itzheng.pojo #配置别名包
  #mapper-locations: mapper/*.xml
(3)配置mapper扫描器
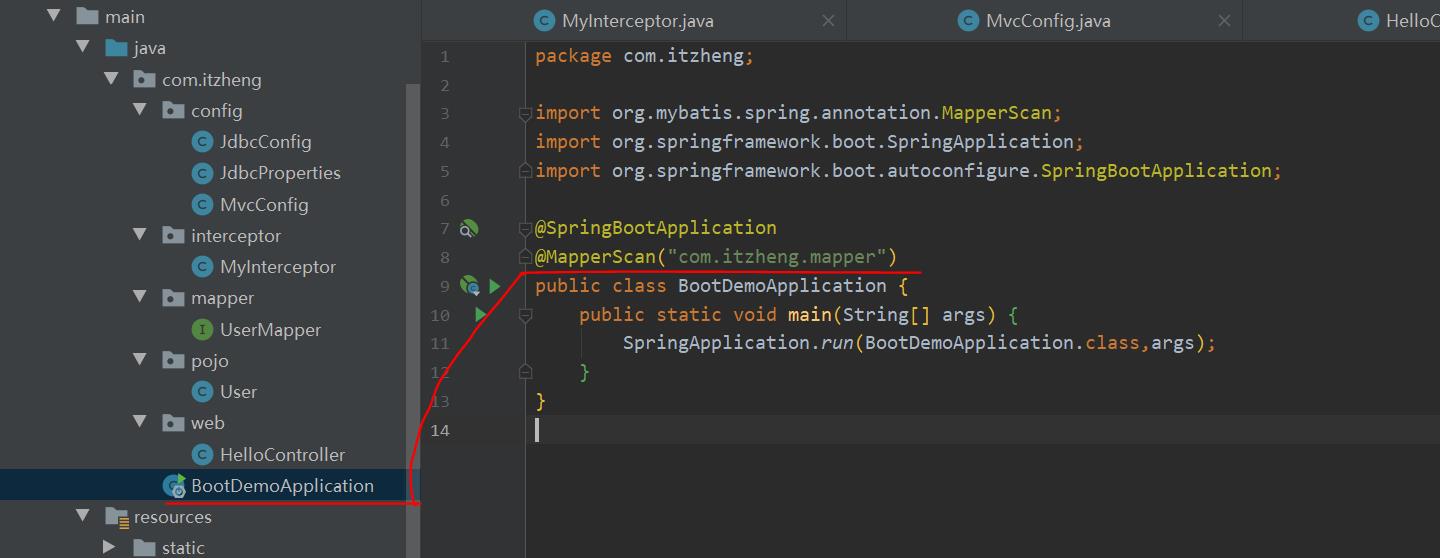
package com.itzheng;

import org.mybatis.spring.annotation.MapperScan;
import org.springframework.boot.SpringApplication;
import org.springframework.boot.autoconfigure.SpringBootApplication;

@SpringBootApplication
@MapperScan("com.itzheng.mapper")
public class BootDemoApplication {
    public static void main(String[] args) {
        SpringApplication.run(BootDemoApplication.class,args);
    }
}
二、通用Mapper整合
1、引入依赖
(1)在pom.xml当中

		 <!--通用Mapper-->
        <dependency>
            <groupId>tk.mybatis</groupId>
            <artifactId>mapper-spring-boot-starter</artifactId>
            <version>2.0.3</version>
        </dependency>
(2)引入的通用Mapper有一些配置就不需要了
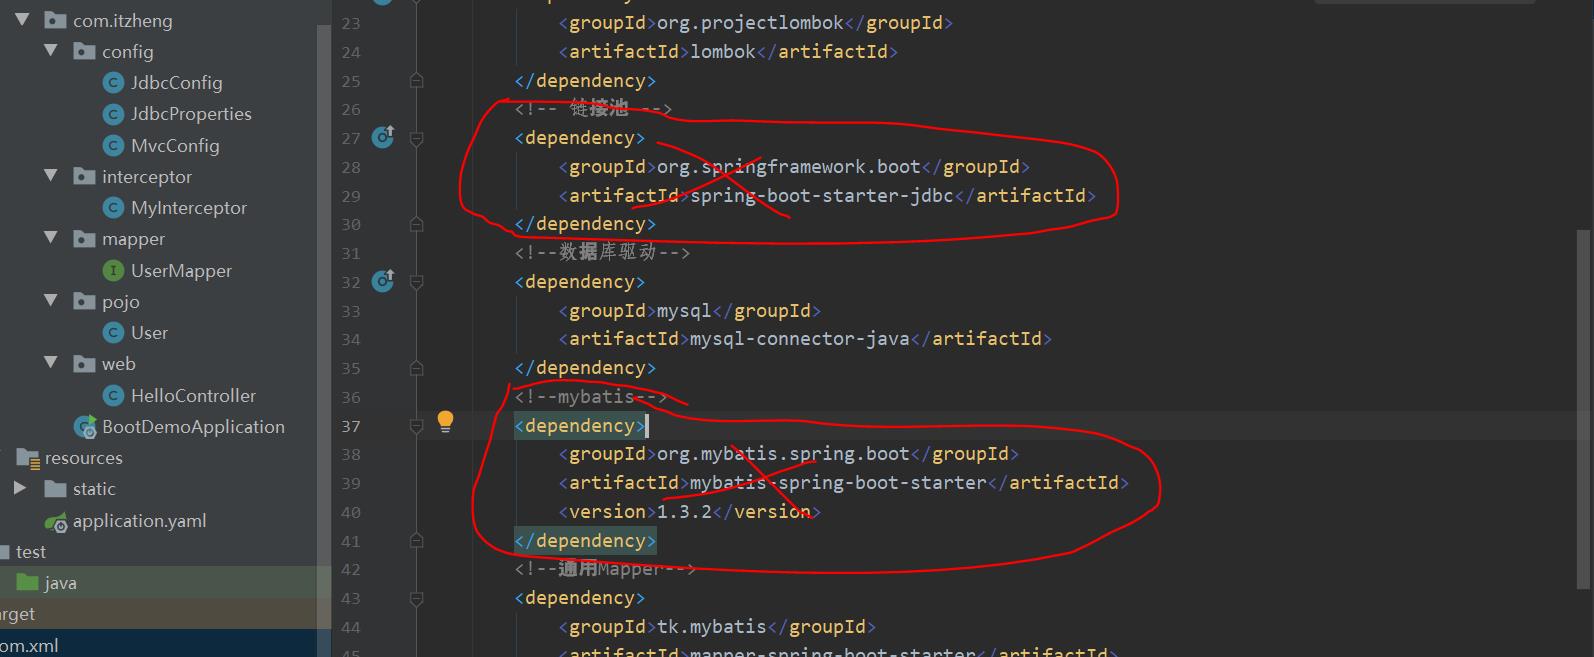
<?xml version="1.0" encoding="UTF-8"?>
<project xmlns="http://maven.apache.org/POM/4.0.0"
         xmlns:xsi="http://www.w3.org/2001/XMLSchema-instance"
         xsi:schemaLocation="http://maven.apache.org/POM/4.0.0 http://maven.apache.org/xsd/maven-4.0.0.xsd">
    <modelVersion>4.0.0</modelVersion>

    <groupId>com.itzheng.demo</groupId>
    <artifactId>springboot-demo</artifactId>
    <version>1.0.0-SNAPSHOT</version>
    <parent>
        <artifactId>spring-boot-starter-parent</artifactId>
            <groupId>org.springframework.boot</groupId>
        <version>2.0.4.RELEASE</version>
    </parent>

    <dependencies>
        <dependency>
            <groupId>org.springframework.boot</groupId>
            <artifactId>spring-boot-starter-web</artifactId>
        </dependency>
        <dependency>
            <groupId>org.projectlombok</groupId>
            <artifactId>lombok</artifactId>
        </dependency>
        <!--数据库驱动-->
        <dependency>
            <groupId>mysql</groupId>
            <artifactId>mysql-connector-java</artifactId>
        </dependency>
        <!--通用Mapper-->
        <dependency>
            <groupId>tk.mybatis</groupId>
            <artifactId>mapper-spring-boot-starter</artifactId>
            <version>2.0.3</version>
        </dependency>

    </dependencies>

</project>
(3)驼峰也会默认开启,所以也不需要配置了

全部
server:
  port: 8088
  servlet:
    path: /
logging:
  level:
    com.itzheng: debug
    #org.springframework: debug

spring:
  datasource:
    driver-class-name: com.mysql.jdbc.Driver
    url: jdbc:mysql://127.0.0.1:3306/itzheng
    username: root
    password: root
mybatis:
  type-aliases-package: com.itzheng.pojo #配置别名包
  #mapper-locations: mapper/*.xml
(4)启动类BootDemoApplication改变扫描包通过tk.mybatis.mapper扫描

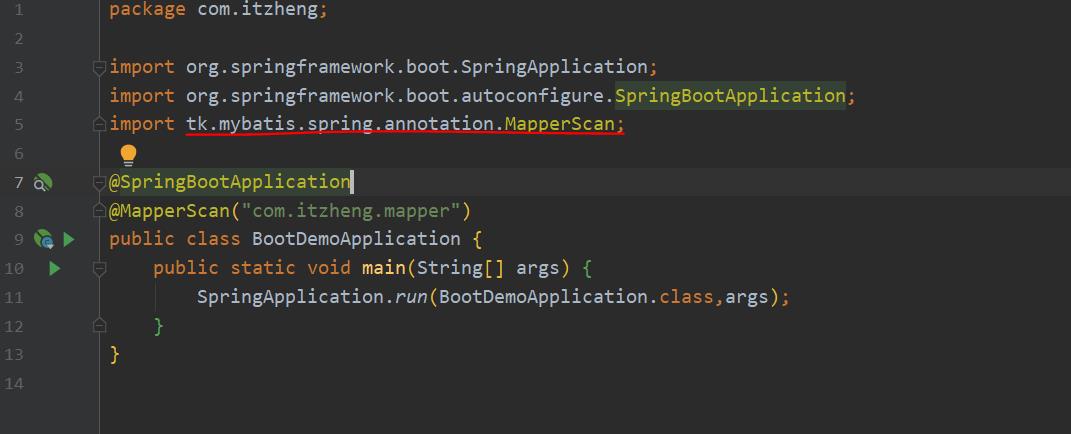
package com.itzheng;

import org.springframework.boot.SpringApplication;
import org.springframework.boot.autoconfigure.SpringBootApplication;
import tk.mybatis.spring.annotation.MapperScan;

@SpringBootApplication
@MapperScan("com.itzheng.mapper")
public class BootDemoApplication {
    public static void main(String[] args) {
        SpringApplication.run(BootDemoApplication.class,args);
    }
}
2、创建UserMapper接口并继承Mapper会自动具备一系列的对数据的方法
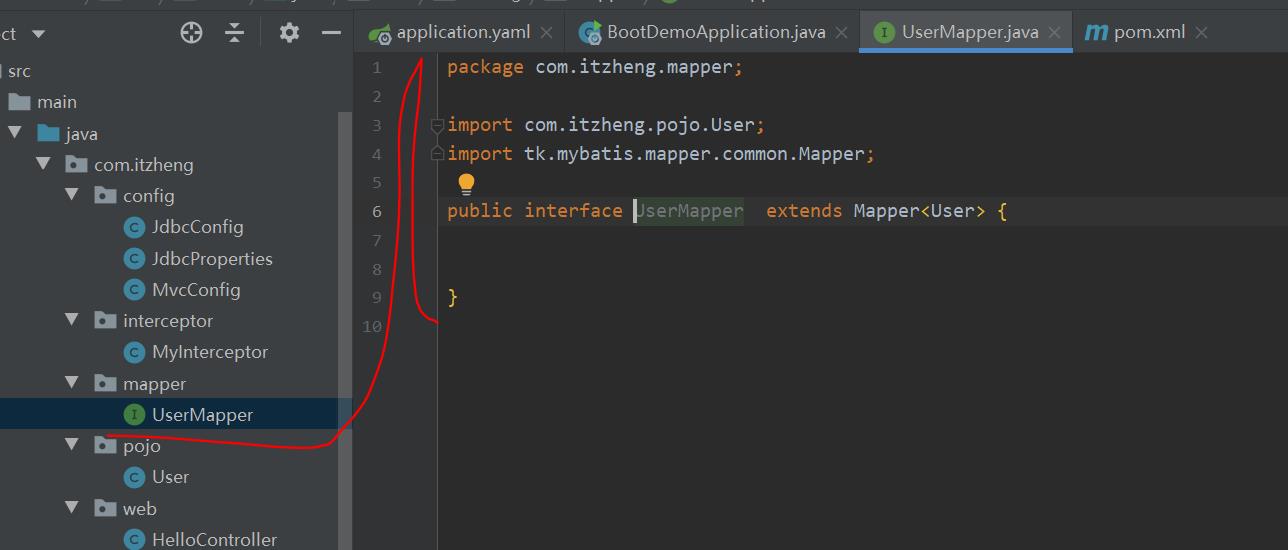
package com.itzheng.mapper;
import com.itzheng.pojo.User;
import tk.mybatis.mapper.common.Mapper;
public interface UserMapper  extends Mapper<User> {

}
3、在对应的实体类上添加注解实现SQL语句的自动生成
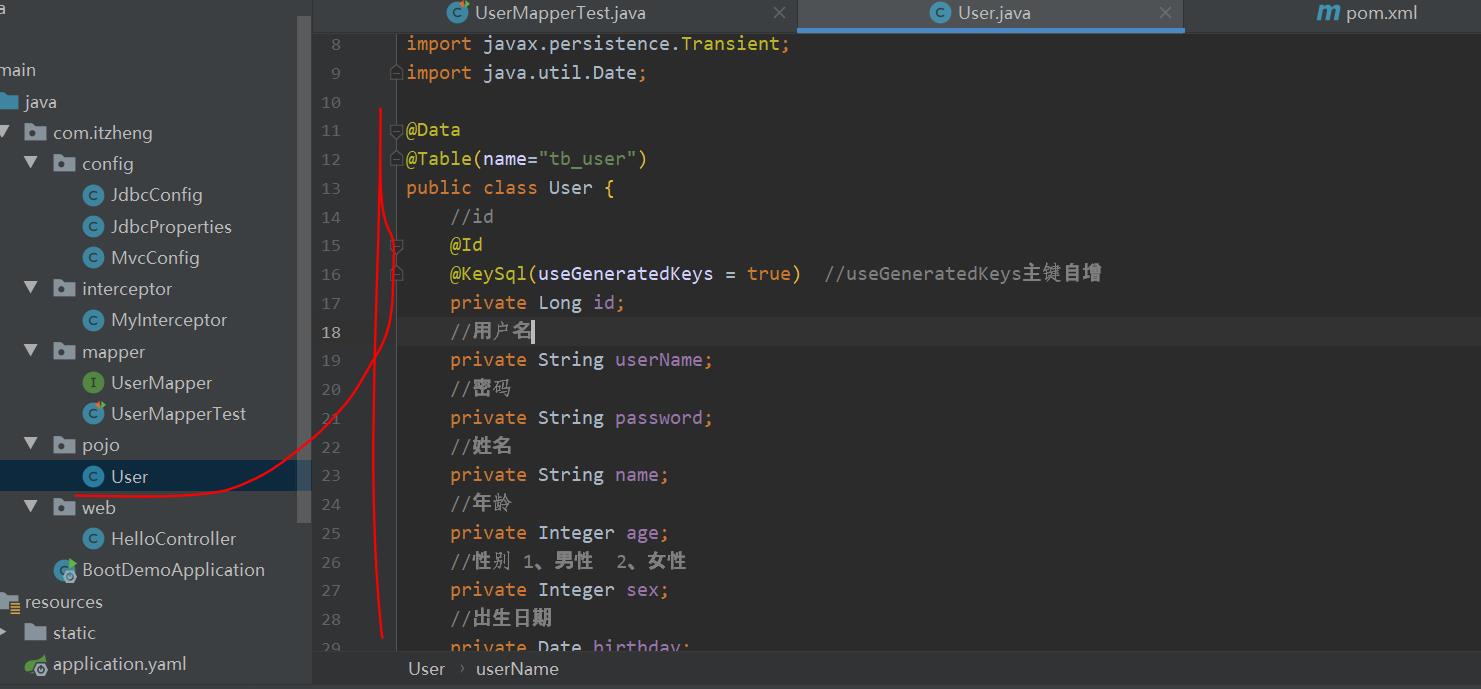
package com.itzheng.pojo;

import lombok.Data;
import tk.mybatis.mapper.annotation.KeySql;

import javax.persistence.Id;
import javax.persistence.Table;
import javax.persistence.Transient;
import java.util.Date;

@Data
@Table(name="tb_user")
public class User {
    //id
    @Id
    @KeySql(useGeneratedKeys = true)  //useGeneratedKeys主键自增
    private Long id;
    //用户名
    private String userName;
    //密码
    private String password;
    //姓名
    private String name;
    //年龄
    private Integer age;
    //性别 1、男性  2、女性
    private Integer sex;
    //出生日期
    private Date birthday;
    //创建时间
    private Date created;
    //更新时间
    private Date updated;
    //备注

    private String note;

    @Transient  //Transient当前属性不是要生成SQL的的属性
    private int aaaa;

}
4、测试
(1)在pom.xml当中引入test

  <dependency>
            <groupId>org.springframework.boot</groupId>
            <artifactId>spring-boot-starter-test</artifactId>
   </dependency>
(2)创建测试类UserMapperTest
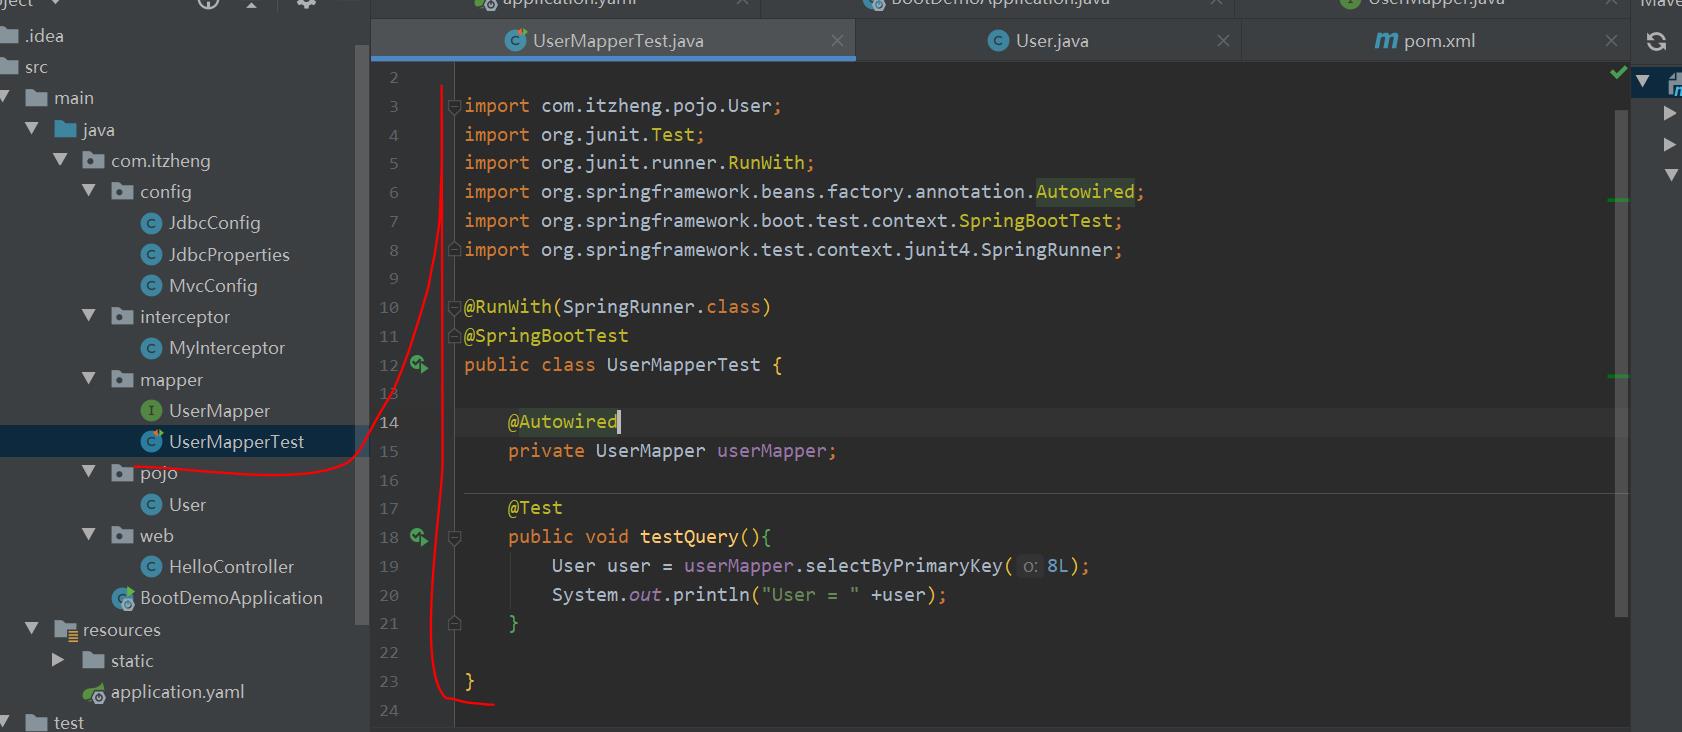
package com.itzheng.mapper;

import com.itzheng.pojo.User;
import org.junit.Test;
import org.junit.runner.RunWith;
import org.springframework.beans.factory.annotation.Autowired;
import org.springframework.boot.test.context.SpringBootTest;
import org.springframework.test.context.junit4.SpringRunner;

@RunWith(SpringRunner.class)
@SpringBootTest
public class UserMapperTest {

    @Autowired
    private UserMapper userMapper;

    @Test
    public void testQuery(){
        User user = userMapper.selectByPrimaryKey(8L);
        System.out.println("User = " +user);
    }

}
数据库当中添加一些数据
INSERT INTO `tb_user` VALUES ('19', 'zhangsan', '123', 'zhangsan123', '12', '1', '2021-06-14', '1', '2021-06-29 18:21:50', '2021-06-30 18:21:53');
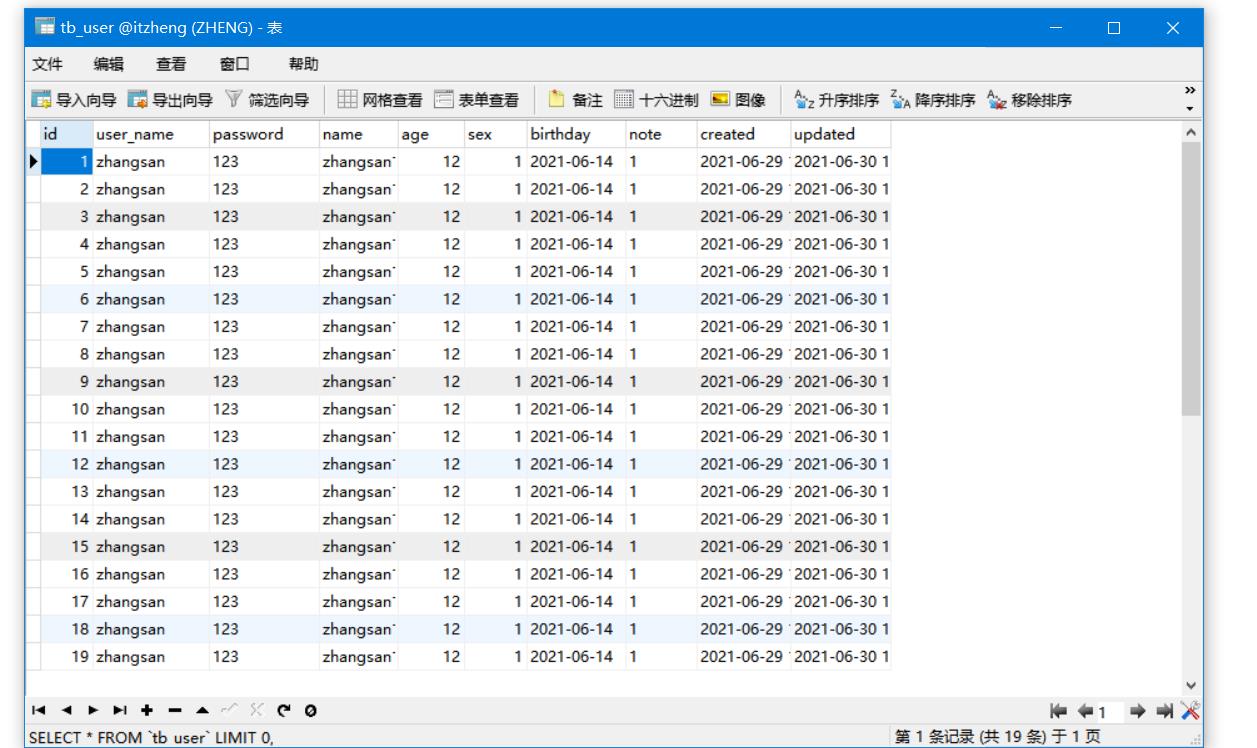
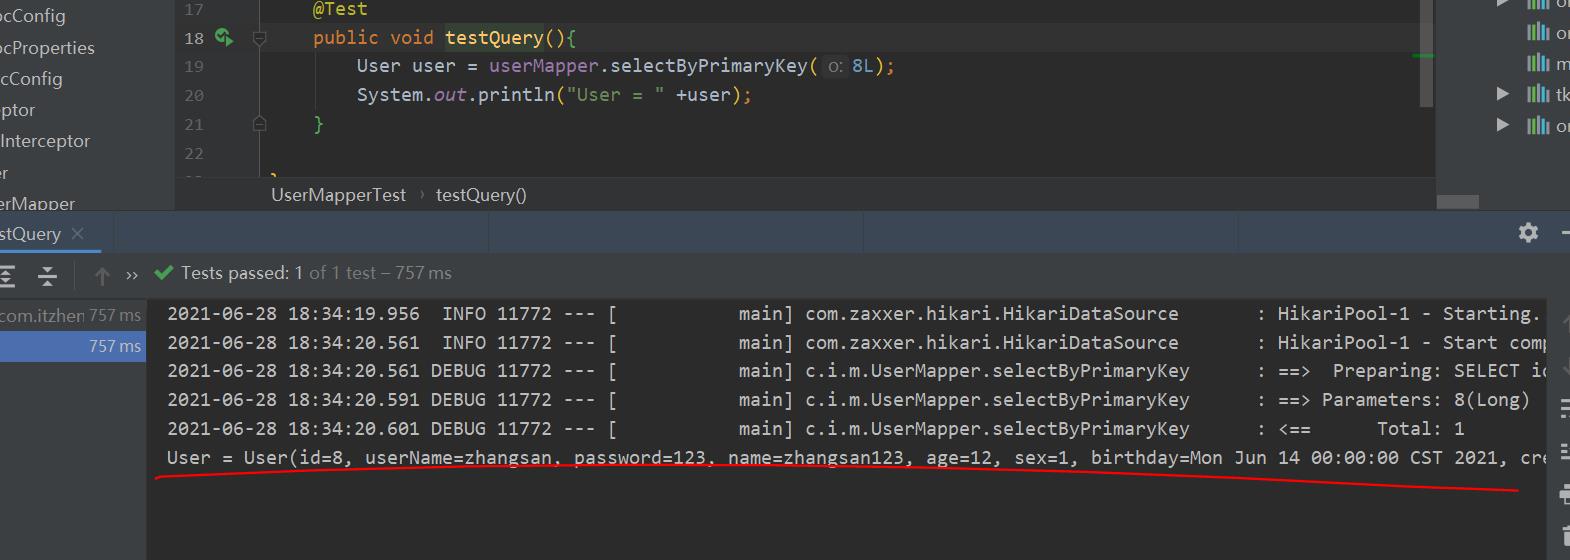
运行测试类
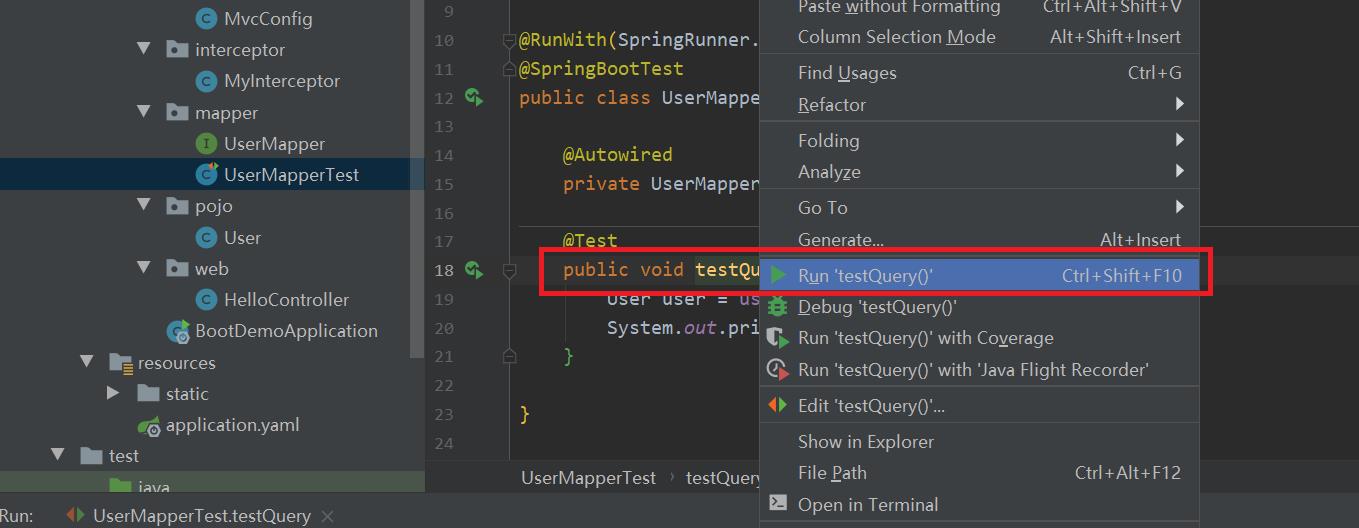
查询的结果
三、业务层整合
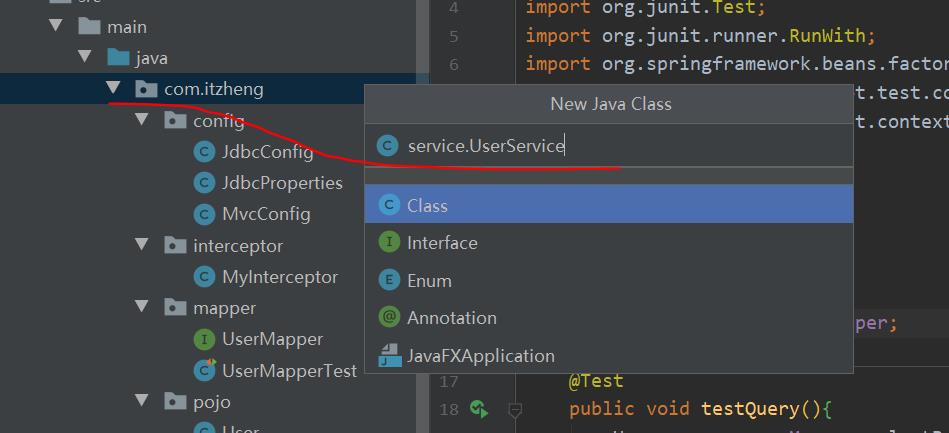
1、创建UserService
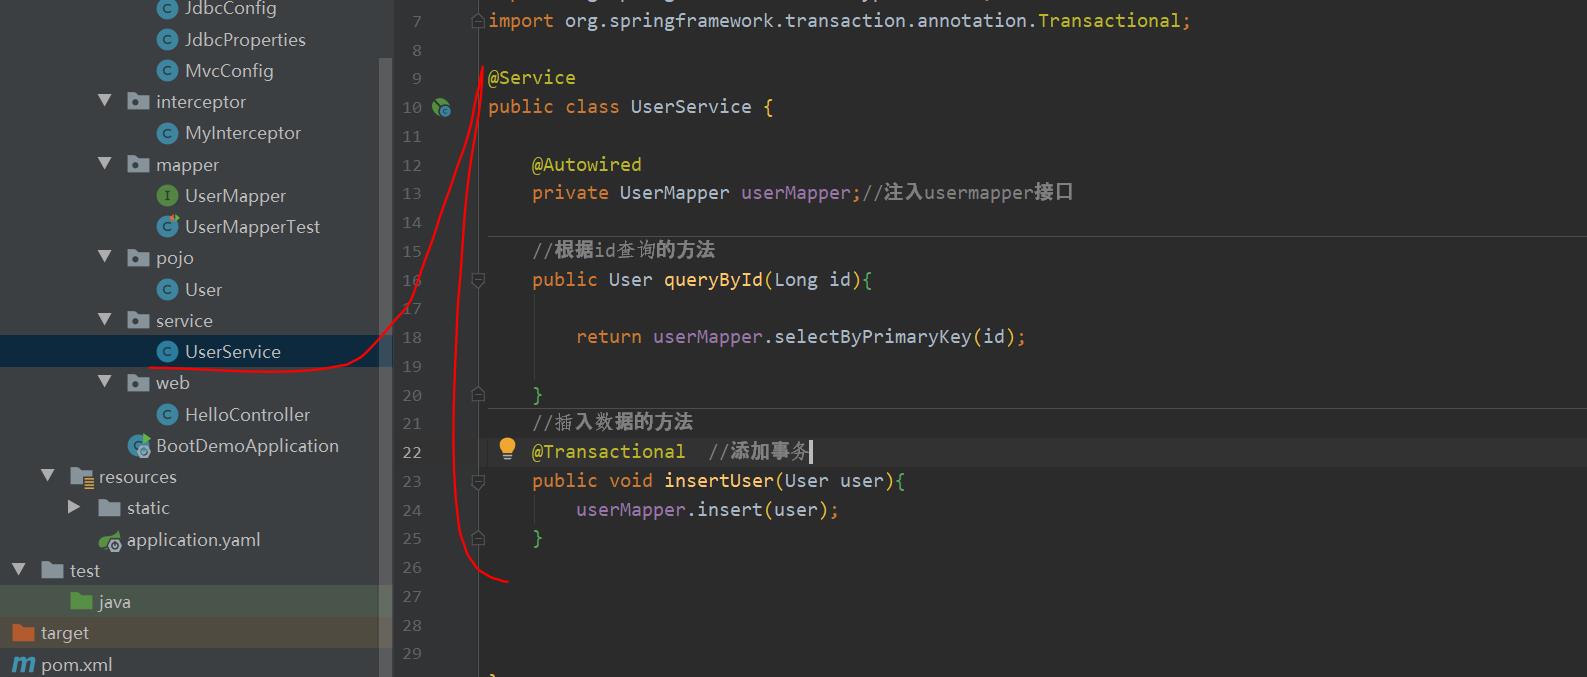
package com.itzheng.service;
import com.itzheng.mapper.UserMapper;
import com.itzheng.pojo.User;
import org.springframework.beans.factory.annotation.Autowired;
import org.springframework.stereotype.Service;
import org.springframework.transaction.annotation.Transactional;
@Service
public class UserService {
    @Autowired
    private UserMapper userMapper;//注入usermapper接口
    //根据id查询的方法
    public User queryById(Long id){
        return userMapper.selectByPrimaryKey(id);
    }
    //插入数据的方法
    @Transactional  //添加事务
    public void insertUser(User user){
        userMapper.insert(user);
    }
}
2、运行测试,
(1)修改HelloController
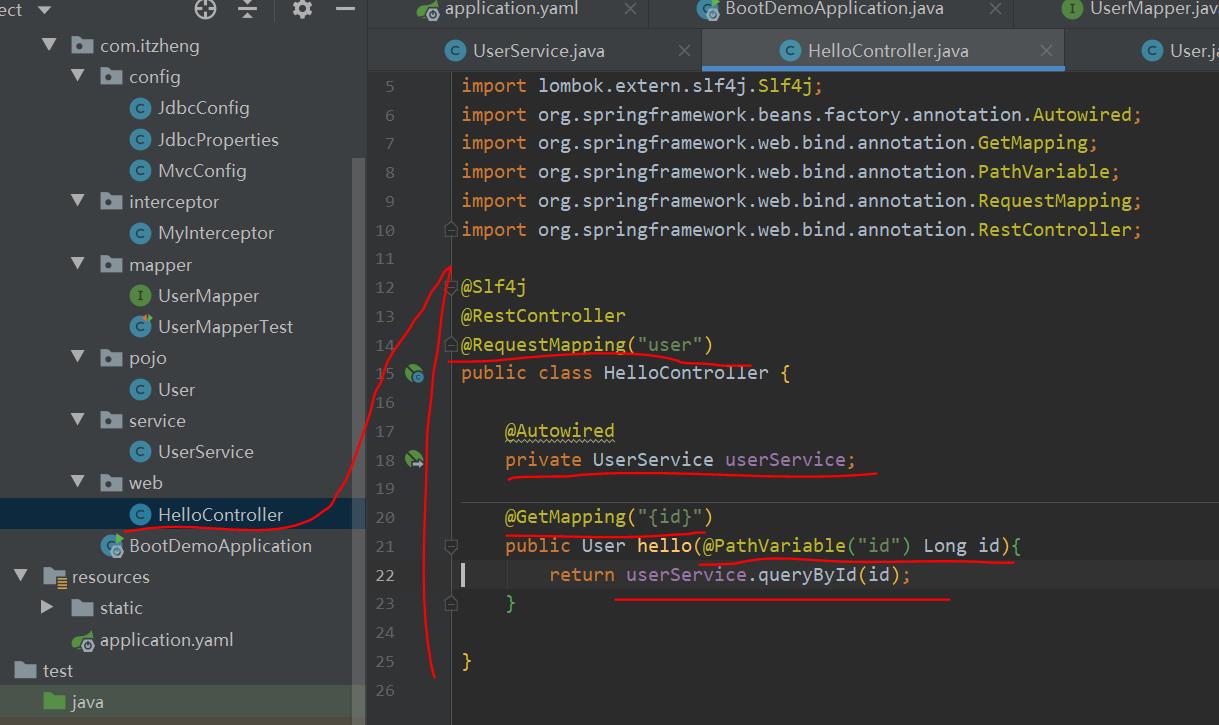
package com.itzheng.web;

import com.itzheng.pojo.User;
import com.itzheng.service.UserService;
import lombok.extern.slf4j.Slf4j;
import org.springframework.beans.factory.annotation.Autowired;
import org.springframework.web.bind.annotation.GetMapping;
import org.springframework.web.bind.annotation.PathVariable;
import org.springframework.web.bind.annotation.RequestMapping;
import org.springframework.web.bind.annotation.RestController;

@Slf4j
@RestController
@RequestMapping("user")
public class HelloController {

    @Autowired
    private UserService userService;

    @GetMapping("{id}")
    public User hello(@PathVariable("id") Long id){
        return userService.queryById(id);
    }

}
(2)运行项目
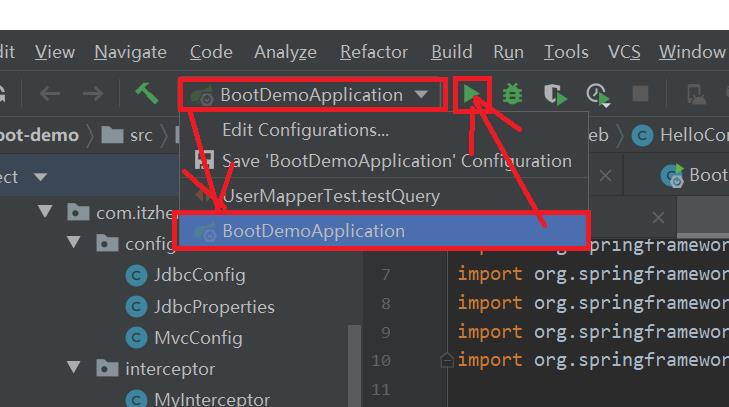
访问路径http://localhost:8088/user/1
1号

{
	"id":1,
	"userName":"zhangsan",
	"password":"123",
	"name":"zhangsan123",
	"age":12,
	"sex":1,
	"birthday":"2021-06-13T16:00:00.000+0000",
	"created":"2021-06-29T10:21:50.000+0000",
	"updated":"2021-06-30T10:21:53.000+0000",
	"note":null
}
2号

项目全部代码
https://download.csdn.net/download/qq_44757034/19894410
以上是关于Java 微服务 day02 源代码 SpringBoot 实战开发 整合Mybatis(数据库连接池),通用Mapper整合,业务层整合的主要内容,如果未能解决你的问题,请参考以下文章