树莓派4b部署LNMP+Tor,搭建在Dark web上的网站
Posted s8u2bis9s7fca071gbnl
tags:
篇首语:本文由小常识网(cha138.com)小编为大家整理,主要介绍了树莓派4b部署LNMP+Tor,搭建在Dark web上的网站相关的知识,希望对你有一定的参考价值。
树莓派4b部署LNMP+Tor,搭建在Dark web上的网站
开始前的准备
你需要有:
- 一台电脑
- 树莓派4b及其必要的配件
- Putty
- Winscp
- 公网IP
要保证能科学上网
系统
下载Raspberry Pi OS
前往树莓派官网下载Raspberry Pi OS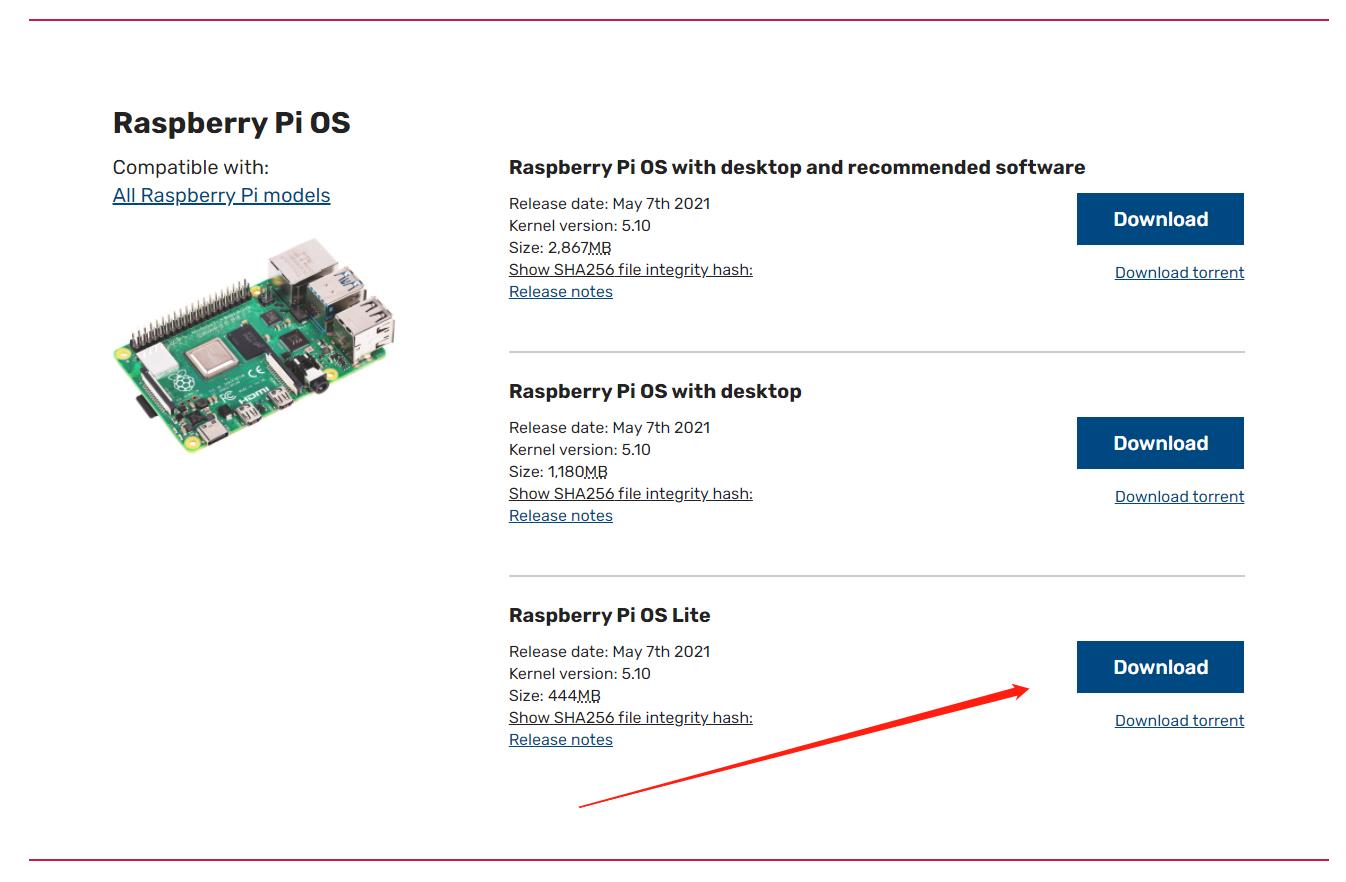
我这里选择的是Raspberry Pi OS Lite,如果是其余两个也不影响
烧录进TF卡
前往Balena.io下载Etcher工具
安装
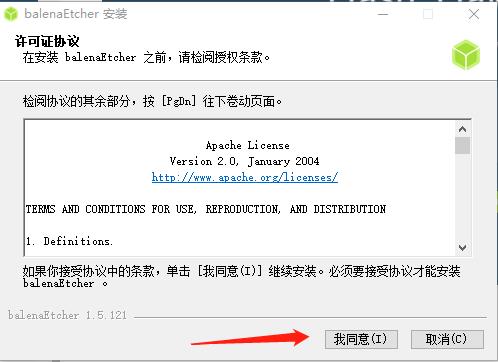
烧录系统(记得以管理员身份运行)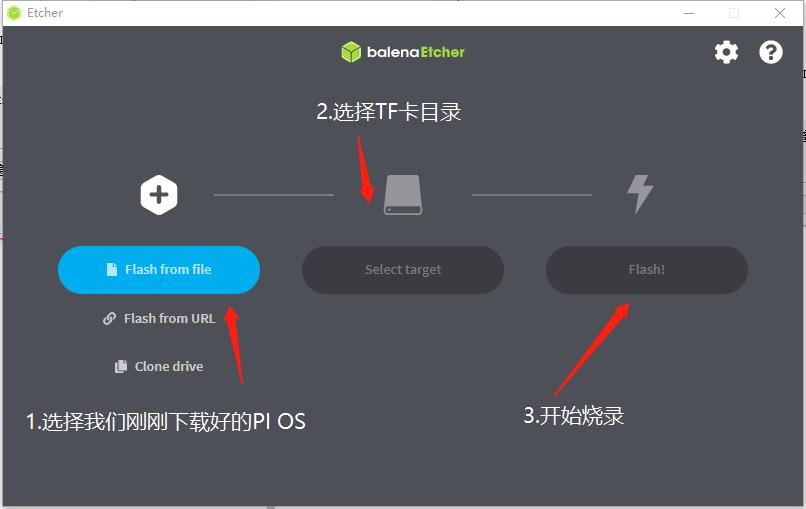
静静等待烧录完成
SSH
打开树莓派SSH功能
在刚刚烧录系统的TF卡(boot盘)中新建一个没有后缀的SSH文件

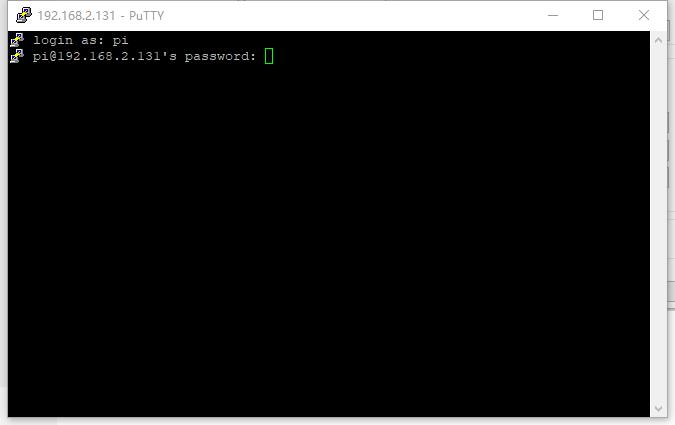
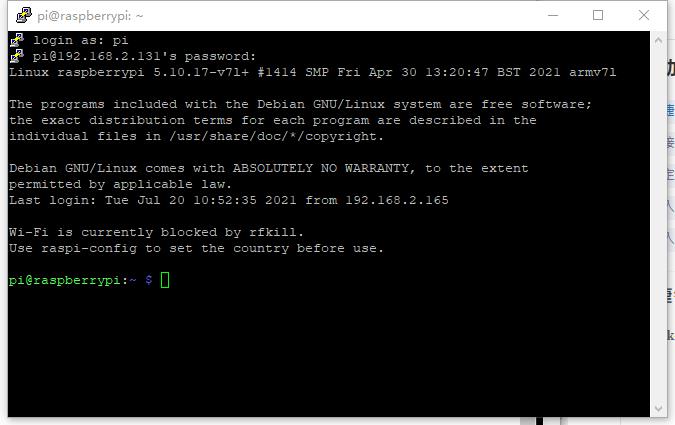
用Putty连接树莓派
打开Putty,连接树莓派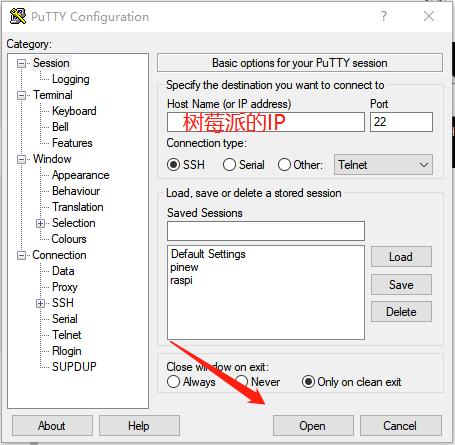
使用默认账号密码登录
账号 pi
密码 raspberry
修改SSH密码并启用root SSH登录
修改pi密码
sudo passwd pi
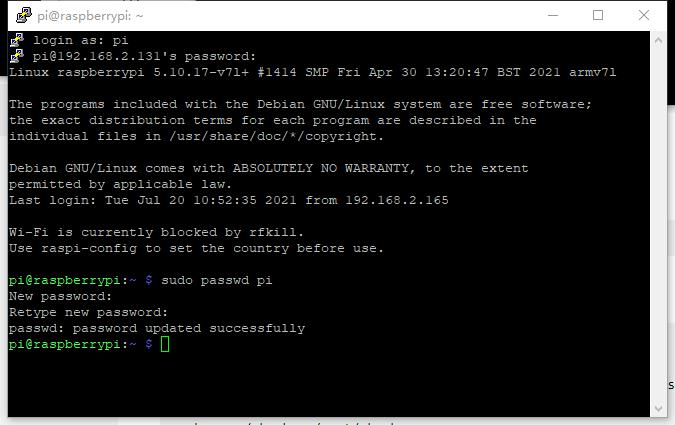
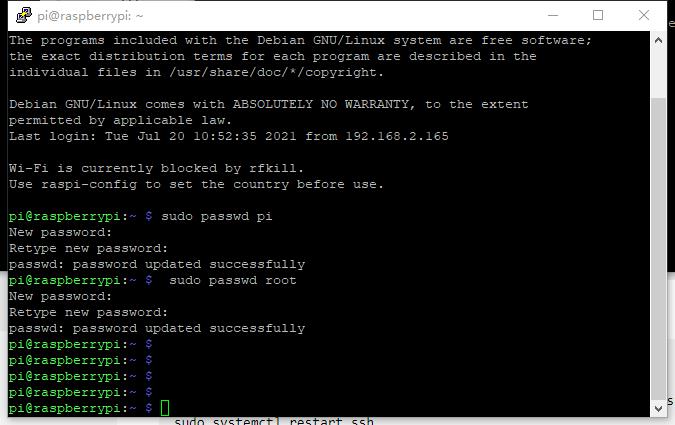
同理,修改root密码,启用root并开启ssh登录
 sudo passwd root
 sudo passwd --unlock root
 sudo sed -i "s/^#PermitRootLogin.*/PermitRootLogin yes/g" /etc/ssh/sshd_config
 sudo systemctl restart ssh
 sudo cp ~/.bashrc /root/.bashrc
部署LNMP
安装nginx和php7
安装软件包
sudo apt-get update
sudo apt-get upgrade
sudo apt-get install nginx php7.3-fpm php7.3-cli php7.3-curl php7.3-gd php7.3-cgi
sudo service nginx start
sudo service php7.3-fpm restart
安装成功可在http://树莓派IP/访问到Nginx的默认页
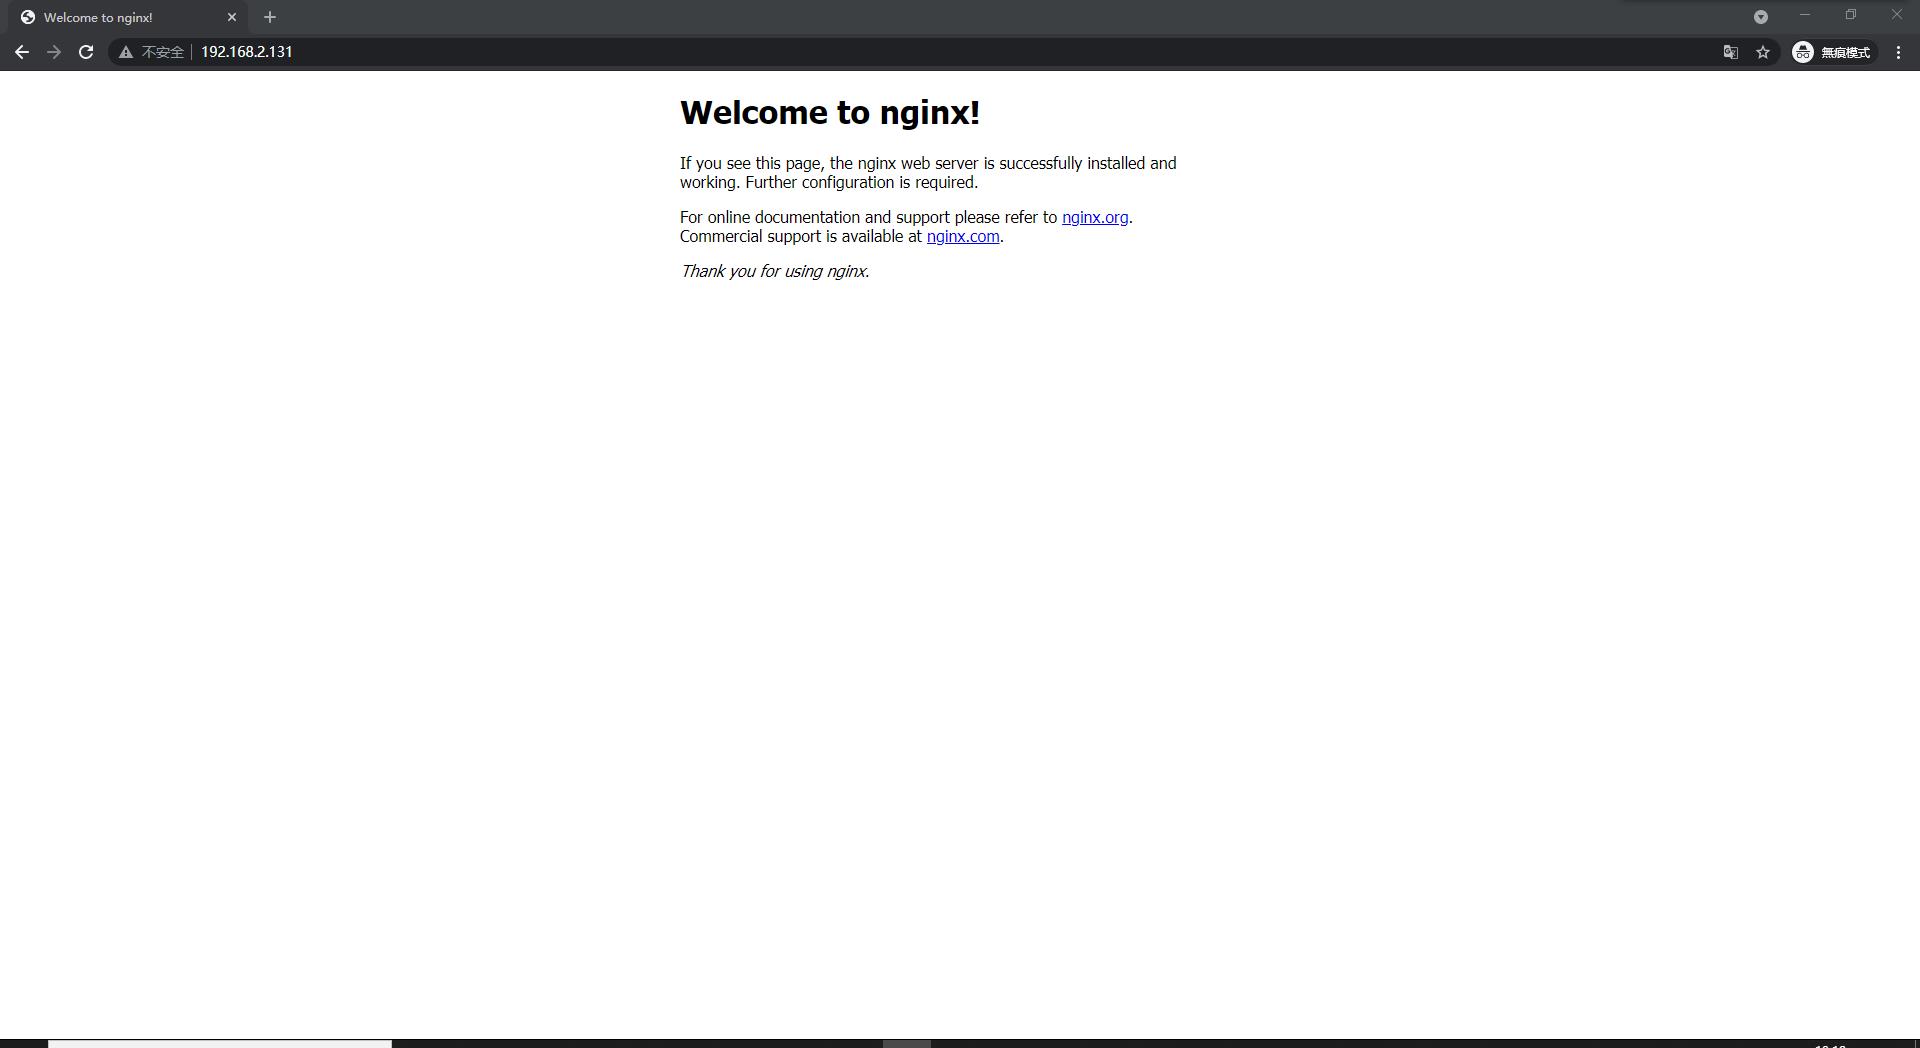
Nginx的根目录在 /var/www/html
让 Nginx 能处理 PHP
sudo nano /etc/nginx/sites-available/default
将以下内容
location / {
                # First attempt to serve request as file, then
                # as directory, then fall back to displaying a 404.
                try_files $uri $uri/ =404;
        }
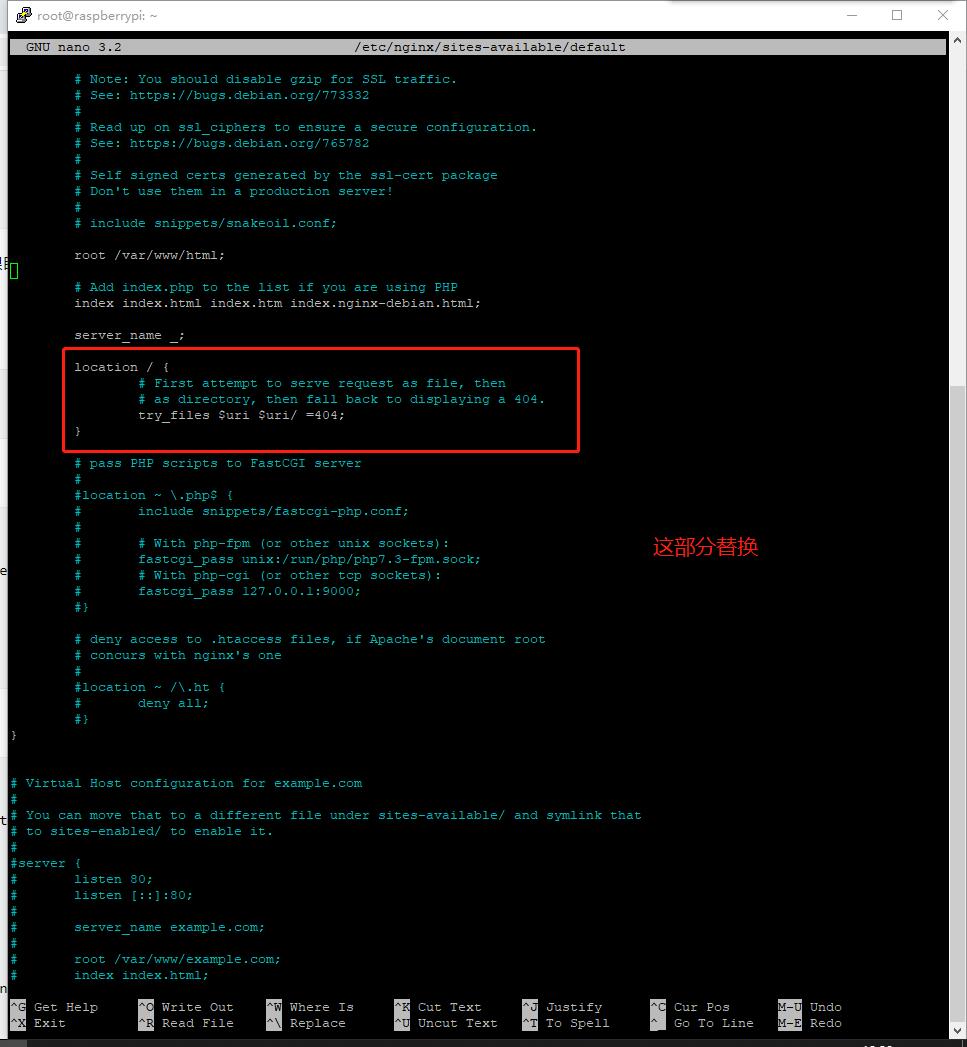
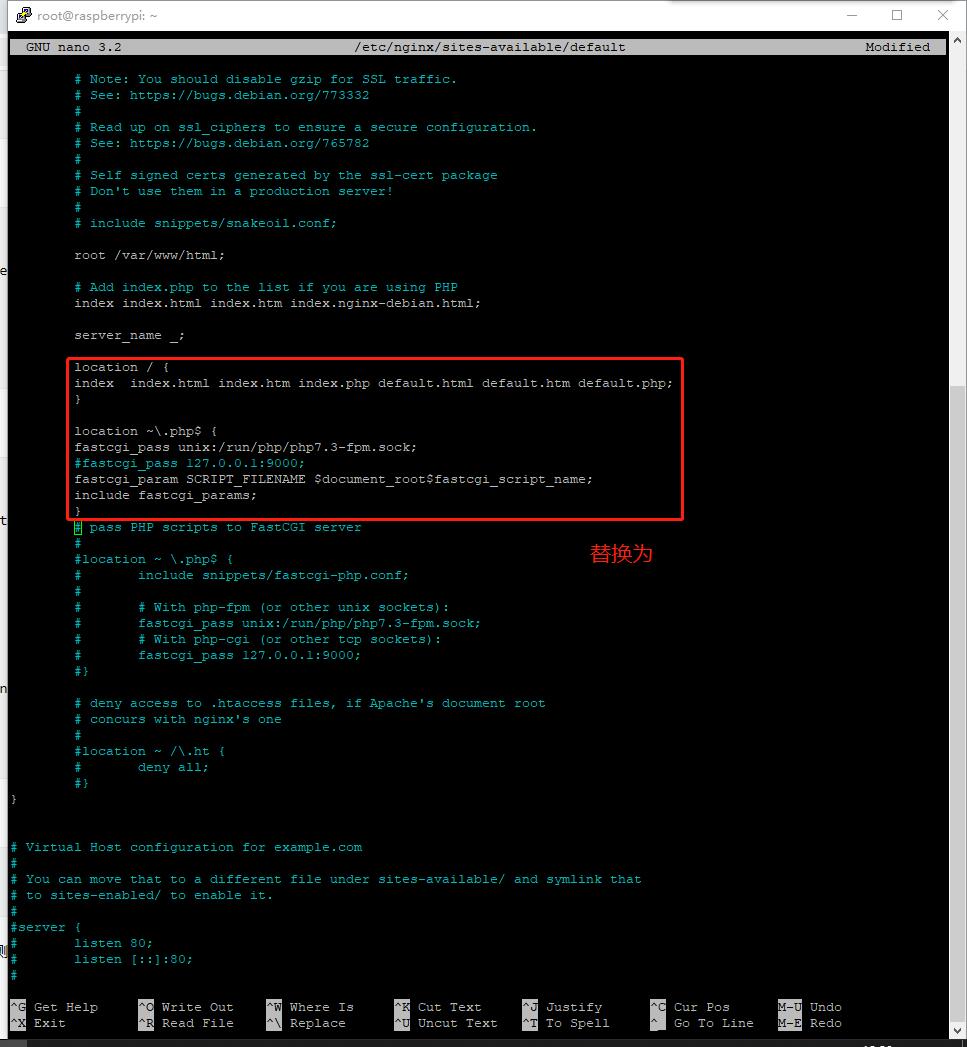
替换为
location / {
index  index.html index.htm index.php default.html default.htm default.php;
}

location ~\\.php$ {
fastcgi_pass unix:/run/php/php7.3-fpm.sock;
#fastcgi_pass 127.0.0.1:9000;
fastcgi_param SCRIPT_FILENAME $document_root$fastcgi_script_name;
include fastcgi_params;
}
保存
Ctrl + O
Enter
退出
Ctrl + X
重启Nginx
sudo service nginx restart
安装配置mysql
安装软件包
sudo apt-get install mariadb-server-10.0
更改Mysql密码
mysql
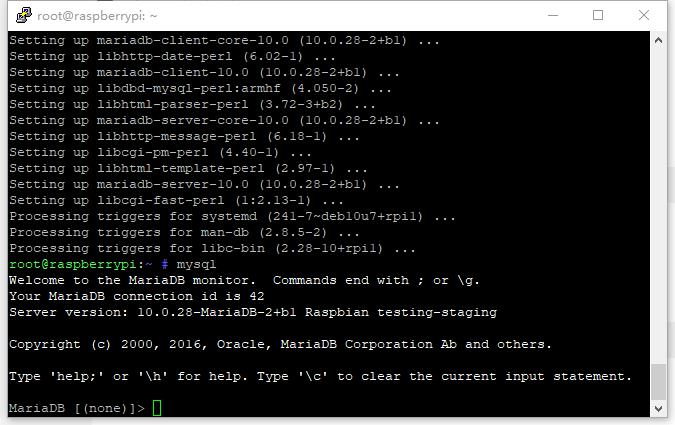
use mysql;
update user set plugin='mysql_native_password' where user='root';
UPDATE user SET password=PASSWORD('你想要设定的密码') WHERE user='root';
flush privileges;
exit;
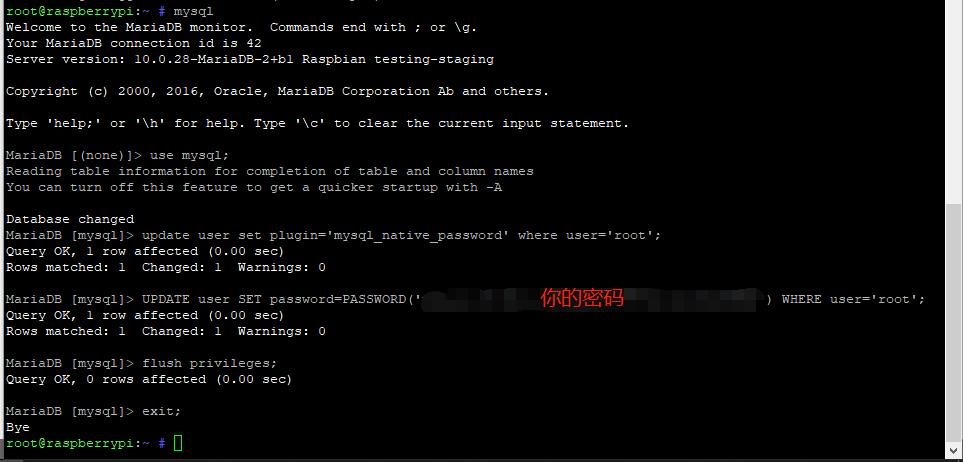
重启Mysql服务
service mysql restart
安装并部署Tor服务
安装Tor
sudo apt-get install tor
Tor的根目录在 /etc/tor
配置Hidden Service获取Onion域名
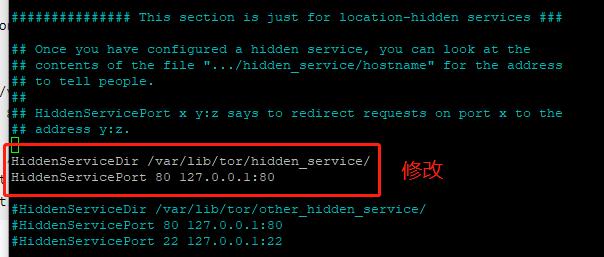
编辑 /etc/tor/torrc
sudo nano /etc/tor/torrc
找到以下内容,去掉前面的#号
############### This section is just for location-hidden services ###

## Once you have configured a hidden service, you can look at the
## contents of the file ".../hidden_service/hostname" for the address
## to tell people.
##
## HiddenServicePort x y:z says to redirect requests on port x to the
## address y:z.

HiddenServiceDir /var/lib/tor/hidden_service/  //hidden service的目录
HiddenServicePort 80 127.0.0.1:80  //HTTP服务器IP,端口

#HiddenServiceDir /var/lib/tor/other_hidden_service/
#HiddenServicePort 80 127.0.0.1:80
#HiddenServicePort 22 127.0.0.1:22
保存
Ctrl + O
Enter
退出
Ctrl + X
重启Tor服务
killall tor
sudo -u debian-tor tor
等待启动,第一次启动时间较长,要保证网络畅通

显示以下内容即可
[notice] Bootstrapped 100%: Done

获取Onion域名
默认在 /var/lib/tor/hidden_service/hostname
cd /var/lib/tor/hidden_service/
cat hostname

修改权限
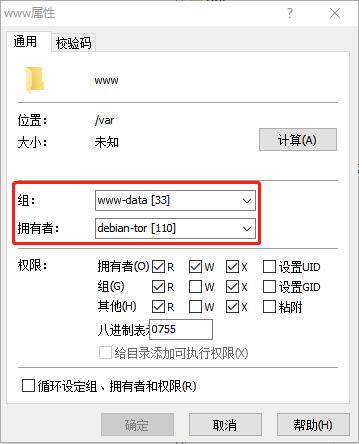
修改 /var/www 文件夹的权限
sudo chown -R debian-tor:www-data /var/www
再次重启Tor服务
killall tor
sudo -u debian-tor tor
访问网站
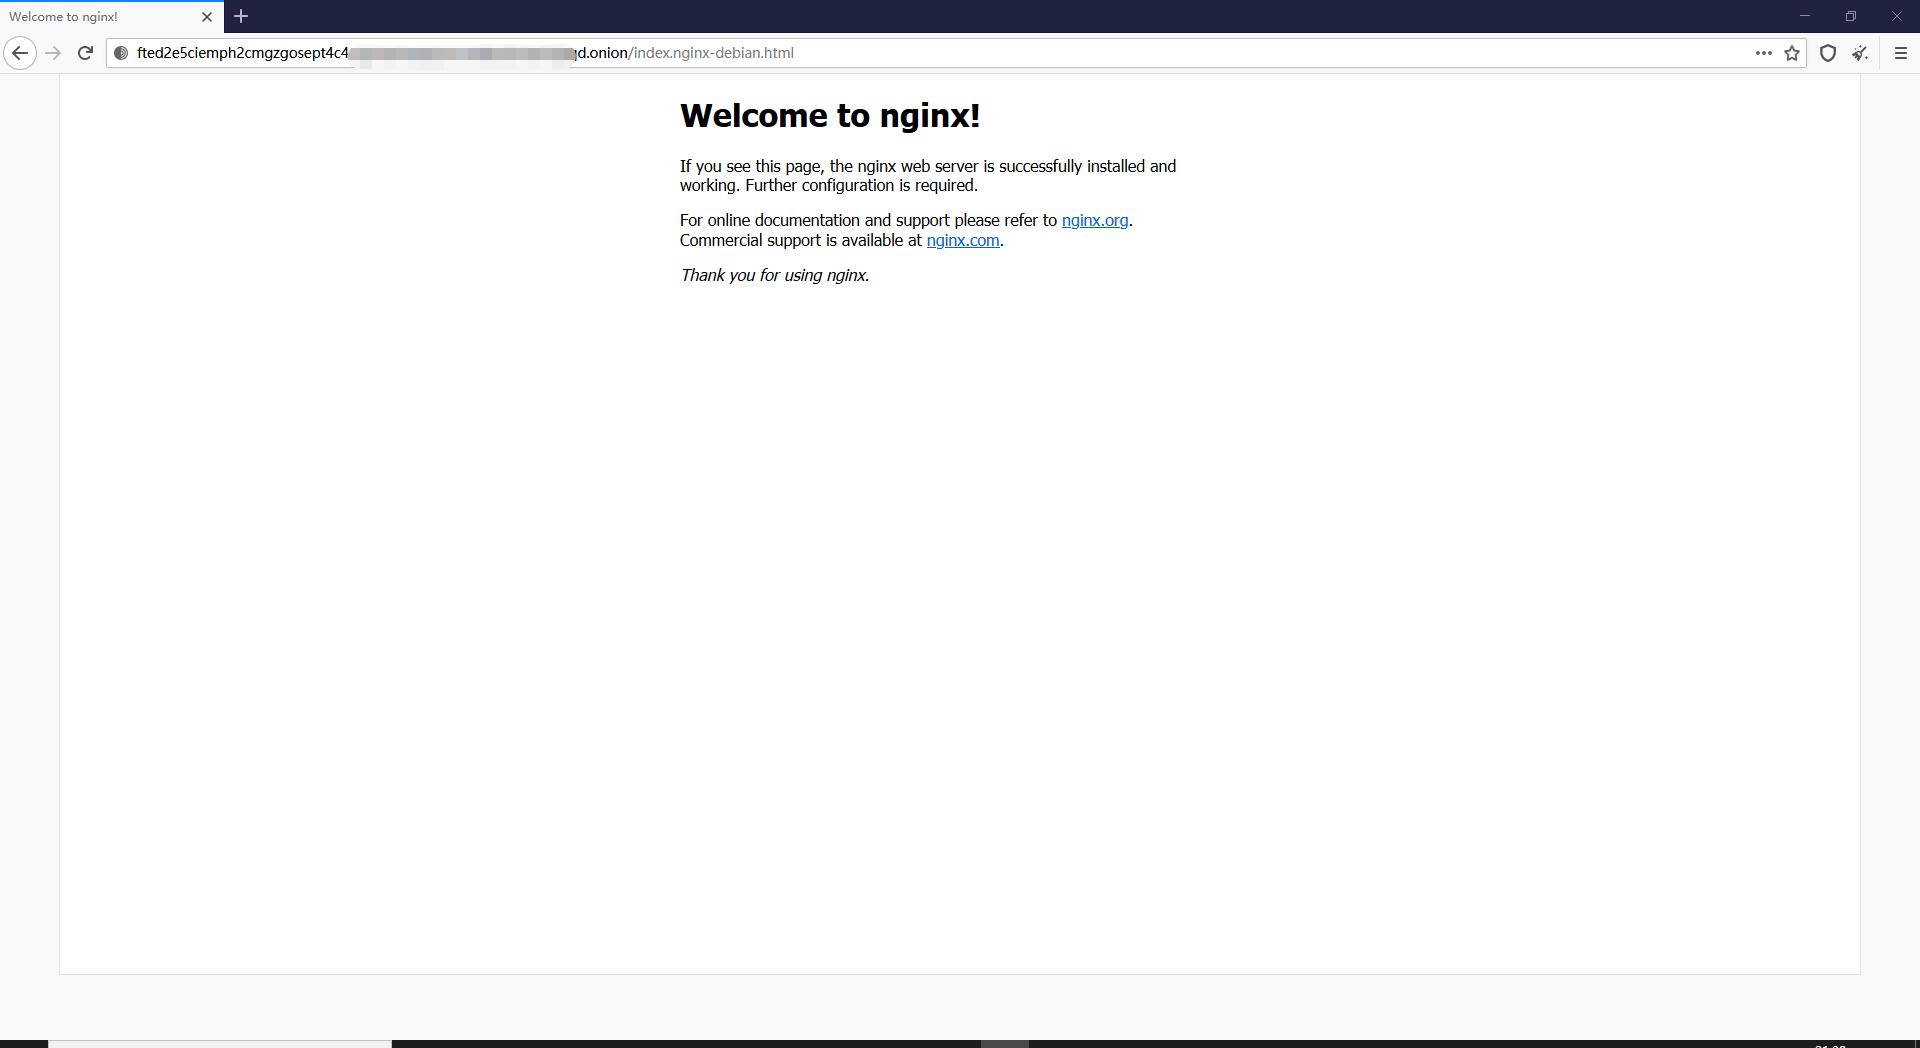
下载安装Tor浏览器,就不多说
连接上Tor服务,访问获取的Onion域名
完成
参考资料
SSH——https://www.jianshu.com/p/654ee08d2b3a
LNMP——https://shumeipai.nxez.com/2020/03/21/install-pi-dashboard-with-nginx-php73-on-pi.html
Tor
——https://blog.csdn.net/kEnnponN/article/details/82662445
——https://blog.csdn.net/weixin_30721899/article/details/98115671?utm_medium=distribute.pc_relevant.none-task-blog-2%7Edefault%7EBlogCommendFromMachineLearnPai2%7Edefault-1.control&depth_1-utm_source=distribute.pc_relevant.none-task-blog-2%7Edefault%7EBlogCommendFromMachineLearnPai2%7Edefault-1.control
——https://tor.stackexchange.com/questions/14863/var-lib-tor-is-not-owned-by-this-user-root-0-but-by-debian-tor-110
——https://askubuntu.com/questions/833021/could-not-bind-to-127-0-0-19050-address-already-in-use-is-tor-already-running
权限修改——https://zhidao.baidu.com/question/94171636.html
以上是关于树莓派4b部署LNMP+Tor,搭建在Dark web上的网站的主要内容,如果未能解决你的问题,请参考以下文章
《树莓派4B家庭服务器搭建指南》第七期:使用树莓派解锁网易云灰色音乐
树莓派4B安装OpenMediaVault(OMV)搭建一个小型家用NAS系统