Android动画特效(《安卓群英传》实例)
Posted 春招进大厂的梦想家
tags:
篇首语:本文由小常识网(cha138.com)小编为大家整理,主要介绍了Android动画特效(《安卓群英传》实例)相关的知识,希望对你有一定的参考价值。
📝android动画特效(实例)
🍦写在前面的:最近看《安卓群英传》动画那一块,看到了这几个实例,感觉很有意思,于是就跟着写了一遍。以前自己也写过类似灵动菜单之类的小功能,但是是利用Material Desiagn里面的FloatingButton来写的,但是通过学习用ValueAnimator、 ObjectAnimator和其他动画框架来写感受还是有很多不同的。
🍨菜狗就要好好学习,加油。
✏️一、灵动菜单:
1.新建一个菜单布局文件,用于自定义View时引入
<?xml version="1.0" encoding="utf-8"?>
<RelativeLayout xmlns:android="http://schemas.android.com/apk/res/android"
    android:id="@+id/parent"
    android:layout_width="match_parent"
    android:layout_height="match_parent"
    android:orientation="vertical" >

    <ImageView
        android:id="@+id/home"
        android:layout_width="35dip"
        android:layout_height="35dip"
        android:layout_above="@+id/center"
        android:layout_centerHorizontal="true"
        android:src="@drawable/home" />

    <ImageView
        android:id="@+id/call"
        android:layout_width="35dip"
        android:layout_height="35dip"
        android:layout_alignBottom="@+id/center"
        android:layout_marginBottom="25dp"
        android:layout_toLeftOf="@+id/center"
        android:src="@drawable/call" />

    <ImageView
        android:id="@+id/hyperlink"
        android:layout_width="35dip"
        android:layout_height="35dip"
        android:layout_alignBottom="@+id/center"
        android:layout_marginBottom="25dp"
        android:layout_toRightOf="@+id/center"
        android:src="@drawable/lianjie" />

    <ImageView
        android:id="@+id/center"
        android:layout_width="45dip"
        android:layout_height="45dip"
        android:layout_margin="20dip"
        android:layout_centerInParent="true"
        android:src="@drawable/menu" />

</RelativeLayout>
2.新建一个Java类,继承Relativelayout,实现自定义View
public class LMenu extends RelativeLayout implements View.OnClickListener {

    private ImageView center,home,call,hyperlink;
    private List<ImageView> oViews;

    private boolean mFlag=true;

    private float mHiddenViewMeasuredHeight;

    public LMenu(Context context) {
        this(context,null);
    }

    public LMenu(Context context, AttributeSet attrs) {
        super(context, attrs);
        initView(context);
    }

    private void initView(Context context) {
        LayoutInflater.from(context).inflate(R.layout.menulayout, this);
        center=(ImageView) findViewById(R.id.center);
        call=(ImageView) findViewById(R.id.call);
        home=(ImageView) findViewById(R.id.home);
        hyperlink=(ImageView) findViewById(R.id.hyperlink);

        //将四个Imageview放在集合里,方便管理
        oViews=new ArrayList<ImageView>();
        oViews.add(center);
        oViews.add(call);
        oViews.add(home);
        oViews.add(hyperlink);

        center.setOnClickListener(this);
        call.setOnClickListener(this);
        home.setOnClickListener(this);
        hyperlink.setOnClickListener(this);
    }

    @Override
    protected void onSizeChanged(int w, int h, int oldw, int oldh) {
        super.onSizeChanged(w, h, oldw, oldh);

        mHiddenViewMeasuredHeight = (int) (w*1/12);
        Anim(mHiddenViewMeasuredHeight,-mHiddenViewMeasuredHeight ,0.5f, 1f, 0f, 90f);
    }

    //点击事件
    @Override
    public void onClick(View view) {
        switch (view.getId()) {
            case R.id.center:
                if (mFlag) {
                    Anim(-mHiddenViewMeasuredHeight,mHiddenViewMeasuredHeight, 1f, 0.5f, 90f, 0f);;
                    mFlag=false;
                }else {
                    Anim(mHiddenViewMeasuredHeight, -mHiddenViewMeasuredHeight,0.5f, 1f, 0f, 90f);
                    mFlag=true;
                }
                break;
            case R.id.home:
                if (listener!=null) {
                    listener.Home();
                }
                break;
            case R.id.call:
                if (listener!=null) {
                    listener.Call();
                }
                break;

            case R.id.hyperlink:
                if (listener!=null) {
                    listener.hyperlink();
                }
                break;

            default:
                break;
        }
    }

    private void Anim(float mHiddenViewMeasuredHeightBegin,float mHiddenViewMeasuredHeightyClose,float x,float y,float anglex,float angley){

        //设置动画。用于弹出和收回
        ObjectAnimator animator0=ObjectAnimator.ofFloat(oViews.get(0), "alpha", x,y);

        ObjectAnimator animator1=ObjectAnimator.ofFloat(oViews.get(1), "translationX",mHiddenViewMeasuredHeightBegin);

        ObjectAnimator animator2=ObjectAnimator.ofFloat(oViews.get(2), "translationY",mHiddenViewMeasuredHeightBegin);

        ObjectAnimator animator3=ObjectAnimator.ofFloat(oViews.get(3), "translationX",mHiddenViewMeasuredHeightyClose);


        //设置动画,用于旋转效果
        ObjectAnimator animator4=ObjectAnimator.ofFloat(oViews.get(0), "rotation", anglex,120f,angley);

        ObjectAnimator animator5=ObjectAnimator.ofFloat(oViews.get(1), "rotationX", anglex,120f,angley);

        ObjectAnimator animator6=ObjectAnimator.ofFloat(oViews.get(2), "rotationY", anglex,120f,angley);

        ObjectAnimator animator7=ObjectAnimator.ofFloat(oViews.get(3), "rotationX", anglex,120f,angley);

        AnimatorSet set = new AnimatorSet();
        set.setDuration(500);
        set.setInterpolator(new OvershootInterpolator());
        set.playTogether(animator0,animator1,animator2,animator3,animator4,animator5,animator6,animator7);
        set.start();


    }
    onMenuClickListener listener;
    //定义回调接口
    public interface onMenuClickListener {
        void Home();
        void Call();
        void hyperlink();
    }
    //设置事件回调
    public void setonMenuClickListener(    onMenuClickListener listener){
        this.listener=listener;
    }

}
3.主活动xml文件
<?xml version="1.0" encoding="utf-8"?>
<RelativeLayout xmlns:android="http://schemas.android.com/apk/res/android"
    xmlns:app="http://schemas.android.com/apk/res-auto"
    xmlns:tools="http://schemas.android.com/tools"
    android:layout_width="match_parent"
    android:layout_height="match_parent"
    tools:context=".SmartMenuAcitivity">

    <com.example.android_wavebackground.LMenu
        android:id="@+id/lMenu"
        android:layout_width="wrap_content"
        android:layout_height="wrap_content"
        android:layout_centerInParent="true" />

</RelativeLayout>
4.主活动java文件
/**
 * @author 23737
 * 灵动菜单的实现
 * @time 2021.7.18
 */
public class SmartMenuAcitivity extends AppCompatActivity {

    private LMenu menu;

    @Override
    protected void onCreate(Bundle savedInstanceState) {
        super.onCreate(savedInstanceState);
        setContentView(R.layout.activity_smart_menu_acitivity);

        initView();
        initEvent();
    }

    private void initView() {
        menu = (LMenu)findViewById(R.id.lMenu);
    }

    private void initEvent() {
        menu.setonMenuClickListener(new LMenu.onMenuClickListener() {
            @Override
            public void Home() {
                Toast.makeText(SmartMenuAcitivity.this, "点击了home", Toast.LENGTH_SHORT).show();
            }

            @Override
            public void Call() {
                Toast.makeText(SmartMenuAcitivity.this, "点击了call", Toast.LENGTH_SHORT).show();
            }

            @Override
            public void hyperlink() {
                Toast.makeText(SmartMenuAcitivity.this, "点击了hyperlink", Toast.LENGTH_SHORT).show();
            }
        });
    }
}
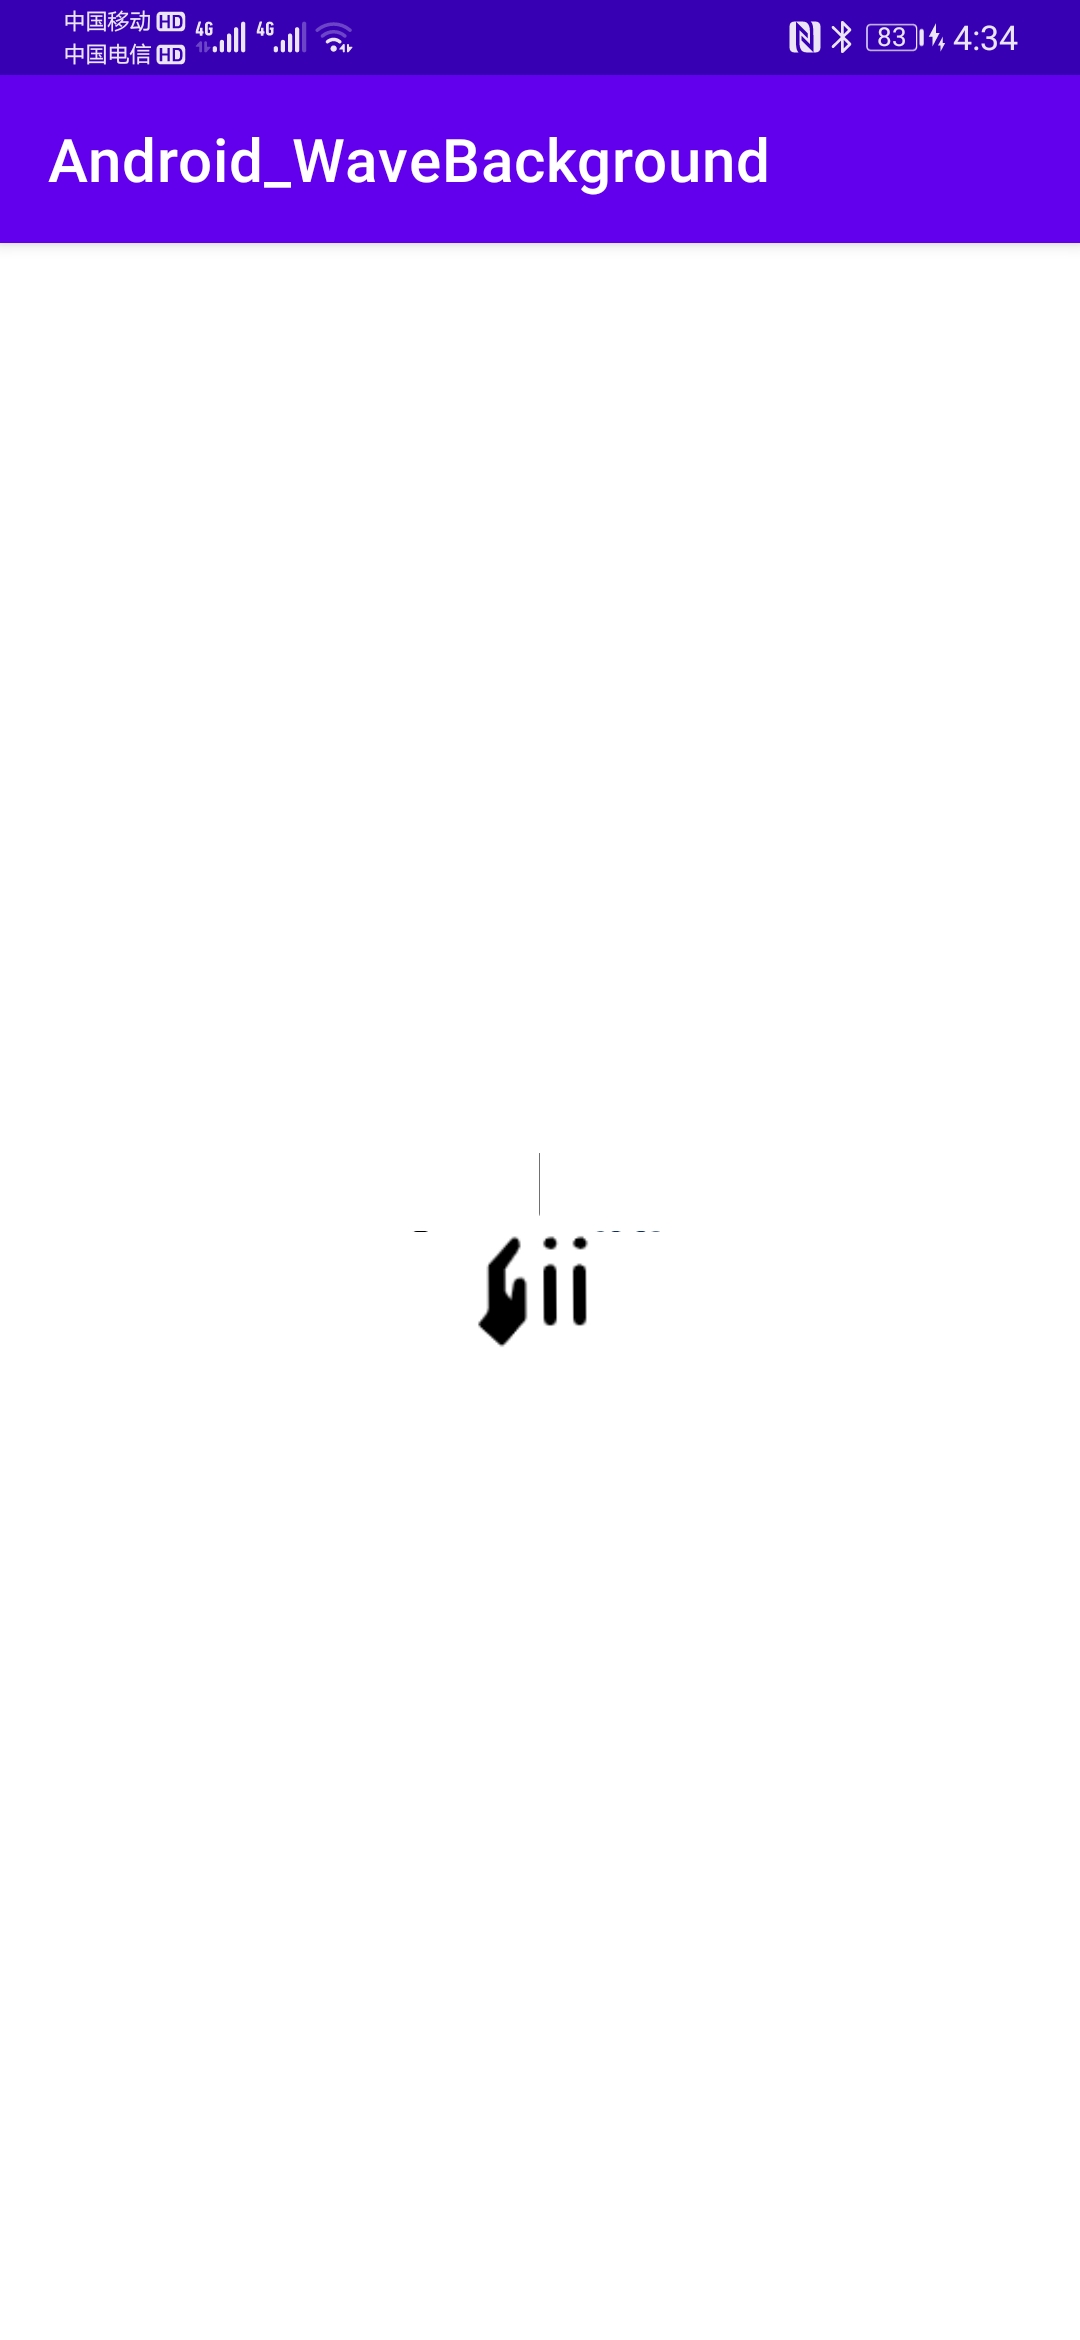
5.效果展示:


✏️二、计时器动画
😋 用户点击textview之后,数字会不断增加,其实实现这个计时器的方式有很多很多,比如Handler就可以用来实现,但在这里使用ValueAnimator动画框架来进行实现.
1.main.xml
<?xml version="1.0" encoding="utf-8"?>
<androidx.constraintlayout.widget.ConstraintLayout xmlns:android="http://schemas.android.com/apk/res/android"
    xmlns:app="http://schemas.android.com/apk/res-auto"
    xmlns:tools="http://schemas.android.com/tools"
    android:layout_width="match_parent"
    android:layout_height="match_parent"
    tools:context=".TimerActivity">


    <TextView
        android:id="@+id/textView"
        android:layout_width="200dp"
        android:layout_height="100dp"
        android:textSize="30sp"
        android:textColor="#000000"
        android:gravity="center"
        android:text="TextView"
        app:layout_constraintBottom_toBottomOf="parent"
        app:layout_constraintEnd_toEndOf="parent"
        app:layout_constraintStart_toStartOf="parent"
        app:layout_constraintTop_toTopOf="parent" />
</androidx.constraintlayout.widget.ConstraintLayout>
2.mian.java(主要逻辑在这里实现)
package com.example.android_wavebackground;

import androidx.appcompat.app.AppCompatActivity;

import android.animation.ValueAnimator;
import android.os.Bundle;
import android.view.View;
import android.widget.TextView;

/**
 * @author 23737
 * @create 2021.7.18
 * 使用ValueAnimator实现计时器动画
 * 用户点击后,数字会不断增加
 */

public class TimerActivity extends AppCompatActivity {

    private TextView tv;

    @Override
    protected void onCreate(Bundle savedInstanceState) {
        super.onCreate(savedInstanceState);
        setContentView(R.layout.activity_timer);

        tv = findViewById(R.id.textView);
        tv.setOnClickListener(new View.OnClickListener() {
            @Override
            public void onClick(View v) {
                tvTimer(tv);
            }
        });
    }

    private void tvTimer(final View view) {
        ValueAnimator va = ValueAnimator.ofInt(0, 100);
        va.addUpdateListener(new ValueAnimator.AnimatorUpdateListener() {
            @Override
            public void onAnimationUpdate(ValueAnimator animation) {
                ( (TextView)view).setText("$"+(Integer)animation.getAnimatedValue());
            }
        });
        va.setDuration(3000);
        va.start();
    }
}
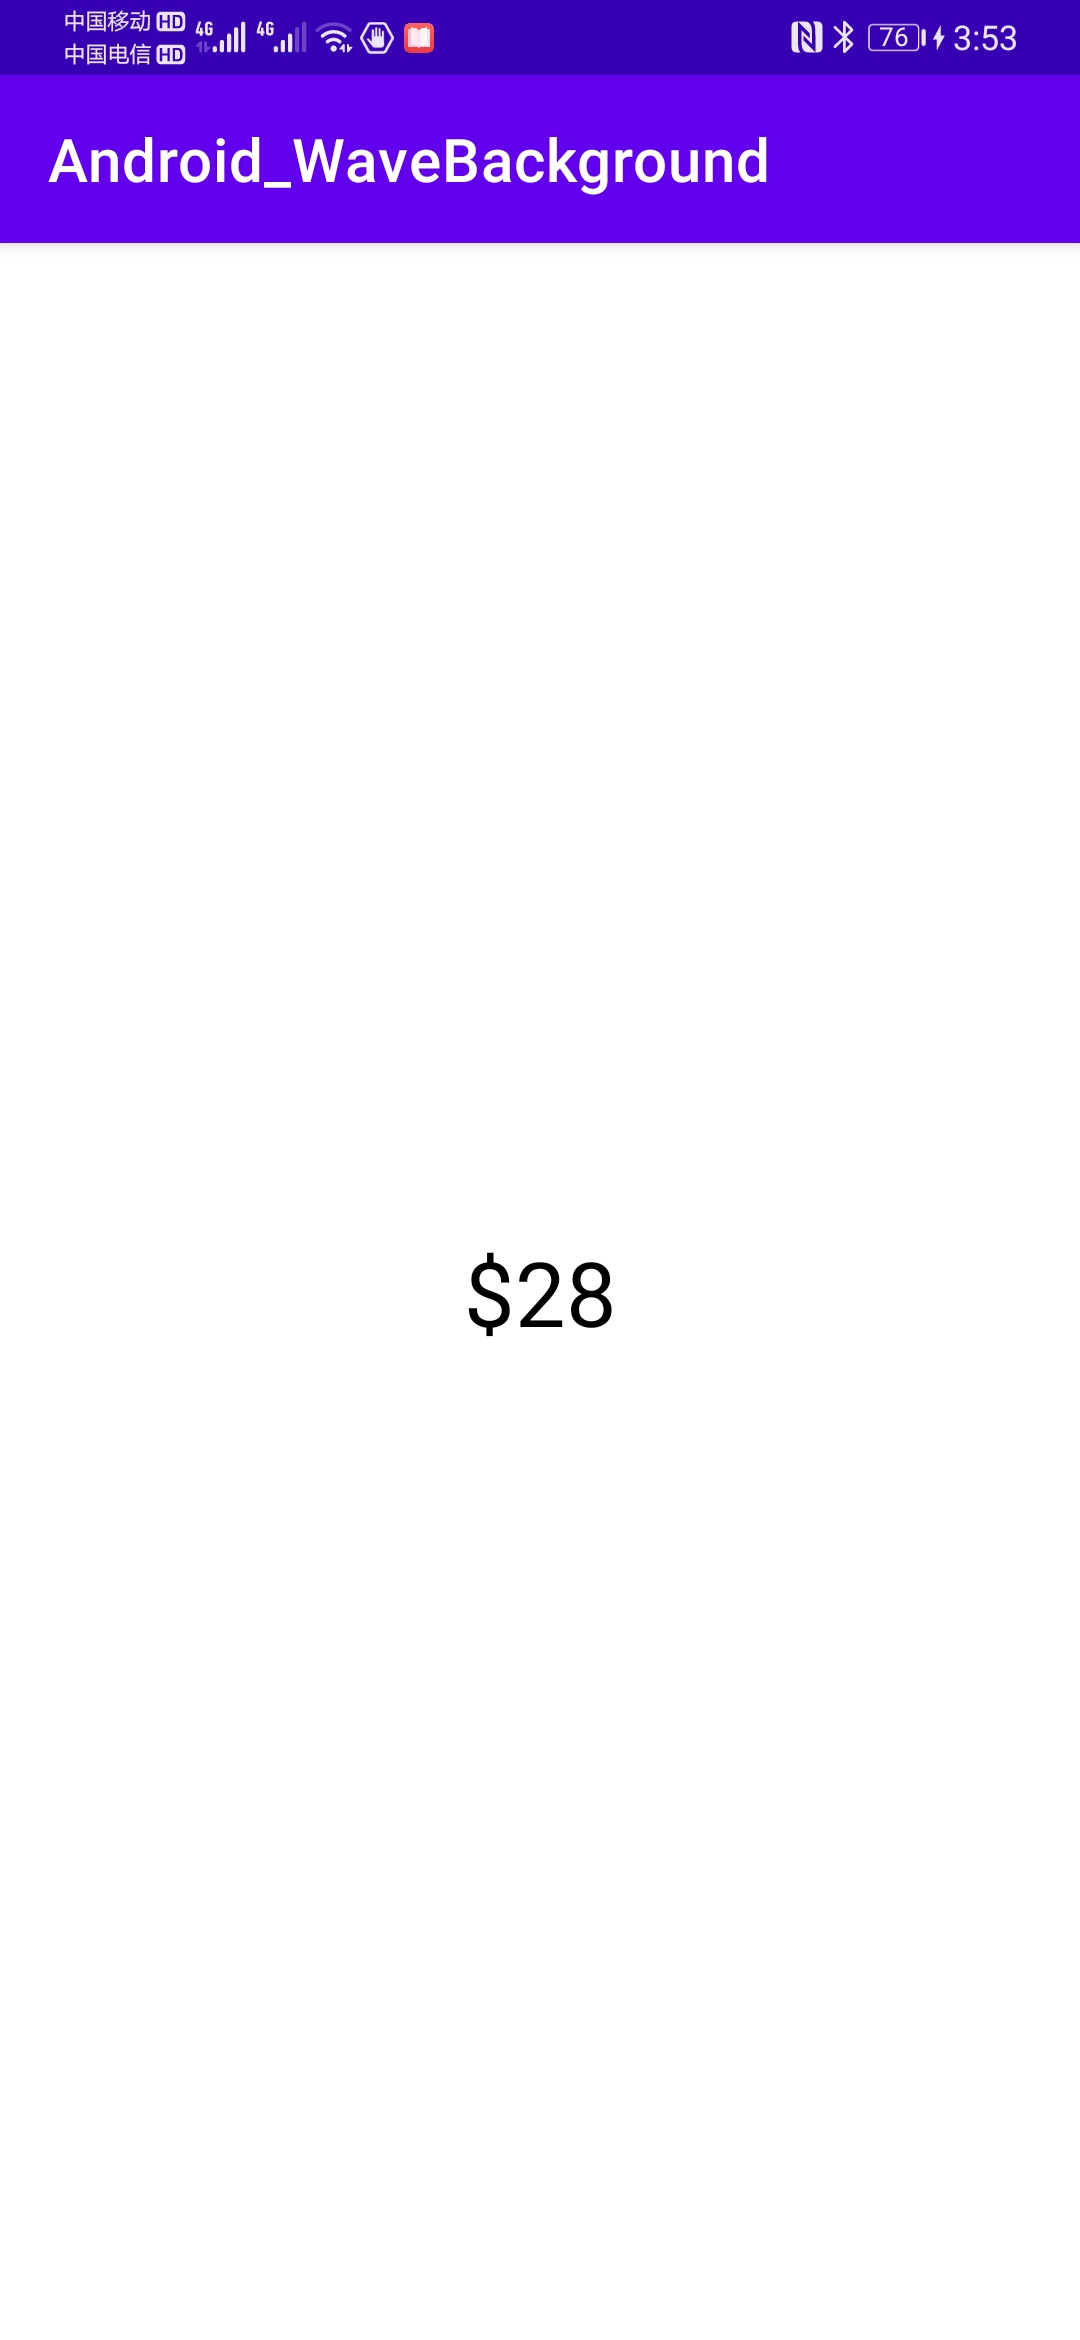
3.效果展示:

✏️三、下拉展开动画
😋建立两个布局,一个布局的visibility设置为不可见,在点击其中一个可见的layout之后,再将不可见的layout的visibility的属性设置为visible即可。但是这种过程是瞬间实现的,怎么才能变为动画的过程呢,需要让隐藏的view高度不断发生变化,但并非立马增大到目标值。使用ValueAnimator建立一个数值发生器就好了。
1.main.xml
<?xml version="1.0" encoding="utf-8"?>
<LinearLayout