Spring系列利用Spring的IoC(控制反转)实现经典案例打印机
Posted 一宿君
tags:
篇首语:本文由小常识网(cha138.com)小编为大家整理,主要介绍了Spring系列利用Spring的IoC(控制反转)实现经典案例打印机相关的知识,希望对你有一定的参考价值。
什么是IoC(控制反转)?
本质上控制反转(Inversion of Control,IoC),是一种设计思想,依赖注入(Dependency Injection,DI) 是实现IoC的一种方法。没有IoC的程序中,我们使用面向对象编程,对象的创建与对象间的依赖关系完全是硬编码在程序中(容易耦合)。对象的创建由程序自己控制,控制反转对象后将对象的创建转移给了第三方(可以解耦)。
-
IoC是Spring框架的核心内容,使用多种方式完美的实现了IoC,可以使用XML配置,也可以使用注解(开发常用,零配置)。
-
Spring容器在初始化时,先读取配置文件,根据配置文件或元数据创建与组织对象存入容器中,程序使用时再从IoC容器中取出需要的对象(随用随取)。
-
采用XML方式配置Bean实例的时候,Bean的定义信息是和具体实现分离的,而采用注解的方式可以把两者结合在一起,Bean的定义信息直接以注解的形式定义在实现类中,从而达到了零配置的目的。
-
控制反转是一种通过描述(XML或注解),并通过第三方去生产或获取特定对象的方式。在Spring中实现控制反转的是IoC容器,其实现方法是依赖注入(Dependency Injection,DI)
下面我们打印机实例演示IoC功能(直接上代码)
分析打印机组成部分,有墨盒(彩色墨盒和黑白墨盒),纸张(A4和B5),最后是组装使用。
-
墨盒接口Ink(创建获取颜色方法getColor())
public interface Ink { /** * 获取颜色(rgb) * @return */ public String getColor(int r,int g,int b);//#ff0000 } -
ColorInk(彩色墨盒实现类)
public class ColorInk implements Ink { @Override public String getColor(int r,int g,int b) { Color color = new Color(r,g,b); return "#" + Integer.toHexString(color.getRGB()).substring(2); } } -
GrayInk(黑白墨盒实现类)
public class GrayInk implements Ink { @Override public String getColor(int r, int g, int b) { int c = (r+g+b)/3; Color color = new Color(c,c,c); return "#" + Integer.toHexString(color.getRGB()).substring(2); } } -
Paper(纸张接口)
public interface Paper { /** * 换行符常量(当一行中字符达到最大限制数时,就需要换行) */ public final static String newLine = "\\r\\n"; /** * 输出字符到纸张 */ public void putInChar(char c); /** * 获取输出到纸张的内容 */ public String getContent(); } -
TextPaper(纸张实现类)
public class TextPaper implements Paper { private int charPerLine = 16;//每行字符数 private int linePerPage = 5;//每页行数 private String content = "";//纸张中的内容 private int posX = 0;//当前字符的横向位置,从0到charPerLine-1 private int posY = 0;//当前行数的纵向位置,从0到linePerPage-1 private int posP = 1;//当前页数 /** * setter方法用于属性注入 * @param charPerLine */ public void setCharPerLine(int charPerLine) { this.charPerLine = charPerLine; } public void setLinePerPage(int linePerPage) { this.linePerPage = linePerPage; } /** * 将字符逐个添加到内容content中 * @param c */ @Override public void putInChar(char c) { content += c;//将字符逐个添加到内容content中 ++posX;//横向字符数加一 //判断是否换行 if(posX == charPerLine){ content += Paper.newLine;//当一行的字符数达到16个,就添加换行字符属性 posX = 0;//换行后,横向字符数从零开始 ++posY;//纵向下标加一 } //判断是否翻页 if(posY == linePerPage){ content += "=======" + posP + "页======"; content += Paper.newLine + Paper.newLine;//翻页后,空两行,再添加新字符 posY = 0;//纵向行数重新变为0 ++posP;//页数加一 } } /** * 获取输入到纸张上的内容content * @return */ @Override public String getContent() { String contents = this.content; if(posX !=0 && posY != 0){//判断最后一页是否字符满格 int count = linePerPage - posY;//得出与一页显示最大行数的差 /** * 利用for循环,向内容中添加count个换行 */ for(int i=0;i<count;i++){ contents += Paper.newLine; } contents += "======" + posP + "页======"; } return contents; } } -
Printer(引用墨盒和纸张接口对象)
public class Printer { /** * 墨盒 */ public Ink ink; /** * 纸张 */ public Paper paper; /** * setter方法注入 * @param ink */ public void setInk(Ink ink) { this.ink = ink; } public void setPaper(Paper paper) { this.paper = paper; } /** * 打印方法 * @param str */ public void print(String str){ System.out.println("使用" + ink.getColor(255,0,0) + "颜色打印纸张!!!\\r\\t"); /** * 逐个字符输入到纸张上 */ for(int i=0;i<str.length();i++){ paper.putInChar(str.charAt(i)); } System.out.println(paper.getContent());//将纸张上的内容输出 } } -
最终要的核心配置文件applicationContext.xml,我们只需配置相关属性,通过Spring的IoC容器,会自动帮我们创建好Bean实例化对象,并存在容器中,使用的时候只需getBean(‘属性id’),即可获取到相关类或接口的实例化对象,Spring也就是使创建对象和业务处理分开了,实现了代码的解耦,和对Bean实例化对象的统一管理,提高了扩展性和灵活性。
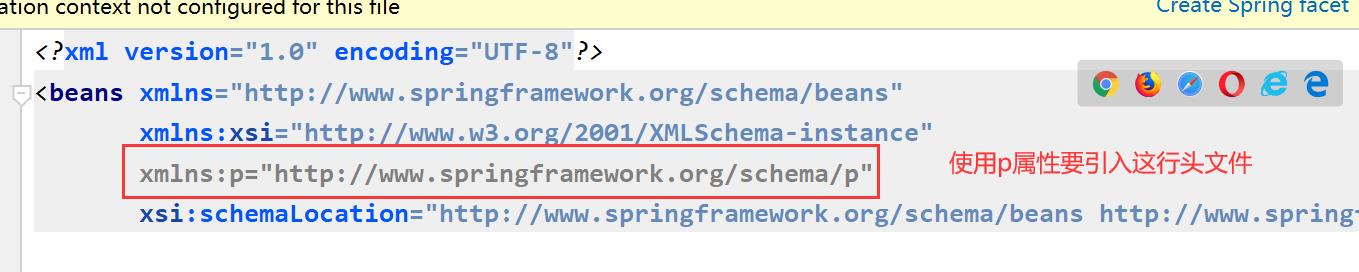
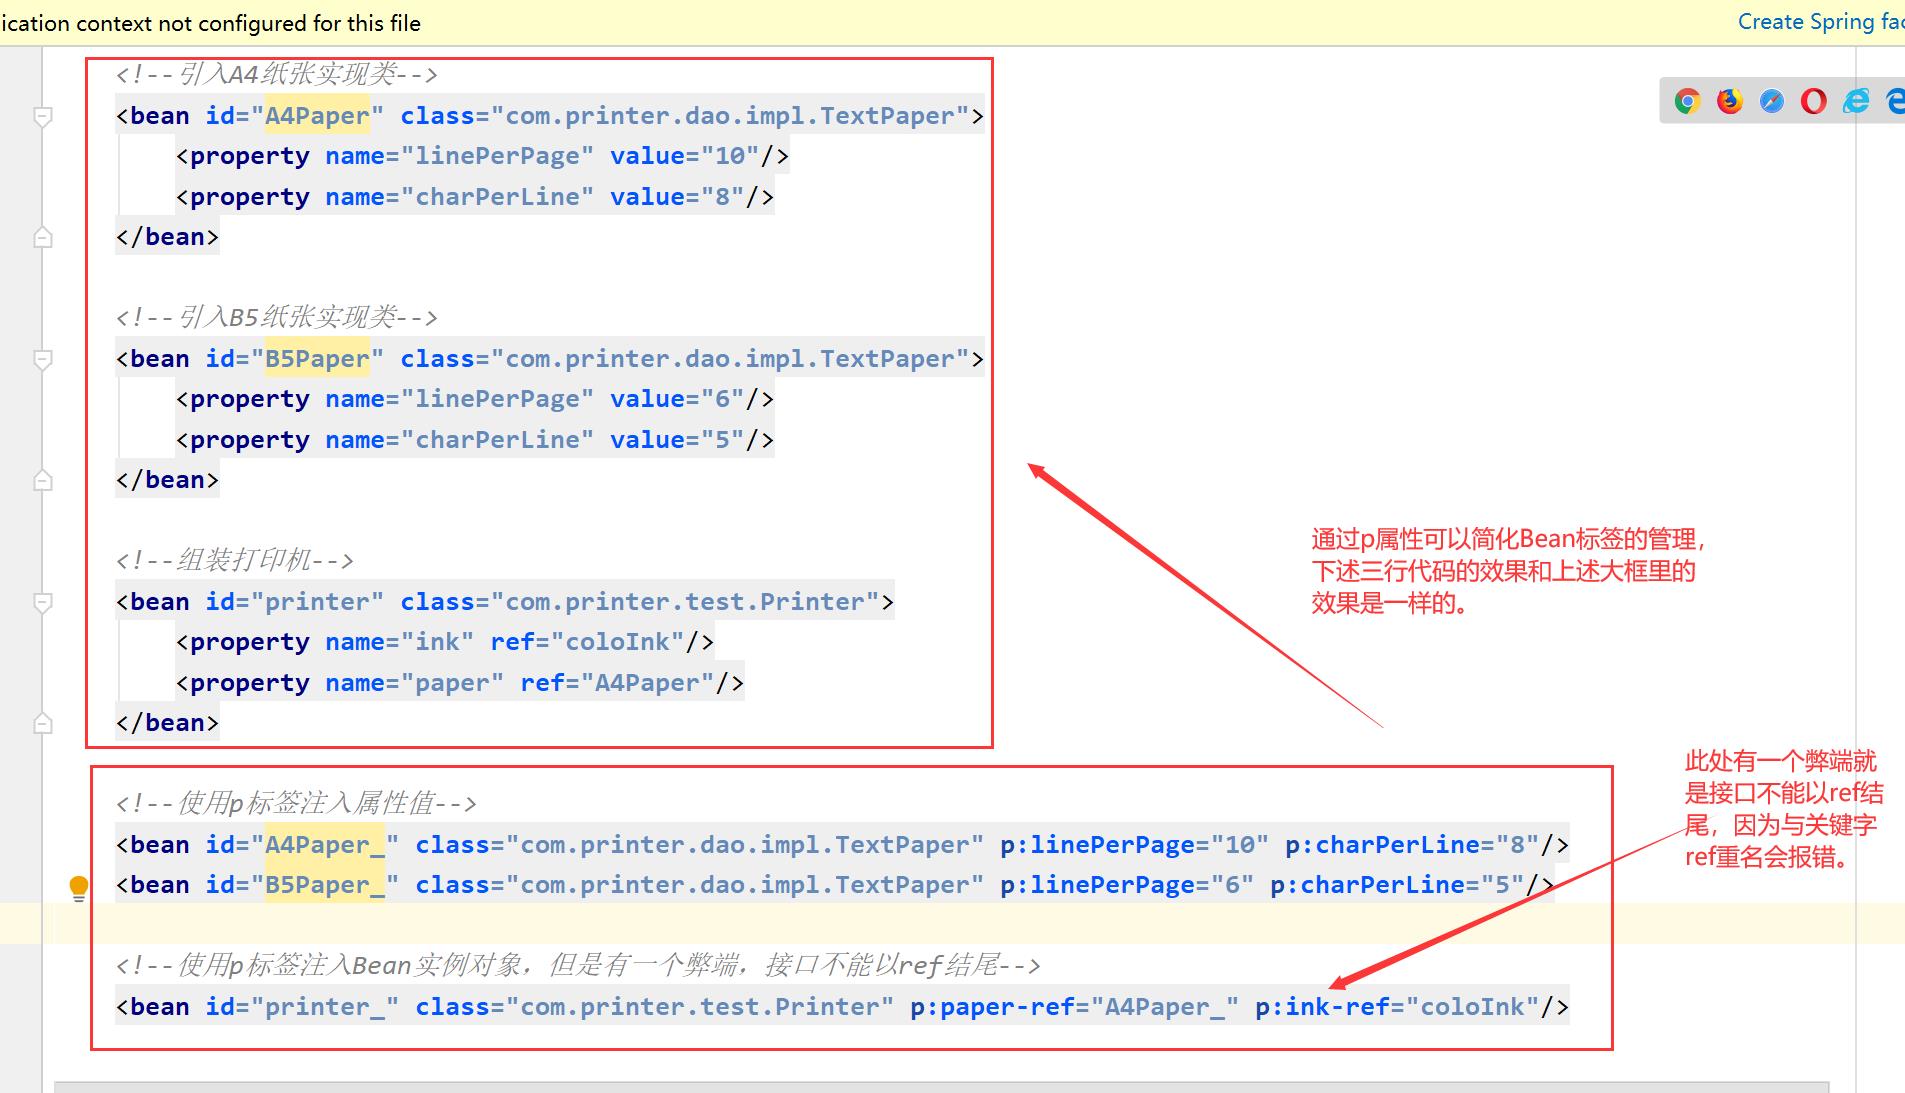
<?xml version="1.0" encoding="UTF-8"?> <beans xmlns="http://www.springframework.org/schema/beans" xmlns:xsi="http://www.w3.org/2001/XMLSchema-instance" xmlns:p="http://www.springframework.org/schema/p" xsi:schemaLocation="http://www.springframework.org/schema/beans http://www.springframework.org/schema/beans/spring-beans.xsd"> <!--引入彩色墨盒实现类--> <bean id="coloInk" class="com.printer.dao.impl.ColorInk"/> <!--引入黑白墨盒实现类--> <bean id="grayInk" class="com.printer.dao.impl.GrayInk"/> <!--引入A4纸张实现类--> <bean id="A4Paper" class="com.printer.dao.impl.TextPaper"> <!--此处是通过setter方法为变量设值注入--> <property name="linePerPage" value="10"/> <property name="charPerLine" value="8"/> </bean> <!--引入B5纸张实现类--> <bean id="B5Paper" class="com.printer.dao.impl.TextPaper"> <property name="linePerPage" value="6"/> <property name="charPerLine" value="5"/> </bean> <!--组装打印机--> <bean id="printer" class="com.printer.test.Printer"> <!--通过setter方法注入两个依赖的对象--> <property name="ink" ref="coloInk"/> <property name="paper" ref="B5Paper"/> </bean> </beans> -
此处有一个简便方式(但不推荐使用)
-
TestPrinter测试类
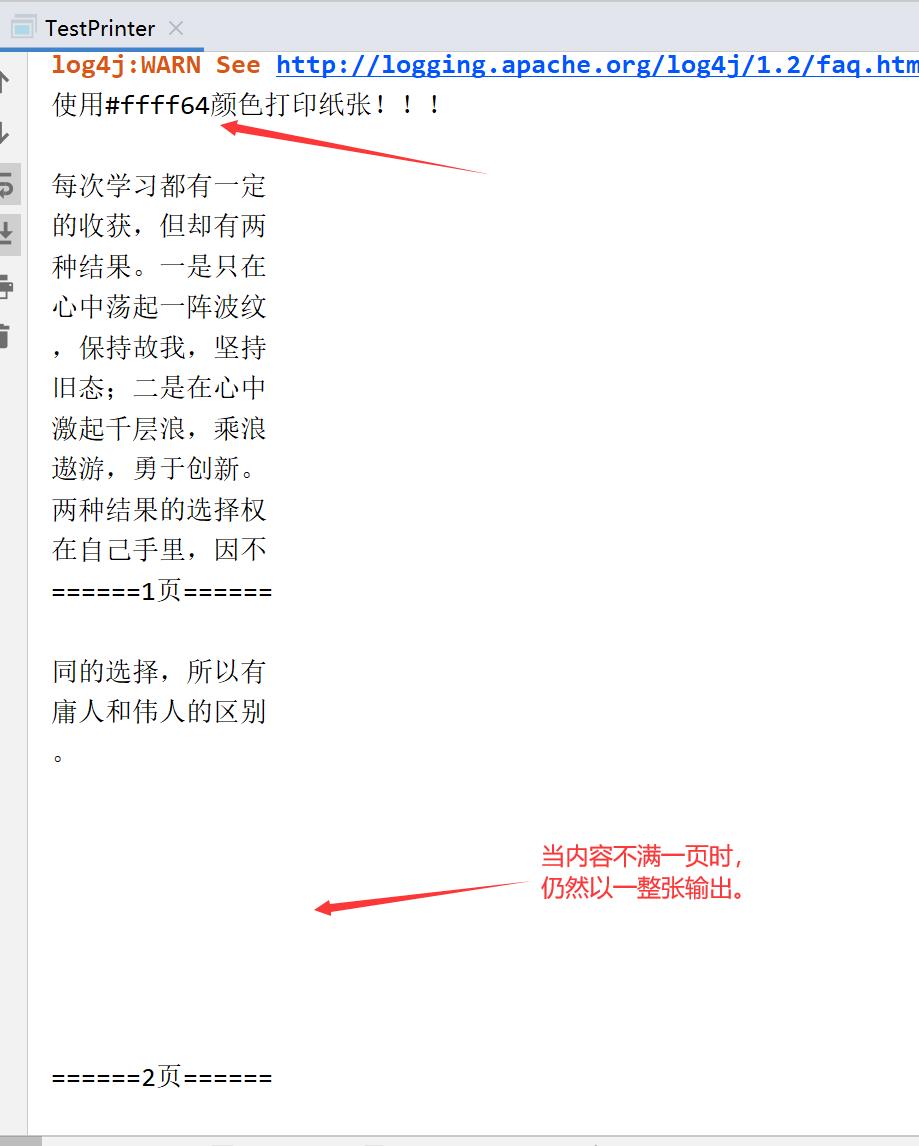
public class TestPrinter { public static void main(String[] args) { /** * 读取配置文件 */ ApplicationContext context = new ClassPathXmlApplicationContext("applicationConfig.xml"); Printer printer = (Printer)context.getBean("printer"); String str = "每次学习都有一定的收获,但却有两种结果。" + "一是只在心中荡起一阵波纹,保持故我,坚持旧态;" + "二是在心中激起千层浪,乘浪遨游,勇于创新。" + "两种结果的选择权在自己手里,因不同的选择," + "所以有庸人和伟人的区别。"; printer.print(str); } } -
控制台结果:
以上是关于Spring系列利用Spring的IoC(控制反转)实现经典案例打印机的主要内容,如果未能解决你的问题,请参考以下文章