React入门实战使用Values.js制作一个颜色生成器
Posted 安之ccy
tags:
篇首语:本文由小常识网(cha138.com)小编为大家整理,主要介绍了React入门实战使用Values.js制作一个颜色生成器相关的知识,希望对你有一定的参考价值。
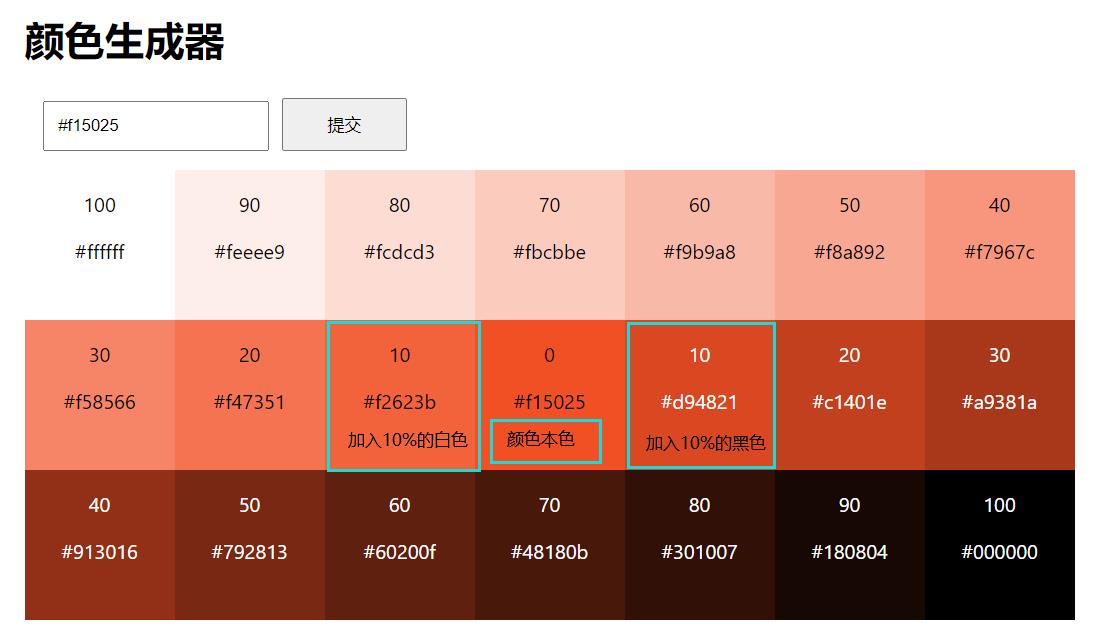
颜色的明暗程度为色调,色调通过将颜色与白色混合来增加亮度,阴影是通过将颜色与黑色混合而降低亮度
功能描述:
- 输入一个十六进制颜色值,可以获得21个色块,每个色块代表该颜色值的一个色调(与不同比例的白色或黑色混合得到),每10%为一个色调级
- 在色块上显示出新颜色值、混合白色或黑色的比例
- 后9个色块的文本为白色
- 如果输入的颜色值不合规,则文本框外包裹一层红色,用以警示颜色输入值不合规
- 如果点击某色调值,会复制该值,并提示“已复制到剪切板”
效果:


代码:
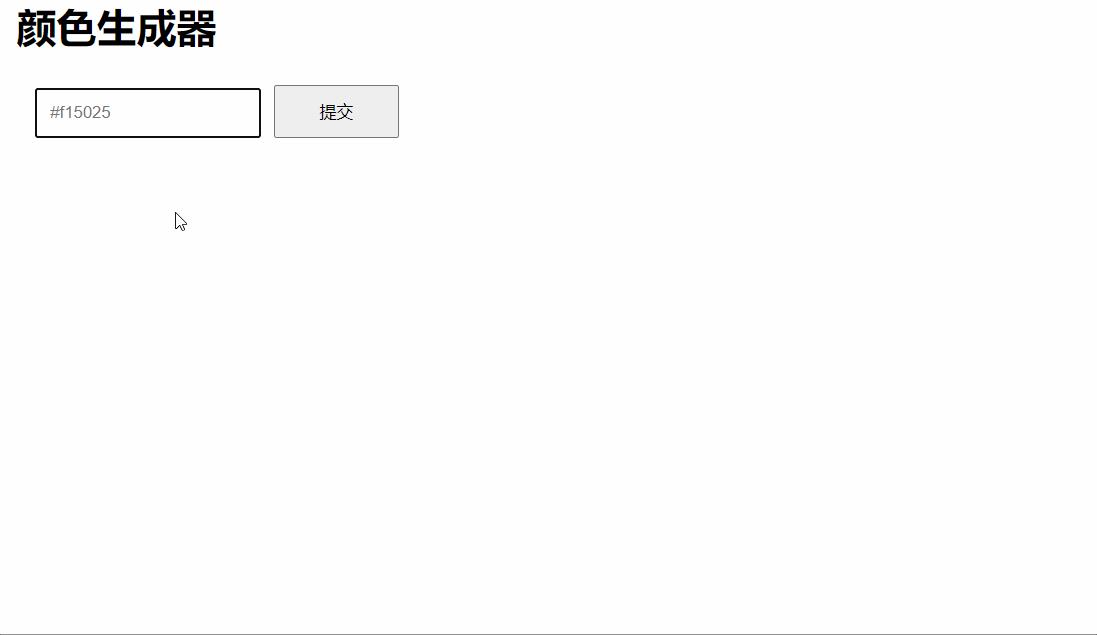
- 创建输入框,将输入的颜色值转为21个色值
- 如果输入的颜色值有误,则红框警示
- 将21个色值传递给子组件SingleColor处理
import React, { useState } from 'react'
import Values from 'values.js'
import SingleColor from './SingleColor'; // 处理21个色值的组件

function App() {
  const [colors, setColor] = useState('');
  const [cList, setList] = useState([]);
  const [errors, setError] = useState(false);

  // 提交函数 获取文本框输入的值并通过values得到颜色列表(21个色值),存储到cList中
  const handleSubmit = (e) => {
    e.preventDefault();
    // 如果输入的颜色值有误,给出警示(红色边框)
    try {
      let colorList = new Values(colors).all(10);
      setList(colorList);

    } catch (error) {
      console.log(error)
      setError(true);
    }

  }

  console.log("cList", cList);

  return (
    <>
      <div>
        <h1>颜色生成器</h1>
        <form onSubmit={handleSubmit}>
          <input type="text" placeholder='#f15025' onChange={(e) => {setColor(e.target.value);setError(false);}} className={`${errors ? 'error': null}`} />
          <input type="submit" placeholder="提交" />
        </form>
      </div>
      <div>
        {cList.map((color, index) => {
          return (
            <SingleColor key={index} color={color} index={index} />
          )

        })
        }
      </div>

    </>
  );
}

export default App;
子组件SingleColor:
-
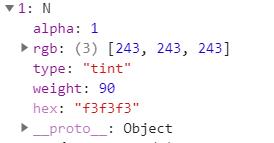
接收父组件传来的颜色和index,并解构颜色获得rgb、weight、hex值,
其中rgb值为数组,需转换格式
原本的rgb、weight、hex值是这样的:

rgb需要转为rgb(r,g,b)这样的格式——后续我们称为rgb值
hex前面需要加上’#’——后续我们称为十六进制颜色值 -
每个色块的背景颜色设置成各自的rgb值(新),设置十六进制颜色值效果一致
-
每个色块上标明各自rgb值(新)、色调混合值
-
当某个色块被点击时,复制十六进制颜色值到剪切板,并隐藏rgb值(新)和色调混合值,显示“已复制”
import React, { useState, useEffect } from 'react'

const SingleColor = ({ color: { rgb, weight, hex }, index }) => {

    // 是否显示已复制,默认为false
    const [showCopied, setShow] = useState(false);

    // 修改hex和rgb的格式
    const hexValue = `#${hex}`
    const bcg = rgb.join(',');

    // 设置定时器,提示“已复制”1s后消失该字样
    useEffect(() => {
        let timer = setTimeout(() => {
            setShow(false);
            return () => clearTimeout(timer)
        }, 1000)
    })

    return (
        <>
            {/* 1、色块背景颜色是修正格式的rgb,
            2、当色块被点击时,复制hexValue值(十六进制颜色值)到剪切板,
            3、色块被点击时,隐藏当前标签 */}
            <div style={{ backgroundColor: `rgb(${bcg})` }}
                className={`color ${index > 10 && 'color-light'} ${showCopied && 'notShow'} `}
                onClick={() => { navigator.clipboard.writeText(hexValue); setShow(true) }}  >
                <p>{weight}</p>
                <p>{hexValue}</p>
            </div>
            {/* 点击色块时,显示该标签及内容 */}
            {showCopied && <div className='copied'>已复制到剪切板</div>}
        </>
    )
}

export default SingleColor;
index.css样式:
form {
  margin: 10px;
}
input[type="text"]{
  padding: 10px;
  margin: 5px;
}
input[type="submit"]{
  width: 100px;
  padding: 10px;
  margin: 5px;
}
input.error {
  border: 1px solid red;
}
.color, .copied {
  width: 120px;
  display: inline-block;
  text-align: center;
  height: 120px;
}
.color-light {
  color: white;
}
.copied {
  background-color: rgba(60, 32,240, 0.9);
  line-height: 120px;
}
.notShow {
  display: none;
}
以上是关于React入门实战使用Values.js制作一个颜色生成器的主要内容,如果未能解决你的问题,请参考以下文章