Nginx——nginx的访问控制详解二(Centos7通过yum方式安装)
Posted 小志的博客
tags:
篇首语:本文由小常识网(cha138.com)小编为大家整理,主要介绍了Nginx——nginx的访问控制详解二(Centos7通过yum方式安装)相关的知识,希望对你有一定的参考价值。
目录
一、实现访问控制的基本方式
| 模块 | 作用 |
|---|---|
| http_access_module | 基于IP的访问控制(允许或者不允许某些ip访问) |
| http_auth_basic_module | 基于用户的信任登录(提供登录认证的方式控制访问范围) |
二、基于用户信任登录的访问控制语法(即http_auth_basic_module模块语法)
1、auth_basic的访问控制语法
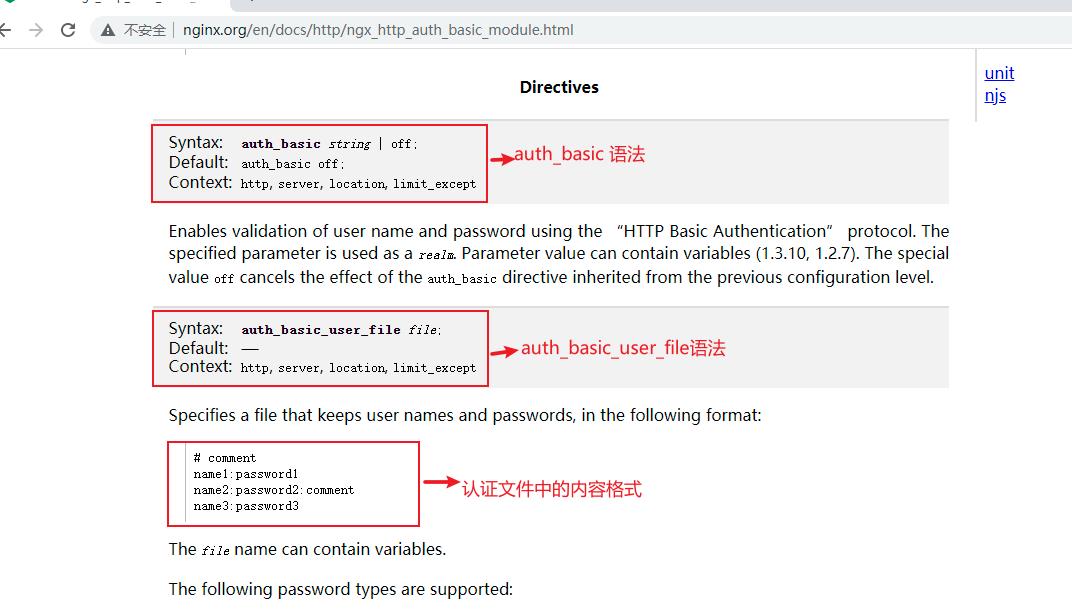
- Syntax:auth_basic string | off; string表示开启,又表示可以显示对应的字符串信息。
- Default:auth_basic off 表示默认是关闭状态
- Context:http,server,location,limit_except 表示需要在http块、或server块、或location块、limit_except块中进行配置
2、auth_basic_user_file的访问控制语法
- Syntax:auth_basic_user_file file; file表示文件的路径,该文件存储用户名和密码的认证信息
- Default:—— 表示默认是关闭状态
- Context:http,server,location,limit_except 表示需要在http块、或server块、或location块、limit_except块中进行配置
3、auth_basic_user_file语法中认证文件中内容格式
- 官网中认证文件内容如下图,nginx中auth_basic_user_file模块官网语法地址
三、http_auth_basic_module模块中的配置演示
1、首先安装httpd-tools依赖包
-
查看是否有httpd-tools依赖包,如果输出版本说明已经安装,lz已经安装过了
[root@localhost ~]# rpm -qf /usr/bin/htpasswd
httpd-tools-2.4.6-97.el7.centos.x86_64
[root@localhost ~]#
-
如果没有输出httpd-tools版本,执行如下命令安装httpd-tools依赖包,如下图lz提示已安装且是最新版本
[root@localhost ~]# yum install httpd-tools -y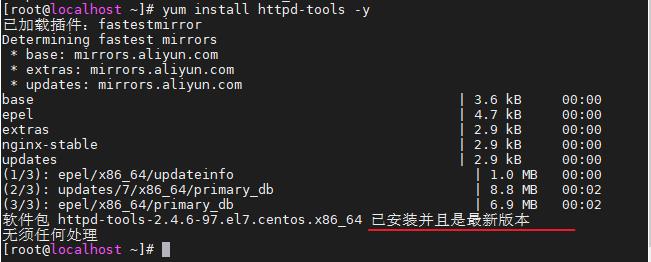
2、创建认证的用户名密码文件
-
在/etc/nginx/目录下创建文件名为auth_conf的密码文件,用户名称为xz,并设置xz用户的密码
[root@localhost nginx]# htpasswd -c ./auth_conf xz
-
查看文件名为auth_conf的密码文件
[root@localhost nginx]# ls ./auth_conf
-
查看文件名为auth_conf密码文件的内容
[root@localhost nginx]# more auth_conf
3、在nginx的配置文件中配置认证访问控制
-
创建title.html页面,上传到/opt/app/html目录下
<html> <head> <meta charset="utf-8"> <title>titleone</title> </head> <body style="background-color:red;"> <h1>标题</h1> </body> </html> -
编辑nginx.conf配置文件,在http块的server块中配置认证访问控制如下内容
#配置nginx认证访问控制
location ~ ^/title.html {#配置跟目录下的访问路径
     root /opt/app/html;
     auth_basic "Auth access test,please input your password!";
     auth_basic_user_file /etc/nginx/auth_conf;
     index index.html index.htm;
}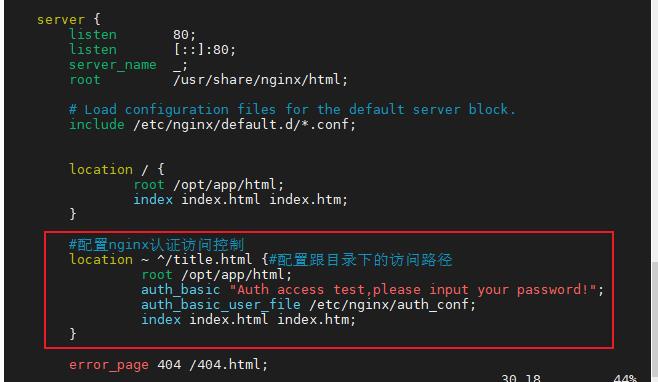
-
启动nginx服务
[root@localhost nginx]# systemctl start nginx.service
-
检查配置修改的配置文件是否正确,返回successful表示配置文件修改无错。
[root@localhost nginx]# nginx -t -c /etc/nginx/nginx.conf
nginx: the configuration file /etc/nginx/nginx.conf syntax is ok
nginx: configuration file /etc/nginx/nginx.conf test is successful
-
重新加载配置文件
[root@localhost /]# systemctl reload nginx
[root@localhost /]#
-
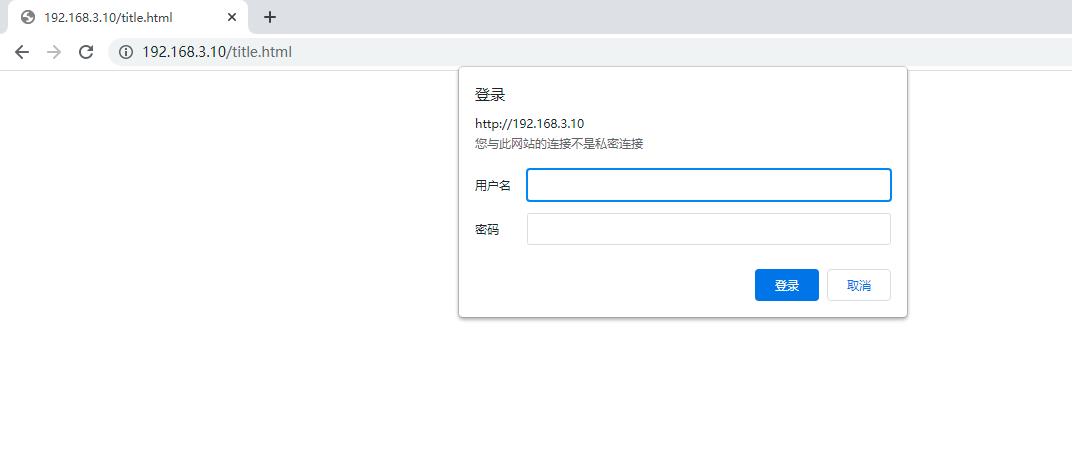
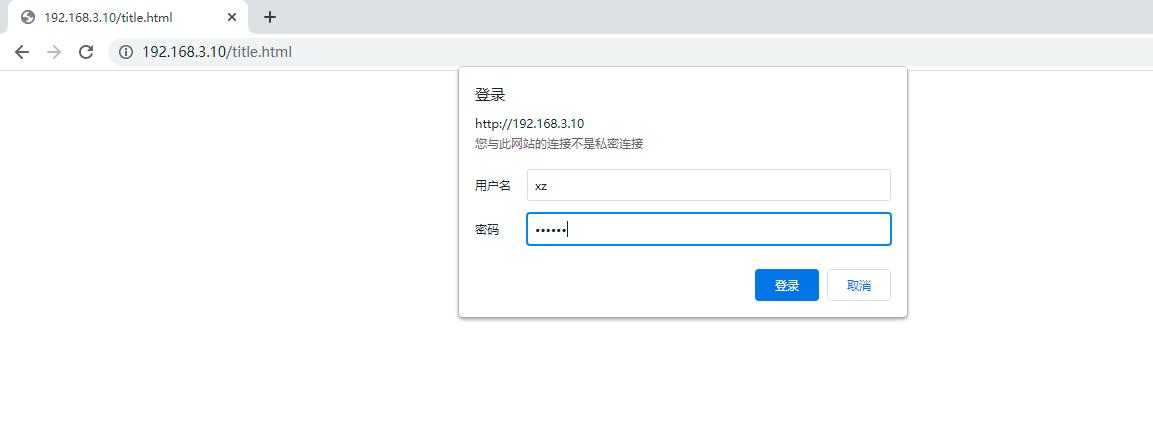
浏览器访问会弹出输入用户名和密码提示窗口,如下图
-
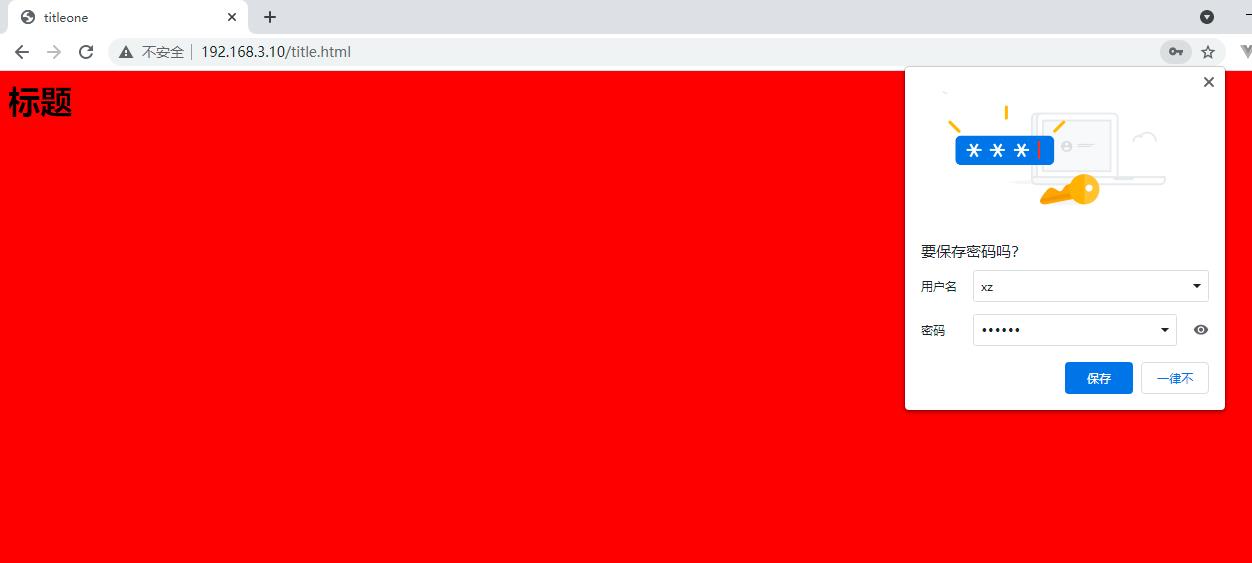
输入创建认证的用户名密码文件中的用户名和密码,点击登录,即可访问到页面,如下图
四、http_auth_basic_module模块局限性
- 用户信息依赖文件方式
- 操作管理机械,效率低下
五、http_auth_basic_module模块局限性的解决方式
- Nginx结合LUA实现高效验证
- Nginx和LDAP打通,利用nginx-auth-ldap模块
以上是关于Nginx——nginx的访问控制详解二(Centos7通过yum方式安装)的主要内容,如果未能解决你的问题,请参考以下文章