SpringMVC的搭建和详细配置
Posted 肖帆咪
tags:
篇首语:本文由小常识网(cha138.com)小编为大家整理,主要介绍了SpringMVC的搭建和详细配置相关的知识,希望对你有一定的参考价值。
创建项目
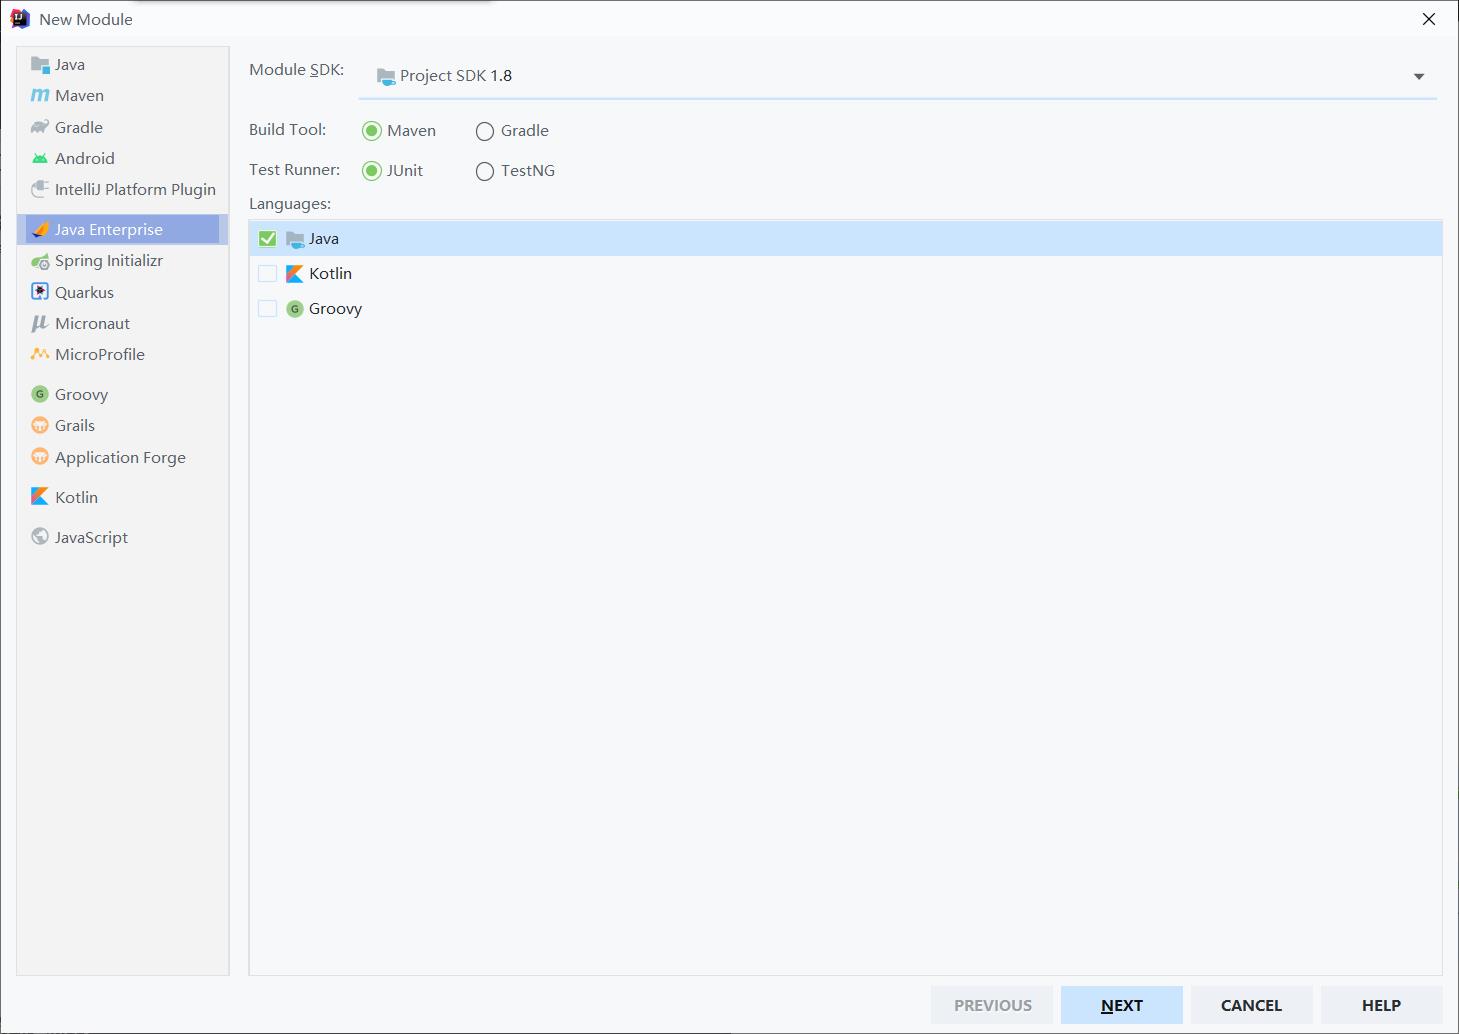
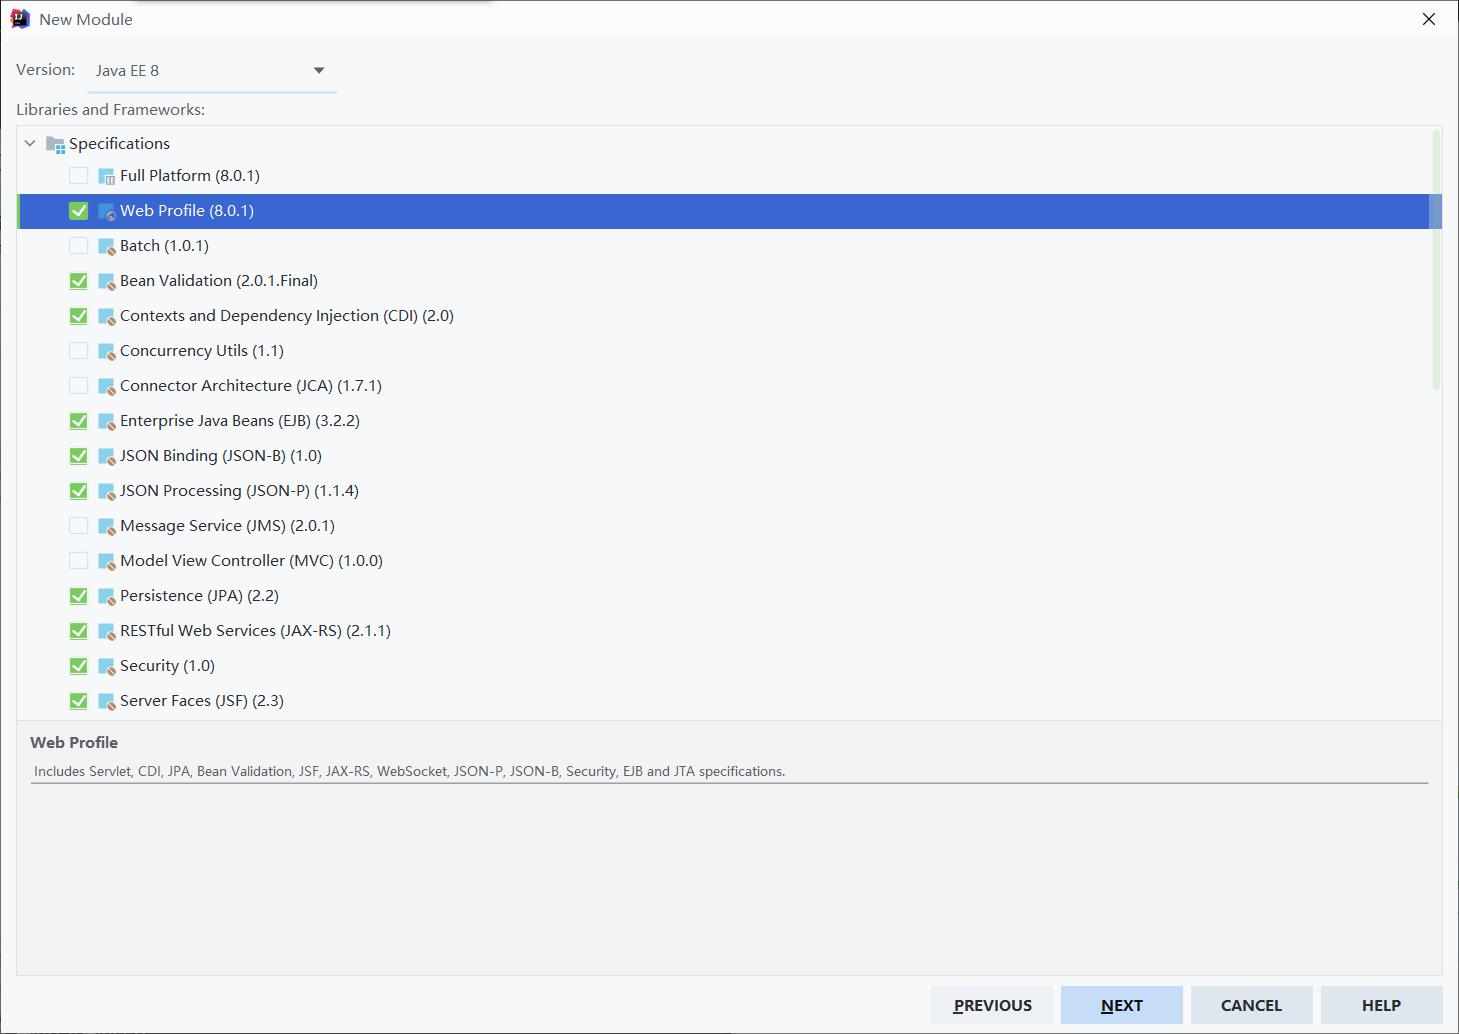
进行配置
1.pom.xml导包
<dependency>
	<groupId>org.springframework</groupId>
	<artifactId>spring-webmvc</artifactId>
	<version>5.2.2.RELEASE</version>
</dependency>

<!-- https://mvnrepository.com/artifact/javax.servlet/jstl -->
<dependency>
     <groupId>javax.servlet</groupId>
     <artifactId>jstl</artifactId>
     <version>1.2</version>
</dependency>
2.在webapp下的web.xml中配置web.xml
<?xml version="1.0" encoding="UTF-8"?>
<web-app xmlns="http://xmlns.jcp.org/xml/ns/javaee"
         xmlns:xsi="http://www.w3.org/2001/XMLSchema-instance"
         xsi:schemaLocation="http://xmlns.jcp.org/xml/ns/javaee http://xmlns.jcp.org/xml/ns/javaee/web-app_4_0.xsd"
         version="4.0">

    <!--
        配置Spring中核心请求转发servlet
        由此servlet对请求进行拦截处理
    -->
    <servlet>
        <servlet-name>springmvc</servlet-name>
        <servlet-class>org.springframework.web.servlet.DispatcherServlet</servlet-class>
        <init-param><!--init 方法读取参数-->
            <param-name>contextConfigLocation</param-name>
            <!--读取spring文件-->
            <param-value>classpath:spring.xml</param-value>
        </init-param>
        <load-on-startup>0</load-on-startup><!--服务器启动创建servlet对象-->
    </servlet>

    <!--请求映射-->
    <servlet-mapping>
        <servlet-name>springmvc</servlet-name>

        <!--配置所有请求都进入DispatcherServlet进行处理-->
        <url-pattern>/</url-pattern>
    </servlet-mapping>

</web-app>
3.先在java下创建包,再在resource下创建spring.xml
<?xml version="1.0" encoding="UTF-8"?>
<beans xmlns="http://www.springframework.org/schema/beans"
       xmlns:xsi="http://www.w3.org/2001/XMLSchema-instance"
       xmlns:context="http://www.springframework.org/schema/context"
       xmlns:aop="http://www.springframework.org/schema/aop"
       xmlns:tx="http://www.springframework.org/schema/tx"
       xmlns:mvc="http://www.springframework.org/schema/mvc"
       xsi:schemaLocation="http://www.springframework.org/schema/beans
        https://www.springframework.org/schema/beans/spring-beans.xsd
        http://www.springframework.org/schema/context
        http://www.springframework.org/schema/context/spring-context.xsd
        http://www.springframework.org/schema/aop
        http://www.springframework.org/schema/aop/spring-aop.xsd
        http://www.springframework.org/schema/tx
        http://www.springframework.org/schema/tx/spring-tx.xsd
        http://www.springframework.org/schema/mvc
        http://www.springframework.org/schema/mvc/spring-mvc.xsd">

    <!--开启注解扫描-->
    <context:component-scan base-package="com.wyf.ssm"></context:component-scan>

    <!--开启springmvc注解-->
    <mvc:annotation-driven></mvc:annotation-driven>
</beans>
4.配置tomcat,创建controller类,并测试
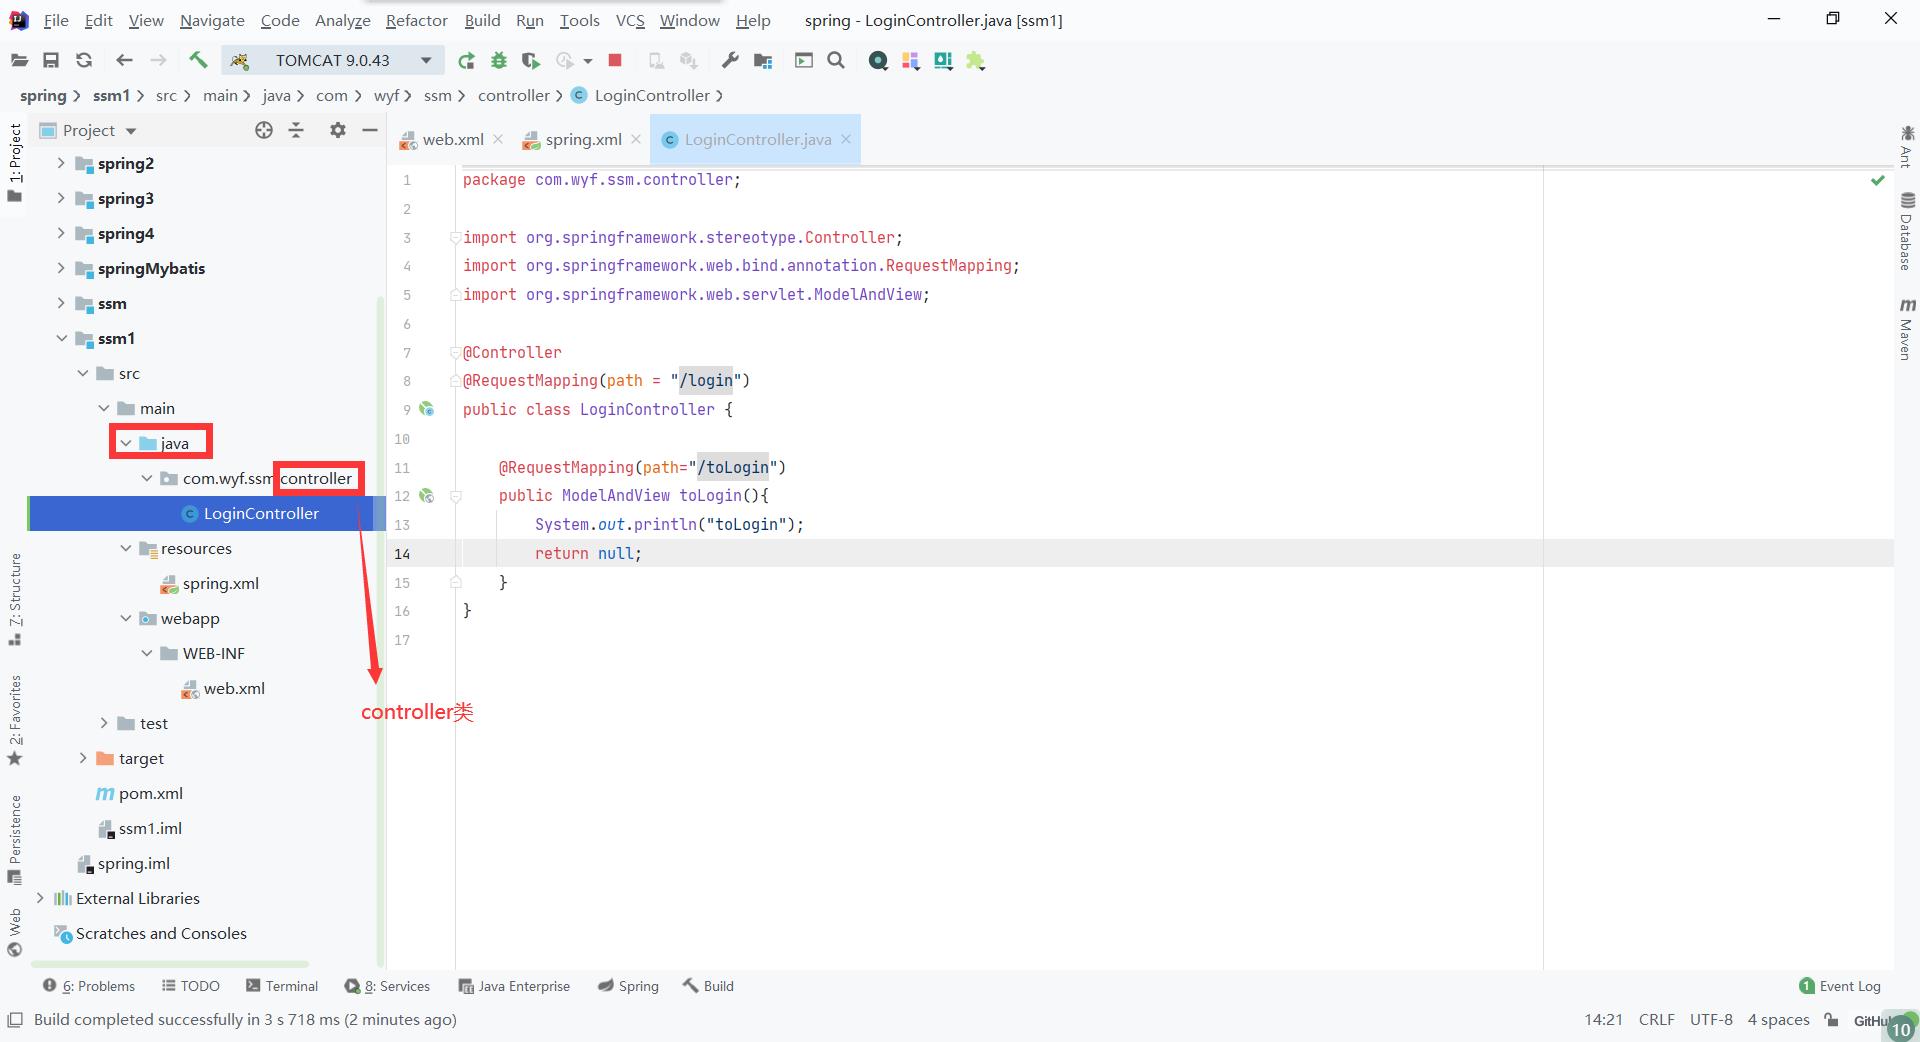
创建loginController
package com.wyf.ssm.controller;

import org.springframework.stereotype.Controller;
import org.springframework.web.bind.annotation.RequestMapping;
import org.springframework.web.servlet.ModelAndView;

@Controller
@RequestMapping(path = "/login")
public class LoginController {

    @RequestMapping(path="/toLogin")
    public ModelAndView toLogin(){
        System.out.println("toLogin");
        return null;
    }
}
5.访问页面
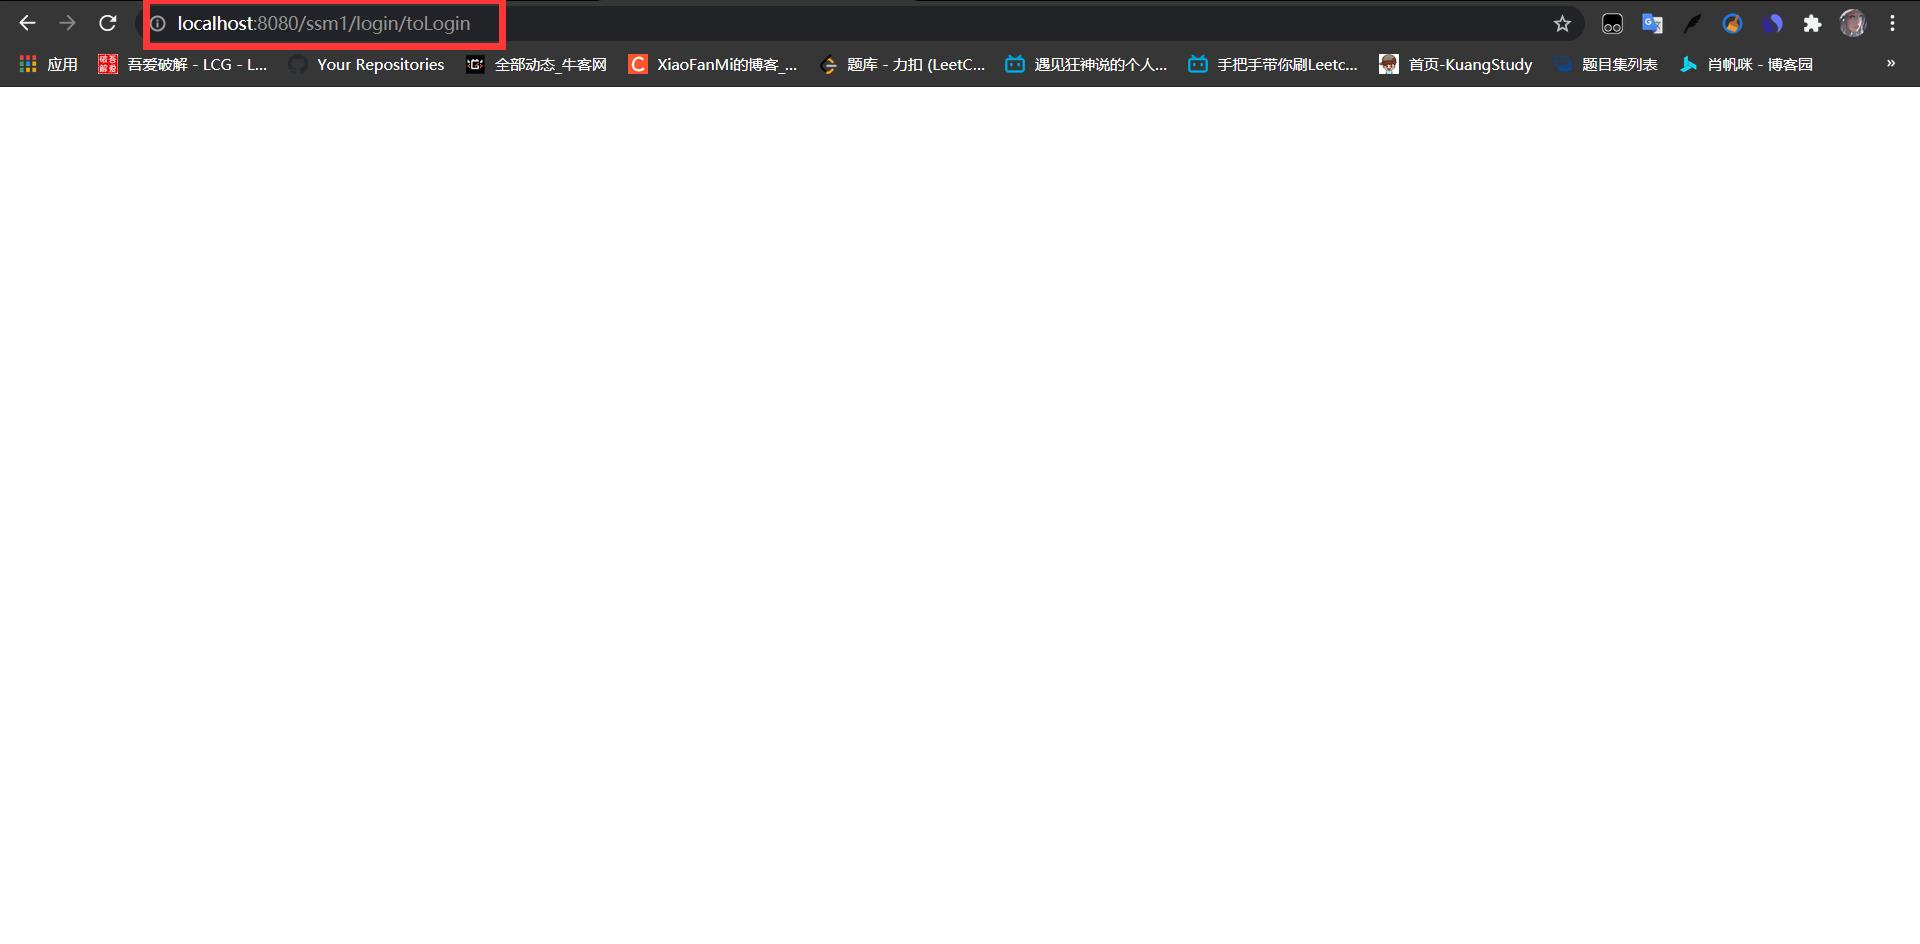
输出成功
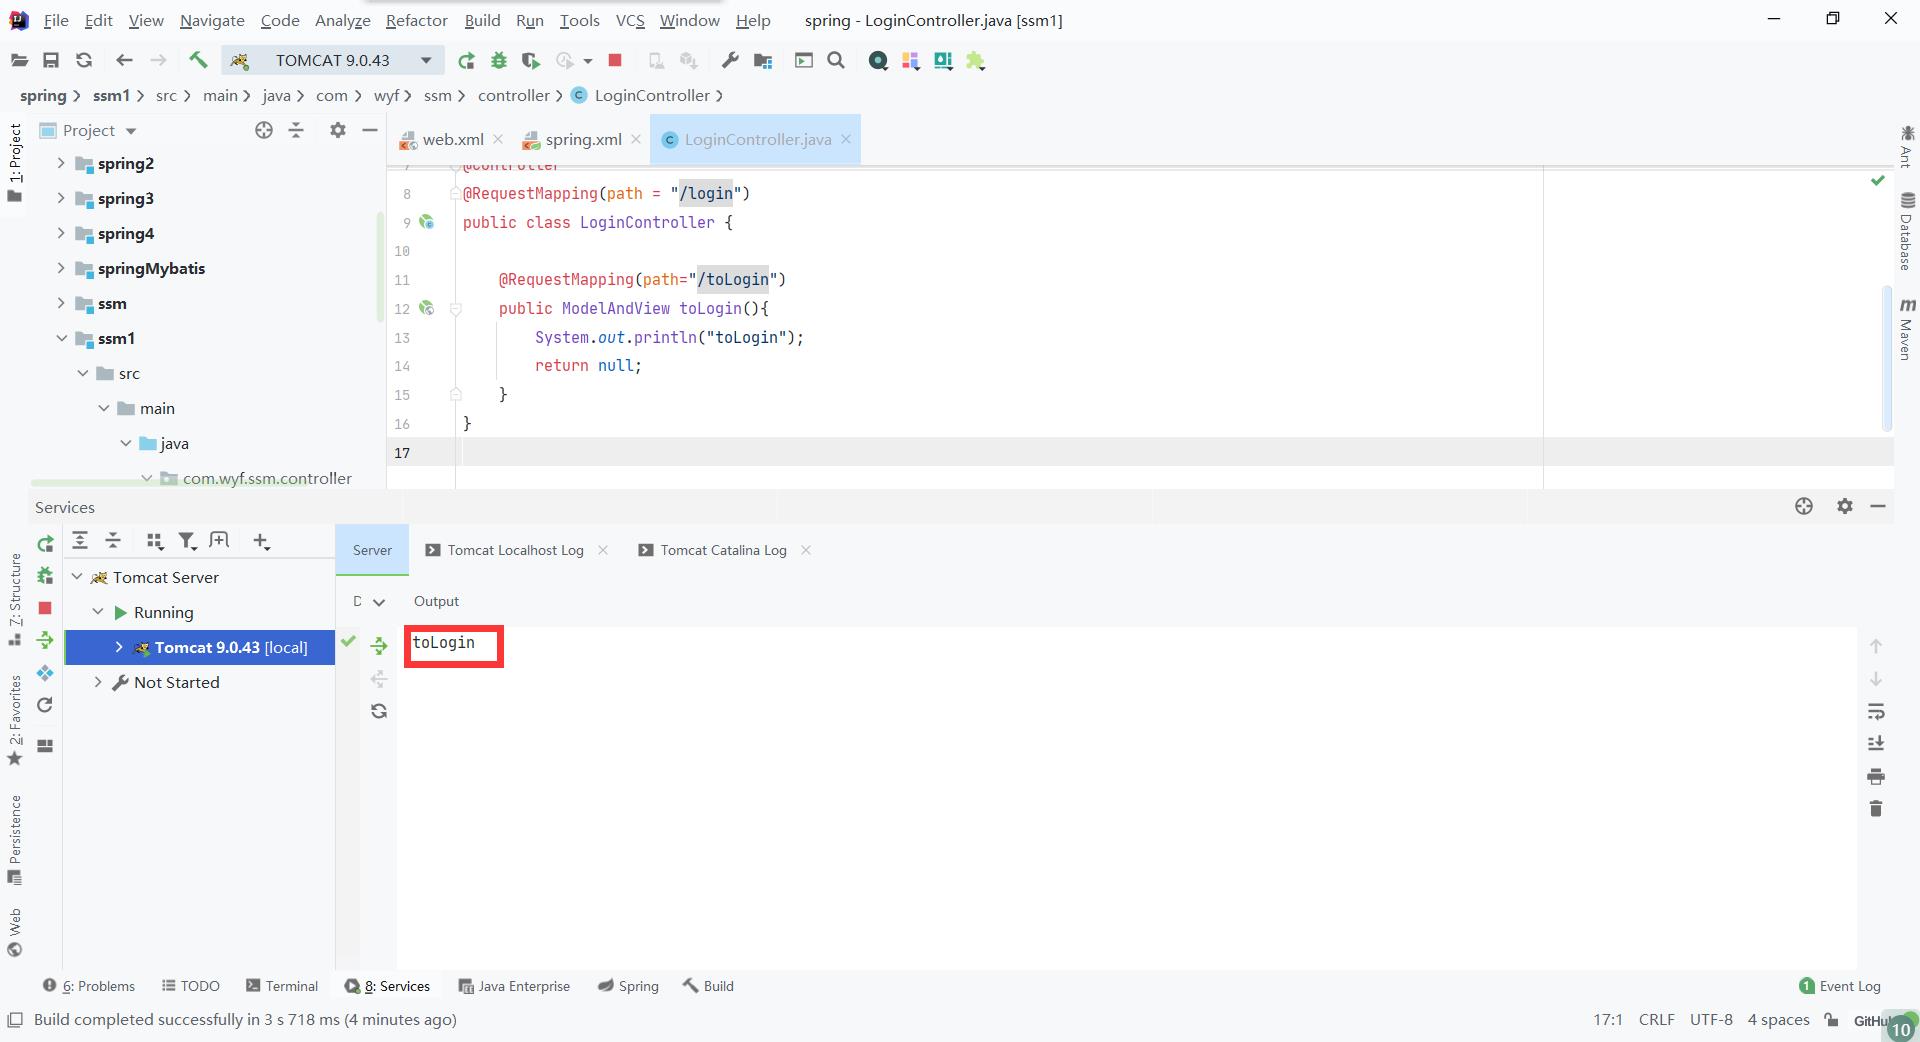
配置视图解析器,通过请求跳转到相应的jsp页面
1.我们希望请求发出后跳转到一个jsp页面,在loginController写我们需要跳转的页面
package com.wyf.ssm.controller;

import org.springframework.stereotype.Controller;
import org.springframework.web.bind.annotation.RequestMapping;
import org.springframework.web.servlet.ModelAndView;

@Controller
@RequestMapping(path = "/login")
public class LoginController {

    @RequestMapping(path="/toLogin")
    public ModelAndView toLogin(){
        //视图名,springmvc通过视图解析器查找jsp
        ModelAndView mv = new ModelAndView("login");
        mv.addObject("name","jim");//通过 addObject() 可以向页面传输数据
        return mv;
    }
}
2.在webapp下的WEB_INF下创建一个jsp文件夹专门存放jsp文件
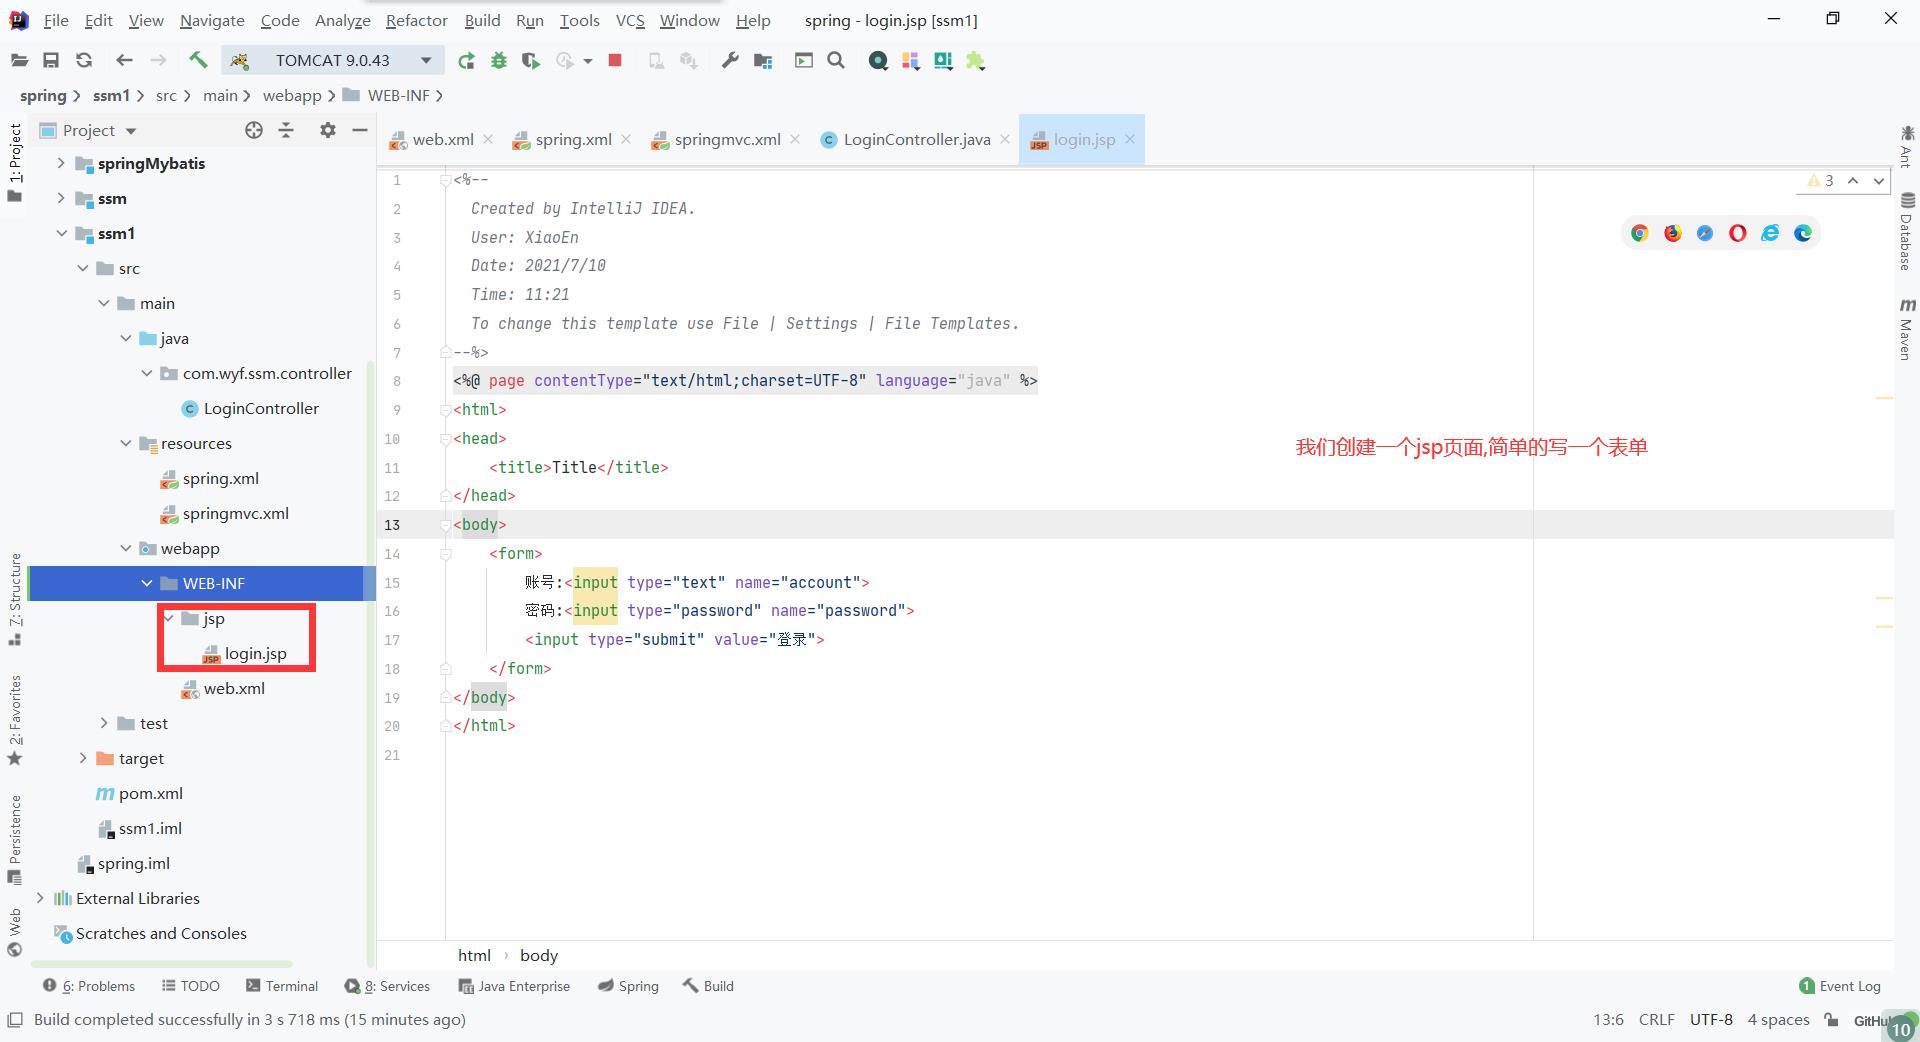
3.创建一个springmvc.xml文件专门存放关于mvc的配置,在spring.xml中导入此文件
 <!--导入springmvc.xml-->
    <import resource="classpath:springmvc.xml"></import>
<?xml version="1.0" encoding="UTF-8"?>
<beans xmlns="http://www.springframework.org/schema/beans"
       xmlns:xsi="http://www.w3.org/2001/XMLSchema-instance"
       xmlns:context="http://www.springframework.org/schema/context"
       xmlns:aop="http://www.springframework.org/schema/aop"
       xmlns:tx="http://www.springframework.org/schema/tx"
       xmlns:mvc="http://www.springframework.org/schema/mvc"
       xsi:schemaLocation="http://www.springframework.org/schema/beans
        https://www.springframework.org/schema/beans/spring-beans.xsd
        http://www.springframework.org/schema/context
        http://www.springframework.org/schema/context/spring-context.xsd
        http://www.springframework.org/schema/aop
        http://www.springframework.org/schema/aop/spring-aop.xsd
        http://www.springframework.org/schema/tx
        http://www.springframework.org/schema/tx/spring-tx.xsd
        http://www.springframework.org/schema/mvc
        http://www.springframework.org/schema/mvc/spring-mvc.xsd">

    <!--开启springmvc注解-->
    <mvc:annotation-driven></mvc:annotation-driven>

    <!--配置视图解析器,这样就可以通过视图名找到对应的jsp-->
    <bean class="org.springframework.web.servlet.view.InternalResourceViewResolver">
        <property name="viewClass" value="org.springframework.web.servlet.view.JstlView"></property>
        <property name="prefix" value="/WEB-INF/jsp/"></property>
        <property name="suffix" value=".jsp"></property>
    </bean>
</beans>
4.重启服务器测试
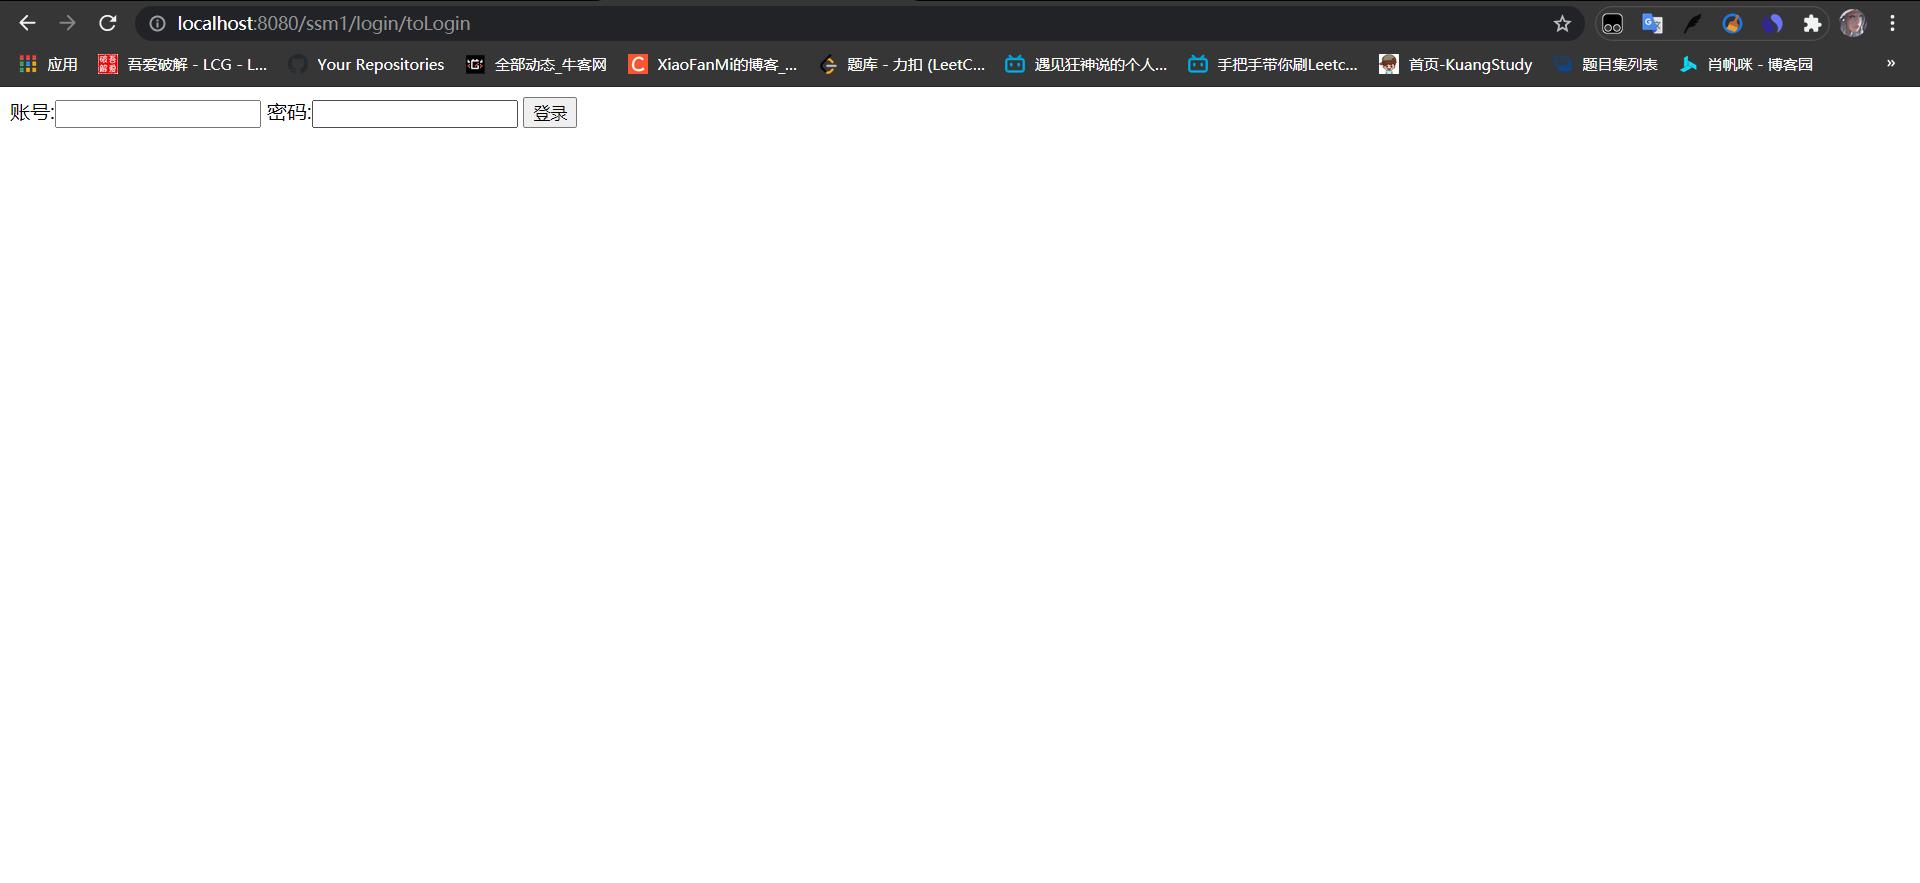
SpringMVC运行流程
在配置了一个简单的项目测试成功后,我们了解一下SpringMVC的运行流程
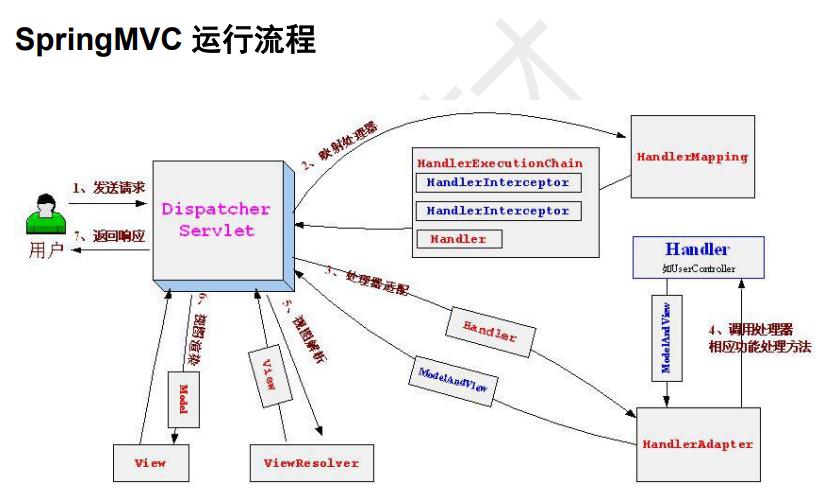
1.浏览器发起请求,通过地址栏(login/toLogin)发起请求,被前端请求分发器(DispatcherServlet)拦截
2.DispatcherServlet 调用HandlerMapping(映射处理器)找到处理器(控制器)将解析的结果返回给DispatcherServlet,如果配置了拦截器,还会调用拦截器
3.DispatcherServlet调用对应的控制器,在到达控制器之前,会先进入HandlerAdapter(处理适配器)参数的封装,数据类型转换
4.最终到我们自己写的控制器接收数据处理返回ModelAndView(包含视图名数据)返回给DispatcherServlet
5.DispatcherServlet将结果交给视图解析器找到对应的jsp文件
6.把Model(数据)交给 view(jsp)
7.由jsp做出最终响应
如何接收jsp发出的请求和数据
我们在进入登录页面后显示一个表单
<%@ page contentType="text/html;charset=UTF-8" language="java" %>
<html>
<head>
    <title>Title</title>
</head>
<body>
    <form method="post" action="/ssm1/login/login">
        账号:<input type="text" name="account">
        密码:<input type="password" name="password">
        <input type="submit" value="登录">
    </form>
</body>
</html>
LoginController里添加表单请求方法
package com.wyf.ssm.controller;

import org.springframework.stereotype.Controller;
import org.springframework.web.bind.annotation.RequestMapping;
import org.springframework.web.servlet.ModelAndView;

@Controller
@RequestMapping(path = "/login")
public class LoginController {

    @GetMapping(path="/toLogin")
    public ModelAndView toLogin(){
        //视图名,springmvc通过视图解析器查找jsp
        ModelAndView mv = new ModelAndView("login");
        mv.addObject("name","jim");//通过 addObject() 可以向页面传输数据
        return mv;
    }

	 /*
    * @RequestMapping(path="/login")  get请求和post请求都可以
    * @GetMapping 只适应get请求
    * @PostMapping 只适应post请求
    * */
    @PostMapping(path="/login")
    //如何获取jsp页面传过来的数据,需要和表单中的name名必须相同
    //也可以通过框架的自动封装,将数据封装到一个对象中,先保证表单中的name与对象的属性名一致
    public ModelAndView login(String account , String password){
        ModelAndView mv = null;
        if(account.equals("admin") && password.equals("111")){
            mv = new ModelAndView("success");
            mv.addObject("account",account);
        }
        return mv;
    }
}
如果成功跳转到success.jsp
<%@ page contentType="text/html;charset=UTF-8" language="java" %>
<html>
<head>
    <title>Title</title>
</head>
<body>
    登陆成功${account}
</body>
</html>
测试
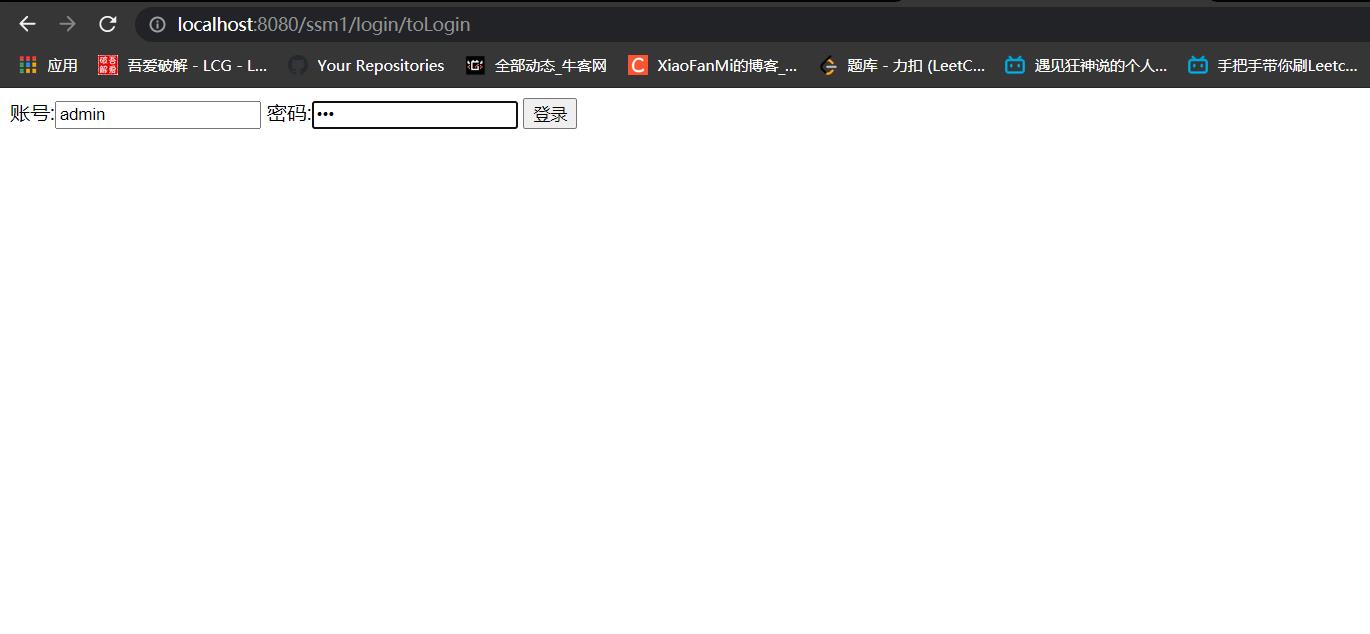
成功跳转
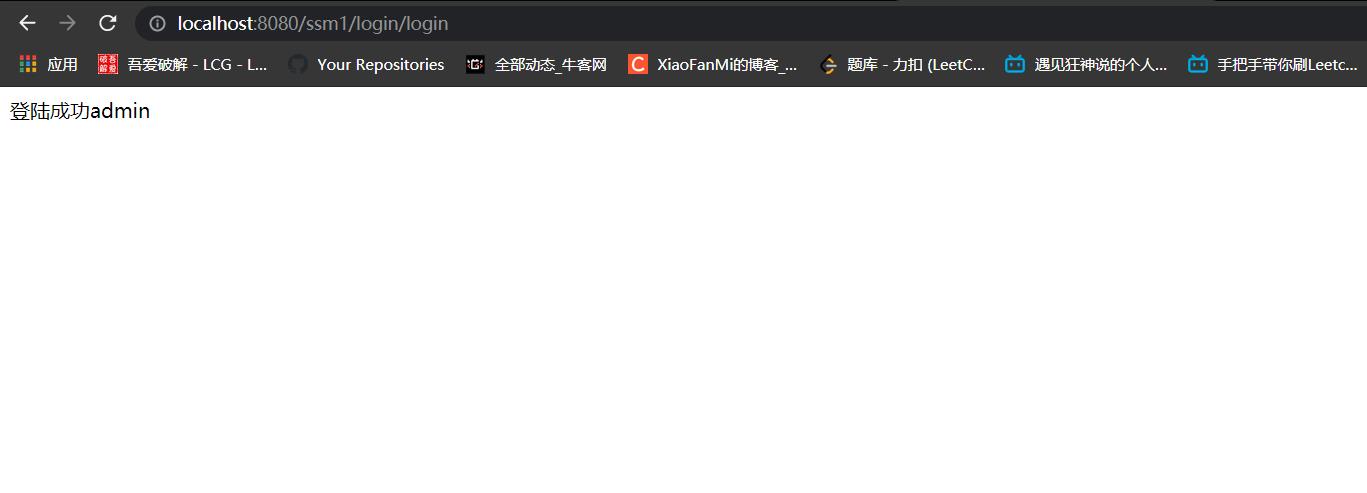
添加过滤器
在登录界面添加了一张照片但是显示不出来,是为什么呢
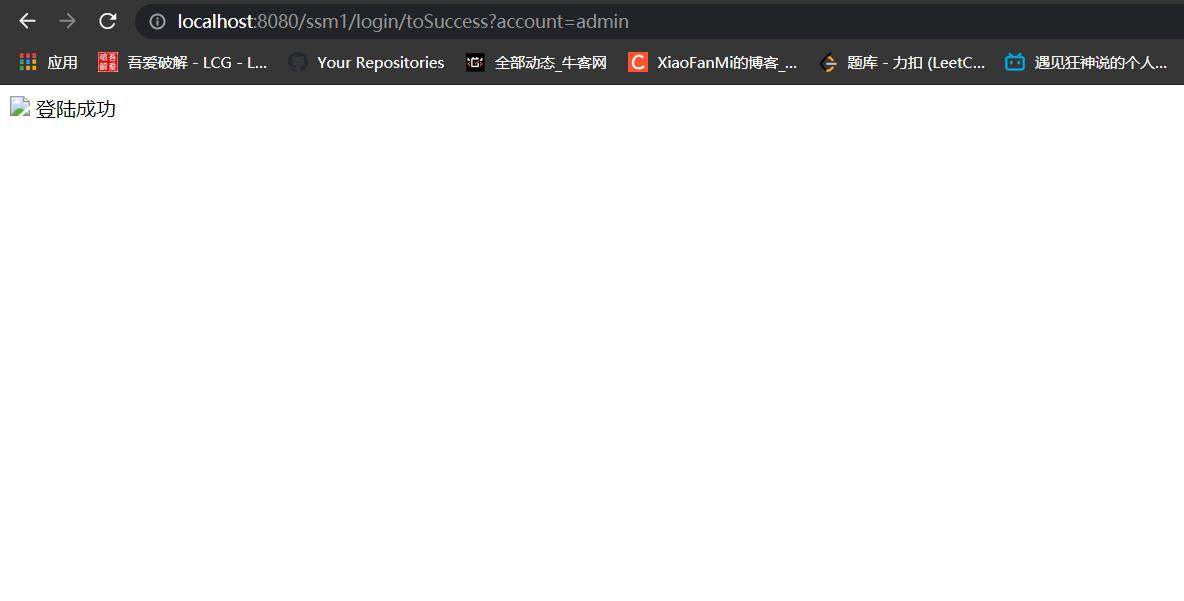
因为请求都会进入DispatcherServlet进行处理
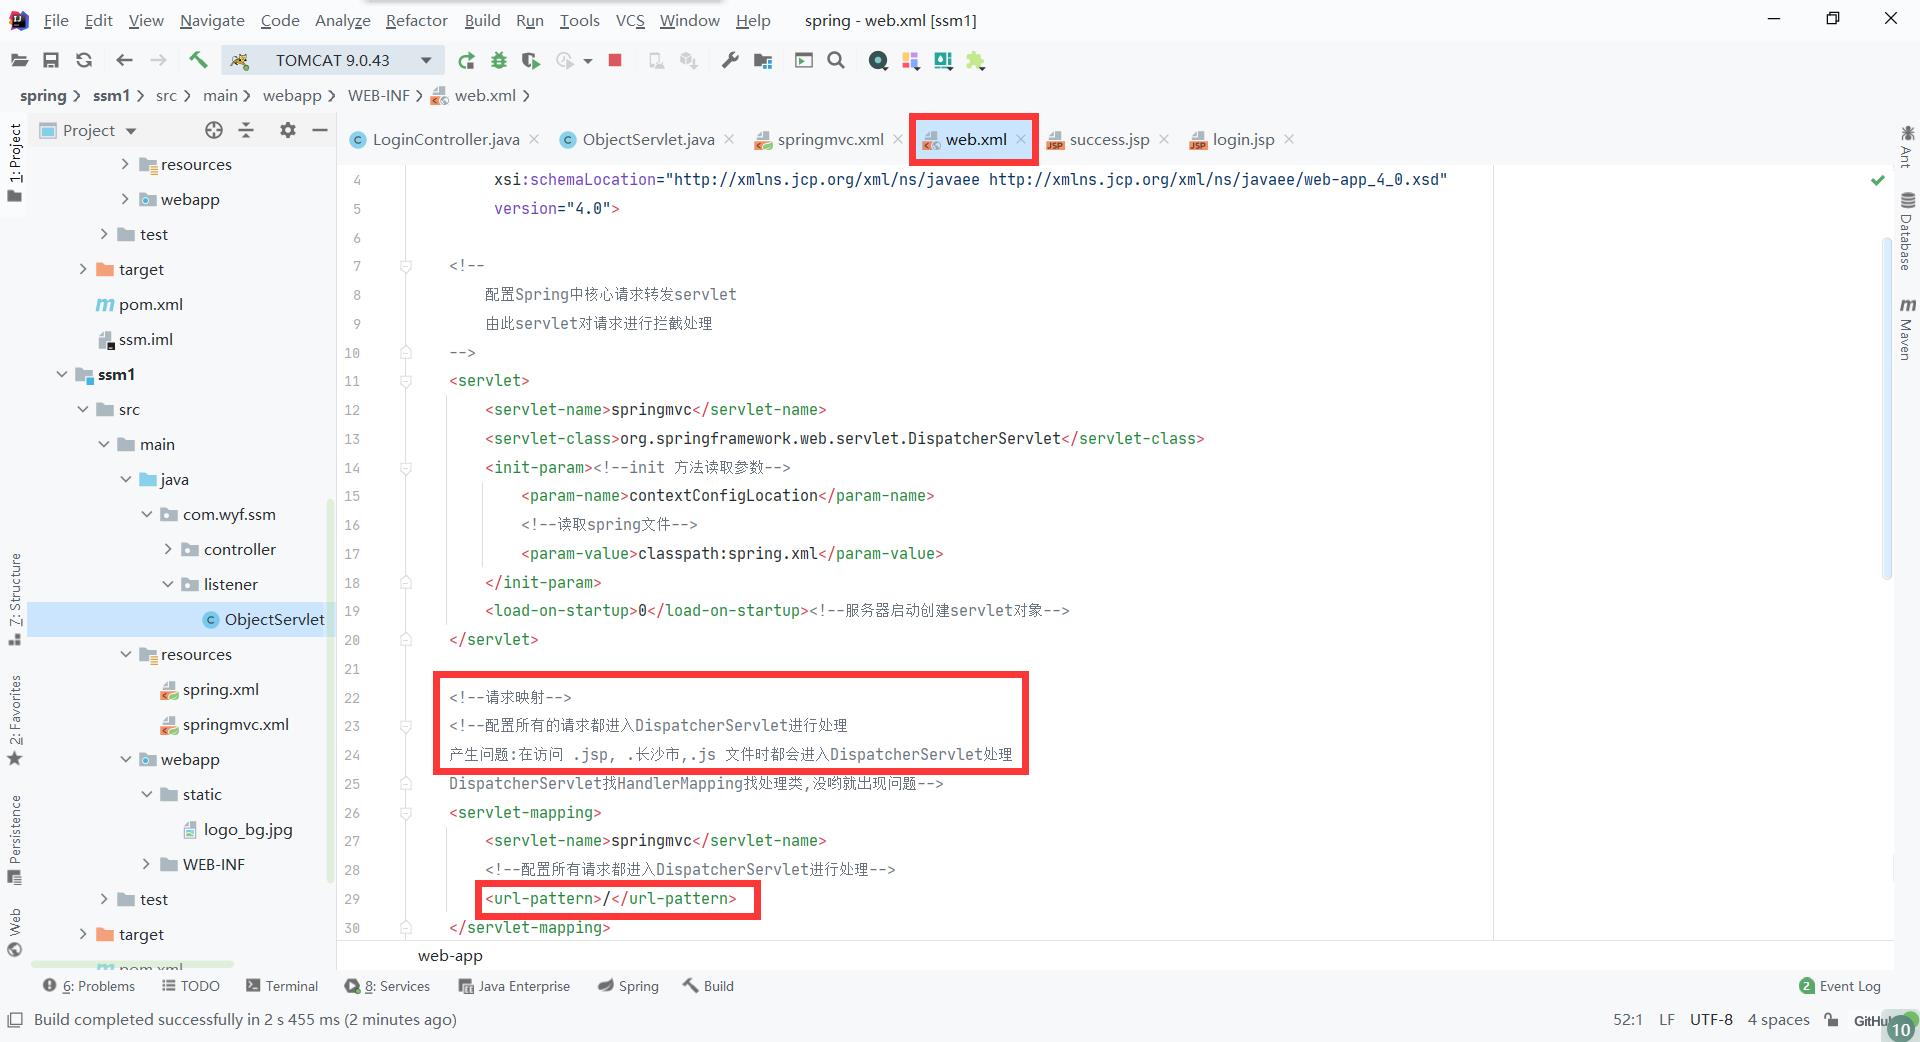
解决方法:在springmvc.xml中添加配置
<!--进行检测,拦截.jsp .css .js这些文件不进入DispatcherServlet-->
    <mvc:default-servlet-handler/>
解决编码问题:在web.xml中添加编码过滤器
 <!--编码过滤器-->
    <filter>
        <filter-name>characterEncodingFilter</filter-name>
        <filter-class>org.springframework.web.filter.CharacterEncodingFilter</filter-class>
        <init-param>
            <param-name>encoding</param-name>
            <param-value>UTF-8</param-value>
        </init-param>
    </filter>

    <filter-mapping>
        <filter-name>characterEncodingFilter</filter-name>
        <url-pattern>/*</url-pattern>
    </filter-mapping>
解决绝对路径问题:创建监听器
package com.wyf.ssm.listener;

import javax.servlet.ServletContext;
import javax.servlet.ServletContextEvent;
import javax.servlet.ServletContextListener;
import javax.servlet.http.HttpSessionEvent;
import javax.servlet.http.HttpSessionListener;

/*
监听器:监听servletContext.HttpSession和ServletRequest等域对象的创建和销毁事件
servletContext:生命周期开始服务器启动,结束于服务器关闭
HttpSession:开始于会话创建,结束于1.服务器关闭  2.30分钟未操作  3.强制销毁
 ServletRequest:开始于请求,结束于服务器向客户端做出响应
 */
public class ObjectServlet implements ServletContextListener {
    @Override
    public void contextInitialized(ServletContextEvent sce) {
        ServletContext context = sce.getServletContext();
        context.setAttribute("path",context.getContextPath());
    }

    @Override
    public void contextDestroyed(ServletContextEvent servletContextEvent) {
    }

}
在web.xml中配置
    <!--监听器定义绝对路径path-->
    <listener>
        <listener-class>com.wyf.ssm.listener.ObjectServlet</listener-class>
    </listener>
测试
<img src="${path}/static/logo_bg.jpg" />

Ajax返回JSON
@responseBody 注解的作用是将 controller 的方法返回的对象通过适当的转换器转换为指定的格式之后,写入到 response 对象的 body 区,通常用来向异步请求返回 JSON 数据。
1.添加jar包
<dependency>
	<groupId>com.fasterxml.jackson.core</groupId>
	<artifactId>jackson-databind</artifactId>
	<version>2.9.1</version>
</dependency>
2.写一个页面已ajax的方式发送请求
<%@ page contentType="text/html;charset=UTF-8" language="java" %>
<!DOCTYPE html>
<html>
<head>
    <meta charset="utf-8">
    <title>Title</title>
    <script src="${path}/static/js/jquery.1.8.3.min.js"></script>
    <script type="text/javascript">
        function save() {
            $.post("${path}/login/save", $("#formId").serialize(), function (res) {
                console.log(res);
                if (res.code == 200) {
                    alert(res.msg);
                    alert(res.data);
                    location.reload();
                } else {
                    alert(res.msg);
                }
            });
        }
    </script>
</head>
<body>
<form id="formId">
    <input type="text" name="name" id="name">
    <input type="text" name="age" id="age">
    <input type="button" value="登录" onclick="return save()">
</form>
</body>
</html>
3.在控制器写一个方法接收数据并返回结果
@ResponseBody注解标签 默认返回json格式
 @PostMapping(path = "save")
    @ResponseBody //默认返回json格式
    public Map save(String name, int age) {
        Map map = new HashMap();
        try {
            System.out.println(10/0);
           map.put("code","200");
           map.put("msg",以上是关于SpringMVC的搭建和详细配置的主要内容,如果未能解决你的问题,请参考以下文章