Ubuntu 18.04 安装 Qt 15.12.11
Posted Thomas会写字
tags:
篇首语:本文由小常识网(cha138.com)小编为大家整理,主要介绍了Ubuntu 18.04 安装 Qt 15.12.11相关的知识,希望对你有一定的参考价值。
1. 下载Qt
https://download.qt.io/archive/qt/5.12/5.12.11/
2. 在qt下载目录打开终端
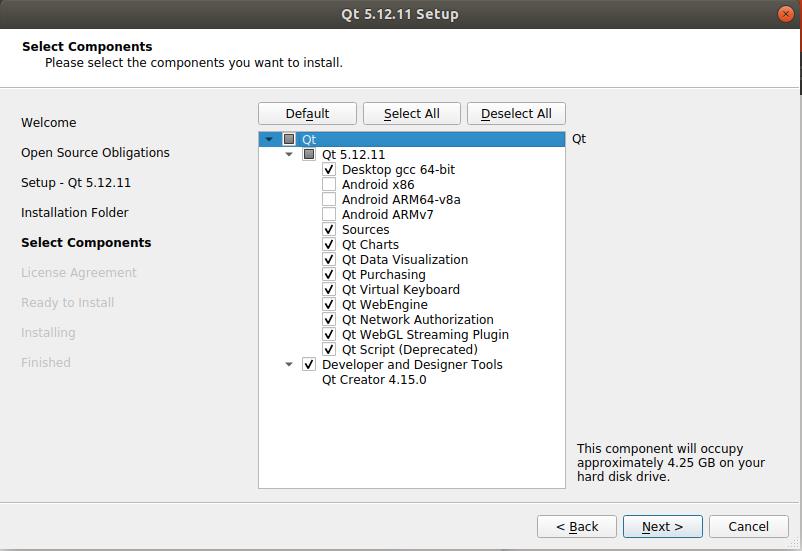
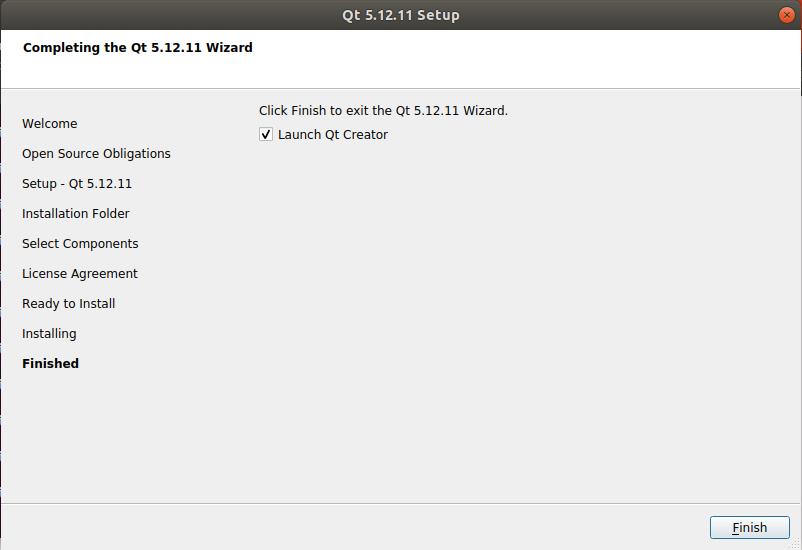
3. 安装 Qt
chmod +x *.run
./qt-opensource-linux-x64-5.12.11.run
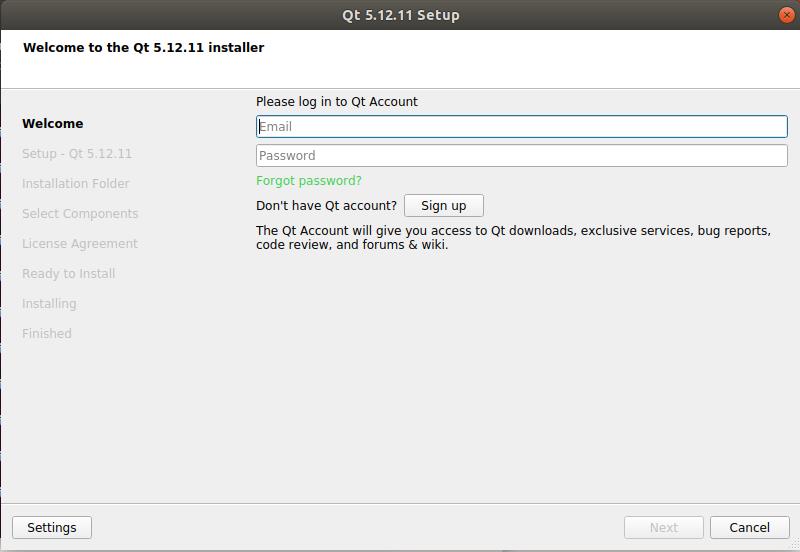
账号密码需要自己搞定


这是后没有反应。。。
4. 配置启动环境
sudo vim /etc/profile在文件末尾添加
export PATH="/opt/Qt5.12.8/Tools/QtCreator/bin:$PATH"
export PATH="/opt/Qt5.12.8/5.12.8/gcc_64:$PATH"
如果没vim需要手动安装下
sudo apt-get install vim进入vim按键盘i进入插入模式,可以自由编辑,Esc退出插入模式。:q! 强制退出不保存,:wq保存后退出。
保存后使变更生效
source /etc/profile5. 修复Qt环境
这时终端启动Qt有反应了,提示
qt.qpa.plugin: Could not load the Qt platform plugin "xcb" in "" even though it was found.
This application failed to start because no Qt platform plugin could be initialized. Reinstalling the application may fix this problem.
Available platform plugins are: eglfs, linuxfb, minimal, minimalegl, offscreen, vnc, xcb.
修改配置文件~/.bashrc:
vim ~/.bashrc
在最末尾添加如下语句,会在qtcreator启动时,列出详细的错误提示。
export QT_DEBUG_PLUGINS=1保存退出编辑,使配置文件生效:
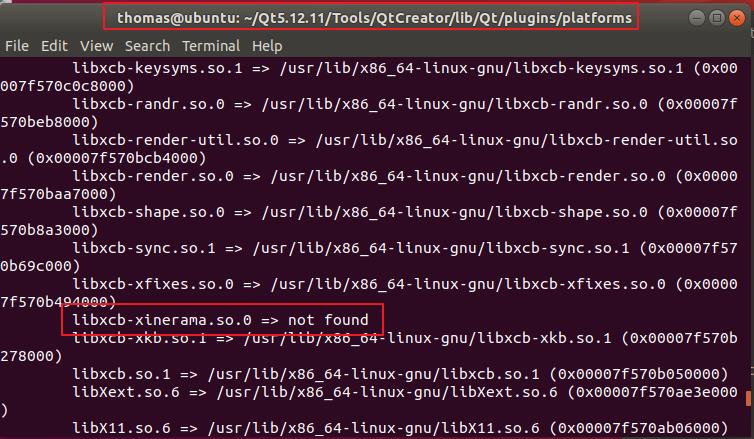
source ~/.bashrc终端启动Qt,会提示如下

这时我们用终端打开选中的目录,运行
ldd libqxcb.so
安装libxcb-xinerama库:
#如果还存在其他依赖库没有安装,也一并安装。
sudo apt-get install libxcb-xinerama0
安装完成后,再次查看关联内容,发现已经修复问题:
ldd libqxcb.so这时可以启动Qt了,最后用vim把 QT_DEBUG_PLUGINS 的值改成0,这样以后启动就不会有Debug输出了。
参考
https://blog.csdn.net/digitalkee/article/details/111125569
https://blog.csdn.net/LOVEmy134611/article/details/107212845/
以上是关于Ubuntu 18.04 安装 Qt 15.12.11的主要内容,如果未能解决你的问题,请参考以下文章