修改openstack镜像--支持root密码登陆
Posted 尾戒0717
tags:
篇首语:本文由小常识网(cha138.com)小编为大家整理,主要介绍了修改openstack镜像--支持root密码登陆相关的知识,希望对你有一定的参考价值。
一、前言
从openstack官方下载的云镜像一般都是普通用户密钥登陆,比如centos镜像的普通用户为centos,ubuntu镜像的普通用户为ubuntu,虽然密钥登陆系统相比密码登陆来说比较方便安全,但是如果需要vnc登陆系统的话,必须得是密码才可以。那么如何实现openstack云镜像密码登陆呢,guestfish工具是一个不错的选择。(本次操作是在centos系统上利用guestfish工具修改openstack官方centos镜像的root密码)
二、安装 guestfish工具及下载镜像
1、找一台 Centos 7 的权限设备
# yum install guestfish -y
2、从官网下载openstack 镜像:https://docs.openstack.org/image-guide/obtain-images.html
# wget http://cloud.centos.org/centos/7/images/CentOS-7-x86_64-GenericCloud.raw.tar.gz
# tar -xzvf CentOS-7-x86_64-GenericCloud.raw.tar.gz
三、guestfish命令修改root密码
1、# guestfish --rw -a CentOS-7-x86_64-GenericCloud-2003.raw
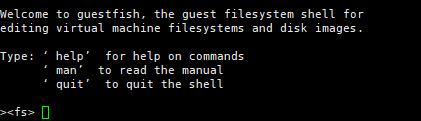
2、 执行run并挂载文件系统

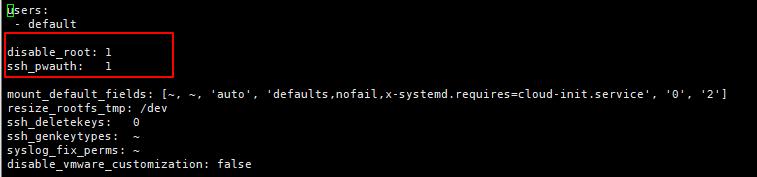
3、修改Cloud-init的配置文件cloud.cfg
><fs> vi /etc/cloud/cloud.cfg 修改如下内容并保存退出
4、修改 /etc/shadow 文件
a、使用 openssl passwd -1 预设置的root密码
1 [root@localhost ~]# openssl passwd -1 123456
2 $1$yf5HxL17$WIjQ1THmj3TuCEWc6K7yd0
b、修改 /etc/shadow,复制root加密后的密码,保存退出
1 ><fs> vi /etc/shadow
2 root:$1$yf5HxL17$WIjQ1THmj3TuCEWc6K7yd0:18374:0:99999:7:::
5、退出guestfish
><fs> quit
四、删除镜像到openstack
# openstack image create "Centos-7-2003" --file \'CentOS-7-x86_64-GenericCloud-2003.raw\' --disk-format raw --container-format bare --public
以上是关于修改openstack镜像--支持root密码登陆的主要内容,如果未能解决你的问题,请参考以下文章