阿里云
Posted pycod
tags:
篇首语:本文由小常识网(cha138.com)小编为大家整理,主要介绍了阿里云相关的知识,希望对你有一定的参考价值。
CentOS 8时间同步
更换安装源及同步时间(复制粘贴即可)
yum install -y wget
cd /etc/yum.repos.d/
mv CentOS-Base.repo CentOS-Base.repo.bak
wget -O  /etc/yum.repos.d/CentOS-Base.repo http://mirrors.aliyun.com/repo/Centos-8.repo
#非阿里去服务器删除下
sed -i -e \'/mirrors.cloud.aliyuncs.com/d\' -e \'/mirrors.aliyuncs.com/d\' /etc/yum.repos.d/CentOS-Base.repo
yum clean all
yum makecache
yum install -y chrony
sed -i \'3s/pool /#&/g\' /etc/chrony.conf
sed -i \'3a server ntp.aliyun.com iburst\' /etc/chrony.conf
systemctl restart chronyd.service
systemctl enable chronyd.service
chronyc sources -v
CentOS8系统中,原有的时间同步服务 ntp/ntpdate服务已经无法使用,使用yum安装,提示已不存在。

在CentOS8中,已使用chrony替代ntp,首先安装chrony (如已经安装,忽略)
#使用dnf安装
dnf install -y chrony
# 也可以用yum安装
yum install -y chrony
安装chrony成功,修改chrony服务的配置文件
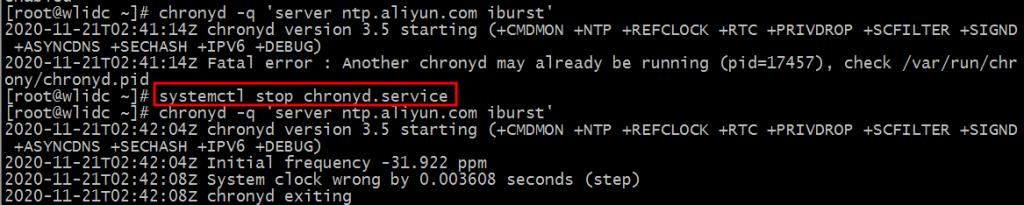
1、临时同步时间方法(需要先关闭chronyd服务):
systemctl stop chronyd
chronyd -q \'server ntp.aliyun.com iburst\'
2、永久设置同步时间服务器(修改配置文件)
vim /etc/chrony.conf
注释掉第三行原有的时间服务器地址,设置为阿里云的时间服务地址
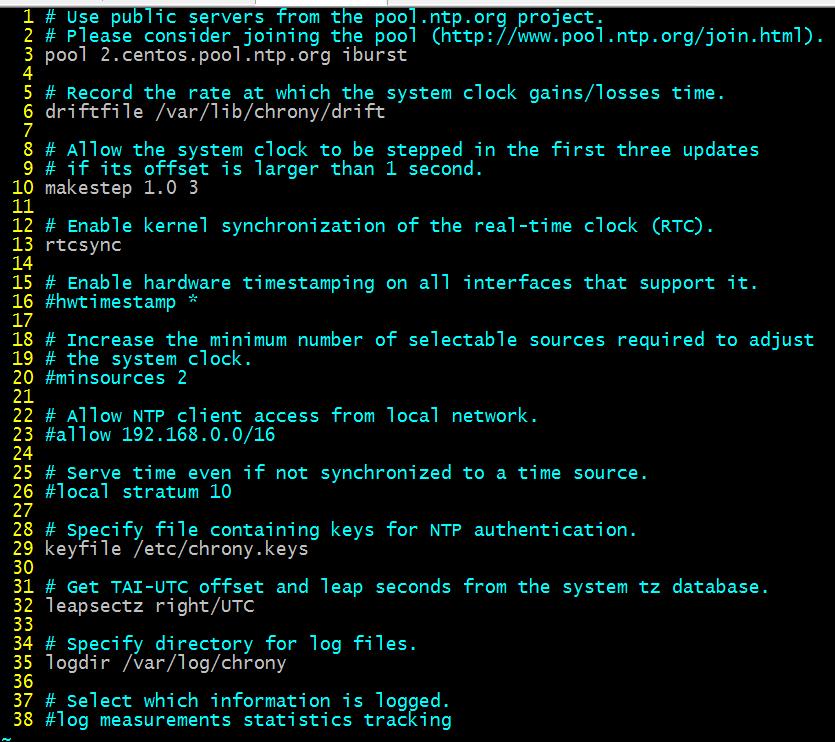
sed -i \'3s/pool /#&/g\' /etc/chrony.conf
sed -i \'3a server ntp.aliyun.com iburst\' /etc/chrony.conf

3、重启网络时间服务chrony,并设置服务后台运行。
systemctl restart chronyd.service
systemctl enable chronyd.service
手动同步下时间,以后就会自动同步
chronyc sources -v

以上是关于阿里云的主要内容,如果未能解决你的问题,请参考以下文章