小程序中如何使用Emoji表情
Posted bingdaye
tags:
篇首语:本文由小常识网(cha138.com)小编为大家整理,主要介绍了小程序中如何使用Emoji表情相关的知识,希望对你有一定的参考价值。
小程序中如何使用Emoji表情
在小程序开发的过程中,类似商城、社区之类的项目,大多数都遇到过使用emoji表情的需求,我在网上查找到一些文章,给了我一些灵感,以下就是使用表情的步骤。
参考文章链接--->https://blog.csdn.net/qq_33744228/article/details/80335440
一、首先去相应的emoji表情网站寻找自己需要的表情
Emoji表情网址-->http://www.oicqzone.com/tool/emoji/
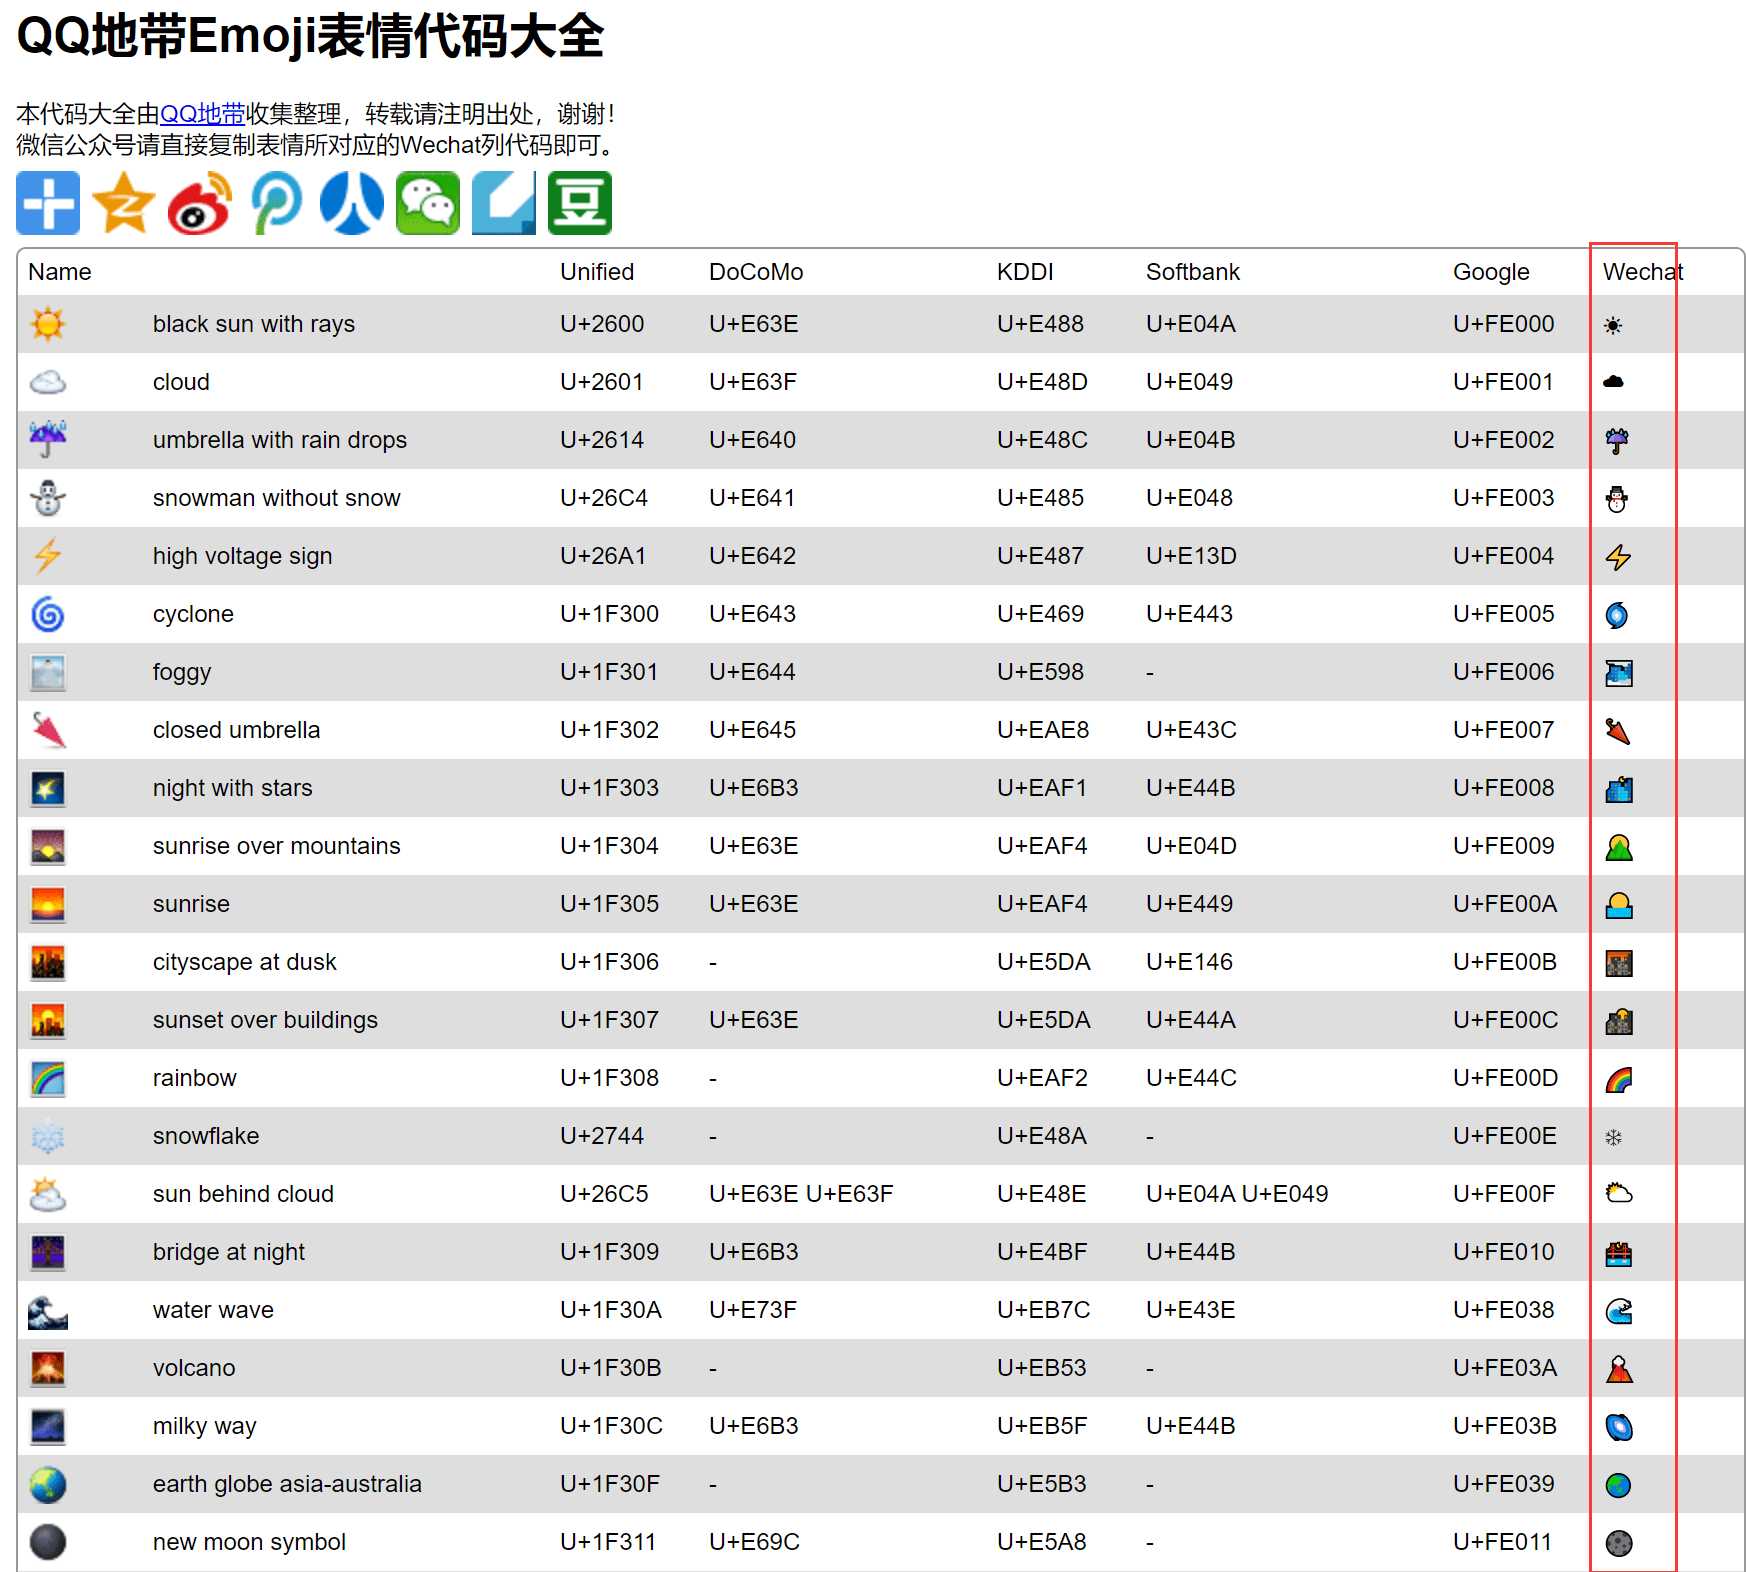
在网站中,红框一栏中的表情是可以直接复制到js中进行使用的,但是需要使用引号包起来,因为这种类型的属于字符串表情,可以直接以字符串形式展示,如下图
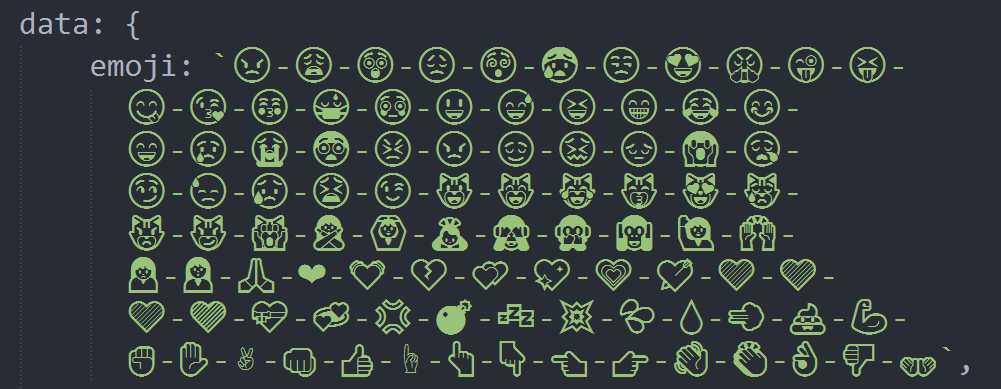
二、把表情一一对应的放到字符串中后,可以声明一个数组把相应的数字与emoji对应起来,当然,这一步其实可以稍微省略,可以直接把表情与数字结合,做成数组对象,使用起来更方便,直接写在json文件进行请求或者在声明变量的时候写好就行,这里还是用的原来的方法,上图中已经定义好表情符号了,下图是对应的数字ID以及对应的变量


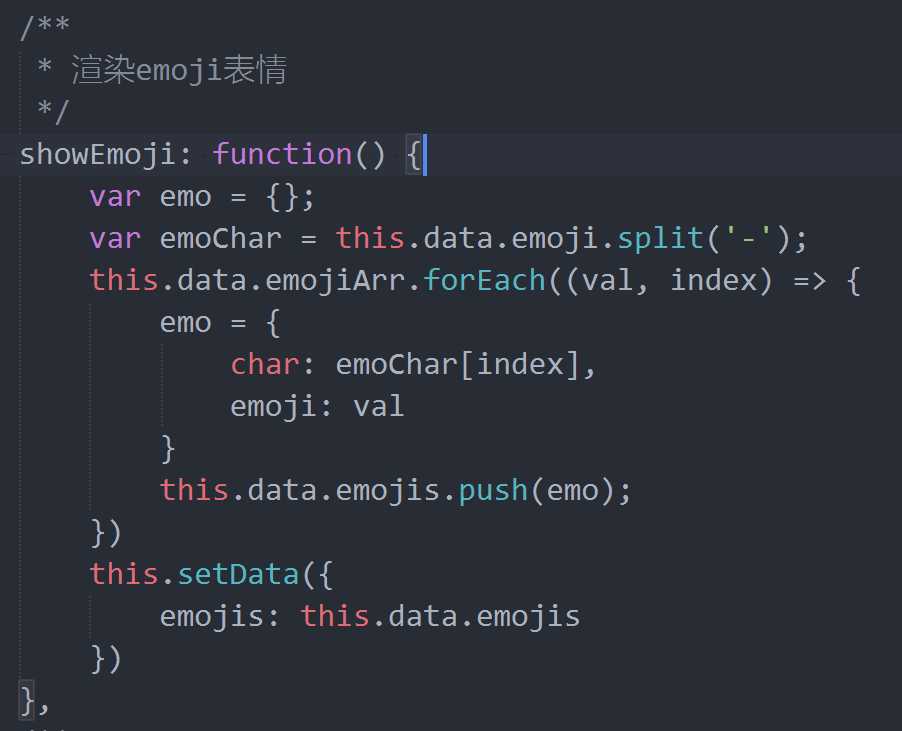
三、当把两样东西都定义好后就可以通过遍历数字ID的数组,把相应的emoji表情以及数字ID存入到一个对象中推到数组中去,如下图
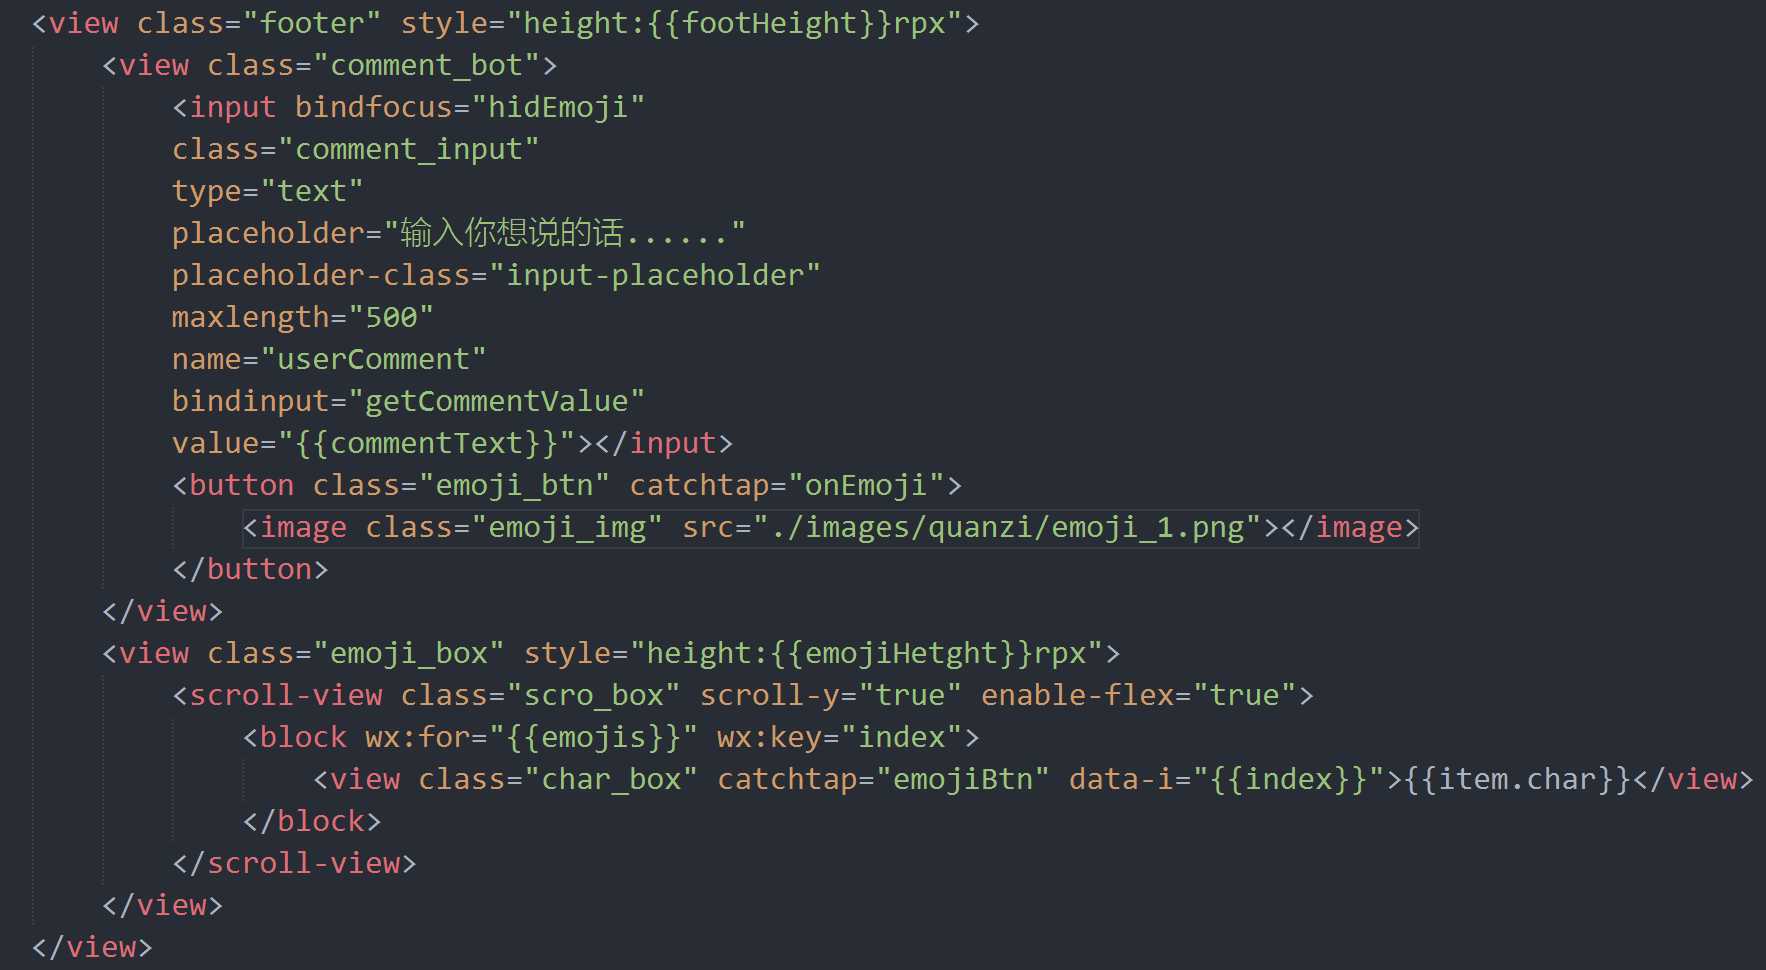
页面的结构,我是使用了小程序中的scroll-view进行表情的渲染,并且使用动态高度去模拟app弹出表情的效果,基本的页面结构如下图
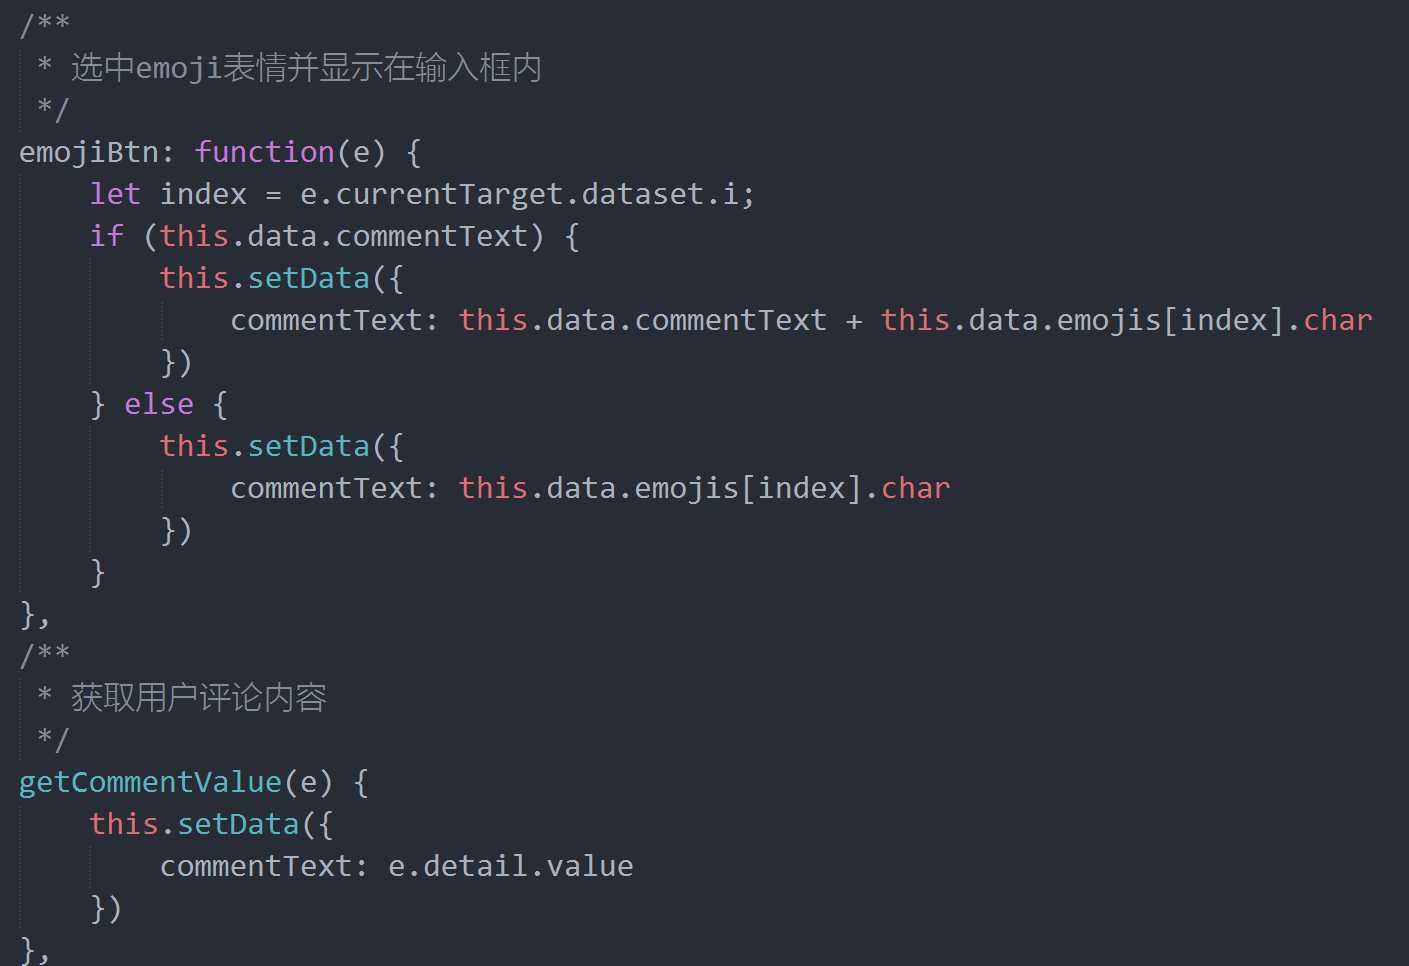
四、然后在js中对表情的选中以及输入框文字的处理,如下图
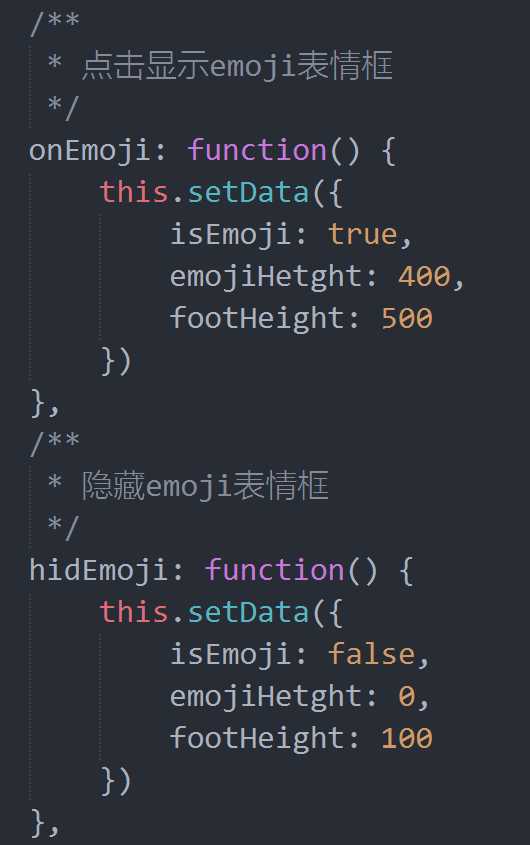
五、剩下的就是模拟输入键盘的出入场动画以及表情框的显示和隐藏,如下图
以上就是前端关于emoji表情的使用了,剩下的就是后端的同学在对emoji表情如何进行存储的处理了,存入和取出的编码格式是不一样的,解决方法:
存之前base64_encode(),取的时候base64_decode()
下面附上完整代码:
wxml:
<view class="footer" style="height:{{footHeight}}rpx">
            <view class="comment_bot">
                <input bindfocus="hidEmoji"
                class="comment_input"
                type="text"
                placeholder="输入你想说的话......"
                placeholder-class="input-placeholder"
                maxlength="500"
                name="userComment"
                bindinput="getCommentValue"
                value="{{commentText}}"></input>
                <button class="emoji_btn" catchtap="onEmoji">
                    <image class="emoji_img" src="./images/quanzi/emoji_1.png"></image>
                </button>
            </view>
            <view class="emoji_box" style="height:{{emojiHetght}}rpx">
                <scroll-view class="scro_box" scroll-y="true" enable-flex="true">
                    <block wx:for="{{emojis}}" wx:key="index">
                        <view class="char_box" catchtap="emojiBtn" data-i="{{index}}">{{item.char}}</view>
                    </block>
                </scroll-view>
            </view>
        </view>
wxss:
.footer {
display: flex;
justify-content: space-between;
flex-flow: column;
height: 100rpx;
position: fixed;
bottom: 0;
width: 100%;
border-top: 2rpx solid #f0f0f0;
line-height: 100rpx;
font-size: 16px;
background-color: #fff;
z-index: 999;
transition: 0.3s ease-in-out;
}

.comment_bot {
width: 100%;
height: 100rpx;
display: flex;
justify-content: space-around;
align-items: center;
box-sizing: border-box;
padding: 0 20rpx;
}

.comment_input {
width: 400rpx;
height: 50rpx;
border: 2rpx solid #000;
border-radius: 50rpx;
box-sizing: border-box;
padding: 0 20rpx;
text-align: left;
color: #000;
}

.tijiao {
width: 50rpx;
height: 50rpx;
vertical-align: middle;
}

.pinglunbtn {
margin: 0;
padding: 0;
background-color: transparent;
}

.pinglunbtn::after {
display: inline-flex;
height: 100%;
align-self: center;
justify-content: center;
line-height: 30rpx;
border: none;
}

.emoji_btn {
width: 50rpx;
height: 50rpx;
padding: 0;
margin: 0;
line-height: 0;
color: transparent;
background-color: transparent;
}

.emoji_btn::after {
border: none;
border-radius: 0;
}

.emoji_img {
width: 50rpx;
height: 50rpx;
}

.emoji_box {
width: 100%;
transition: 0.3s ease-in-out;
}

.scro_box {
width: 100%;
height: 100%;
box-sizing: border-box;
padding: 0 30rpx;
}

.char_box {
display: inline-block;
padding: 0 20rpx;
}
js:
/**
     * 渲染emoji表情
     */
    showEmoji: function() {
        var emo = {};
        var emoChar = this.data.emoji.split(‘-‘);
        this.data.emojiArr.forEach((val, index) => {
            emo = {
                char: emoChar[index],
                emoji: val
            }
            this.data.emojis.push(emo);
        })
        this.setData({
            emojis: this.data.emojis
        })
                },
                /**
                 * 选中emoji表情并显示在输入框内
                 */
                emojiBtn: function(e) {
                    let index = e.currentTarget.dataset.i;
                    if (this.data.commentText) {
                        this.setData({
                            commentText: this.data.commentText + this.data.emojis[index].char
                        })
                    } else {
                        this.setData({
                            commentText: this.data.emojis[index].char
                        })
                    }
                },
                /**
                 * 获取用户评论内容
                 */
                getCommentValue(e) {
                    this.setData({
                        commentText: e.detail.value
                    })
                },
                /**
                 * 点击显示emoji表情框
                 */
                onEmoji: function() {
                    this.setData({
                        isEmoji: true,
                        emojiHetght: 400,
                        footHeight: 500
                    })
                },
                /**
                 * 隐藏emoji表情框
                 */
                hidEmoji: function() {
                    this.setData({
                        isEmoji: false,
                        emojiHetght: 0,
                        footHeight: 100
                    })
                },
以上是关于小程序中如何使用Emoji表情的主要内容,如果未能解决你的问题,请参考以下文章