欢迎来到WebGPU的世界
Posted Jtag特工
tags:
篇首语:本文由小常识网(cha138.com)小编为大家整理,主要介绍了欢迎来到WebGPU的世界相关的知识,希望对你有一定的参考价值。
欢迎来到WebGPU的世界
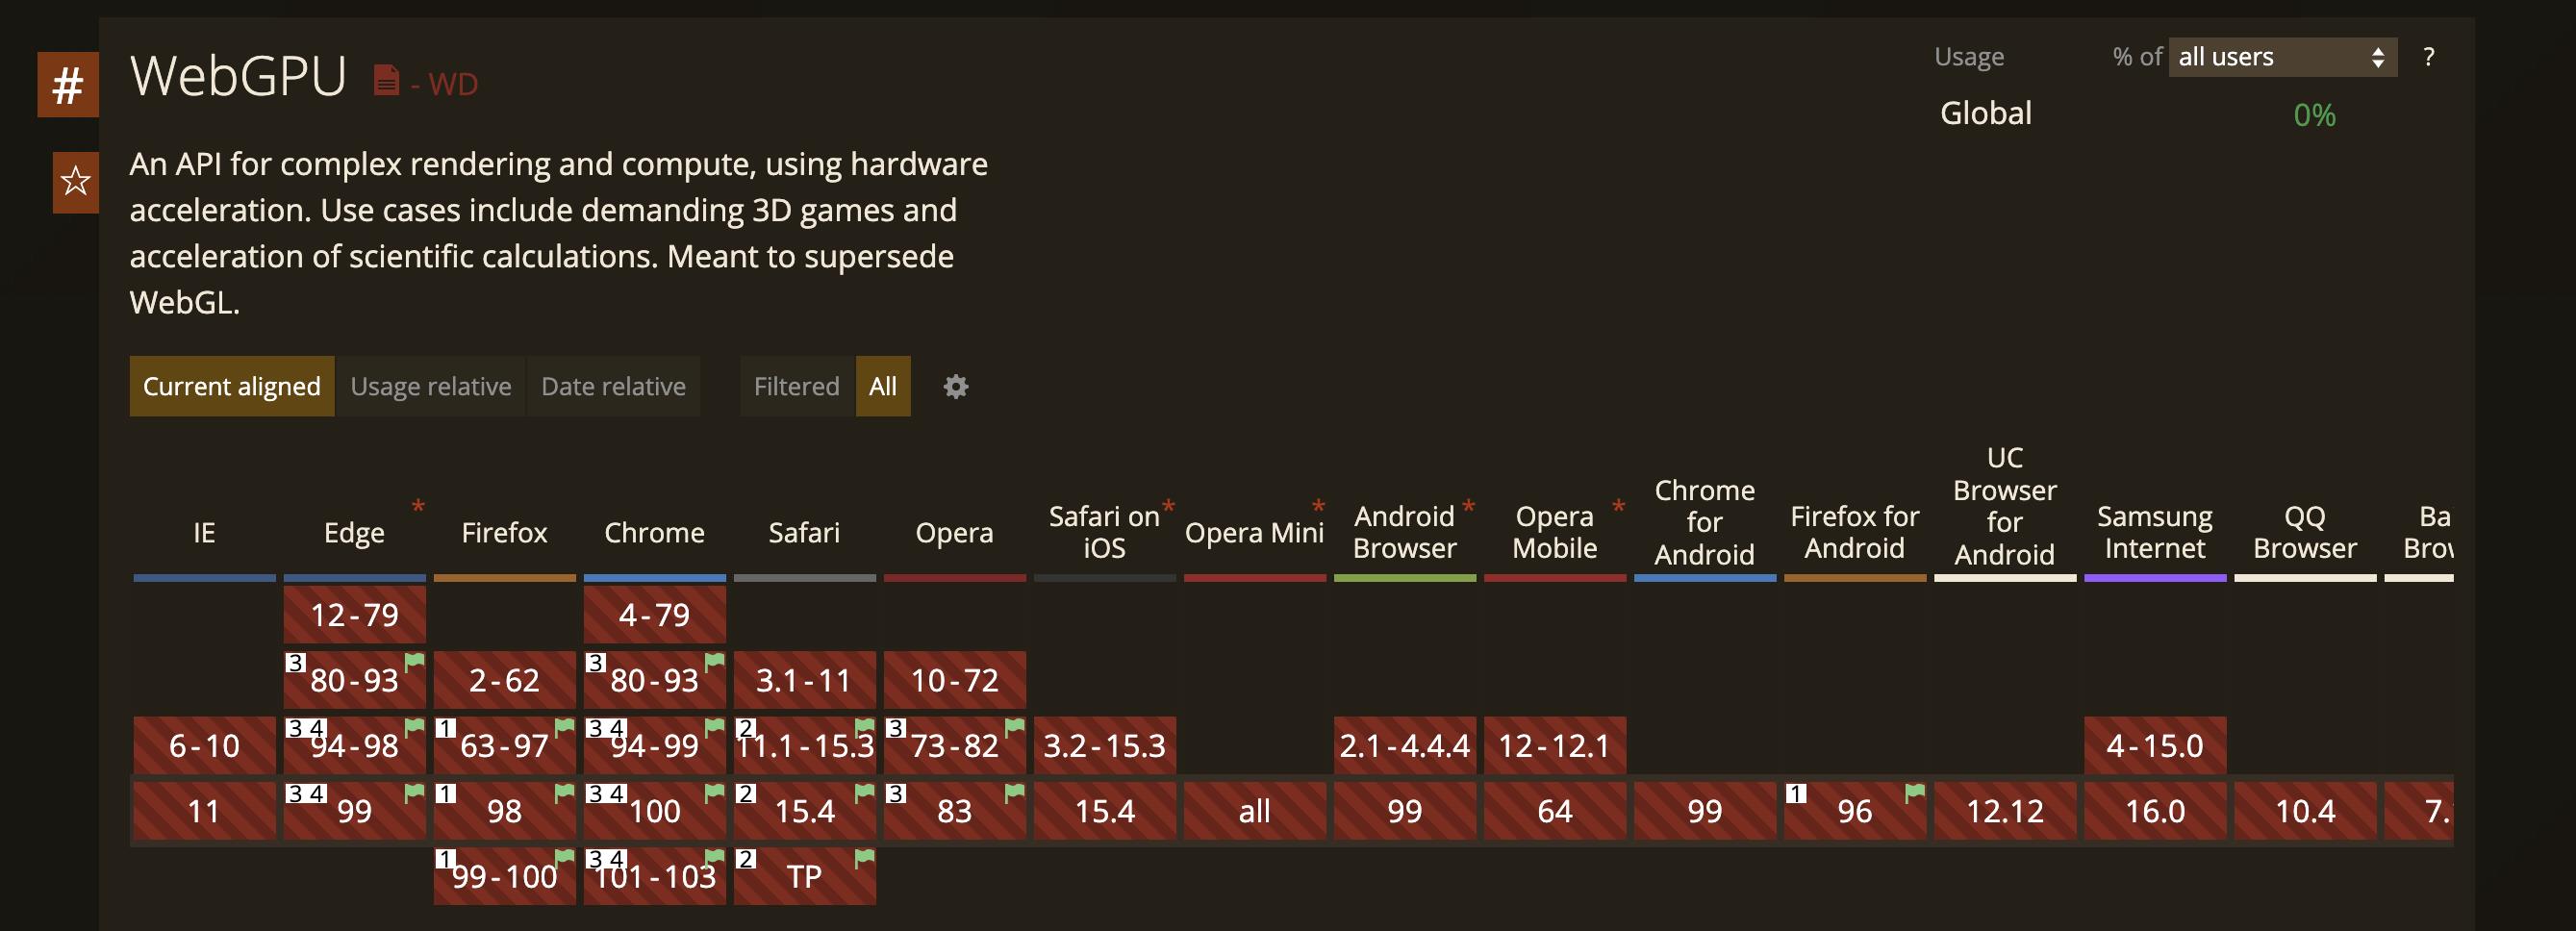
WebGPU是一门神奇的技术,在浏览器支持率0%,标准还没有定稿的情况下,就已经被Three.js和Babylon.js等主流3D和游戏框架支持了。而且被Tensorflow.js用来加速手机端的深度学习,比起WebGL能带来20~30倍的显著提升。
在主流框架中WebGPU的例子
在Three.js中使用WebGPU
使用Three.js的封装,我们可以直接生成WebGPU的调用。

我们照猫画虎引入WebGPU相关的库:
			import * as THREE from 'three';
			import * as Nodes from 'three-nodes/Nodes.js';
			import  add, mul  from 'three-nodes/ShaderNode.js';

            import WebGPU from './jsm/capabilities/WebGPU.js';
			import WebGPURenderer from './jsm/renderers/webgpu/WebGPURenderer.js';
...
剩下就跟普通的WebGL代码写起来差不多:
			async function init()

				if ( WebGPU.isAvailable() === false )
					document.body.appendChild( WebGPU.getErrorMessage() );
					throw new Error( 'No WebGPU support' );


				const container = document.createElement( 'div' );
				document.body.appendChild( container );

				camera = new THREE.PerspectiveCamera( 45, window.innerWidth / window.innerHeight, 1, 4000 );
				camera.position.set( 0, 200, 1200 );

				scene = new THREE.Scene();
...
只不过渲染器使用WebGPURenderer:
				renderer = new WebGPURenderer();
				renderer.setPixelRatio( window.devicePixelRatio );
				renderer.setSize( window.innerWidth, window.innerHeight );
				container.appendChild( renderer.domElement );
...
如果封装的不能满足需求了,我们可以使用WGSL语言进行扩展:
				material = new Nodes.MeshBasicNodeMaterial();
				material.colorNode = desaturateWGSLNode.call(  color: new Nodes.TextureNode( texture )  );
				materials.push( material );

				const getWGSLTextureSample = new Nodes.FunctionNode( `
					fn getWGSLTextureSample( tex: texture_2d<f32>, tex_sampler: sampler, uv:vec2<f32> ) -> vec4<f32>
						return textureSample( tex, tex_sampler, uv ) * vec4<f32>( 0.0, 1.0, 0.0, 1.0 );

				` );

				const textureNode = new Nodes.TextureNode( texture );

				material = new Nodes.MeshBasicNodeMaterial();
				material.colorNode = getWGSLTextureSample.call(  tex: textureNode, tex_sampler: textureNode, uv: new Nodes.UVNode()  );
				materials.push( material );
WGSL是WebGPU进行GPU指令编程的语言。类似于OpenGL的GLSL, Direct3D的HLSL。
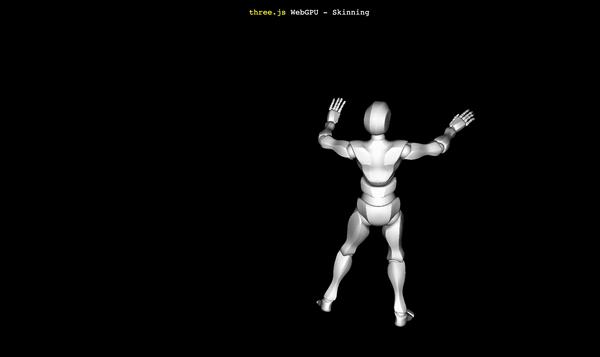
我们来看一个完整的例子,显示一个跳舞的小人,也不过100多行代码:
<!DOCTYPE html>
<html lang="en">
	<head>
		<title>three.js - WebGPU - Skinning</title>
		<meta charset="utf-8">
		<meta name="viewport" content="width=device-width, user-scalable=no, minimum-scale=1.0, maximum-scale=1.0">
		<link type="text/css" rel="stylesheet" href="main.css">
		<meta http-equiv="origin-trial" content="AoS1pSJwCV3KRe73TO0YgJkK9FZ/qhmvKeafztp0ofiE8uoGrnKzfxGVKKICvoBfL8dgE0zpkp2g/oEJNS0fDgkAAABeeyJvcmlnaW4iOiJodHRwczovL3RocmVlanMub3JnOjQ0MyIsImZlYXR1cmUiOiJXZWJHUFUiLCJleHBpcnkiOjE2NTI4MzE5OTksImlzU3ViZG9tYWluIjp0cnVlfQ==">
	</head>
	<body>
		<div id="info">
			<a href="https://threejs.org" target="_blank" rel="noopener">three.js</a> WebGPU - Skinning
		</div>
		<script async src="https://unpkg.com/es-module-shims@1.3.6/dist/es-module-shims.js"></script>
		<script type="importmap">

				"imports":
					"three": "../build/three.module.js",
					"three-nodes/": "./jsm/nodes/"


		</script>

		<script type="module">
			import * as THREE from 'three';
			import * as Nodes from 'three-nodes/Nodes.js';
			import  FBXLoader  from './jsm/loaders/FBXLoader.js';
			import WebGPU from './jsm/capabilities/WebGPU.js';
			import WebGPURenderer from './jsm/renderers/webgpu/WebGPURenderer.js';
			import LightsNode from 'three-nodes/lights/LightsNode.js';

			let camera, scene, renderer;
			let mixer, clock;
			init().then( animate ).catch( error );

			async function init()
				if ( WebGPU.isAvailable() === false )
					document.body.appendChild( WebGPU.getErrorMessage() );
					throw new Error( 'No WebGPU support' );

				camera = new THREE.PerspectiveCamera( 50, window.innerWidth / window.innerHeight, 1, 1000 );
				camera.position.set( 100, 200, 300 );
				scene = new THREE.Scene();
				camera.lookAt( 0, 100, 0 );
				clock = new THREE.Clock();

				// 光照
				const light = new THREE.PointLight( 0xffffff );
				camera.add( light );
				scene.add( camera );
				const lightNode = new LightsNode().fromLights( [ light ] );
				const loader = new FBXLoader();
				loader.load( 'models/fbx/Samba Dancing.fbx', function ( object )
					mixer = new THREE.AnimationMixer( object );
					const action = mixer.clipAction( object.animations[ 0 ] );
					action.play();
					object.traverse( function ( child )
						if ( child.isMesh )
							child.material = new Nodes.MeshStandardNodeMaterial();
							child.material.lightNode = lightNode;

					 );
					scene.add( object );
				 );

				// 渲染
				renderer = new WebGPURenderer();
				renderer.setPixelRatio( window.devicePixelRatio );
				renderer.setSize( window.innerWidth, window.innerHeight );
				document.body.appendChild( renderer.domElement );
				window.addEventListener( 'resize', onWindowResize );
				return renderer.init();


			function onWindowResize()
				camera.aspect = window.innerWidth / window.innerHeight;
				camera.updateProjectionMatrix();
				renderer.setSize( window.innerWidth, window.innerHeight );


			function animate()
				requestAnimationFrame( animate );
				const delta = clock.getDelta();
				if ( mixer ) mixer.update( delta );
				renderer.render( scene, camera );


			function error( error )
				console.error( error );

		</script>
	</body>
</html>
在Babylon.js中使用WebGPU
Babylon.js的封装与Three.js大同小异,我们来看个PlayGround的效果:

不同之处在于处理WebGPU的支持情况时,Babylon.js并不判断整体上支不支持WebGPU,而是只看具体功能。
比如上面的例子,只判断是不是支持计算着色器。
const supportCS = engine.getCaps().supportComputeShaders;
不过目前在macOS上,只有WebGPU支持计算着色器。
如果我们把环境切换成WebGL2,就变成下面这样了:

顺便说一句,Babylon.js判断WebGL2和WebGL时也是同样的逻辑,有高就用高。
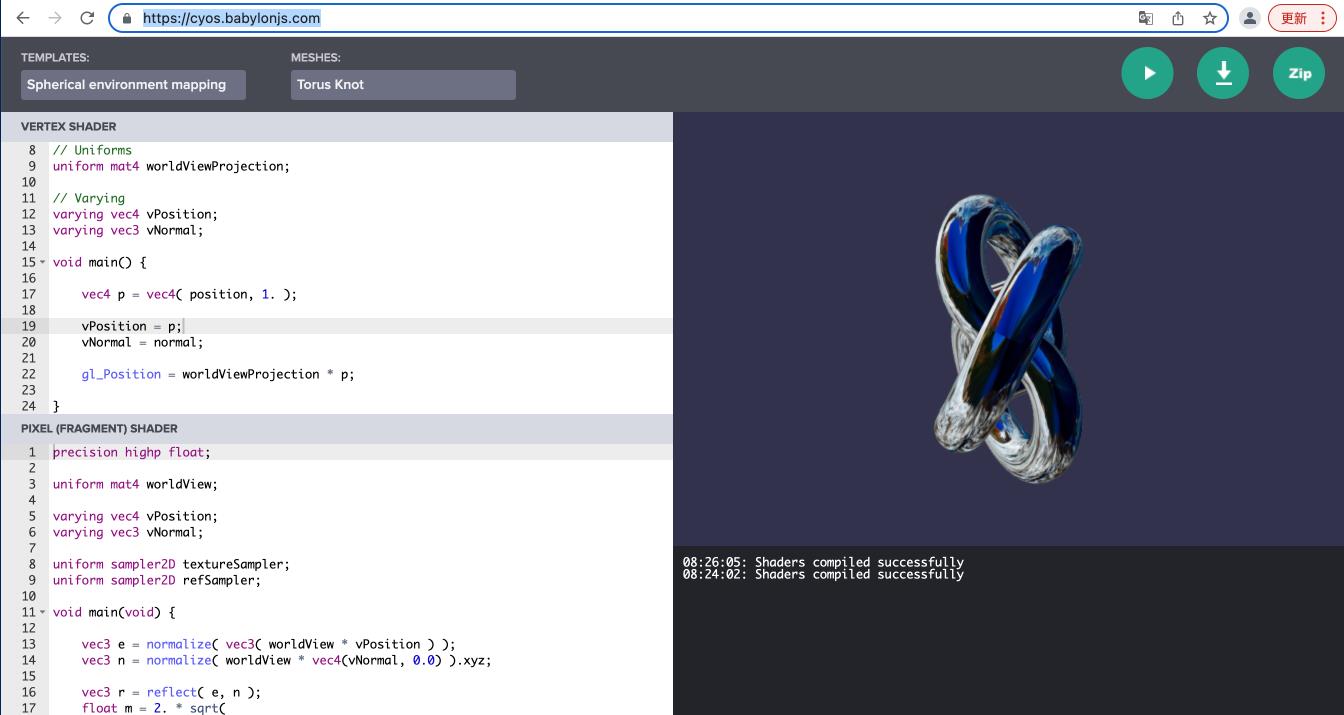
如果对于着色器不熟悉,Babylon.js提供了练习Vertex Shader和Pixel Shader的环境:https://cyos.babylonjs.com/ , 带语法高亮和预览。
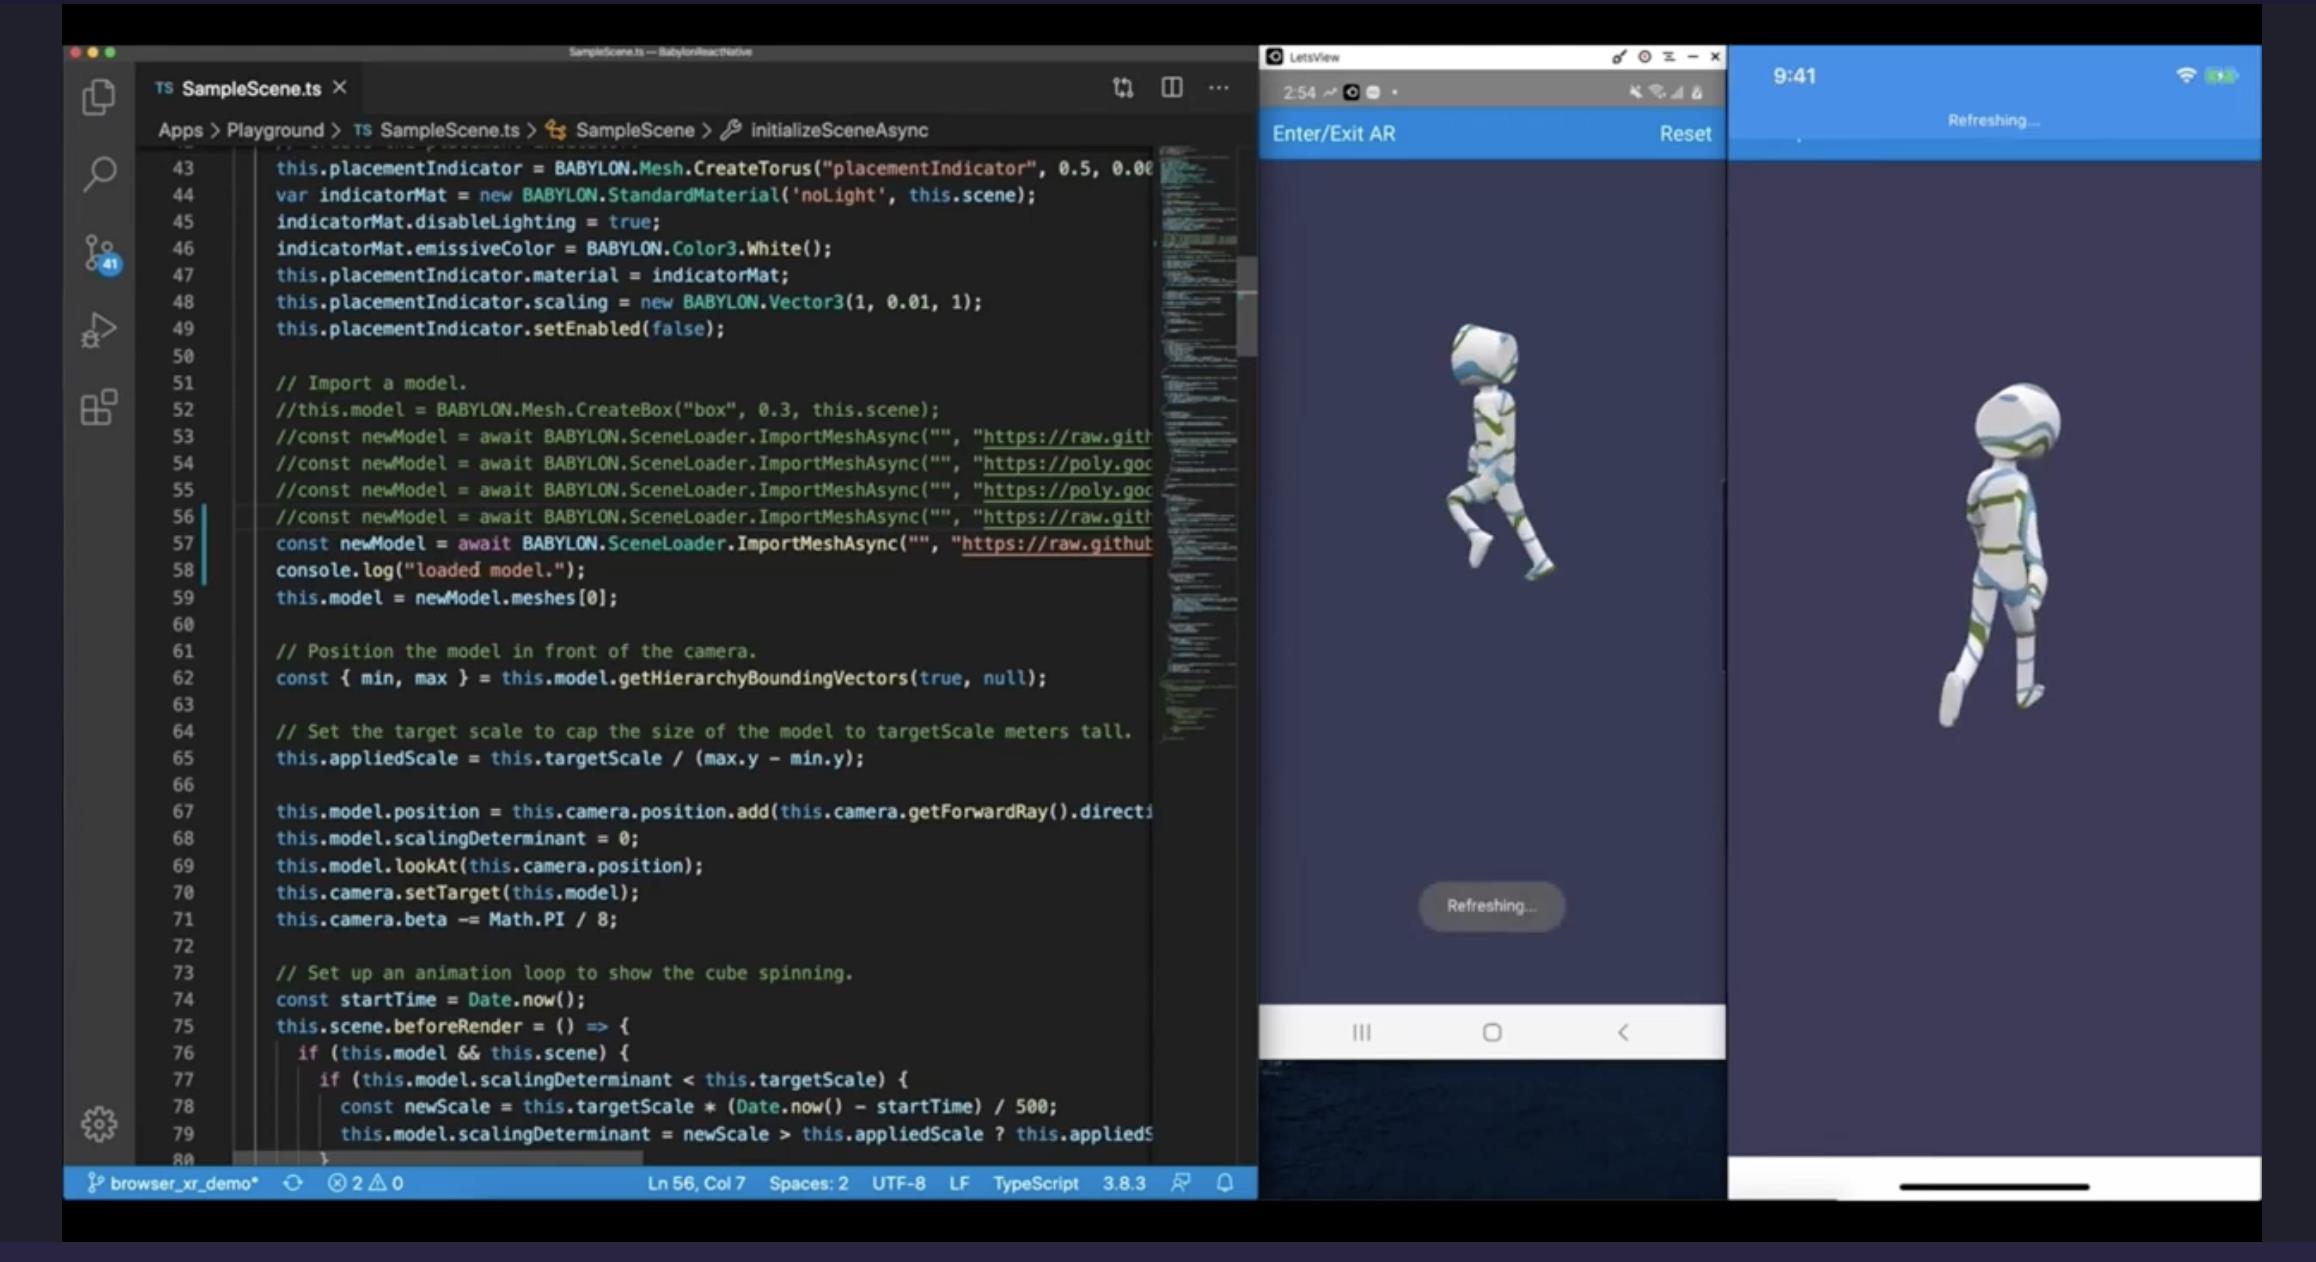
针对需要通过写手机应用的场景,Babylon.js提供了与React Native结合的能力:
用WebGPU进行深度学习加速
除了3D界面和游戏,深度学习的推理器也是GPU的重度用户。所以Tensorflow.js也在还落不了地的时候就支持了WebGPU。实在是计算着色器太重要了。
写出来的加速代码就像下面一样,很多算子的实现最终是由WGSL代码来实现的,最终会转换成GPU的指令。
  getUserCode(): string
    const rank = this.xShape.length;
    const type = getCoordsDataType(rank);
    const start = this.xShape.map((_, i) => `uniforms.pad$i[0]`).join(',');
    const end = this.xShape
                    .map(
                        (_, i) => `uniforms.pad$i[0] + uniforms.xShape$
                            rank > 1 ? `[$i]` : ''`)
                    .join(',');
    const startValue = rank > 1 ? `$type($start)` : `$start`;
    const endValue = rank > 1 ? `$type($end)` : `$end`;

    const leftPadCondition = rank > 1 ? `any(outC < start)` : `outC < start`;
    const rightPadCondition = rank > 1 ? `any(outC >= end)` : `outC >= end`;

    const unpackedCoords = rank > 1 ?
        ['coords[0]', 'coords[1]', 'coords[2]', 'coords[3]'].slice(0, rank) :
        'coords';

    const userCode = `
      $getMainHeaderAndGlobalIndexString()
        if (index < uniforms.size)
          let start = $startValue;
          let end = $endValue;
          let outC = getCoordsFromIndex(index);
          if ($leftPadCondition || $rightPadCondition)
            setOutputAtIndex(index, uniforms.constantValue);
           else
            let coords = outC - start;
            setOutputAtIndex(index, getX($unpackedCoords));


    `;
    return userCode;
无框架手写WebGPU代码
通过框架,我们可以迅速地跟上技术的前沿。但是,框架的封装也容易让我们迷失对于技术本质的把握。
现在我们来看看如何手写WebGPU代码。
从Canvas说起
不管是WebGL还是WebGPU,都是对于Canvas的扩展。做为HTML 5的重要新增功能,大家对于2D的Canvas应该都不陌生。
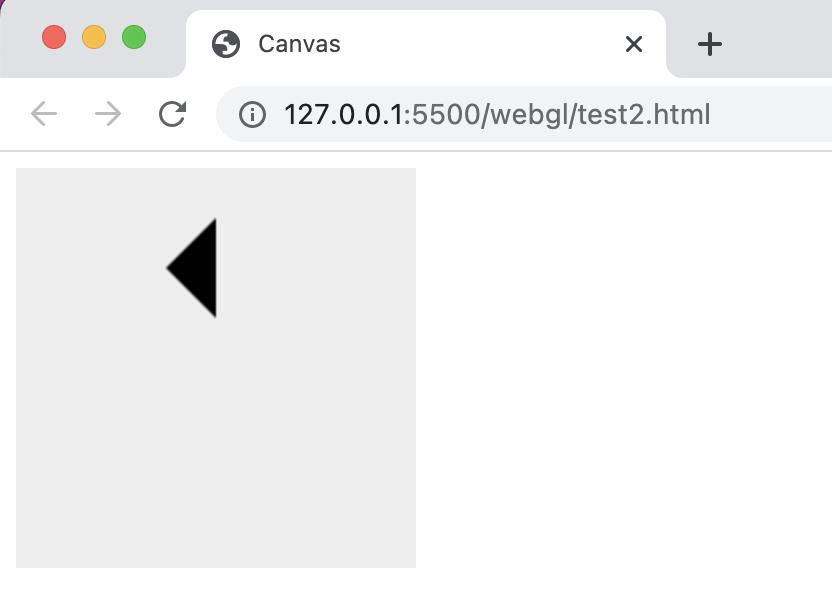
比如我们要画一个三角形,就可以调用lineTo API来实现:
<!DOCTYPE html>
<html lang="en">
<head>
    <meta charset="UTF-8">
    <title>Canvas</title>
</head>
<body>
    <canvas id="webcanvas" width="200" height="200" style="background-color: #eee"></canvas>
    <script>
        const canvas=document.getElementById('webcanvas');
        const ctx=canvas.getContext('2d');

        ctx.beginPath();
        ctx.moveTo(75,50);
        ctx.lineTo(100,75);
        ctx.lineTo(100,25);
        ctx.fill();
    </script>
</body>
画出来的结果如下:
我们要修改画出来的图的颜色怎么办?
ctx有fillStyle属性,支持CSS的颜色字符串。
比如我们设成红色,可以这么写:
ctx.fillStyle = 'red';
也可以这么写:
ctx.fillStyle = '#F00';
还可以这么写:
ctx.fillStyle = 'rgb(255,0,0,1)';
从2D到3D
从2D Canvas到3D WebGL的最大跨越,就是从调用API,到完全不同于javascript的新语言GLSL的出场。
第一步的步子我们迈得小一点,不画三角形了,只画一个点。
<!DOCTYPE html>
<html lang="en">

<head>
    <meta charset="UTF-8">
    <title>Test OpenGL for a point</title>
</head>

<body>
    <canvas id="webgl" width="500" height="500" style="background-color: blue"></canvas>
    <script>
        const canvas = document.getElementById('webgl');
        const gl = canvas.getContext('webgl');

        const program = gl.createProgram();

        const vertexShaderSource = `
           void main()
              gl_PointSize=sqrt(20.0);
              gl_Position =vec4(0.0,0.0,0.0,1.0);
           `;

        const vertexShader = gl.createShader(gl.VERTEX_SHADER);
        gl.shaderSource(vertexShader, vertexShaderSource);
        gl.compileShader(vertexShader);
        gl.attachShader(program, vertexShader);

        const fragShaderSource = `
          void main()
            gl_FragColor = vec4(1.0,0.0,0.0,1.0);

        `;

        const fragmentShader = gl.createShader(gl.FRAGMENT_SHADER);
        gl.shaderSource(fragmentShader, fragShaderSource);
        gl.以上是关于欢迎来到WebGPU的世界的主要内容,如果未能解决你的问题,请参考以下文章