Oracle LiveLabs实验:Install Oracle Database 21c
Posted dingdingfish
tags:
篇首语:本文由小常识网(cha138.com)小编为大家整理,主要介绍了Oracle LiveLabs实验:Install Oracle Database 21c相关的知识,希望对你有一定的参考价值。
概述
此实验申请地址在这里,时间为2小时。
实验帮助在这里。
此实验也可以从OCI Marketplace中获取。
简介
可以从实验3直接开始,前面部分就是创建虚机,都已经自动完成了。
实验3:Install Oracle Database
Introduction
Task 1: Start Database Installer
cd /u01/app/oracle/product/21.0.0/dbhome_1
./runInstaller
Task 2: Options to Install Oracle Database
选择复杂的2B。
Task 2A: Install Oracle Database (Desktop Class)
略。
Task 2B: Install and Configure Oracle Database (Server Class)
共18步。
-
Configuration Options:选择
Create and configure a single instance database -
System Class:选择
Server class,另一个是Desktop class -
Database Edition:选择
Enterprise Edition,另一个是SE2\\ -
Installation Location:选择默认值
/u01/app/oracle,此时对应的软件位置(即Oracle Home)为/u01/app/oracle/product/21.0.0/dbhome_1 -
Create Inventory:Inventory Directory自动变为
/u01/app/oraInventory,oraInventory Group Name自动变为oinstall。 -
Configuration Type:选择
General Purpose / Transaction Processing -
Database Identifier:Global database name输入
orcl.us.oracle.com;Oracle system identifier (SID) 输入orcl;Pluggable database name输入orclpdb -
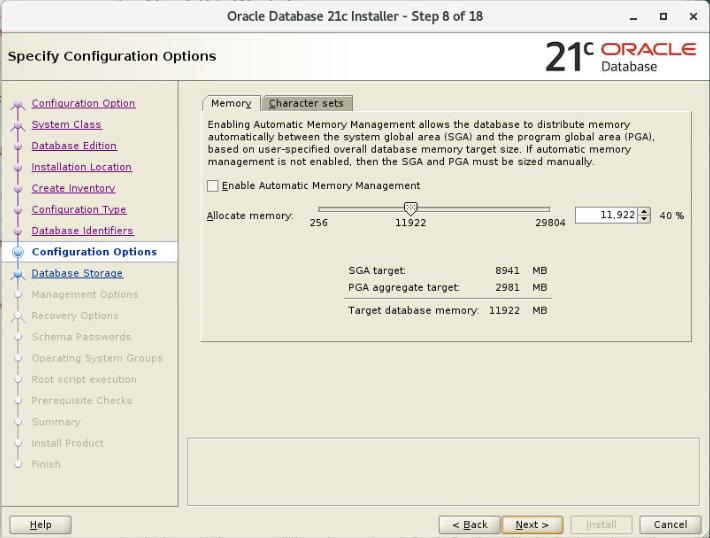
Configuration Options:字符集默认选择了
AL32UTF8;内存方面,虚机内存为30G,其中40%(12G)分给了数据库。分给数据库的内存,其中75%分给了SGA,25%分给了PGA。以上都是默认的分配。

-
Database Storage:使用 File System,database file location默认显示为
/u01/app/oracle/oradata -
Management Options:选择Next,暂不配做EM
-
Recovery Options:选中
Enable Recovery,配置FRA。FRA建立于File System,Recovery area location使用默认的/u01/app/oracle/recovery_area -
Schema Passwords:选择
Use the same password for all accounts。 -
Operating System Groups:所有的group都选择
dba -
Root script execution:选择next
-
Prerequisite Checks:一些可以fix,只有Swap Size不行,忽略。整个过程不到12分钟。
-
Summary:选择
Install -
Install Product:安装过程中需要以root运行2个脚本,略。
-
Finish
设置环境变量:
export ORACLE_HOME=/u01/app/oracle/product/21.0.0/dbhome_1
export ORACLE_SID=orcl
export PATH=$PATH:$ORACLE_HOME/bin
实验4:Create Container Database
Introduction
数据库软件已安装好后,创建容器数据库可以有2种模式:
- Typical
- Advanced
Task 1: Start Oracle DBCA
cd /u01/app/oracle/product/21.0.0/dbhome_1/bin
./dbca
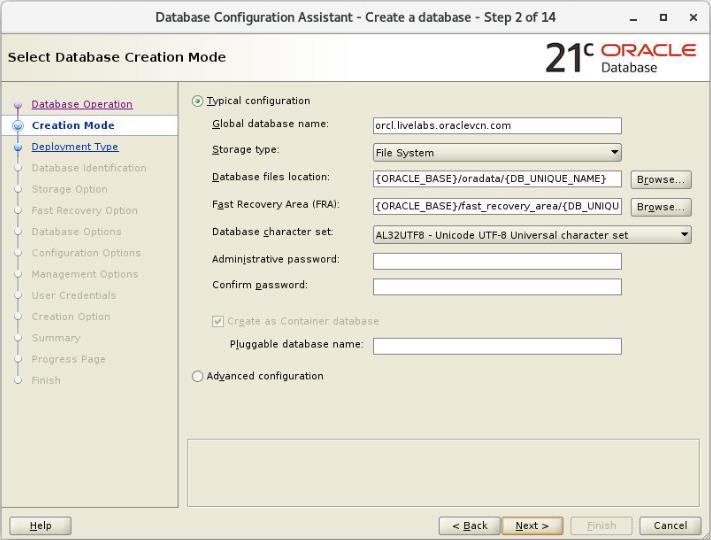
Task 2: Create a Container Database (Typical Mode)

Task 3: Create and Configure a Container Database (Advanced Mode)
-
Database Operation:选择
Create a database -
Creation Mode:选择
Advanced configuration -
Deployment Type:Database type选择
Oracle Single Instance database,其它为RAC和RAC One Node。Template选择General Purpose or Transaction Processing -
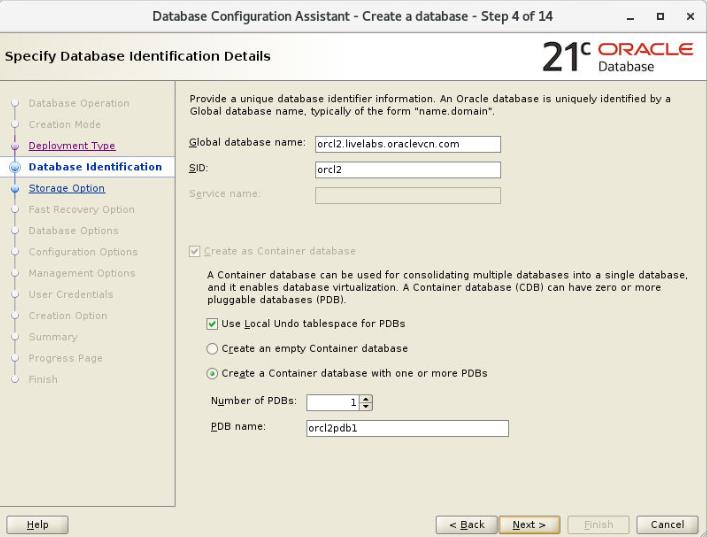
Database Identification:见下图

-
Storage Options:选择
Use template file for database storage attributes -
Fast Recovery Option:选中
Specify Fast Recovery Area,Recovery file storage type为File System;Fast Recovery Area指定位置为:ORACLE_BASE/fast_recovery_area/DB_UNIQUE_NAME;Fast Recovery Area size为13896MB。 这里也可以选择Enable archiving -
Network Configuration:选中在$ORACLE_HOME下已启动的监听:LISTENER
-
Data Vault Option:选择Next,暂不启用
-
Configuration Options:此数据库默认内存分配和第1个数据库一样,操作系统的40%分给数据库,其中75%给SGA,25%给PGA。另外,此步骤还设定字符集为AL32UTF8;Connection Mode为Dedicated server mode;Max # of operating system user processes为320
-
Management Options:取消勾选
Configure Enterprise Manager (EM) database express,然后单击Next -
User Credentials:选择
Use the same password for all accounts -
Creation Option:选择
Create database,然后单击Next -
Summary:选择
Finish。整个过程不到10分钟。 -
Finish。此步骤还可以进行Password Management,即解锁一些账户
查看状态:
[oracle@dbaessentials ~]$ pgrep -fl smon
16489 ora_smon_orcl2
20654 ora_smon_orcl

[oracle@dbaessentials ~]$ pgrep -fl tnslsnr
16076 tnslsnr

[oracle@dbaessentials ~]$ cat /etc/oratab
orcl:/u01/app/oracle/product/21.0.0/dbhome_1:N
orcl2:/u01/app/oracle/product/21.0.0/dbhome_1:N
以上是关于Oracle LiveLabs实验:Install Oracle Database 21c的主要内容,如果未能解决你的问题,请参考以下文章
Oracle LiveLabs实验: Oracle多租户基础
Oracle LiveLabs实验:Oracle RAC Fundamentals
Oracle LiveLabs实验:DB Security - Oracle Label Security (OLS)
Oracle LiveLabs实验:Oracle Label Security (OLS)