Windows10 + Nodejs调用C++语言Dll
Posted sesiria
tags:
篇首语:本文由小常识网(cha138.com)小编为大家整理,主要介绍了Windows10 + Nodejs调用C++语言Dll相关的知识,希望对你有一定的参考价值。
一、安装环境
首先需要安装nodejs环境
安装NodeJS解释器:
https://nodejs.org/dist/v14.17.1/node-v14.17.1-x64.msi
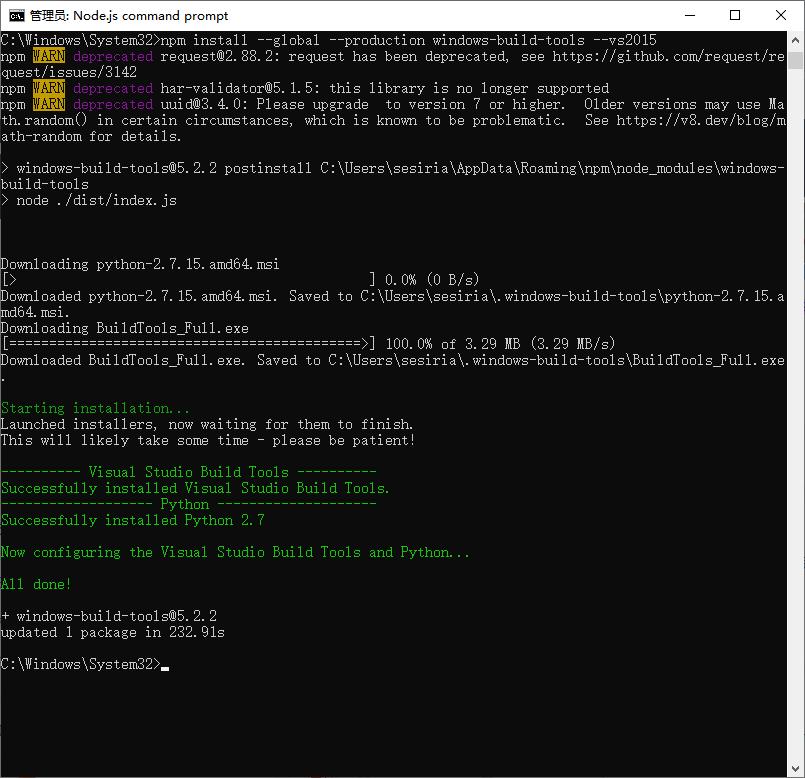
需要安装ms_build环境,因为node14需要匹配VS2015。执行一下命令:
C:Windows\\System32\\>npm install --global --production windows-build-tools --vs2015等待几分钟安装需要的环境

经过实验,不需要额外安装MSBuild,直接安装Visual Studio 2017 Community即可
1. 安装node-gyp
https://github.com/nodejs/node-gyp#on-windows
C:\\Windows\\System32>npm install -g node-gyp2. 安装Python
默认的新版的nodejs可能需要高版本的Python支持,这里是选择了anaconda自带的Python
并在环境变量中添加python路径
下载并安装anaconda(https://www.anaconda.com/)
在系统的Path变量中添加anaconda环境,如下图所示:

这里填写的路径需要根据自己的实际情况调整
接着在命令行运行python测试python是否正常安装

表示安装成功。
3. 安装Visual Studio 2017
笔者的机器默认使用Visual Studio 2017 Community作为编译工具。
(笔者的机器上nodejs推荐的MSBuild 2015无法正常工作。)
接着设置默认的MSBuild工具集(如果你的机器只安装了一个版本Visual Studio可以不执行此步骤)
npm config set msvs_version 2017二、运行Demo
Demo参考地址:https://github.com/nodejs/node-addon-examples
1. 第一个例子需要准备以下4个文件首先建立一个hello目录,然后再编辑以下文件:
hello.cc
/* FileName: hello.cc*/
#include <napi.h>

Napi::String Method(const Napi::CallbackInfo& info)
  Napi::Env env = info.Env();
  return Napi::String::New(env, "world");


Napi::Object Init(Napi::Env env, Napi::Object exports)
  exports.Set(Napi::String::New(env, "hello"),
              Napi::Function::New(env, Method));
  return exports;


NODE_API_MODULE(hello, Init)
package.json
  "name": "hello_world",
  "version": "0.0.0",
  "description": "Node.js Addons Example #1",
  "main": "hello.js",
  "private": true,
  "dependencies":
    "bindings": "~1.2.1",
    "node-addon-api": "^4.0.0"
  ,
  "scripts":
    "test": "node hello.js"
  ,
  "gypfile": true
binding.gyp
  "targets": [

      "target_name": "hello",
      "cflags!": [ "-fno-exceptions" ],
      "cflags_cc!": [ "-fno-exceptions" ],
      "sources": [ "hello.cc" ],
      "include_dirs": [
        "<!@(node -p \\"require('node-addon-api').include\\")"
      ],
      'defines': [ 'NAPI_DISABLE_CPP_EXCEPTIONS' ],

  ]
hello.js
var addon = require('./build/Release/hello.node');

console.log(addon.hello()); // 'world'
编译该文件需要依赖node-addon-api这个模块
在当前hello目录下执行命令
hello\\>npm install node-addon-api执行以后会自动下载'node-addon-api'这个模块并生成一个package-lock.json的配置文件

然后执行以下命令进行编译配置
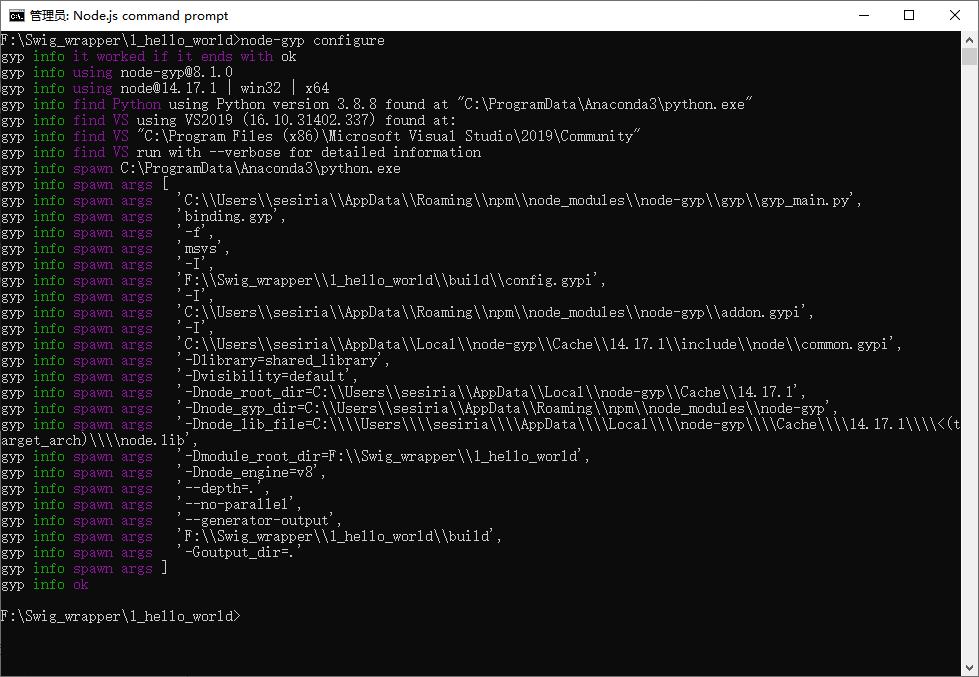
hello\\>node-gyp configure
会配置并生成一个build目录,里面有visual studio的sln、project文件
接着执行以下命令进行编译,也可以在build目录中打开sln文件用visual studio进行编译
hello\\>node-gyp build构建组件:


最终生成的hello.node就算我们需要的nodejs库(C++)
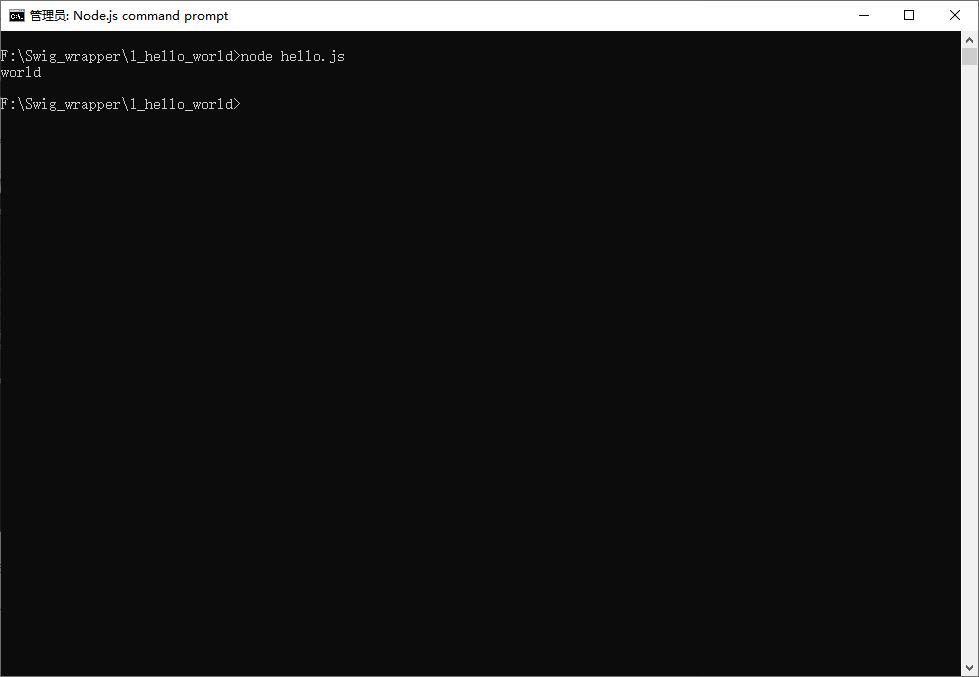
执行 命令node.js测试结果
hello\\>node hello.js
以上是关于Windows10 + Nodejs调用C++语言Dll的主要内容,如果未能解决你的问题,请参考以下文章