基于hortonworks的大数据集群环境部署流水
Posted ChavinKing
tags:
篇首语:本文由小常识网(cha138.com)小编为大家整理,主要介绍了基于hortonworks的大数据集群环境部署流水相关的知识,希望对你有一定的参考价值。
一、ambari及HDP安装文件下载地址:
1、系统
操作系统:CentOS7
2、软件
本次安装采用最新版本:
ambari-2.7.0.0
hdp-3.0.0.0
详细信息及下载地址如下:
Ambari 2.7.0 Repositories
Base URL :http://public-repo-1.hortonworks.com/ambari/centos7/2.x/updates/2.7.0.0 Repo File :http://public-repo-1.hortonworks.com/ambari/centos7/2.x/updates/2.7.0.0/ambari.repo Tarball md5 | asc :http://public-repo-1.hortonworks.com/ambari/centos7/2.x/updates/2.7.0.0/ambari-2.7.0.0-centos7.tar.gz |
HDP 3.0 Repositories
Base URL :http://public-repo-1.hortonworks.com/HDP/centos7/3.x/updates/3.0.0.0 Repo File :http://public-repo-1.hortonworks.com/HDP/centos7/3.x/updates/3.0.0.0/hdp.repo Tarball md5 | asc :http://public-repo-1.hortonworks.com/HDP/centos7/3.x/updates/3.0.0.0/HDP-3.0.0.0-centos7-rpm.tar.gz HDP-UTILS Base URL :http://public-repo-1.hortonworks.com/HDP-UTILS-1.1.0.22/repos/centos7 Tarball md5 | asc :http://public-repo-1.hortonworks.com/HDP-UTILS-1.1.0.22/repos/centos7/HDP-UTILS-1.1.0.22-centos7.tar.gz HDP-GPL URL :http://public-repo-1.hortonworks.com/HDP-GPL/centos7/3.x/updates/3.0.0.0/hdp.gpl.repo Tarball md5 | asc :http://public-repo-1.hortonworks.com/HDP-GPL/centos7/3.x/updates/3.0.0.0/HDP-GPL-3.0.0.0-centos7-gpl.tar.gz |
二、配置服务器
1、安装必要依赖:
yum -y install net-tools vim ntp bzip2 gcc readline-devel zlib-devel httpd wget
2、所有服务器分别配置/etc/hosts文件:向其中添加以下3行
192.168.0.105 chavin.king chavin 192.168.0.107 chavin02.king chavin02 192.168.0.108 chavin03.king chavin03 192.168.0.109 chavin01.king chavin01 |
3、所有服务器均创建安装用户: ambari
groupadd ambari useradd -g ambari ambari echo "ambari" | passwd --stdin ambari |
4、所有服务器为cloudera用户配置sudo权限
chmod u+w /etc/sudoers echo "ambari ALL=(root)NOPASSWD:ALL" >> /etc/sudoers chmod u-w /etc/sudoers |
5、所有服务器关闭防火墙、禁用selinux
sed -i \'/SELINUX=enforcing/d\' /etc/selinux/config sed -i \'/SELINUX=disabled/d\' /etc/selinux/config echo "SELINUX=disabled" >> /etc/selinux/config |
systemctl stop firewalld systemctl disable firewalld |
6、所有服务器设置文件打开数量及最大进程数
cp /etc/security/limits.conf /etc/security/limits.conf.bak echo "* soft nproc 32000" >>/etc/security/limits.conf echo "* hard nproc 32000" >>/etc/security/limits.conf echo "* soft nofile 65535" >>/etc/security/limits.conf echo "* hard nofile 65535" >>/etc/security/limits.conf |
7、配置SSH无秘钥登录:至少在namenode和resourcemanager节点配置
ssh-keygen -t rsa ssh-copy-id chavin.king ssh-copy-id chavin01.king ssh-copy-id chavin02.king ssh-copy-id chavin03.king |
8、配置集群时间同步服务:通过ntp服务配置
ntp主节点配置:
cp /etc/ntp.conf /etc/ntp.conf.bak cp /etc/sysconfig/ntpd /etc/sysconfig/ntpd.bak echo "restrict 192.168.0.0 mask 255.255.255.0 nomodify notrap" >> /etc/ntp.conf echo "SYNC_HWCLOCK=yes" >> /etc/sysconfig/ntpd systemctl restart ntpd |
ntp客户端配置:
#crontab -e 输入如下一行内容,保存退出: 0-59/1 * * * * /opt/scripts/sync_time.sh 上述脚本内容如下: # cat /opt/scripts/sync_time.sh /sbin/service ntpd stop /usr/sbin/ntpdate chavin /sbin/service ntpd start |
9、所有节点安装java软件并配置环境变量
export JAVA_HOME=/usr/java/jdk1.8.0_181 export PATH=$JAVA_HOME/bin:$JAVA_HOME/jre/bin:$PATH export CLASSPATH=.:$JAVA_HOME/lib:$JAVA_HOME/jre/lib:$CLASSPATH |
10、安装postgresql数据库
参考文档:https://www.cnblogs.com/wcwen1990/p/6655438.html
官网下载:postgresql-9.5.5.tar.bz2
安装:
tar -jxvf postgresql-9.5.5.tar.bz2 cd postgresql-9.5.5 ./configure --prefix=/pg955 make world make install-world userdel postgres groupadd postgres useradd -g postgres postgres chown -R postgres:postgres /pg955/ su - postgres |
配置环境变量:
vim .bash_profile export PGHOME=/pg955 export PGDATA=/pg955/data export LD_LIBRARY_PATH=$PGHOME/lib:$LD_LIBRARY_PATH PATH=$PGHOME/bin:$PATH |
初始化数据库:
pg_ctl init
修改配置文件:
vim postgresql.conf
listen_addresses = \'*\'
修改访问控制文件:
vim pg_hba.conf
host all all 192.168.0.0/24 md5
启动数据库:
pg_ctl start -l $PGHOME/logfile 2>&1 >/dev/null
修改postgres数据库密码:
psql
postgres=# \\password
创建ambari数据库:
create user ambari with password \'ambari\';
create database ambari owner=ambari encoding \'utf8\' template template0;
grant all privileges on database ambari to ambari;
create schema ambari;
11、安装apache服务器:
service httpd start
cd /var/www/htmp
mkdir ambari
mkdir hdp
三、安装ambari
1、上传文件并解压相应文件:
上传ambari和hdp安装文件到主服务器上,解压ambari文件到/var/www/htmp/ambari/目录下,解压hdp和hdp-untils文件到/var/www/htmp/hdp/目录下。
tar -zxvf ambari-2.7.0.0-centos7.tar.gz -C /var/www/html/ambari/ tar -zxvf HDP-3.0.0.0-centos7-rpm.tar.gz -C /var/www/html/hdp/ tar -zxvf HDP-UTILS-1.1.0.22-centos7.tar.gz -C /var/www/html/hdp/ |
2、配置yum源文件
wget http://public-repo-1.hortonworks.com/ambari/centos7/2.x/updates/2.7.0.0/ambari.repo . vim ambari.repo #VERSION_NUMBER=2.7.0.0-897 [ambari-2.7.0.0] #json.url = http://public-repo-1.hortonworks.com/HDP/hdp_urlinfo.json name=ambari Version - ambari-2.7.0.0 baseurl=http://chavin.king/ambari/ambari/centos7/2.7.0.0-897 gpgcheck=1 gpgkey=http://chavin.king/ambari/ambari/centos7/2.7.0.0-897/RPM-GPG-KEY/RPM-GPG-KEY-Jenkins enabled=1 priority=1 |
wget http://public-repo-1.hortonworks.com/HDP/centos7/3.x/updates/3.0.0.0/hdp.repo . vim hdp.repo #VERSION_NUMBER=3.0.0.0-1634 [HDP-3.0.0.0] name=HDP Version - HDP-3.0.0.0 baseurl=http://chavin.king/hdp/HDP/centos7/3.0.0.0-1634 gpgcheck=1 gpgkey=http://chavin.king/hdp/HDP/centos7/3.0.0.0-1634/RPM-GPG-KEY/RPM-GPG-KEY-Jenkins enabled=1 priority=1 [HDP-UTILS-1.1.0.22] name=HDP-UTILS Version - HDP-UTILS-1.1.0.22 baseurl=http://chavin.king/hdp/HDP-UTILS/centos7/1.1.0.22 gpgcheck=1 gpgkey=http://chavin.king/hdp/HDP-UTILS/centos7/1.1.0.22/RPM-GPG-KEY/RPM-GPG-KEY-Jenkins enabled=1 priority=1 |
3、安装ambari-server
yum -y install ambari-server
4、配置ambari-server
[root@chavin ~]# ambari-server setup Using python /usr/bin/python Setup ambari-server Checking SELinux... SELinux status is \'disabled\' Customize user account for ambari-server daemon [y/n] (n)? y Enter user account for ambari-server daemon (root):ambari Adjusting ambari-server permissions and ownership... Checking firewall status... Checking JDK... [1] Oracle JDK 1.8 + Java Cryptography Extension (JCE) Policy Files 8 [2] Custom JDK ==================================================================== Enter choice (1): 2 WARNING: JDK must be installed on all hosts and JAVA_HOME must be valid on all hosts. WARNING: JCE Policy files are required for configuring Kerberos security. If you plan to use Kerberos,please make sure JCE Unlimited Strength Jurisdiction Policy Files are valid on all hosts. Path to JAVA_HOME: /usr/java/jdk1.8.0_181 Validating JDK on Ambari Server...done. Check JDK version for Ambari Server... JDK version found: 8 Minimum JDK version is 8 for Ambari. Skipping to setup different JDK for Ambari Server. Checking GPL software agreement... GPL License for LZO: https://www.gnu.org/licenses/old-licenses/gpl-2.0.en.html Enable Ambari Server to download and install GPL Licensed LZO packages [y/n] (n)? y Completing setup... Configuring database... Enter advanced database configuration [y/n] (n)? y Configuring database... ==================================================================== Choose one of the following options: [1] - PostgreSQL (Embedded) [2] - Oracle [3] - mysql / MariaDB [4] - PostgreSQL [5] - Microsoft SQL Server (Tech Preview) [6] - SQL Anywhere [7] - BDB ==================================================================== Enter choice (1): 4 Hostname (localhost): chavin.king Port (5432): Database name (ambari): Postgres schema (ambari): Username (ambari): Enter Database Password (bigdata): Re-enter password: Configuring ambari database... Configuring remote database connection properties... WARNING: Before starting Ambari Server, you must run the following DDL against the database to create the schema: /var/lib/ambari-server/resources/Ambari-DDL-Postgres-CREATE.sql Proceed with configuring remote database connection properties [y/n] (y)? Extracting system views... ambari-admin-2.7.0.0.897.jar .... Ambari repo file contains latest json url http://public-repo-1.hortonworks.com/HDP/hdp_urlinfo.json, updating stacks repoinfos with it... Adjusting ambari-server permissions and ownership... Ambari Server \'setup\' completed successfully. |
5、执行数据库脚本
psql --host=chavin.king --port=5432 --username=ambari -f /var/lib/ambari-server/resources/Ambari-DDL-Postgres-CREATE.sql
6、启动ambari-server
[root@chavin ~]# ambari-server start Using python /usr/bin/python Starting ambari-server Ambari Server running with administrator privileges. Organizing resource files at /var/lib/ambari-server/resources... Ambari database consistency check started... Server PID at: /var/run/ambari-server/ambari-server.pid Server out at: /var/log/ambari-server/ambari-server.out Server log at: /var/log/ambari-server/ambari-server.log Waiting for server start......................................... Server started listening on 8080 DB configs consistency check found warnings. See /var/log/ambari-server/ambari-server-check-database.log for more details. Ambari Server \'start\' completed successfully. |
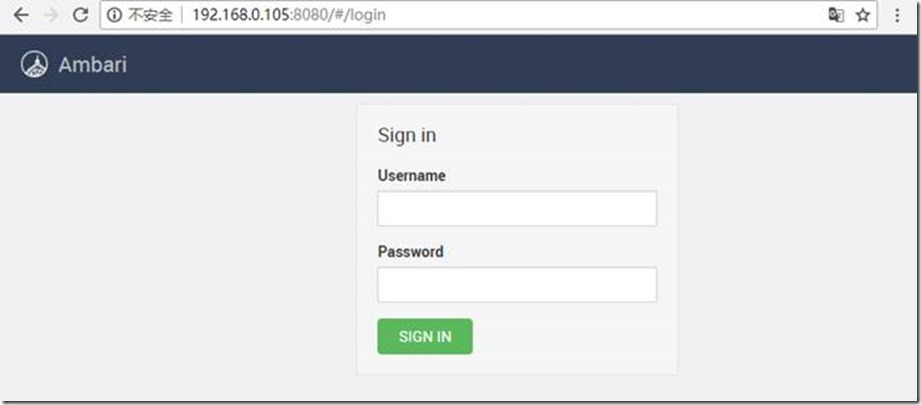
通过 http://chavin.king:8080 地址登陆,可以看到如下登陆界面,初始用户名和密码都是admin。
四、创建HDP集群
1、登陆界面,空空如也:
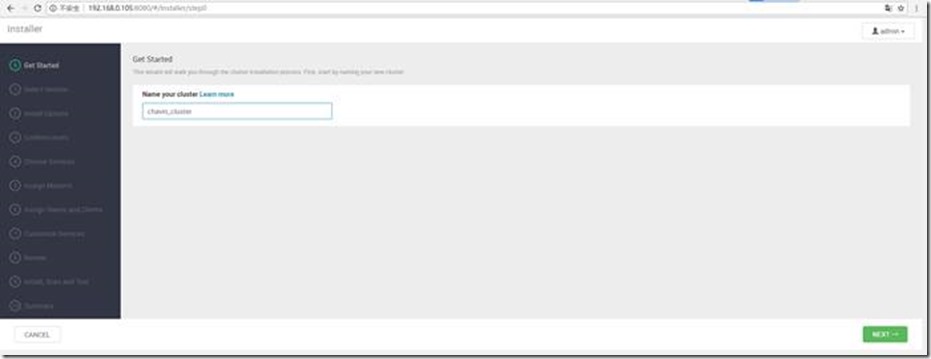
2、输入集群名称chavin_cluster,然后点击next:
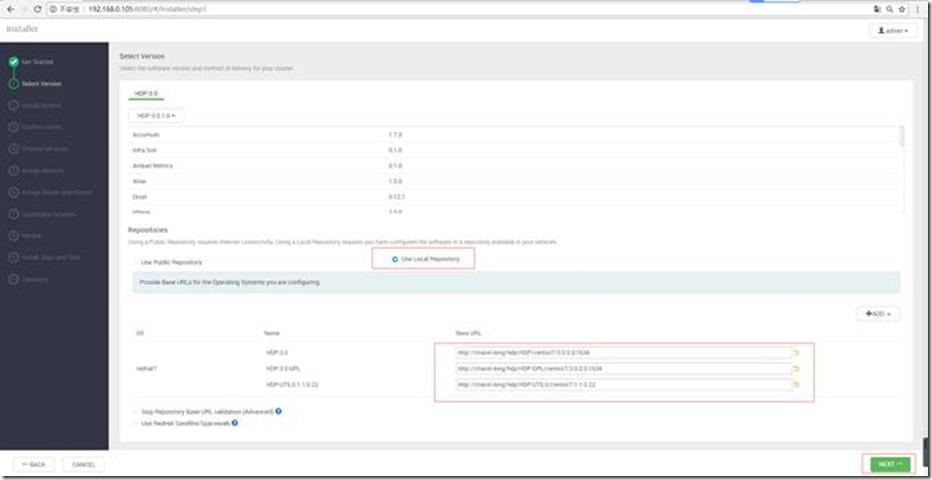
3、配置本地yum源:
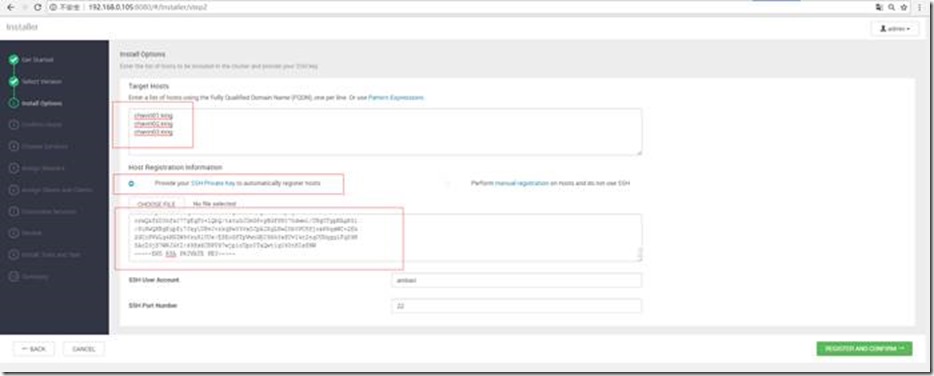
4、指定集群机器,输入id_rsa密钥:
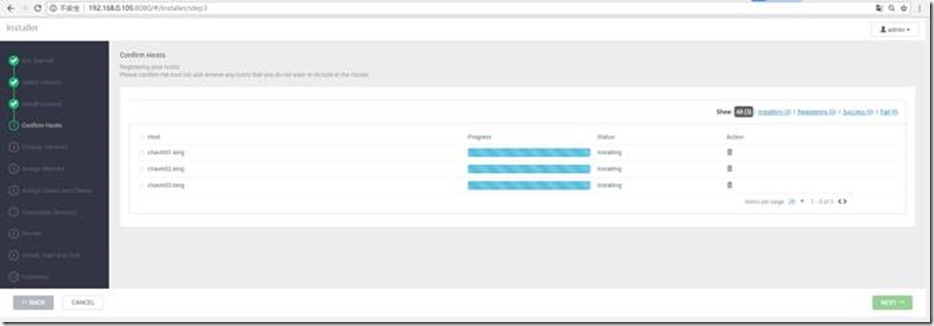
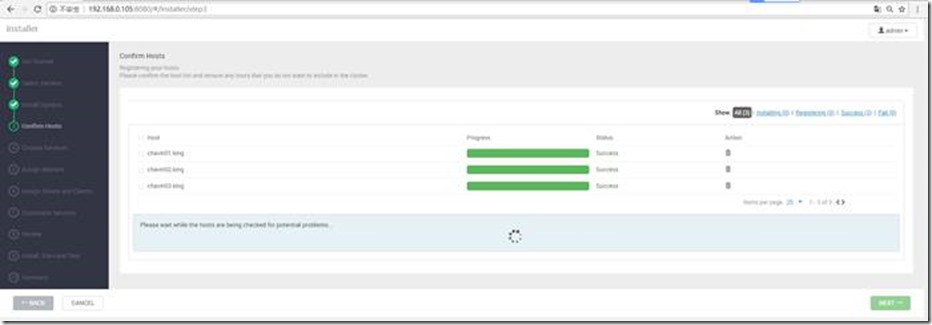
5、等待
等待
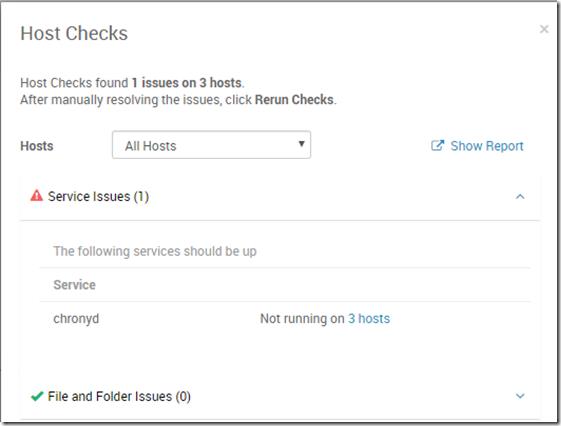
这里使用了ntp进行时间同步,忽略。
6、下一步:
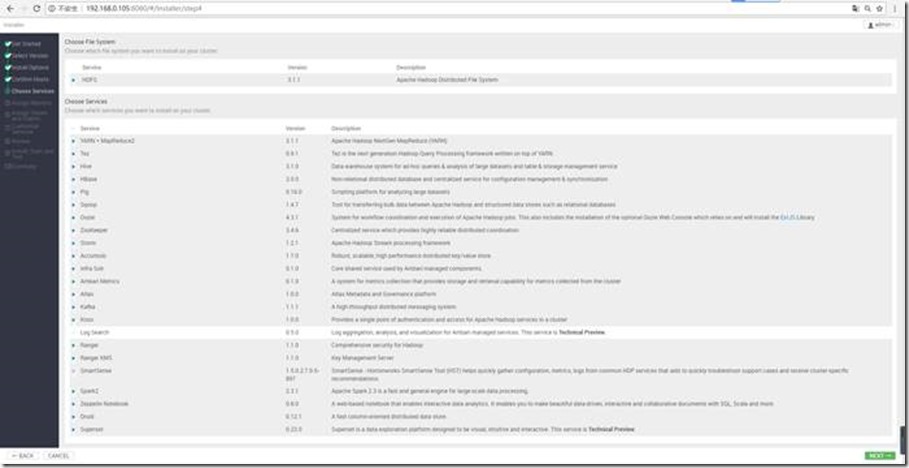
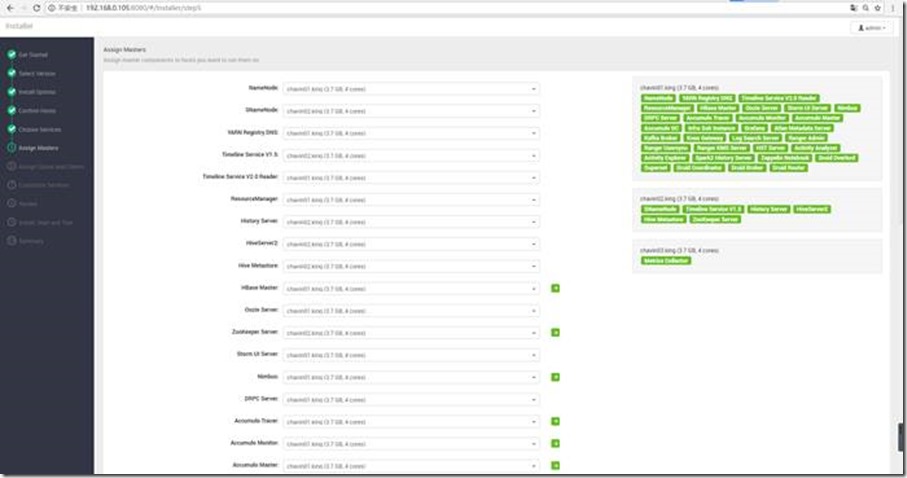
7、根据规划配置
8、根据规划配置
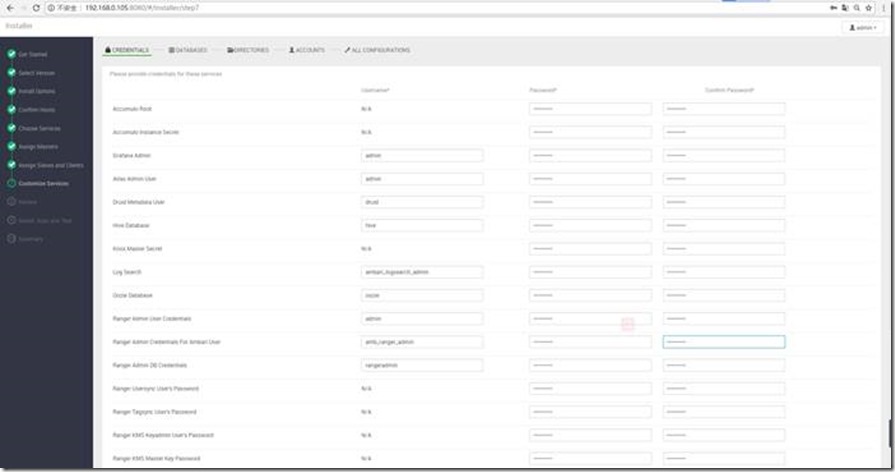
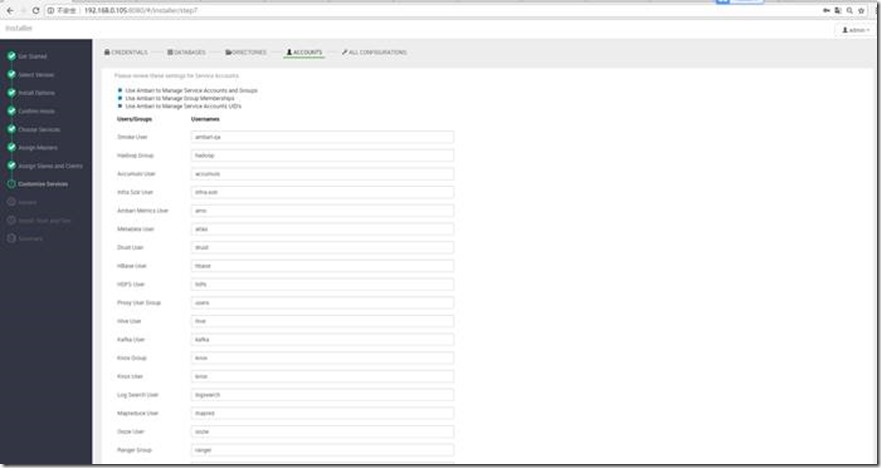
9、为各个账号设置密码
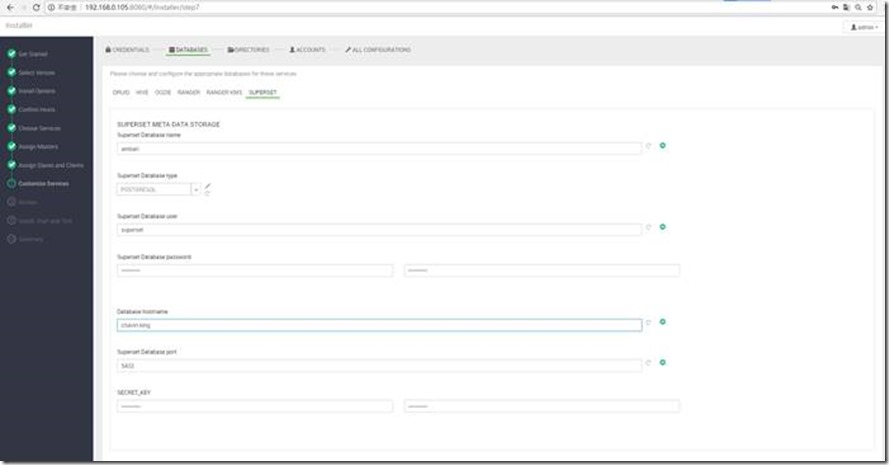
10、配置数据,首先要配置postgresql驱动:ambari-server setup --jdbc-db=postgres --jdbc-driver=/mnt/postgresql-42.2.5.jar,然后根据数据库连接地址配置,也可以选择mysql数据库
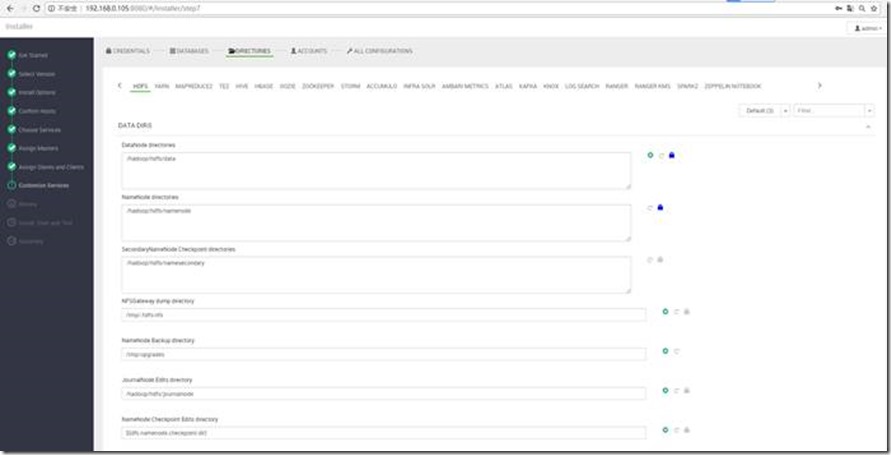
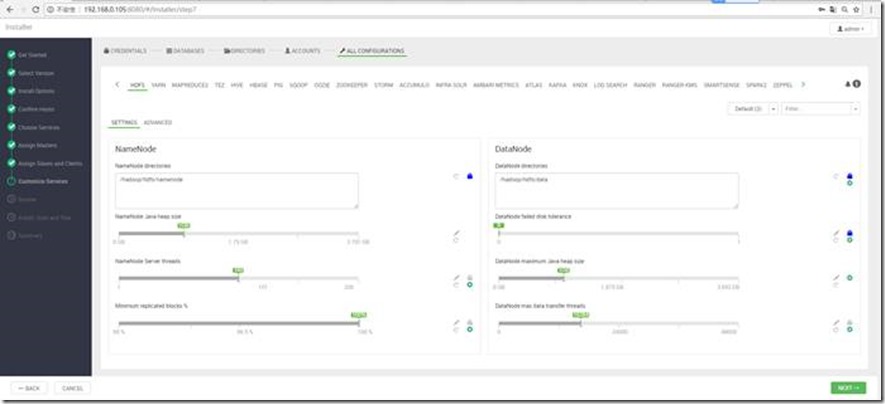
11、根据规划配置:
12、根据规划配置:
13、规矩规划配置:
14、安装概要
15、等待安装完成,时间较长:
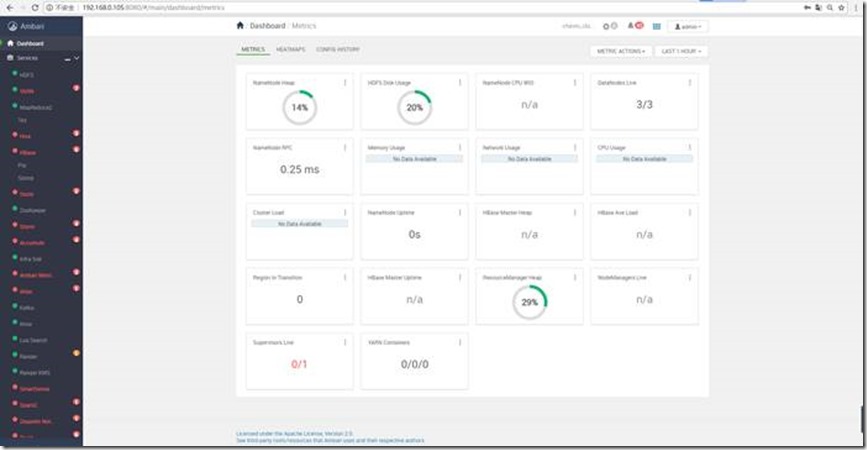
16、安装完成,因资源不足,某些组建出现警告,忽略。
17、至此,HDP安装完成。
以上是关于基于hortonworks的大数据集群环境部署流水的主要内容,如果未能解决你的问题,请参考以下文章
