wordpress制作照片瀑布流的效果,如何实现?
Posted
tags:
篇首语:本文由小常识网(cha138.com)小编为大家整理,主要介绍了wordpress制作照片瀑布流的效果,如何实现?相关的知识,希望对你有一定的参考价值。
我想通过页面调用模版,呈现照片墙的效果,但不知道这个模版代码如何写,请高手指点
参考技术A wordpress是开源的一款博客系统,你可以网上下载wordpress瀑布流主题,然后选择在线安装。便利完全可以达到你自己想要的效果,可以对模版进行编辑修改,很方便。不过要做一个自己的模板,则需要你有一定的专业知识。比如你至少要懂的标准通用标记语言下的一个应用html代码、CSS、php等相关知识。 参考技术B
如果自己修改页面代码的话,可以用这个http://masonry.desandro.com/ 瀑布流招聘效果,主要是前端效果,引入正确文件,php返回正确的图片集和路径,就可以实现的
wordpress有瀑布流主题:PhotoBroad主题 ,可以直接改主题,少量或者不去改代码的
UICollectionView瀑布流的实现
实现瀑布流的效果我们可以通过重写 UICollectionViewLayout里面
- (void)prepareLayout;
- (NSArray *)layoutAttributesForElementsInRect:(CGRect)rect;
- (UICollectionViewLayoutAttributes *)layoutAttributesForItemAtIndexPath:(NSIndexPath *)indexPath;
- (CGSize)collectionViewContentSize;
的这4个方法。。。
下面是4个方法的具体实现
/**
* 初始化
*/
- (void)prepareLayout
{
[super prepareLayout];
self.contentHeight = 0;
// 清除以前计算的所有高度
[self.columnHeights removeAllObjects];
for (NSInteger i = 0; i < self.columnCount; i++) {
[self.columnHeights addObject:@(self.edgeInsets.top)];
}
// 清除之前所有的布局属性
[self.attrsArray removeAllObjects];
// 开始创建每一个cell对应的布局属性
NSInteger count = [self.collectionView numberOfItemsInSection:0];
for (NSInteger i = 0; i < count; i++) {
// 创建位置
NSIndexPath *indexPath = [NSIndexPath indexPathForItem:i inSection:0];
// 获取indexPath位置cell对应的布局属性
UICollectionViewLayoutAttributes *attrs = [self layoutAttributesForItemAtIndexPath:indexPath];
[self.attrsArray addObject:attrs];
}
}
/**
* 决定cell的排布
*/
- (NSArray *)layoutAttributesForElementsInRect:(CGRect)rect
{
return self.attrsArray;
}
/**
* 返回indexPath位置cell对应的布局属性
*/
- (UICollectionViewLayoutAttributes *)layoutAttributesForItemAtIndexPath:(NSIndexPath *)indexPath
{
// 创建布局属性
UICollectionViewLayoutAttributes *attrs = [UICollectionViewLayoutAttributes layoutAttributesForCellWithIndexPath:indexPath];
// collectionView的宽度
CGFloat collectionViewW = self.collectionView.frame.size.width;
// 设置布局属性的frame
CGFloat w = (collectionViewW - self.edgeInsets.left - self.edgeInsets.right - (self.columnCount - 1) * self.columnMargin) / self.columnCount;
CGFloat h = [self.delegate waterflowLayout:self heightForItemAtIndex:indexPath.item itemWidth:w];
// 找出高度最短的那一列
NSInteger destColumn = 0;
CGFloat minColumnHeight = [self.columnHeights[0] doubleValue];
for (NSInteger i = 1; i < self.columnCount; i++) {
// 取得第i列的高度
CGFloat columnHeight = [self.columnHeights[i] doubleValue];
if (minColumnHeight > columnHeight) {
minColumnHeight = columnHeight;
destColumn = i;
}
}
CGFloat x = self.edgeInsets.left + destColumn * (w + self.columnMargin);
CGFloat y = minColumnHeight;
if (y != self.edgeInsets.top) {
y += self.rowMargin;
}
attrs.frame = CGRectMake(x, y, w, h);
// 更新最短那列的高度
self.columnHeights[destColumn] = @(CGRectGetMaxY(attrs.frame));
// 记录内容的高度
CGFloat columnHeight = [self.columnHeights[destColumn] doubleValue];
if (self.contentHeight < columnHeight) {
self.contentHeight = columnHeight;
}
return attrs;
}
- (CGSize)collectionViewContentSize
{
return CGSizeMake(0, self.contentHeight + self.edgeInsets.bottom);
}
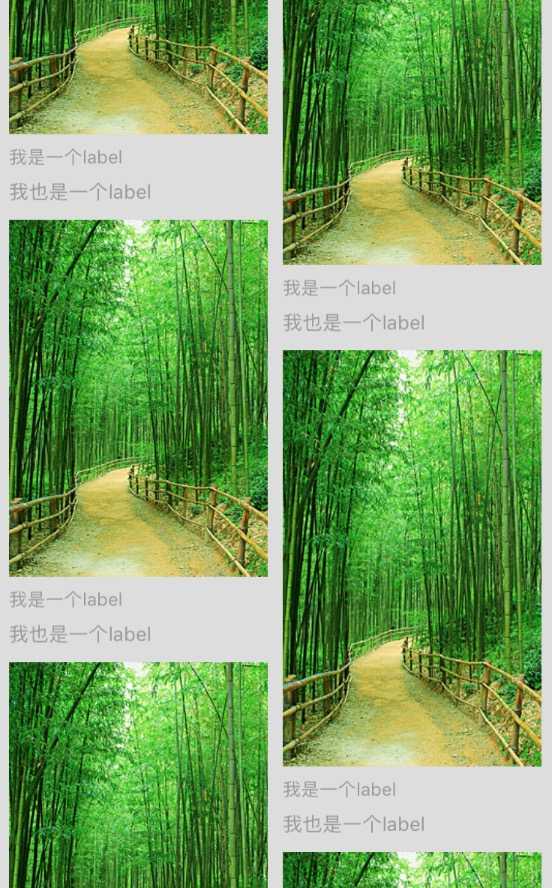
效果如下图:
以上是关于wordpress制作照片瀑布流的效果,如何实现?的主要内容,如果未能解决你的问题,请参考以下文章