Django项目:CMDB(服务器硬件资产自动采集系统)--03--03CMDB信息安全API接口交互认证
Posted 颜言
tags:
篇首语:本文由小常识网(cha138.com)小编为大家整理,主要介绍了Django项目:CMDB(服务器硬件资产自动采集系统)--03--03CMDB信息安全API接口交互认证相关的知识,希望对你有一定的参考价值。


  1 #settings.py
  2 """
  3 Django settings for AutoCmdb project.
  4
  5 Generated by \'django-admin startproject\' using Django 2.0.6.
  6
  7 For more information on this file, see
  8 https://docs.djangoproject.com/en/2.0/topics/settings/
  9
 10 For the full list of settings and their values, see
 11 https://docs.djangoproject.com/en/2.0/ref/settings/
 12 """
 13
 14 import os
 15
 16 # Build paths inside the project like this: os.path.join(BASE_DIR, ...)
 17 BASE_DIR = os.path.dirname(os.path.dirname(os.path.abspath(__file__)))
 18
 19
 20 # Quick-start development settings - unsuitable for production
 21 # See https://docs.djangoproject.com/en/2.0/howto/deployment/checklist/
 22
 23 # SECURITY WARNING: keep the secret key used in production secret!
 24 SECRET_KEY = \'35d18e6vmo0k*xg#h=&kuer*t3a#@hv09@@kvz@=dd@dzw&!7w\'
 25
 26 # SECURITY WARNING: don\'t run with debug turned on in production!
 27 DEBUG = True
 28
 29 ALLOWED_HOSTS = []
 30
 31
 32 # Application definition
 33
 34 INSTALLED_APPS = [
 35     \'django.contrib.admin\',
 36     \'django.contrib.auth\',
 37     \'django.contrib.contenttypes\',
 38     \'django.contrib.sessions\',
 39     \'django.contrib.messages\',
 40     \'django.contrib.staticfiles\',
 41     \'api.apps.ApiConfig\',
 42 ]
 43
 44 MIDDLEWARE = [
 45     \'django.middleware.security.SecurityMiddleware\',
 46     \'django.contrib.sessions.middleware.SessionMiddleware\',
 47     \'django.middleware.common.CommonMiddleware\',
 48     \'django.middleware.csrf.CsrfViewMiddleware\',
 49     \'django.contrib.auth.middleware.AuthenticationMiddleware\',
 50     \'django.contrib.messages.middleware.MessageMiddleware\',
 51     \'django.middleware.clickjacking.XFrameOptionsMiddleware\',
 52 ]
 53
 54 ROOT_URLCONF = \'AutoCmdb.urls\'
 55
 56 TEMPLATES = [
 57     {
 58         \'BACKEND\': \'django.template.backends.django.DjangoTemplates\',
 59         \'DIRS\': [],
 60         \'APP_DIRS\': True,
 61         \'OPTIONS\': {
 62             \'context_processors\': [
 63                 \'django.template.context_processors.debug\',
 64                 \'django.template.context_processors.request\',
 65                 \'django.contrib.auth.context_processors.auth\',
 66                 \'django.contrib.messages.context_processors.messages\',
 67             ],
 68         },
 69     },
 70 ]
 71
 72 WSGI_APPLICATION = \'AutoCmdb.wsgi.application\'
 73
 74
 75 # Database
 76 # https://docs.djangoproject.com/en/2.0/ref/settings/#databases
 77
 78 DATABASES = {
 79     \'default\': {
 80         \'ENGINE\': \'django.db.backends.sqlite3\',
 81         \'NAME\': os.path.join(BASE_DIR, \'db.sqlite3\'),
 82     }
 83 }
 84
 85
 86 # Password validation
 87 # https://docs.djangoproject.com/en/2.0/ref/settings/#auth-password-validators
 88
 89 AUTH_PASSWORD_VALIDATORS = [
 90     {
 91         \'NAME\': \'django.contrib.auth.password_validation.UserAttributeSimilarityValidator\',
 92     },
 93     {
 94         \'NAME\': \'django.contrib.auth.password_validation.MinimumLengthValidator\',
 95     },
 96     {
 97         \'NAME\': \'django.contrib.auth.password_validation.CommonPasswordValidator\',
 98     },
 99     {
100         \'NAME\': \'django.contrib.auth.password_validation.NumericPasswordValidator\',
101     },
102 ]
103
104
105 # Internationalization
106 # https://docs.djangoproject.com/en/2.0/topics/i18n/
107
108 LANGUAGE_CODE = \'en-us\'
109
110 TIME_ZONE = \'UTC\'
111
112 USE_I18N = True
113
114 USE_L10N = True
115
116 USE_TZ = True
117
118
119 # Static files (CSS, javascript, Images)
120 # https://docs.djangoproject.com/en/2.0/howto/static-files/
121
122 STATIC_URL = \'/static/\'
123
124 TEMPLATE_DIRS = (os.path.join(BASE_DIR,  \'templates\'),)
125
126 # ————————03CMDB信息安全API接口交互认证————————
127 ASSET_AUTH_KEY = \'299095cc-1330-11e5-b06a-a45e60bec08b\' #认证的密码
128 ASSET_AUTH_TIME = 2  #认证的有效时间 #2秒
129 # ————————03CMDB信息安全API接口交互认证————————
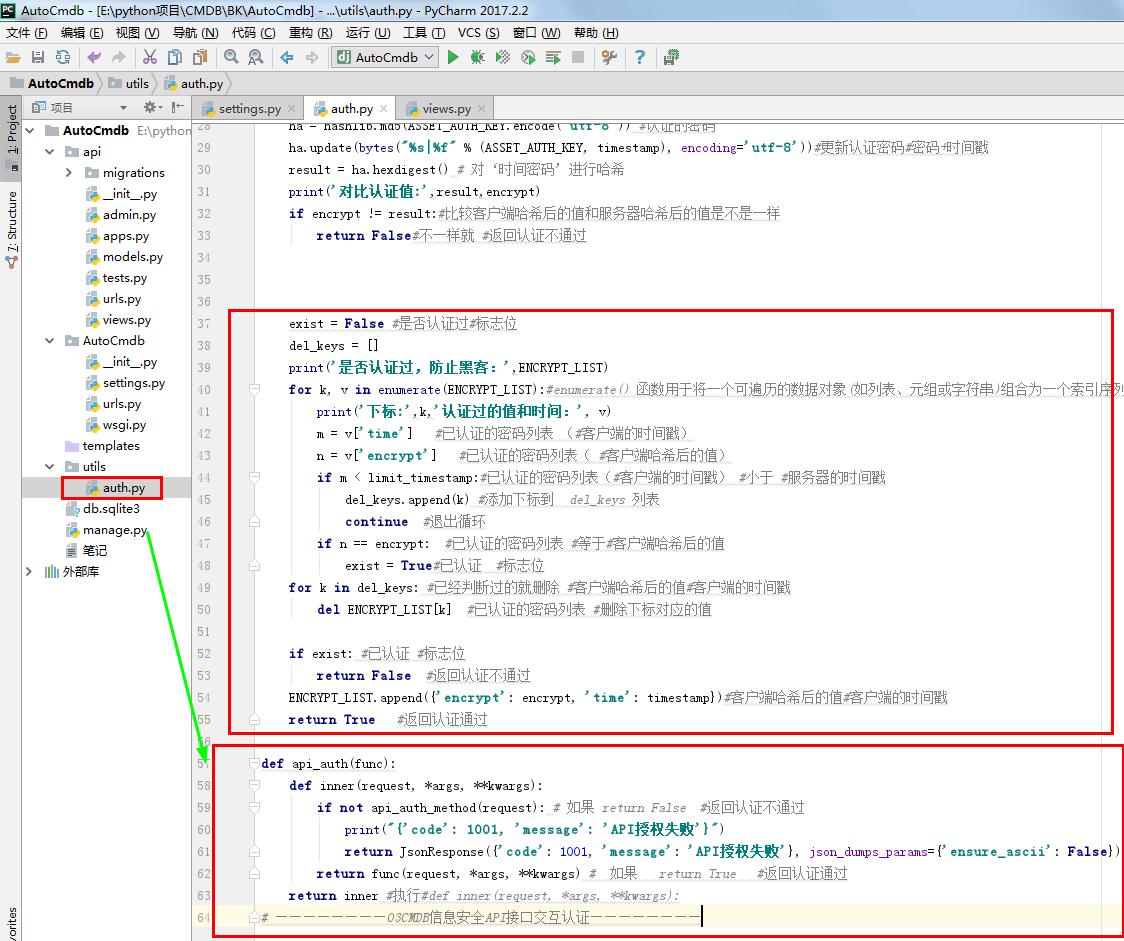
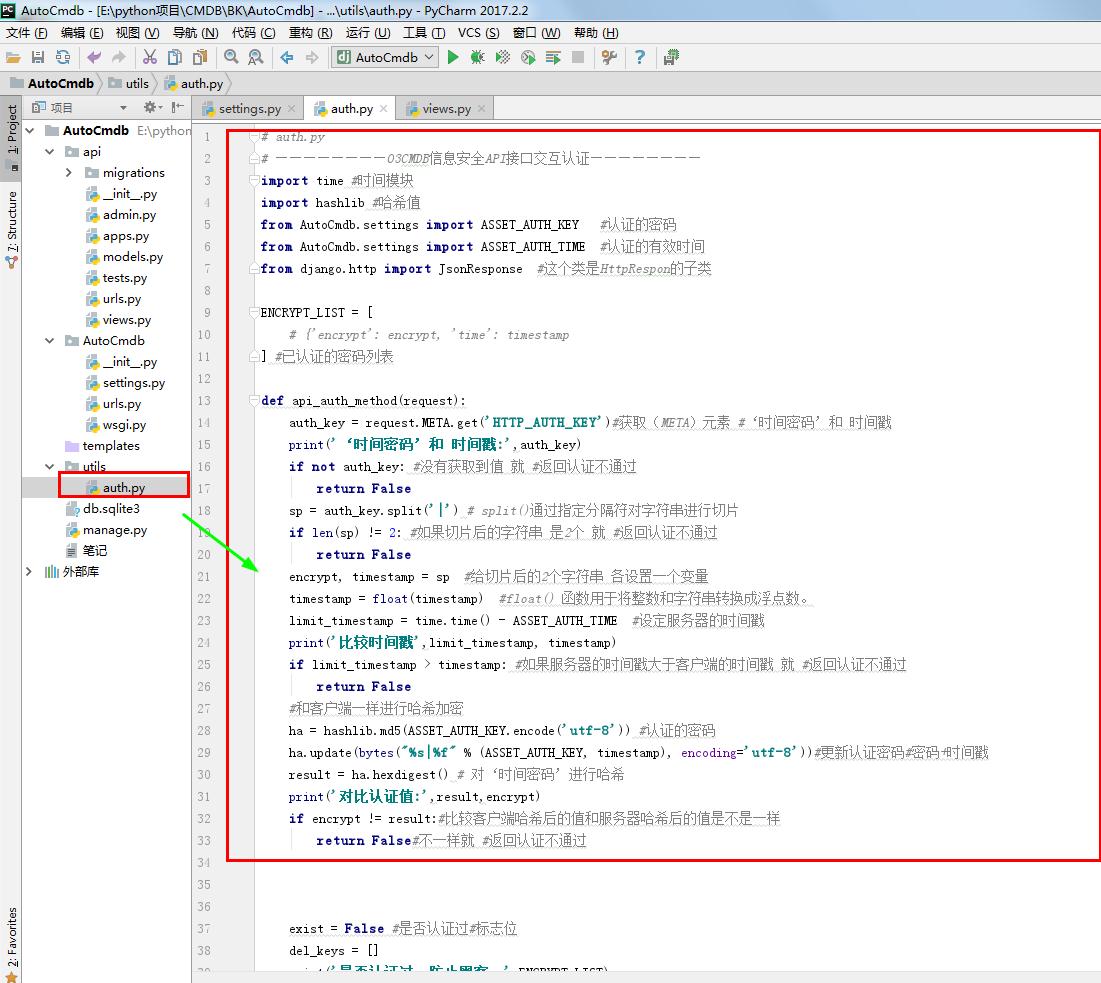

 1 # auth.py
 2 # ————————03CMDB信息安全API接口交互认证————————
 3 import time #时间模块
 4 import hashlib #哈希值
 5 from AutoCmdb.settings import ASSET_AUTH_KEY   #认证的密码
 6 from AutoCmdb.settings import ASSET_AUTH_TIME  #认证的有效时间
 7 from django.http import JsonResponse  #这个类是HttpRespon的子类
 8
 9 ENCRYPT_LIST = [
10     # {\'encrypt\': encrypt, \'time\': timestamp
11 ] #已认证的密码列表
12
13 def api_auth_method(request):
14     auth_key = request.META.get(\'HTTP_AUTH_KEY\')#获取(META)元素 #‘时间密码’和 时间戳
15     print(\'‘时间密码’和 时间戳:\',auth_key)
16     if not auth_key: #没有获取到值 就 #返回认证不通过
17         return False
18     sp = auth_key.split(\'|\') # split()通过指定分隔符对字符串进行切片
19     if len(sp) != 2: #如果切片后的字符串 是2个 就 #返回认证不通过
20         return False
21     encrypt, timestamp = sp  #给切片后的2个字符串 各设置一个变量
22     timestamp = float(timestamp)  #float() 函数用于将整数和字符串转换成浮点数。
23     limit_timestamp = time.time() - ASSET_AUTH_TIME  #设定服务器的时间戳
24     print(\'比较时间戳\',limit_timestamp, timestamp)
25     if limit_timestamp > timestamp: #如果服务器的时间戳大于客户端的时间戳 就 #返回认证不通过
26         return False
27     #和客户端一样进行哈希加密
28     ha = hashlib.md5(ASSET_AUTH_KEY.encode(\'utf-8\')) #认证的密码
29     ha.update(bytes("%s|%f" % (ASSET_AUTH_KEY, timestamp), encoding=\'utf-8\'))#更新认证密码#密码+时间戳
30     result = ha.hexdigest() # 对‘时间密码’进行哈希
31     print(\'对比认证值:\',result,encrypt)
32     if encrypt != result:#比较客户端哈希后的值和服务器哈希后的值是不是一样
33         return False#不一样就 #返回认证不通过
34     exist = False #是否认证过#标志位
35     del_keys = []
36     print(\'是否认证过,防止黑客:\',ENCRYPT_LIST)
37     for k, v in enumerate(ENCRYPT_LIST):#enumerate() 函数用于将一个可遍历的数据对象(如列表、元组或字符串)组合为一个索引序列,同时列出数据和数据下标,一般用在 for 循环当中。
38         print(\'下标:\',k,\'认证过的值和时间:\', v)
39         m = v[\'time\']   #已认证的密码列表 (#客户端的时间戳)
40         n = v[\'encrypt\']   #已认证的密码列表( #客户端哈希后的值)
41         if m < limit_timestamp:#已认证的密码列表(#客户端的时间戳) #小于 #服务器的时间戳
42             del_keys.append(k) #添加下标到  del_keys 列表
43             continue  #退出循环
44         if n == encrypt:  #已认证的密码列表 #等于#客户端哈希后的值
45             exist = True#已认证  #标志位
46     for k in del_keys: #已经判断过的就删除 #客户端哈希后的值#客户端的时间戳
47         del ENCRYPT_LIST[k]  #已认证的密码列表 #删除下标对应的值
48     if exist: #已认证 #标志位
49         return False  #返回认证不通过
50     ENCRYPT_LIST.append({\'encrypt\': encrypt, \'time\': timestamp})#客户端哈希后的值#客户端的时间戳
51     return True   #返回认证通过
52
53 def api_auth(func):
54     def inner(request, *args, **kwargs):
55         if not api_auth_method(request): # 如果 return False  #返回认证不通过
56             print("{\'code\': 1001, \'message\': \'API授权失败\'}")
57             return JsonResponse({\'code\': 1001, \'message\': \'API授权失败\'}, json_dumps_params={\'ensure_ascii\': False})
58         return func(request, *args, **kwargs) #  如果   return True   #返回认证通过
59     return inner #执行#def inner(request, *args, **kwargs):
60 # ————————03CMDB信息安全API接口交互认证————————

 1 from django.shortcuts import render
 2
 3 # Create your views here.
 4
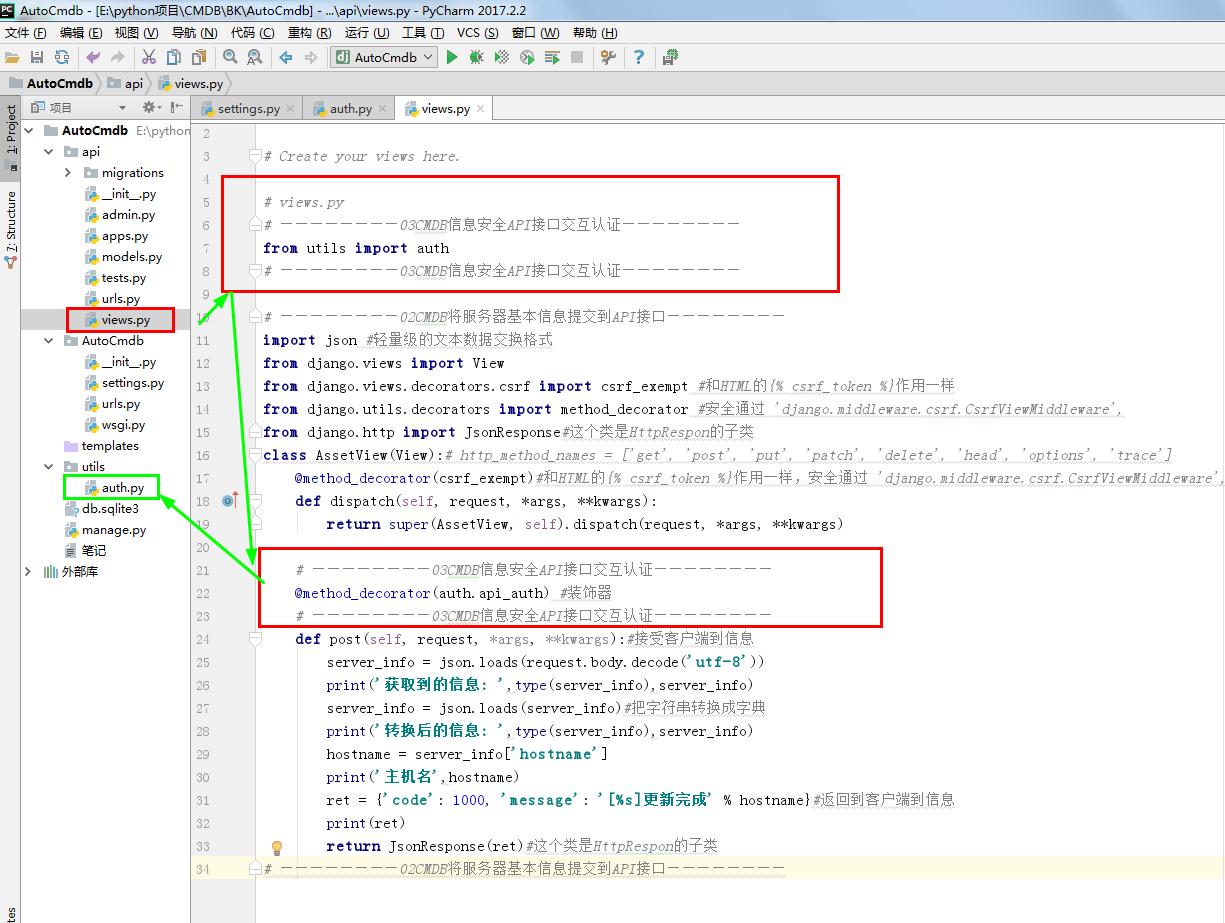
 5 # views.py
 6 # ————————03CMDB信息安全API接口交互认证————————
 7 from utils import auth
 8 # ————————03CMDB信息安全API接口交互认证————————
 9
10 # ————————02CMDB将服务器基本信息提交到API接口————————
11 import json #轻量级的文本数据交换格式
12 from django.views import View
13 from django.views.decorators.csrf import csrf_exempt #和html的{% csrf_token %}作用一样
14 from django.utils.decorators import method_decorator #安全通过 \'django.middleware.csrf.CsrfViewMiddleware\',
15 from django.http import JsonResponse#这个类是HttpRespon的子类
16 class AssetView(View):# http_method_names = [\'get\', \'post\', \'put\', \'patch\', \'delete\', \'head\', \'options\', \'trace\']
17     @method_decorator(csrf_exempt)#和HTML的{% csrf_token %}作用一样,安全通过 \'django.middleware.csrf.CsrfViewMiddleware\',
18     def dispatch(self, request, *args, **kwargs):
19         return super(AssetView, self).dispatch(request, *args, **kwargs)
20
21     # ————————03CMDB信息安全API接口交互认证————————
22     @method_decorator(auth.api_auth) #装饰器
23     # ————————03CMDB信息安全API接口交互认证————————
24     def post(self, request, *args, **kwargs):#接受客户端到信息
25         server_info = json.loads(request.body.decode(\'utf-8\'))
26         print(\'获取到的信息: \',type(server_info),server_info)
27         server_info = json.loads(server_info)#把字符串转换成字典
28         print(\'转换后的信息: \',type(server_info),server_info)
29         hostname = server_info[\'hostname\']
30         print(\'主机名\',hostname)
31         ret = {\'code\': 1000, \'message\': \'[%s]更新完成\' % hostname}#返回到客户端到信息
32         print(ret)
33         return JsonResponse(ret)#这个类是HttpRespon的子类
34 # ————————02CMDB将服务器基本信息提交到API接口————————

 1 #settings.py
 2 # ————————01CMDB获取服务器基本信息————————
 3 import os
 4
 5 BASEDIR = os.path.dirname(os.path.dirname(os.path.abspath(__file__)))##当前路径
 6
 7 # 采集资产的方式,选项有:agent(默认), salt, ssh
 8 MODE = \'agent\'
 9
10 # ————————01CMDB获取服务器基本信息————————
11
12 # ————————02CMDB将服务器基本信息提交到API接口————————
13 # 资产信息API
14 ASSET_API = "http://127.0.0.1:8000/api/asset"
15 # ————————02CMDB将服务器基本信息提交到API接口————————
16
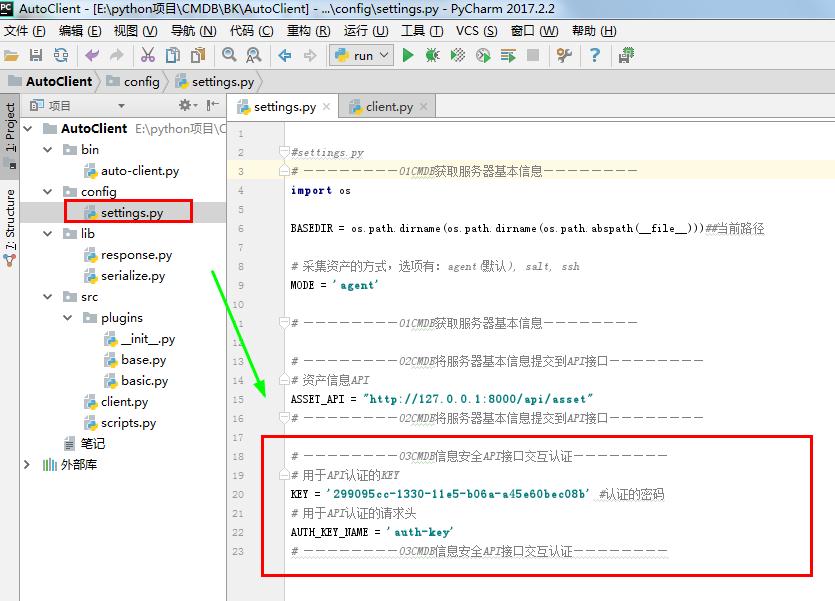
17 # ————————03CMDB信息安全API接口交互认证————————
18 # 用于API认证的KEY
19 KEY = \'299095cc-1330-11e5-b06a-a45e60bec08b\' #认证的密码
20 # 用于API认证的请求头
21 AUTH_KEY_NAME = \'auth-key\'
22 # ————————03CMDB信息安全API接口交互认证————————
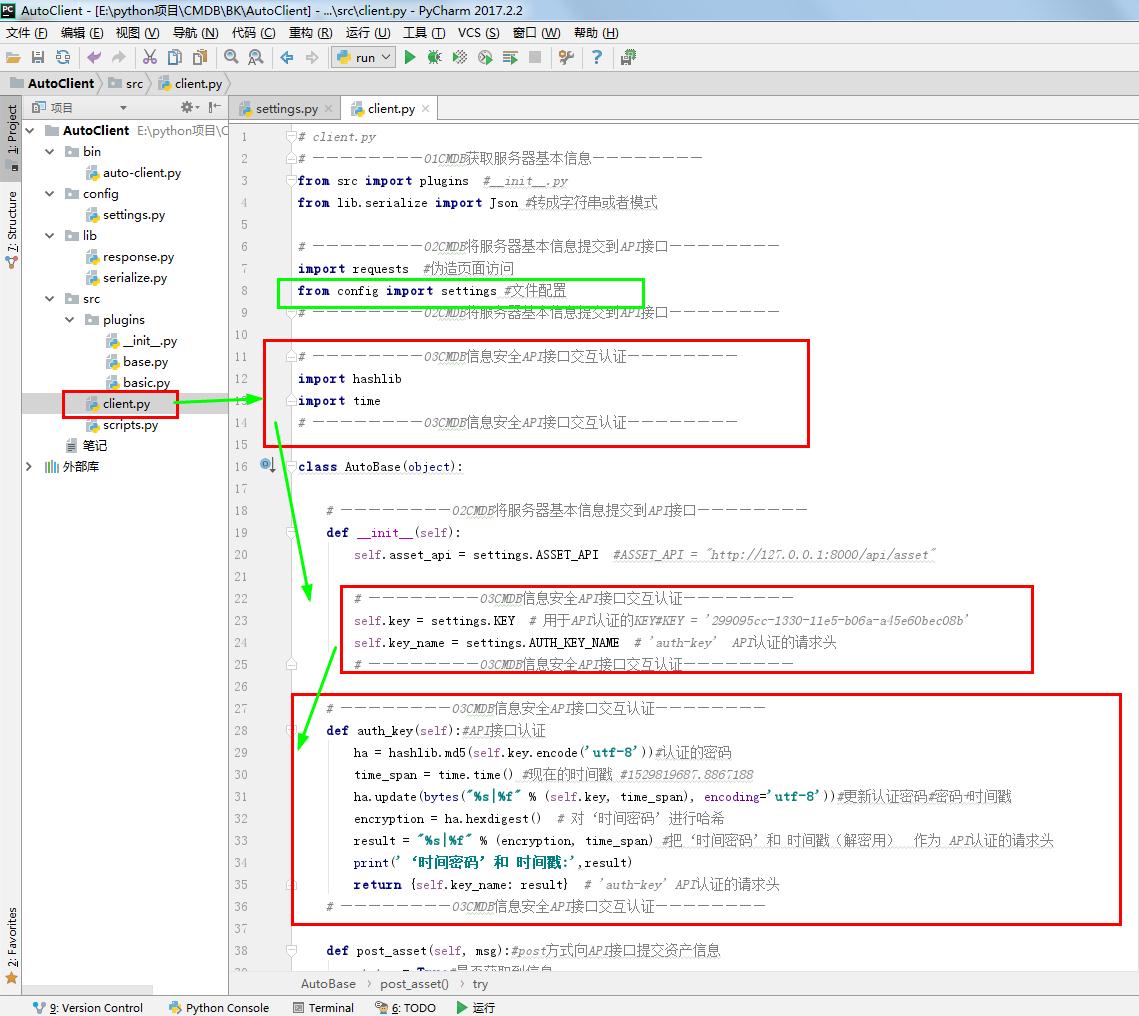

 1 # client.py
 2 # ————————01CMDB获取服务器基本信息————————
 3 from src import plugins  #__init__.py
 4 from lib.serialize import Json #转成字符串或者模式
 5
 6 # ————————02CMDB将服务器基本信息提交到API接口————————
 7 import requests  #伪造页面访问
 8 from config import settings #文件配置
 9 # ————————02CMDB将服务器基本信息提交到API接口————————
10
11 # ————————03CMDB信息安全API接口交互认证————————
12 import hashlib
13 import time
14 # ————————03CMDB信息安全API接口交互认证————————
15
16 class AutoBase(object):
17
18     # ————————02CMDB将服务器基本信息提交到API接口————————
19     def __init__(self):
20         self.asset_api = settings.ASSET_API  #ASSET_API = "http://127.0.0.1:8000/api/asset"
21
22         # ————————03CMDB信息安全API接口交互认证————————
23         self.key = settings.KEY  # 用于API认证的KEY#KEY = \'299095cc-1330-11e5-b06a-a45e60bec08b\'
24         self.key_name = settings.AUTH_KEY_NAME  # \'auth-key\'  API认证的请求头
25         # ————————03CMDB信息安全API接口交互认证————————
26
27     # ————————03CMDB信息安全API接口交互认证————————
28     def auth_key(self):#API接口认证
29         ha = hashlib.md5(self.key.encode(\'utf-8\'))#认证的密码
30         time_span = time.time() #现在的时间戳 #1529819687.8867188
31         ha.update(bytes("%s|%f" % (self.key, time_span), encoding=\'utf-8\'))#更新认证密码#密码+时间戳
32         encryption = ha.hexdigest()  # 对‘时间密码’进行哈希
33         result = "%s|%f" % (encryption, time_span) #把‘时间密码’和 时间戳(解密用)  作为 API认证的请求头
34         print(\'‘时间密码’和 时间戳:\',result)
35         return {self.key_name: result}  # \'auth-key\' API认证的请求头
36     # ————————03CMDB信息安全API接口交互认证————————
37
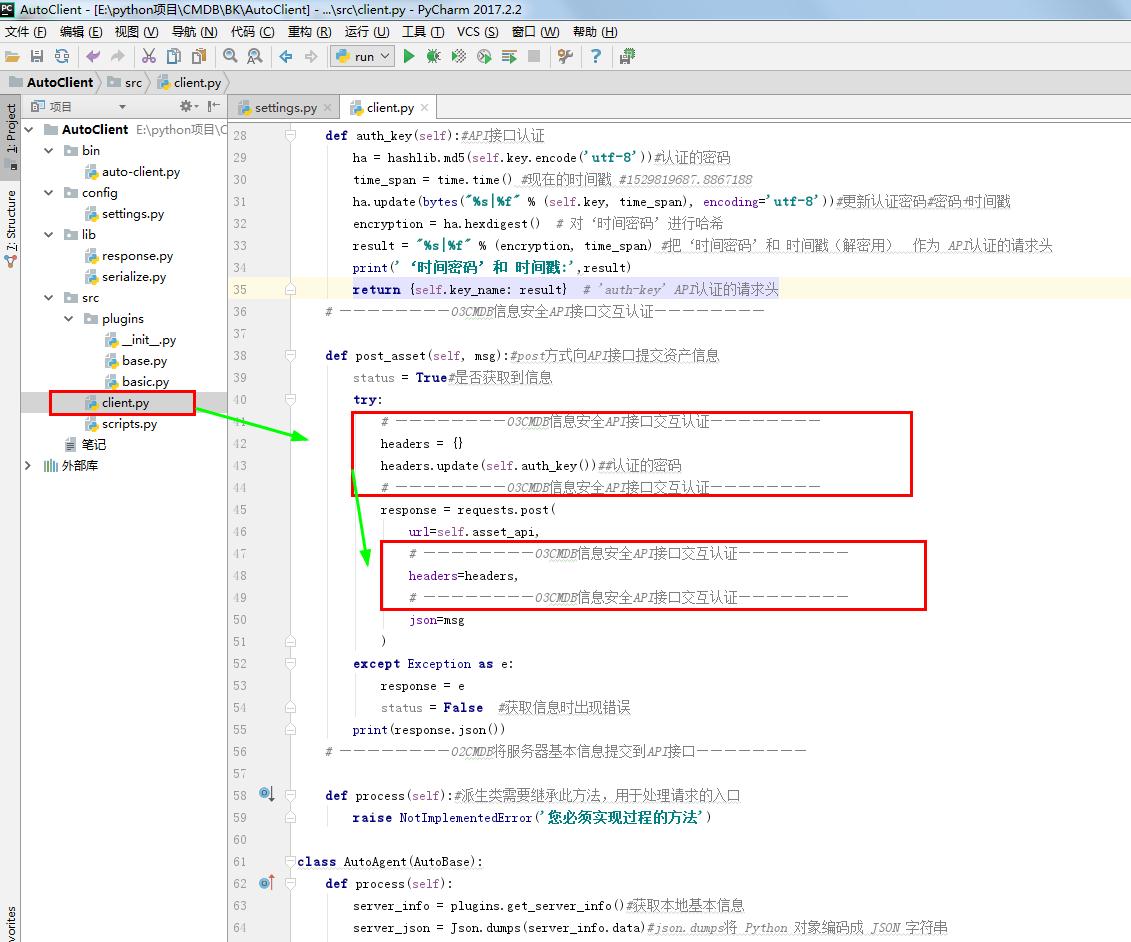
38     def post_asset(self, msg):#post方式向API接口提交资产信息
39         status = True#是否获取到信息
40         try:
41             # ————————03CMDB信息安全API接口交互认证————————
42             headers = {}
43             headers.update(self.auth_key())##认证的密码
44             # ————————03CMDB信息安全API接口交互认证————————
45             response = requests.post(
46                 url=self.asset_api,
47                 # ————————03CMDB信息安全API接口交互认证————————
48                 headers=headers,
49                 # ————————03CMDB信息安全API接口交互认证————————
50                 json=msg
51             )
52         except Exception as e:
53             response = e
54             status = False  #获取信息时出现错误
55         print(response.json())
56     # ————————以上是关于Django项目:CMDB(服务器硬件资产自动采集系统)--03--03CMDB信息安全API接口交互认证的主要内容,如果未能解决你的问题,请参考以下文章
