Centos 6.5安装oracle 11g
Posted
tags:
篇首语:本文由小常识网(cha138.com)小编为大家整理,主要介绍了Centos 6.5安装oracle 11g相关的知识,希望对你有一定的参考价值。
http://www.oracle.com/technetwork/database/enterprise-edition/downloads/index.html
安装时内存不要低于2G
1. 使用root用户登录操作系统
2. yum 安装 unzip 软件,用来解压上传的Oracle安装文件。
[[email protected] ~]# yum install unzip –y
3. 解压Oracle 安装程序
[[email protected] ~]# cd /tmp
[[email protected] tmp]# unzip linux.x64_11gR2_database_1of2.zip && unzip linux.x64_11gR2_database_2of2.zip
(这里有俩个包,1跟2都要下载)
4. Yum 安装vim软件,用于编辑配置文件(个人习惯,不安装vim,使用vi也可以)。
[[email protected] tmp]# yum install vim -y
5. 在/etc/hosts文件中添加主机名
[[email protected] tmp]# vim /etc/hosts
添加192.168.206.135 CentOS
6. 关闭selinux
[[email protected] tmp]# vim /etc/selinux/config
设置SELINUX=disabled
[[email protected] tmp]# setenforce 0
7. 关闭防火墙
[[email protected] tmp]# service iptables stop
8. 安装Oracle 11g依赖包
[[email protected] tmp]# yum install -y binutils compat-libstdc++-33 elfutils-libelf elfutils-libelf-devel gcc gcc-c++ glibc glibc-common glibc-devel libaio libaio-devel libgcc libstdc++ libstdc++-devel make numactl sysstat libXp unixODBC unixODBC-devel -y
9. 添加安装用户和用户组
[[email protected] tmp]# groupadd oinstall
[[email protected] tmp]# groupadd dba
[[email protected] tmp]# useradd -g oinstall -G dba oracle
[[email protected] tmp]# passwd oracle
[[email protected] tmp]# id oracle
uid=1001(oracle) gid=1001(oinstall) 组=1001(oinstall),1002(dba)
10. 修改内核参数配置文件
[[email protected] ~]# vim /etc/sysctl.conf
添加以下内容
fs.aio-max-nr = 1048576
fs.file-max = 6815744
kernel.shmmni = 4096
kernel.sem = 250 32000 100 128
net.ipv4.ip_local_port_range = 9000 65500
net.core.rmem_default = 262144
net.core.rmem_max = 4194304
net.core.wmem_default = 262144
net.core.wmem_max = 1048576
kernel.shmall = 2097152
kernel.shmmax = 1073741824
[[email protected] ~]# sysctl -p
其中kernel.shmmax = 1073741824为本机物理内存(2G)的一半,单位为byte。
这里会有个错误:
11. 修改用户的限制文件
[[email protected] ~]# vim /etc/security/limits.conf
添加以下内容
oracle soft nproc 2047
oracle hard nproc 16384
oracle soft nofile 1024
oracle hard nofile 65536
oracle soft stack 10240
修改/etc/pam.d/login文件:
[[email protected] ~]# vim /etc/pam.d/login
添加以下内容:
session required /lib64/security/pam_limits.so
session required pam_limits.so
修改/etc/profile文件:
[[email protected] ~]# vim /etc/profile
添加以下内容:
if [ $USER = "oracle" ]; then
if [ $SHELL = "/bin/ksh" ]; then
ulimit -p 16384
ulimit -n 65536
else
ulimit -u 16384 -n 65536
fi
fi
12. 创建安装目录和设置文件权限
[[email protected] ~]# mkdir -p /u01/app/oracle/product/11.2.0
[[email protected] ~]# mkdir /u01/app/oracle/oradata
[[email protected] ~]# mkdir /u01/app/oracle/inventory
[[email protected] ~]# mkdir /u01/app/oracle/flash_recovery_area
[[email protected] ~]# chown -R oracle:oinstall /u01/app/oracle
[[email protected] ~]# chmod -R 775 /u01/app/oracle
13. 设置oracle用户环境变量
[[email protected] ~]# su - oracle
[[email protected] ~]$ vim .bash_profile
添加如下内容:
ORACLE_BASE=/u01/app/oracle
ORACLE_HOME=$ORACLE_BASE/product/11.2.0
ORACLE_SID=orcl
PATH=$PATH:$ORACLE_HOME/bin
export ORACLE_BASE ORACLE_HOME ORACLE_SID PATH
[[email protected] ~]# xhost +
access control disabled, clients can connect from any host
[[email protected] ~]# su - oracle
[[email protected] ~]$ unzip linux.x64_11gR2_database_1of2.zip
[[email protected] ~]$ unzip linux.x64_11gR2_database_2of2.zip
[[email protected] ~]$ cd database/
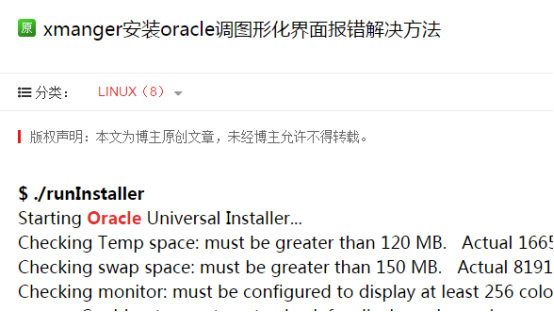
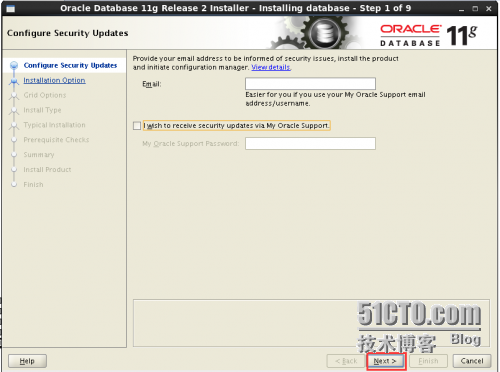
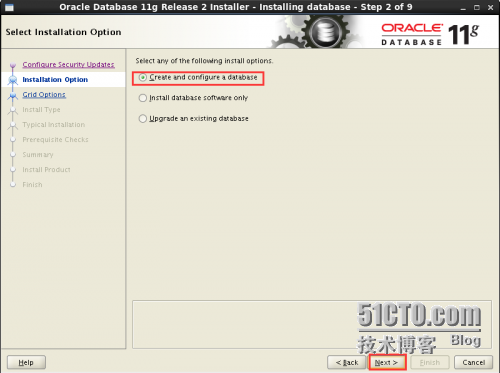
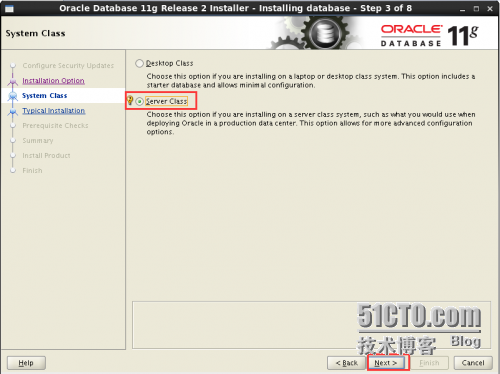
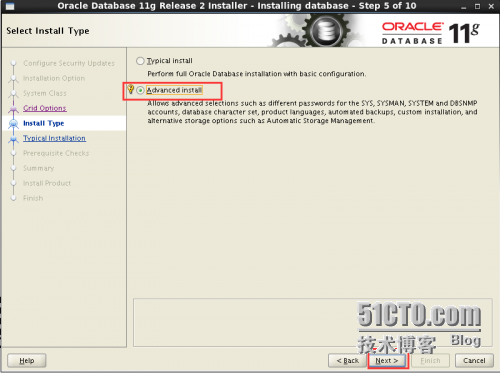
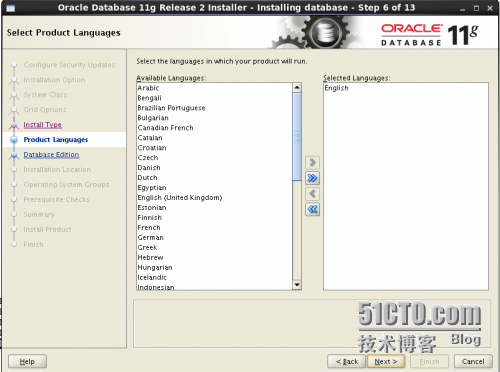
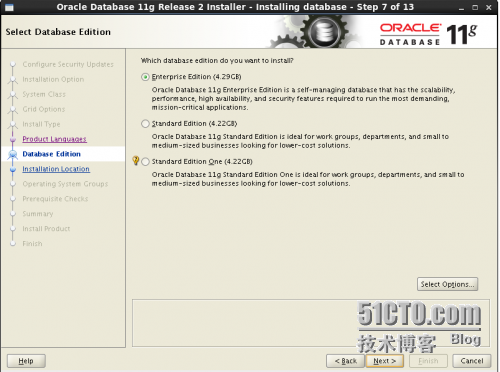
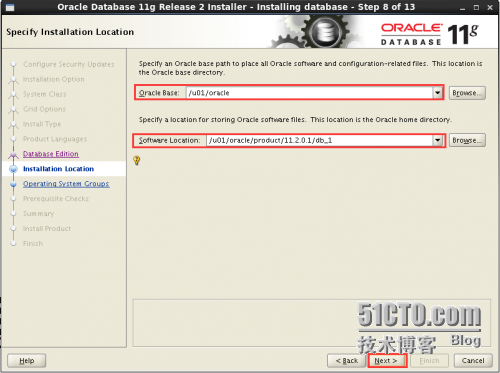
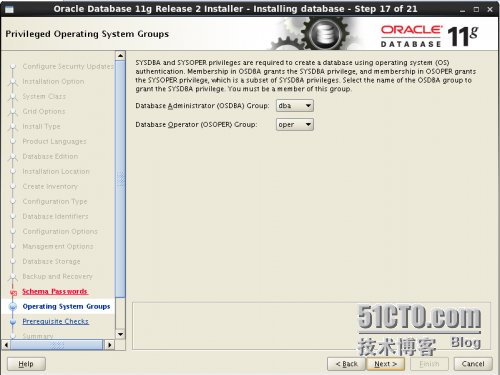
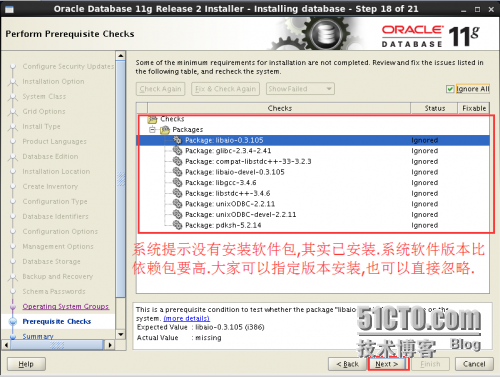
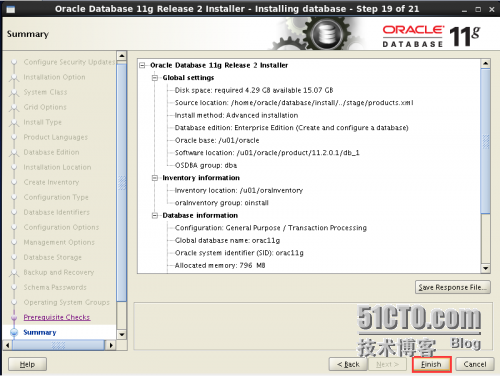
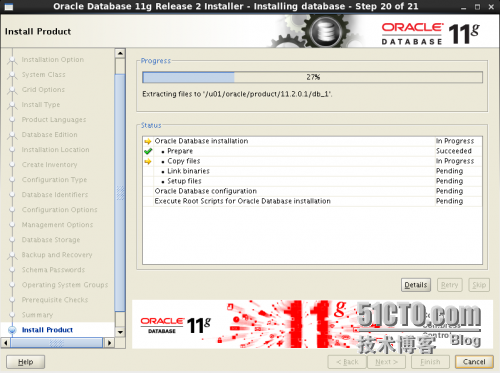
[[email protected] database]$ ./runInstaller
这里要在图形化界面安装 下运行./runlnstaller,不然会出错,
注意,这里./runInstaller会出现错误,需要安装yum groupinstall "KDE Desktop" 然后在图形界下重启服务器,就可以了
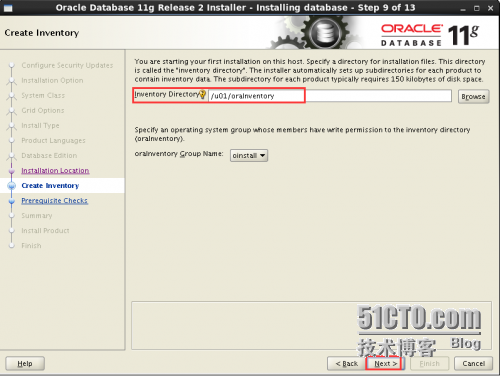
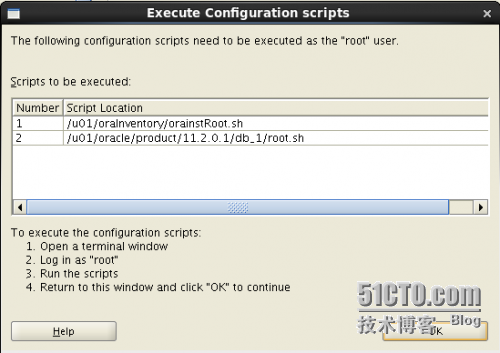
[[email protected] ~]# sh /u01/oraInventory/orainstRoot.sh
执行/u01/有个root.sh的脚本
Running Oracle 11g root.sh script...
The following environment variables are set as:
ORACLE_OWNER= oracle
ORACLE_HOME= /u01/oracle/product/11.2.0.1/db_1
Enter the full pathname of the local bin directory: [/usr/local/bin]:
Copying dbhome to /usr/local/bin ...
Copying oraenv to /usr/local/bin ...
Copying coraenv to /usr/local/bin ...
Creating /etc/oratab file...
Entries will be added to the /etc/oratab file as needed by
Database Configuration Assistant when a database is created
Finished running generic part of root.sh script.
Now product-specific root actions will be performed.
Finished product-specific root actions.
.登陆oracle数据库
[[email protected] database]$ sqlplus / as sysdba
SQL*Plus: Release 11.2.0.1.0 Production on Sat Nov 12 23:22:35 2016
Copyright (c) 1982, 2009, Oracle. All rights reserved.
Connected to:
Oracle Database 11g Enterprise Edition Release 11.2.0.1.0 - 64bit Production
With the Partitioning, OLAP, Data Mining and Real Application Testing options
SQL> select * from dual;
D
-
X
SQL> select instance_name from v$instance;
INSTANCE_NAME
----------------
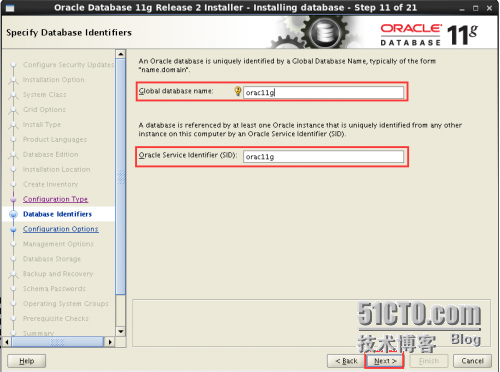
orac11g
SQL>
本文出自 “IT屌丝” 博客,请务必保留此出处http://68686789.blog.51cto.com/10438688/1874839
以上是关于Centos 6.5安装oracle 11g的主要内容,如果未能解决你的问题,请参考以下文章


