SpringBoot 搭建项目 SpringCloud
Posted 早起的年轻人
tags:
篇首语:本文由小常识网(cha138.com)小编为大家整理,主要介绍了SpringBoot 搭建项目 SpringCloud相关的知识,希望对你有一定的参考价值。
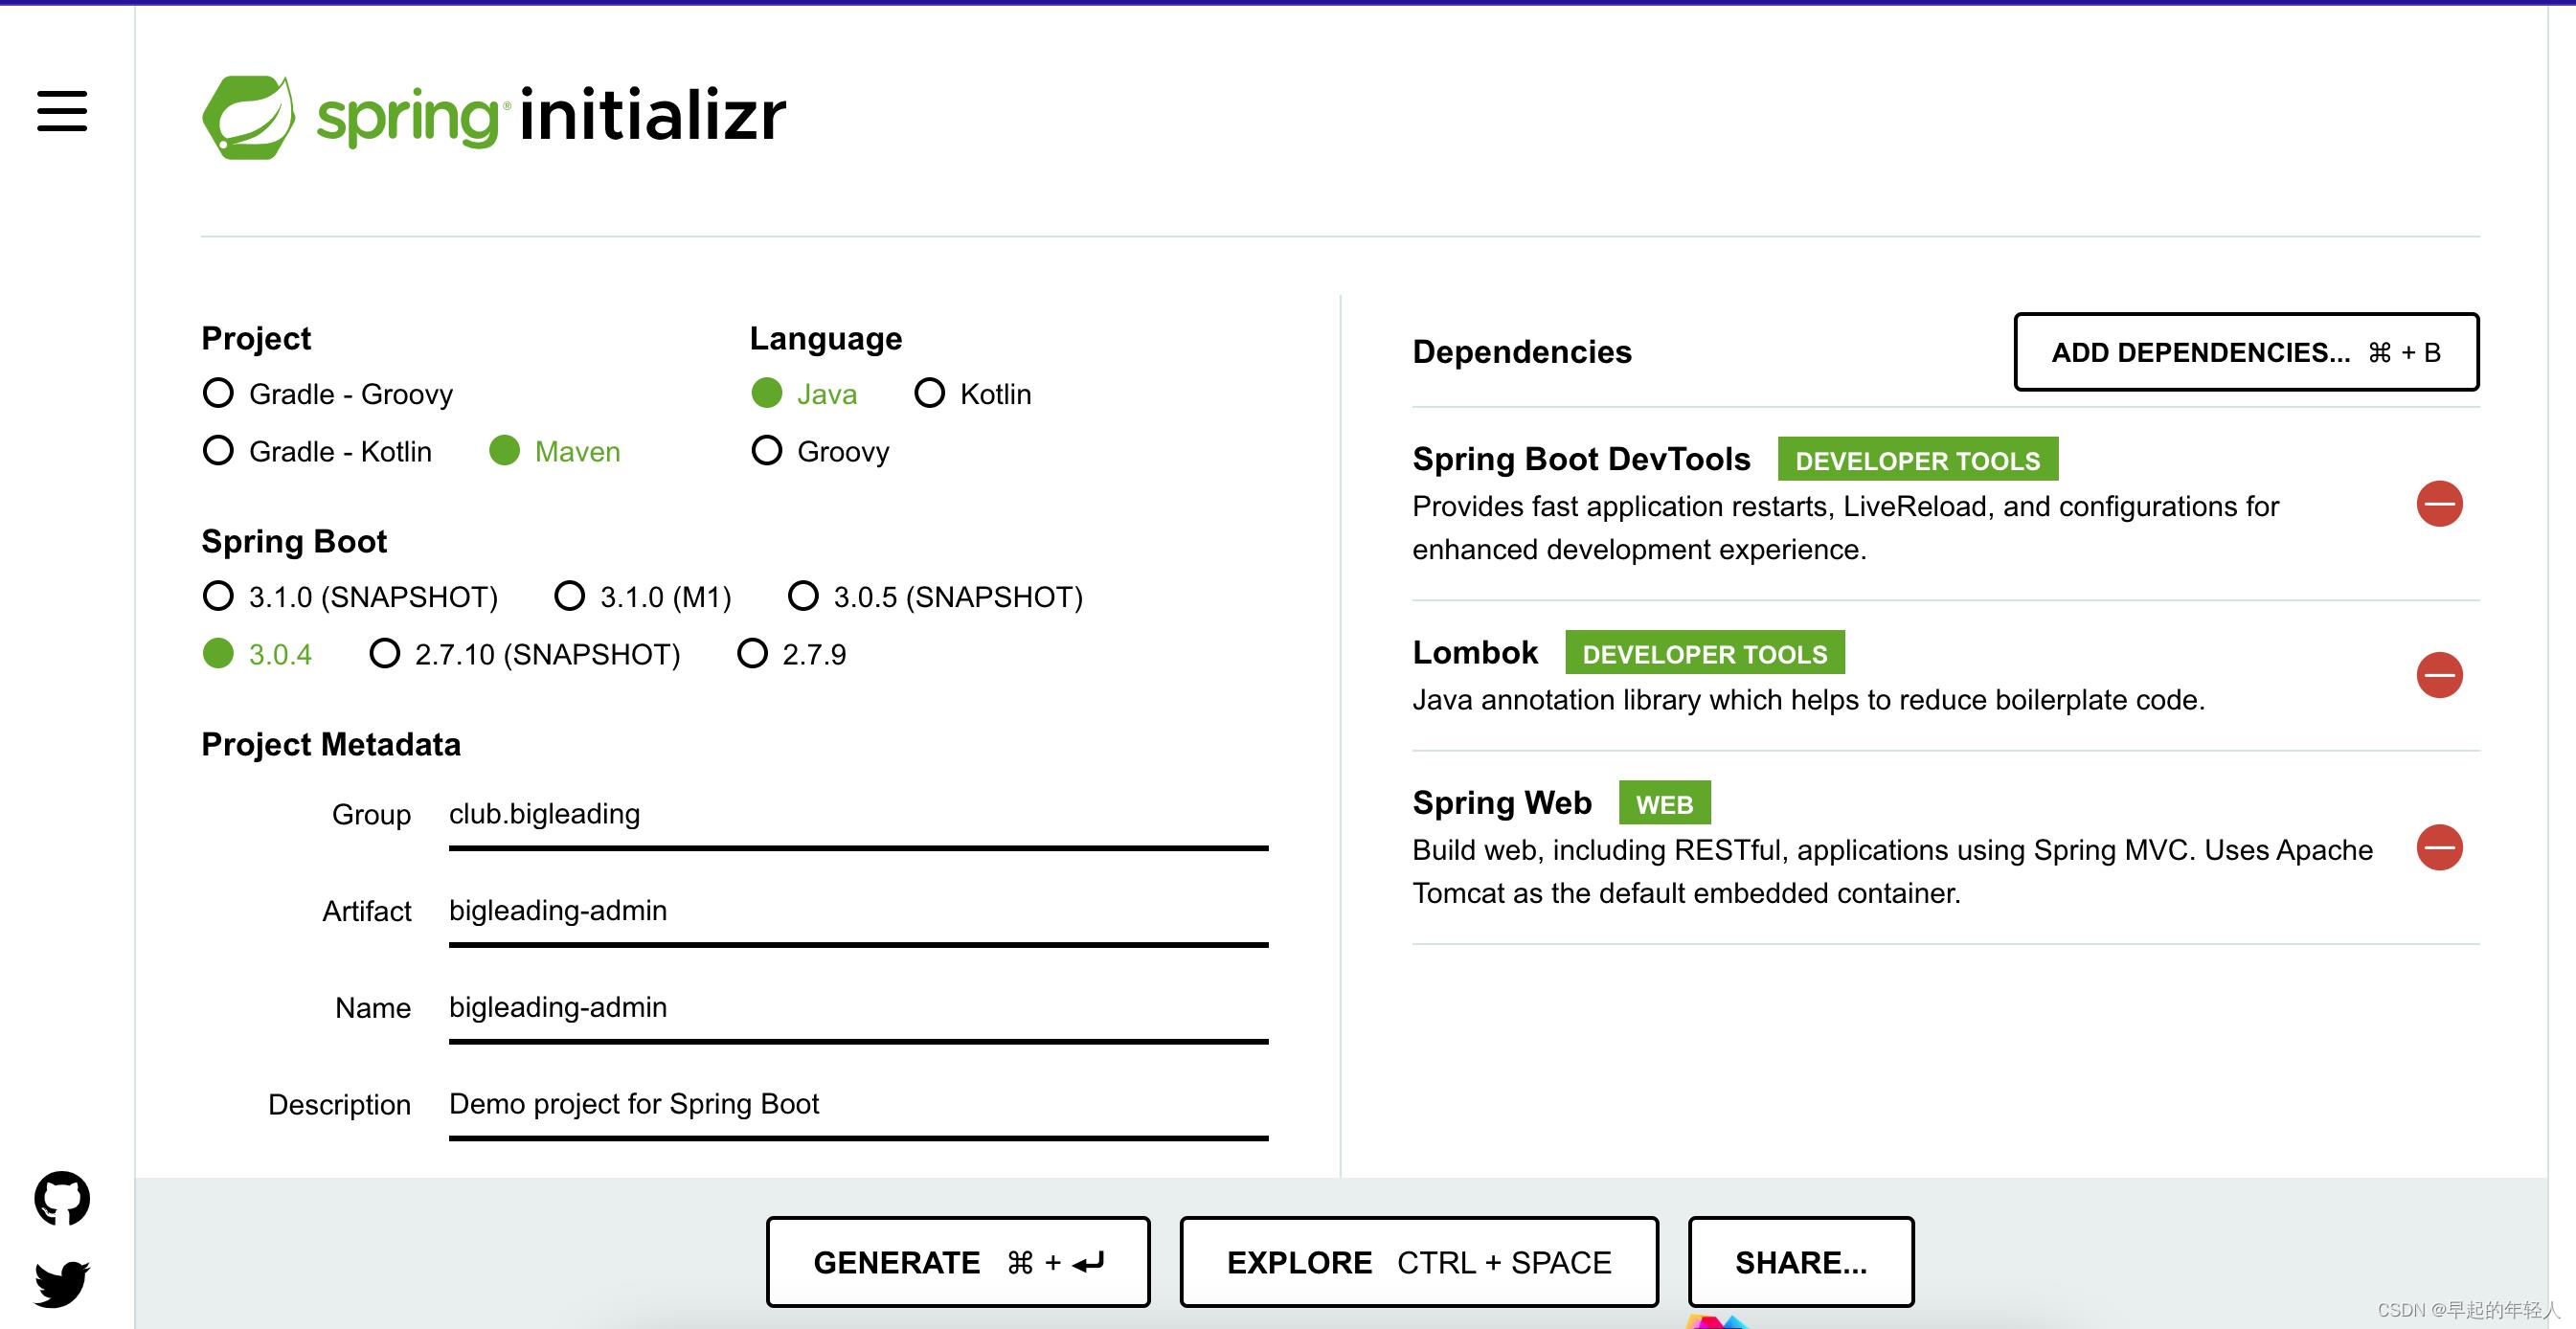
登录Spring Initializr生成Spring Boot项目模板,保存到本地。
地址:https://start.spring.io/
使用IDE导入生成的Maven项目,项目结构很简单:
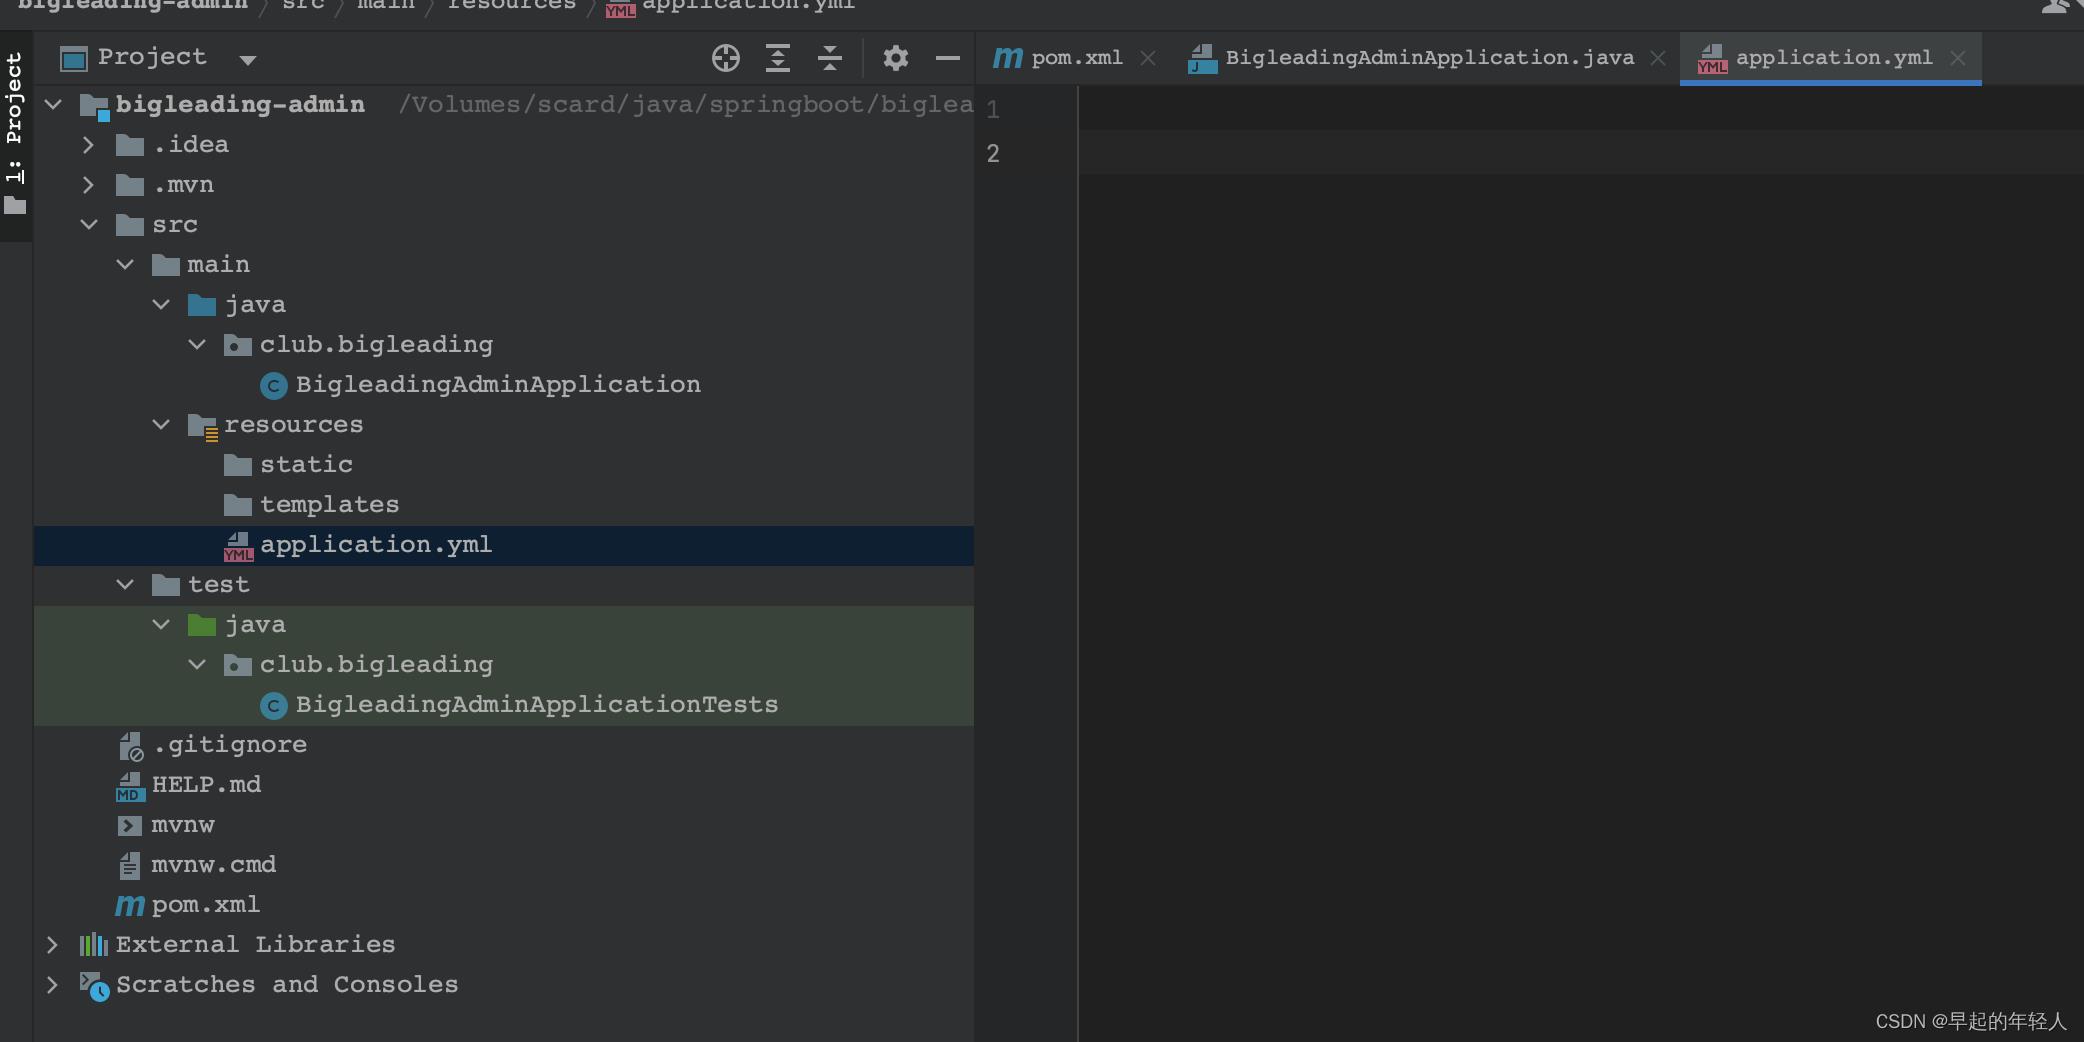
1.pom.xml, Maven的配置文件。
application.yml 配置文件是空的。
<?xml version="1.0" encoding="UTF-8"?>
<project xmlns="http://maven.apache.org/POM/4.0.0" xmlns:xsi="http://www.w3.org/2001/XMLSchema-instance"
	xsi:schemaLocation="http://maven.apache.org/POM/4.0.0 https://maven.apache.org/xsd/maven-4.0.0.xsd">
	<modelVersion>4.0.0</modelVersion>
	<parent>
		<groupId>org.springframework.boot</groupId>
		<artifactId>spring-boot-starter-parent</artifactId>
		<version>3.0.4</version>
		<relativePath/> <!-- lookup parent from repository -->
	</parent>
	<groupId>club.bigleading</groupId>
	<artifactId>bigleading-admin</artifactId>
	<version>0.0.1-SNAPSHOT</version>
	<packaging>jar</packaging>

	<name>bigleading-admin</name>
	<description>Demo project for Spring Boot</description>
	<properties>
		<project.build.sourceEncoding>UTF-8</project.build.sourceEncoding>
		<project.reporting.outputEncoding>UTF-8</project.reporting.outputEncoding>
		<java.version>17</java.version>
	</properties>
	<dependencies>
		<dependency>
			<groupId>org.springframework.boot</groupId>
			<artifactId>spring-boot-starter-web</artifactId>
		</dependency>

		<dependency>
			<groupId>org.springframework.boot</groupId>
			<artifactId>spring-boot-devtools</artifactId>
			<scope>runtime</scope>
			<optional>true</optional>
		</dependency>
		<dependency>
			<groupId>org.projectlombok</groupId>
			<artifactId>lombok</artifactId>
			<optional>true</optional>
		</dependency>
		<dependency>
			<groupId>org.springframework.boot</groupId>
			<artifactId>spring-boot-starter-test</artifactId>
			<scope>test</scope>
		</dependency>
	</dependencies>

	<build>
		<plugins>
			<plugin>
				<groupId>org.springframework.boot</groupId>
				<artifactId>spring-boot-maven-plugin</artifactId>
				<configuration>
					<excludes>
						<exclude>
							<groupId>org.projectlombok</groupId>
							<artifactId>lombok</artifactId>
						</exclude>
					</excludes>
				</configuration>
			</plugin>
		</plugins>
	</build>

</project>
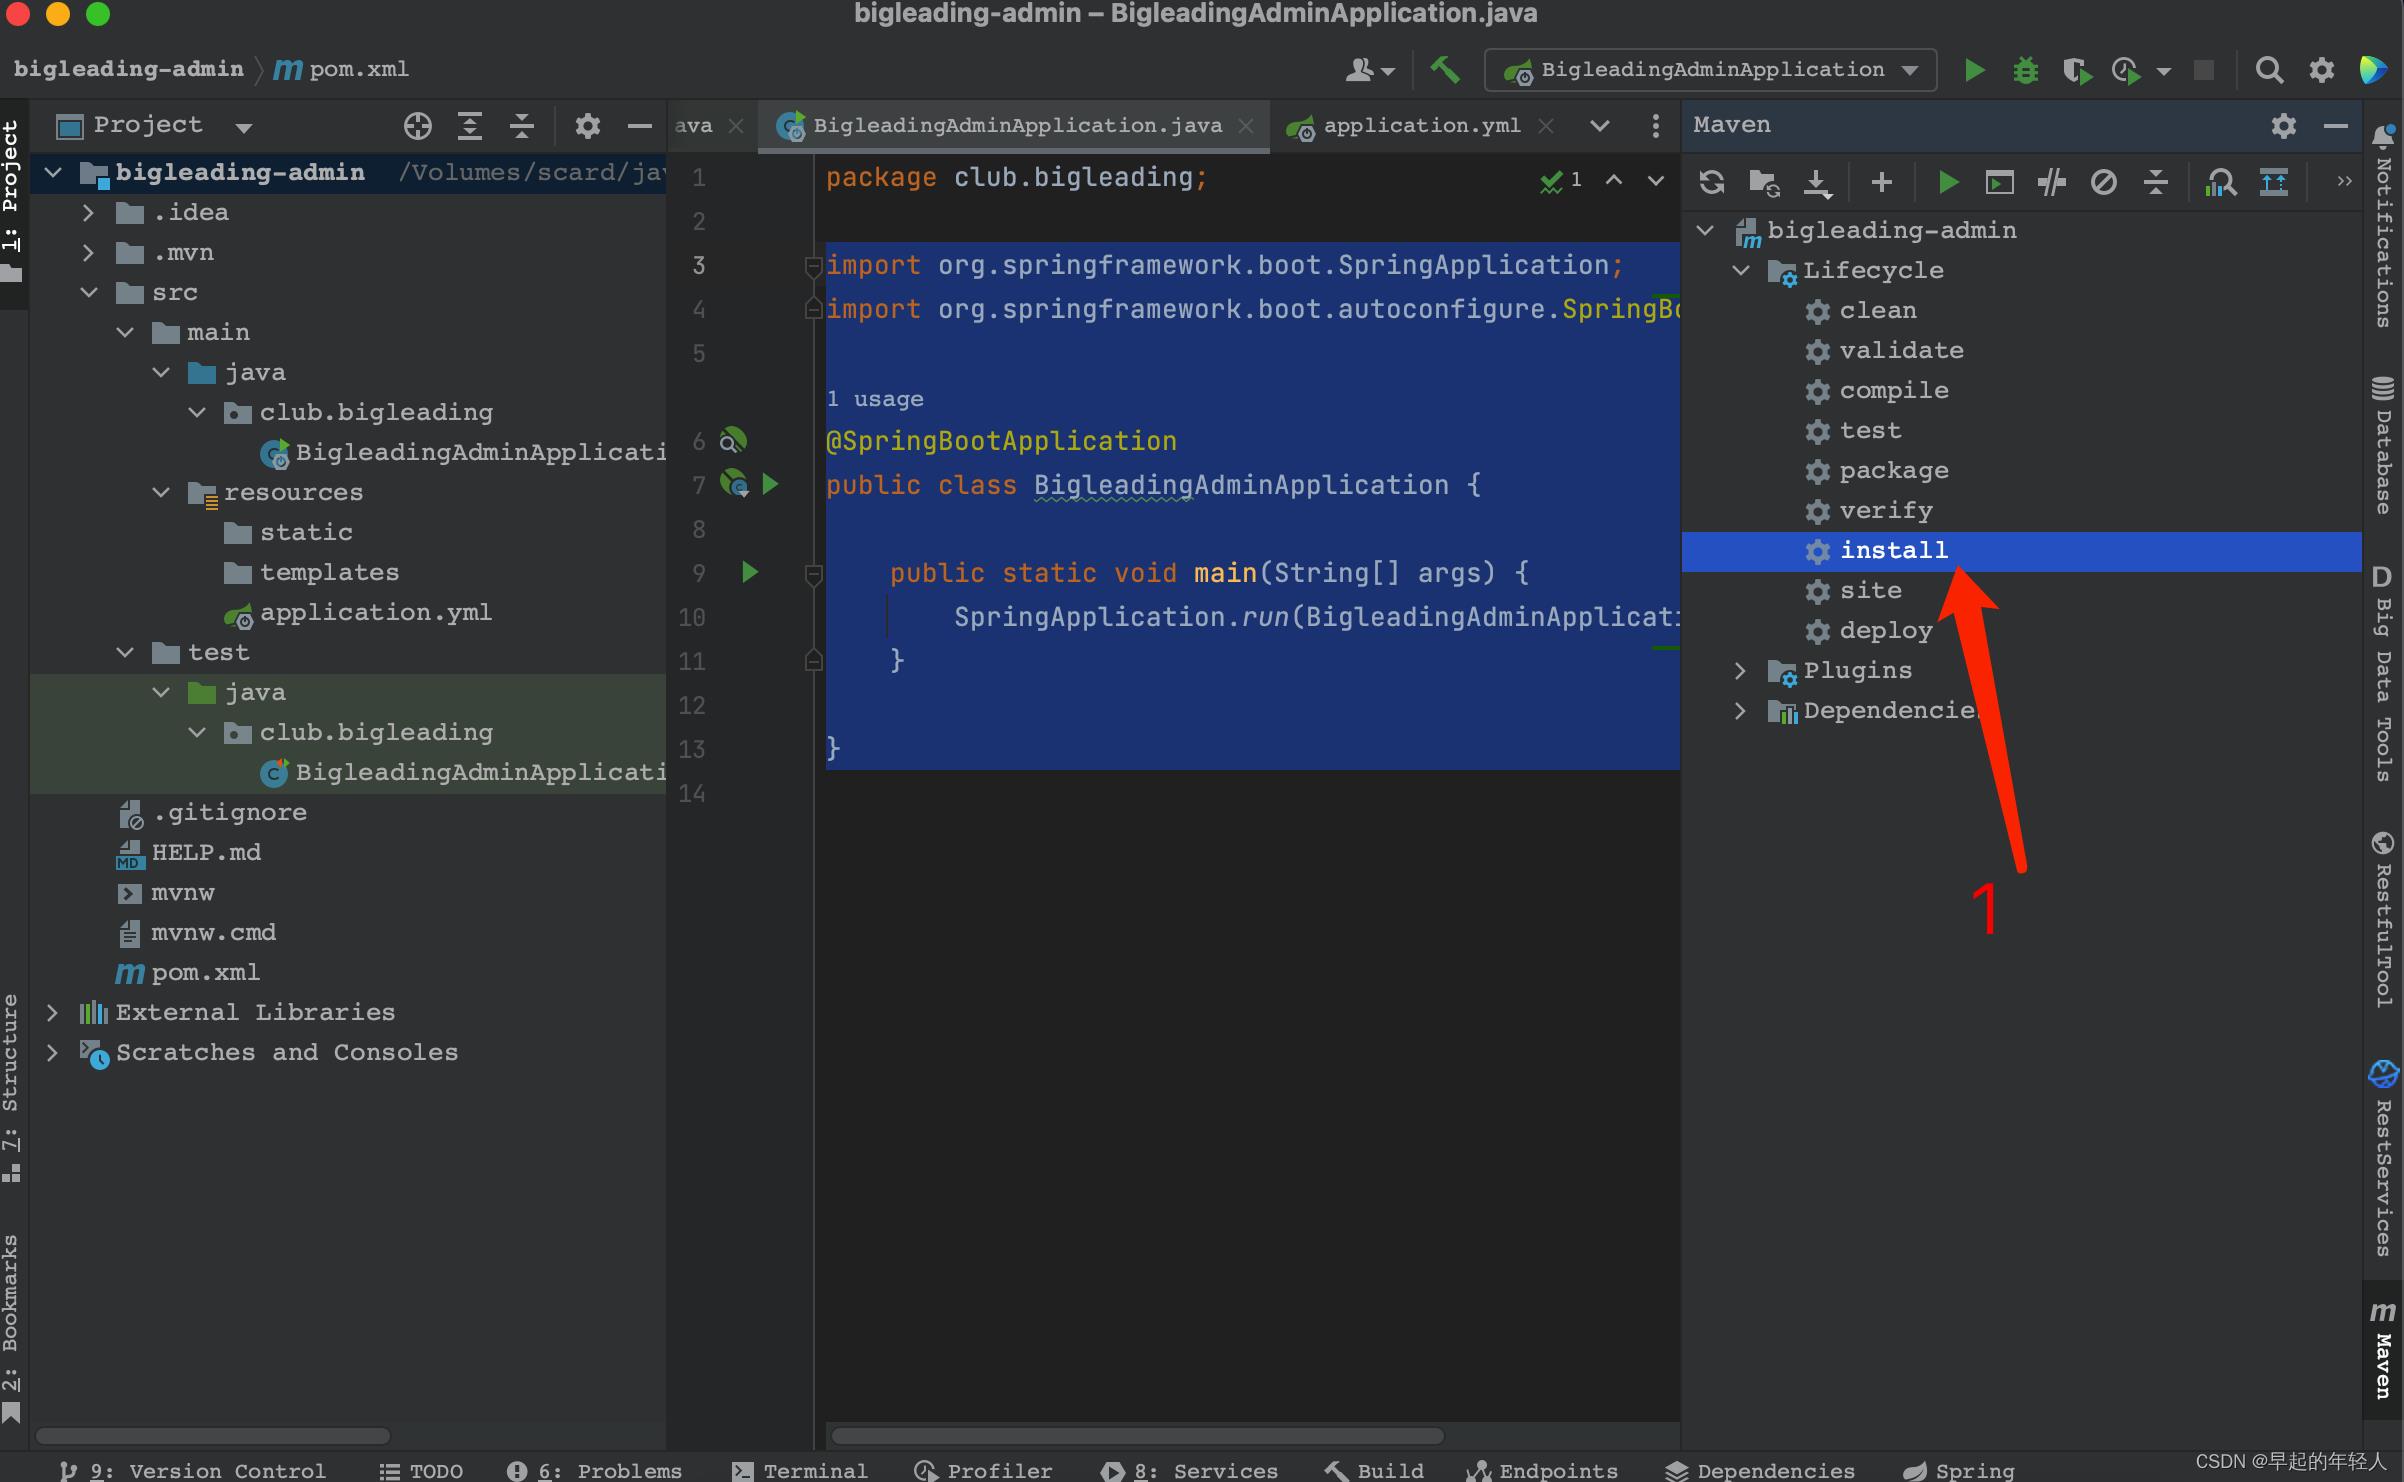
2 启动类 BigleadingAdminApplication
import org.springframework.boot.SpringApplication;
import org.springframework.boot.autoconfigure.SpringBootApplication;

@SpringBootApplication
public class BigleadingAdminApplication

    public static void main(String[] args)
        SpringApplication.run(BigleadingAdminApplication.class, args);
3 打包运行

启动成功后 默认的端口是 8080

4 自定义启动端口
# Tomcat
server:
  tomcat:
    uri-encoding: UTF-8
    max-threads: 1000
    # 最小备用线程数,tomcat启动时的初始化的线程数,默认10。
    min-spare-threads: 30
  port: 8899
  context-path: /bigleadding-admin
- max-threads Tomcat tomcat 可创建的最大的线程数,每一个线程处理一个请求,超过这个请求数后,客户端请求只能排队,等有线程释放才能处理。最大工作线程数,默认200。(4核8g内存,线程数800,一般是核数*200。操作系统做线程之间的切换调度是有系统开销的,所以不是越多越好。)
4 添加测试 controller
import org.springframework.web.bind.annotation.GetMapping;
import org.springframework.web.bind.annotation.RestController;

@RestController
public class TestController
    @GetMapping(value="/hello")
    public Object hello()
        return "Hello Kitty!";
然后在浏览器中访问(端口要对应起来)
http://localhost:8899/hello
以上是关于SpringBoot 搭建项目 SpringCloud的主要内容,如果未能解决你的问题,请参考以下文章