生成SpringBoot和前端代码工具: CodeMan
Posted 大象无形,大音希声
tags:
篇首语:本文由小常识网(cha138.com)小编为大家整理,主要介绍了生成SpringBoot和前端代码工具: CodeMan相关的知识,希望对你有一定的参考价值。
引言
我们在SpringBoot的开发过程中,有的时候,增加了一些新表,我们需要生成新的Entity Java类和DAO以及Service;那么有没有一种工具,能够帮我们自动生成代码?笔者亲自测试了一下,感觉下面这款工具还挺不错的!现推荐给大家!
CodeMan的使用
代码地址,https://gitee.com/zrxjava/codeMan;项目名称CodeMan,作者为小螺旋丸。
有Window和Mac的安装版本,其安装版本可以到下面的地址下载;
https://gitee.com/zrxjava/code_generator_v201

下载完后,可以进行安装;安装的时候其会要求输入激活码,大家请关注下面的公众号,然后在公众号里面留言:“激活码获取” ,则公众号会自动给你发来激活码!

以Windows版本为例子,解压缩后,直接双击“codeMan.exe”,就可以生成代码了!

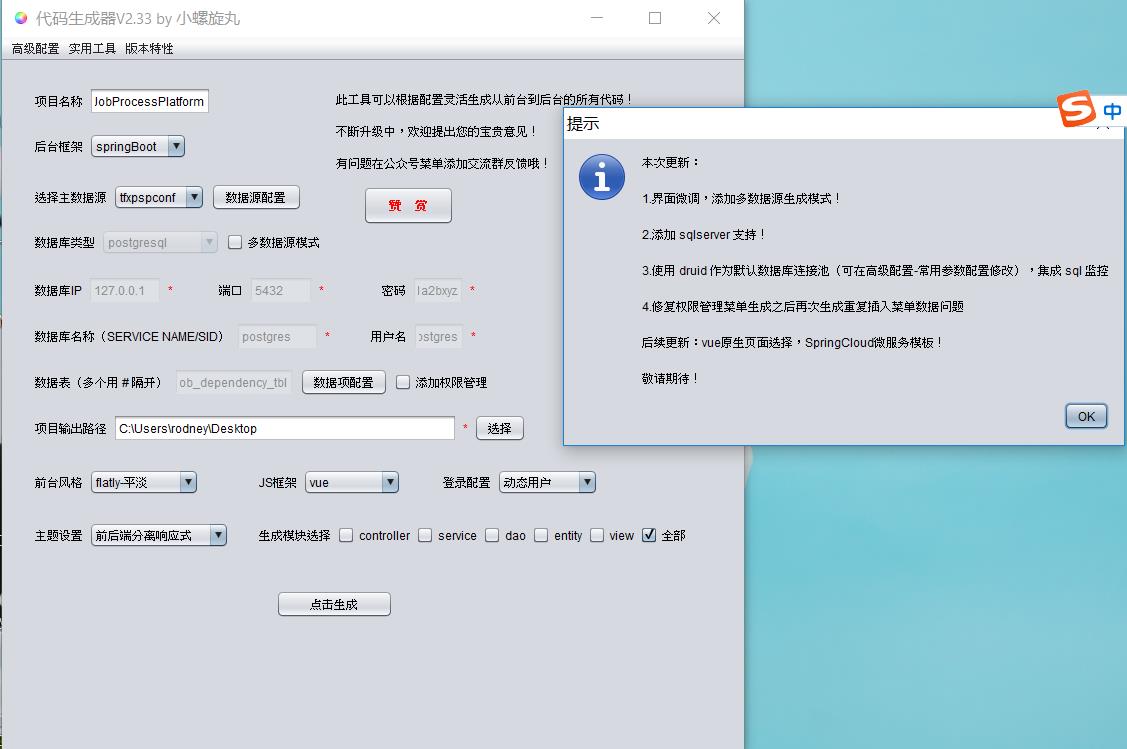
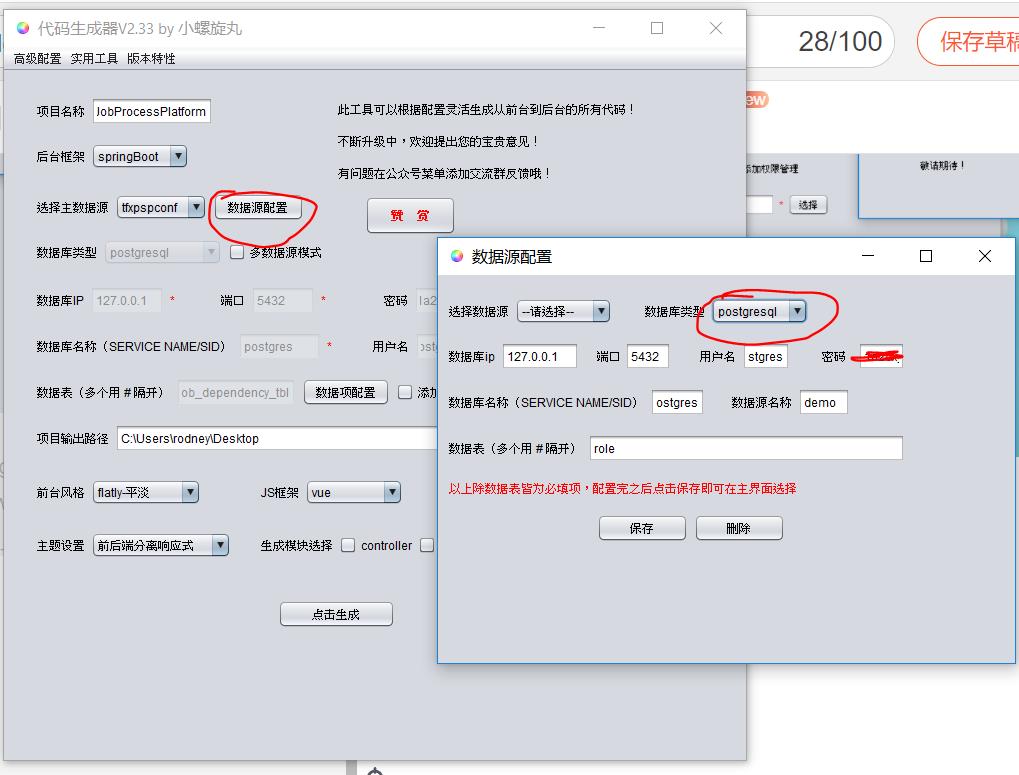
Step1. 配置你的数据连接
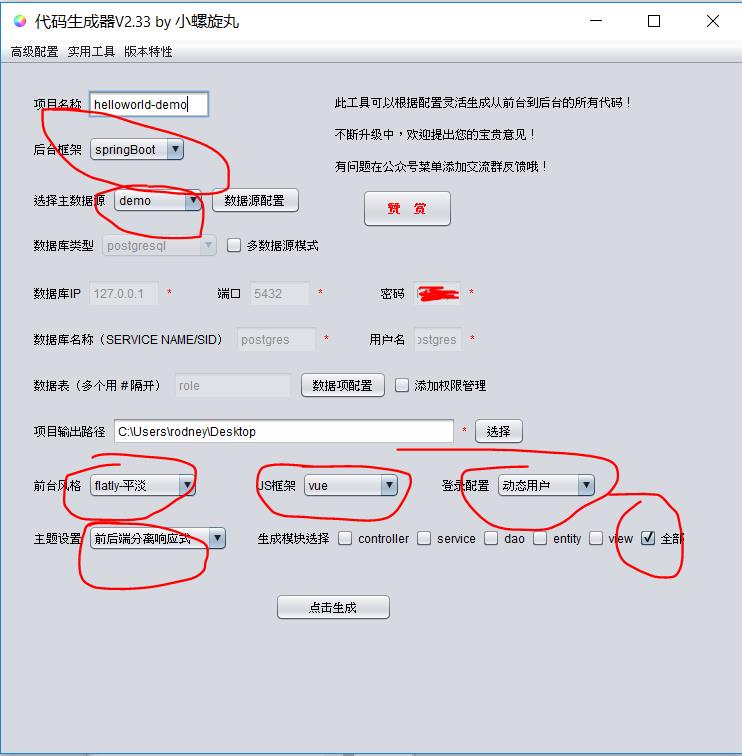
Step2 填写项目名称和选择配置:SpringBoot程序,前后端分离,Vue前端
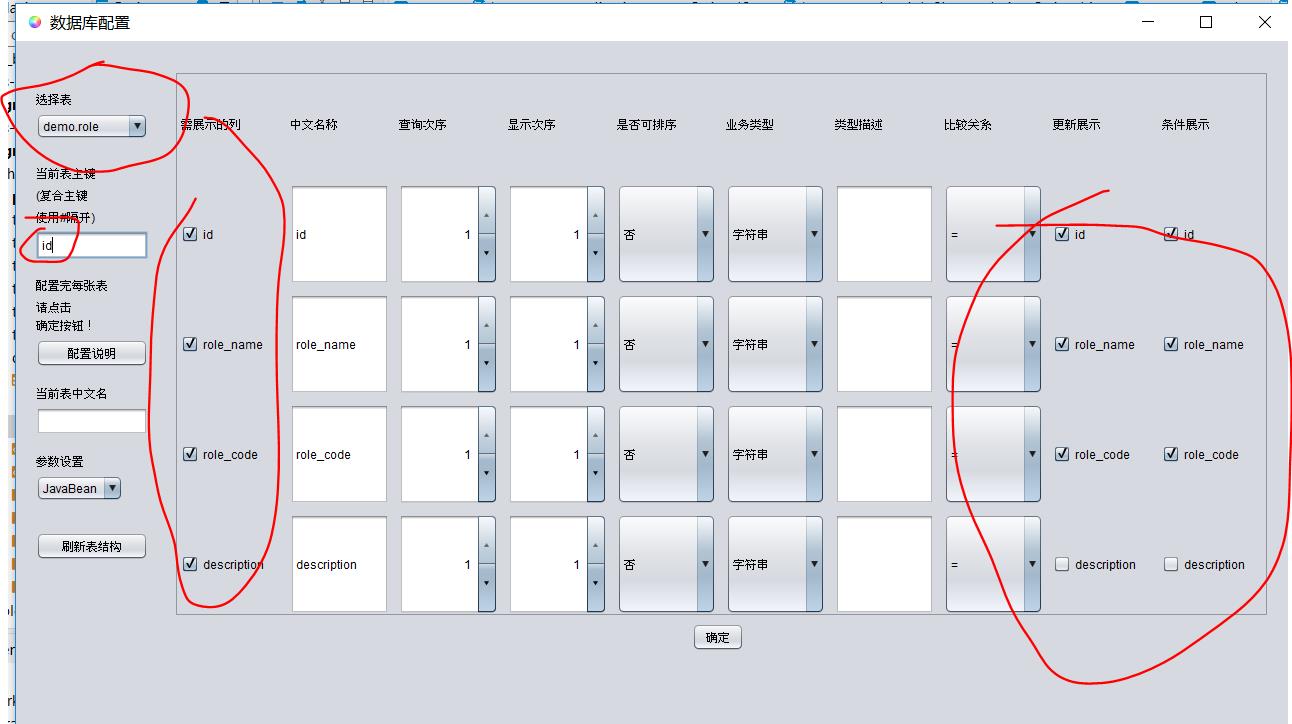
Step3 选择要生成Entity和DAO类的表和字段,包括主键字段
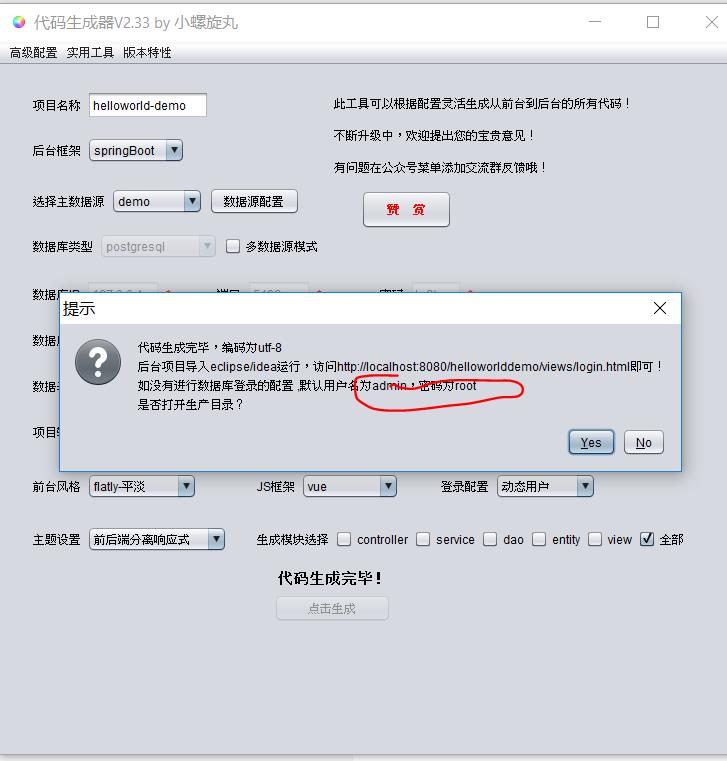
Step4 点击生成代码

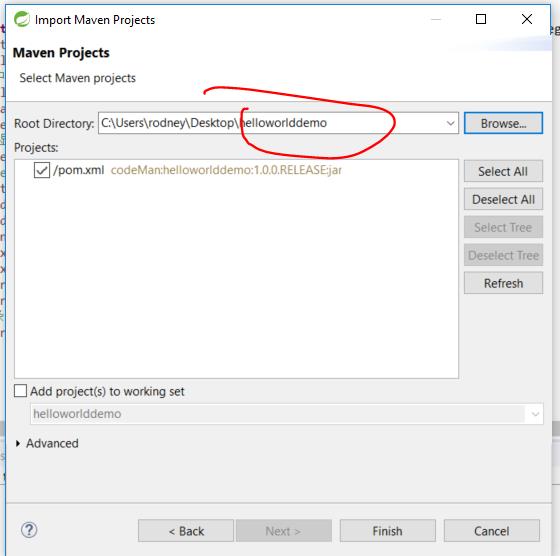
Step5 导入生成的代码
Step6 查看代码
生成代码的还是很规范的,Controller层,Service层,DAO层,Entity层

以DemoRoleServiceImpl.java为例子,其会生成基本的CRUD的代码
package helloworlddemo.service.impl;

import javax.servlet.http.HttpServletResponse;
import org.springframework.beans.factory.annotation.Autowired;
import org.springframework.stereotype.Service;
import helloworlddemo.dao.DemoRoleDao;
import helloworlddemo.service.DemoRoleService;
import helloworlddemo.entity.PageData;
import helloworlddemo.utils.ExcelUtil;
import helloworlddemo.utils.PageUtil;
import java.util.LinkedHashMap;
import helloworlddemo.entity.DemoRoleEntity;
import java.util.List;
import java.util.Map;

@Service
public class DemoRoleServiceImpl implements DemoRoleService
	private final DemoRoleDao dao;
	@Autowired
	public DemoRoleServiceImpl(DemoRoleDao dao)
		this.dao = dao;


	@Override
	public void add(DemoRoleEntity entity)
		dao.add(entity);


	@Override
	public void delete(DemoRoleEntity entity)
		dao.delete(entity);


	@Override
	public void update(DemoRoleEntity entity)
		dao.update(entity);


	@Override
	public List<DemoRoleEntity> select(DemoRoleEntity entity)
		return dao.select(entity);


	@Override
	public PageData<DemoRoleEntity> likeSelect(DemoRoleEntity entity)
		return PageUtil.getPageData(entity, dao);


	@Override
	public void exportExcel(DemoRoleEntity entity, HttpServletResponse response)

		// 获取头部信息(可以设置为动态)
		String[] headList = new String[]  "id", "role_name", "role_code", "description";

		String[] headEngList = new String[] "id", "roleName", "roleCode", "description";

		String[] describeList = new String[]  "", "", "", "";

		//设置头部以及描述信息
        Map<String, String> headAndDescribeMap = new LinkedHashMap<>();
        for (int i = 0; i < headEngList.length; i++)
            headAndDescribeMap.put(headEngList[i], describeList[i]);


		ExcelUtil.exportExcel(entity, response, dao, headList, headAndDescribeMap);
DAO类: DemoRoleDao 的代码如下:
package helloworlddemo.dao;

import org.apache.ibatis.annotations.Mapper;
import org.springframework.stereotype.Repository;
import helloworlddemo.entity.DemoRoleEntity;
@Mapper
@Repository
public interface DemoRoleDao extends BaseDao<DemoRoleEntity>
BaseDao的代码如下:
package helloworlddemo.dao;

import java.util.List;


public interface BaseDao<E>

    void add(E map);

    void delete(E map);

    void update(E map);

    List<E> select(E map);

    List<E> likeSelect(E entity);

    Long likeSelectCount(E entity);
Role的SQL Mapper代码如下:
<?xml version="1.0" encoding="UTF-8" ?>
<!DOCTYPE mapper PUBLIC "-//mybatis.org//DTD Mapper 3.0//EN" "http://mybatis.org/dtd/mybatis-3-mapper.dtd" >
<mapper namespace="helloworlddemo.dao.DemoRoleDao">

    <!--添加-->
	<insert id="add" parameterType="helloworlddemo.entity.DemoRoleEntity">
		insert into demo.role
        <trim prefix="(" suffix=")" suffixOverrides=",">
            <if test="id != null">
                id,
            </if>
            <if test="roleName != null">
                role_name,
            </if>
            <if test="roleCode != null">
                role_code,
            </if>
            <if test="description != null">
                description,
            </if>
		</trim>
		<trim prefix="values (" suffix=")" suffixOverrides=",">
				<if test="id != null">
					#id,
				</if>
				<if test="roleName != null">
					#roleName,
				</if>
				<if test="roleCode != null">
					#roleCode,
				</if>
				<if test="description != null">
					#description,
				</if>
		</trim>
	</insert>

    <!--删除-->
	<delete id="delete" parameterType="helloworlddemo.entity.DemoRoleEntity">
		delete from demo.role
		<where>
            <if test="id != null">
                and id=#id
            </if>
            <if test="id == null">
                and 1 = 0
            </if>
		</where>
	</delete>

    <!--更新-->
	<update id="update" parameterType="helloworlddemo.entity.DemoRoleEntity">
		update demo.role
		<trim prefix="set" suffixOverrides=",">
				<if test="id != null">
					id=#id,
				</if>
				<if test="roleName != null">
					role_name=#roleName,
				</if>
				<if test="roleCode != null">
					role_code=#roleCode,
				</if>
				<if test="description != null">
					description=#description,
				</if>
		</trim>
		<where>
            <if test="id != null">
                and id=#id
            </if>
            <if test="id == null">
                and 1 = 0
            </if>
		</where>
	</update>

    <!--固定条件查询-->
	<select id="select" parameterType="helloworlddemo.entity.DemoRoleEntity"
		resultType="helloworlddemo.entity.DemoRoleEntity">
			select
				id as "id",
				role_name as "roleName",
				role_code as "roleCode",
				description as "description"
            from demo.role
			<where>
					<if test="id != null">
						and id=#id
					</if>
					<if test="roleName != null">
						and role_name=#roleName
					</if>
					<if test="roleCode != null">
						and role_code=#roleCode
					</if>
					<if test="description != null">
						and description=#description
					</if>
			</where>
			<if test="orderStr != '' and orderStr != null">
				order by $orderStr
			</if>
            <if test="start != null and pageSize != null">
                limit #pageSize offset #start
            </if>


	</select>

    <!--分页(模糊查询的公共条件)-->
    <sql id="likeSelectConditions">
                <if test="id != null and id != '' ">
                and id <![CDATA[=]]> #id
                </if>
                <if test="roleName != null and roleName != '' ">
                and role_name <![CDATA[=]]> #roleName
                </if>
                <if test="roleCode != null and roleCode != '' ">
                and role_code <![CDATA[=]]> #roleCode
                </if>
    </sql>

    <!--分页(模糊)查询-->
	<select id="likeSelect" parameterType="helloworlddemo.entity.DemoRoleEntity"
		resultType="helloworlddemo.entity.DemoRoleEntity">
			select
				id as "id",
				role_name as "roleName",
				role_code as "roleCode",
				description as "description"

                from demo.role

			<where>
                <include refid="likeSelectConditions"/>
			</where>
			<if test="orderStr != '' and orderStr != null">
				order by $orderStr
			</if>
            <if test="start != null and pageSize != null">
                limit #pageSize offset #start
            </if>


	</select>

    <!--分页(模糊)查询条数-->
	<select id="likeSelectCount" parameterType="helloworlddemo.entity.DemoRoleEntity"
		resultType="java.lang.Long">
        select
            count(1)
        from demo.role

		<where>
            <include refid="likeSelectConditions"/>
		</where>
	</select>

</mapper>
Step7 启动项目
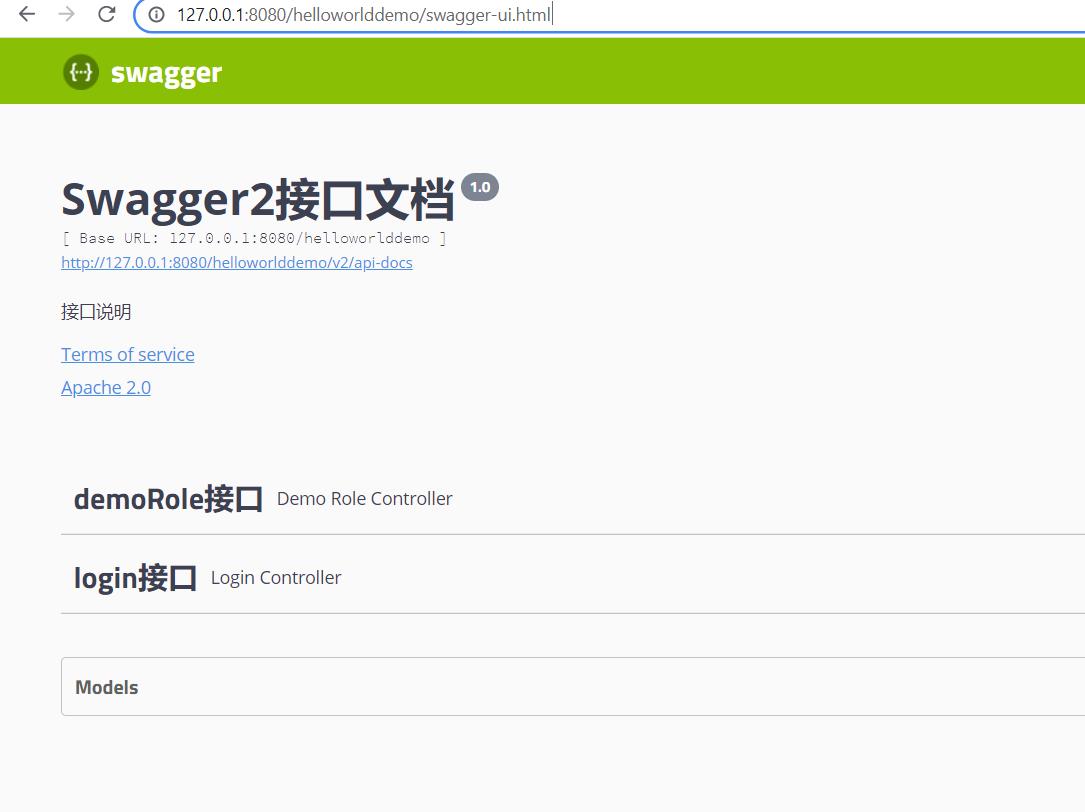
Step8. 打开Swagger的UI
http://127.0.0.1:8080/helloworlddemo/swagger-ui.html
Step9. 打开登录页面 http://127.0.0.1:8080/helloworlddemo/views/login.html
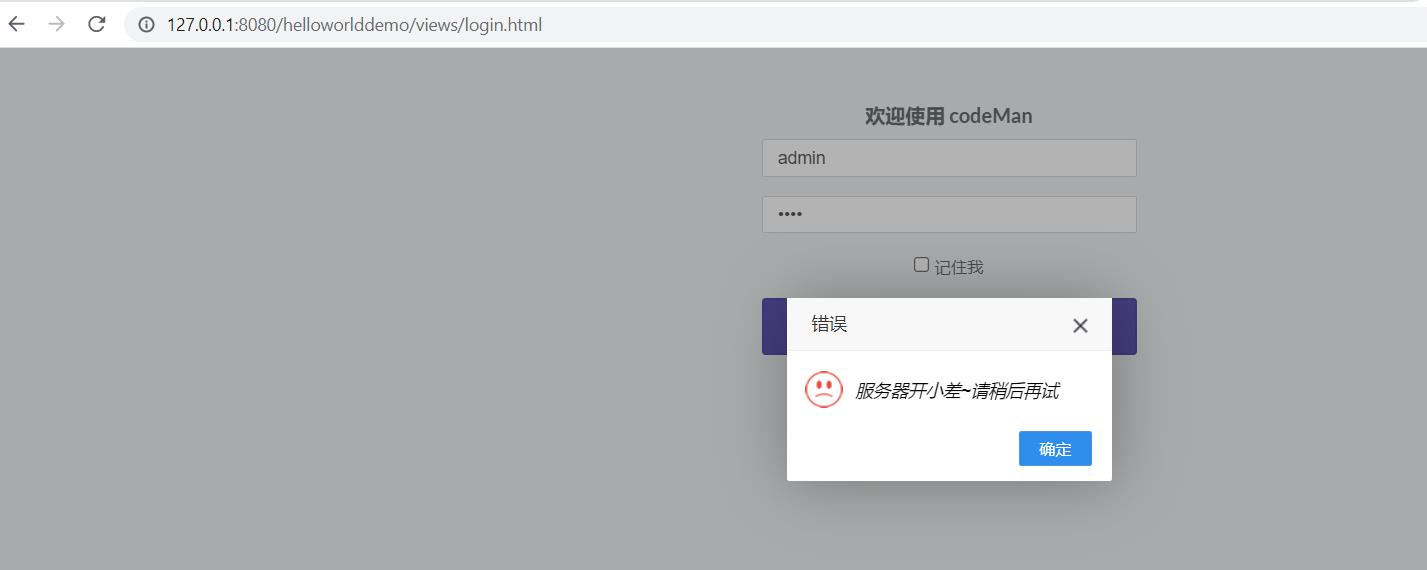
很可惜登录不进来!那么原因是什么呢? 因为其默认需要在数据表里面有一个user表;
user表里面有两个字段name和password;回到数据库,插入上面的表;
CREATE TABLE demo."user" (
	id int8 NULL,
	"name" varchar NULL,
	"password" varchar NULL
);
插入一条数据
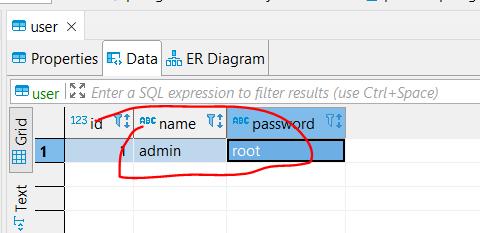
另外如果你的数据看是PostgreSQL,在源代码的loginMapper.xml文件里面加入namespace的前缀,比如笔者的namespace前缀是demo,然后重新启动!

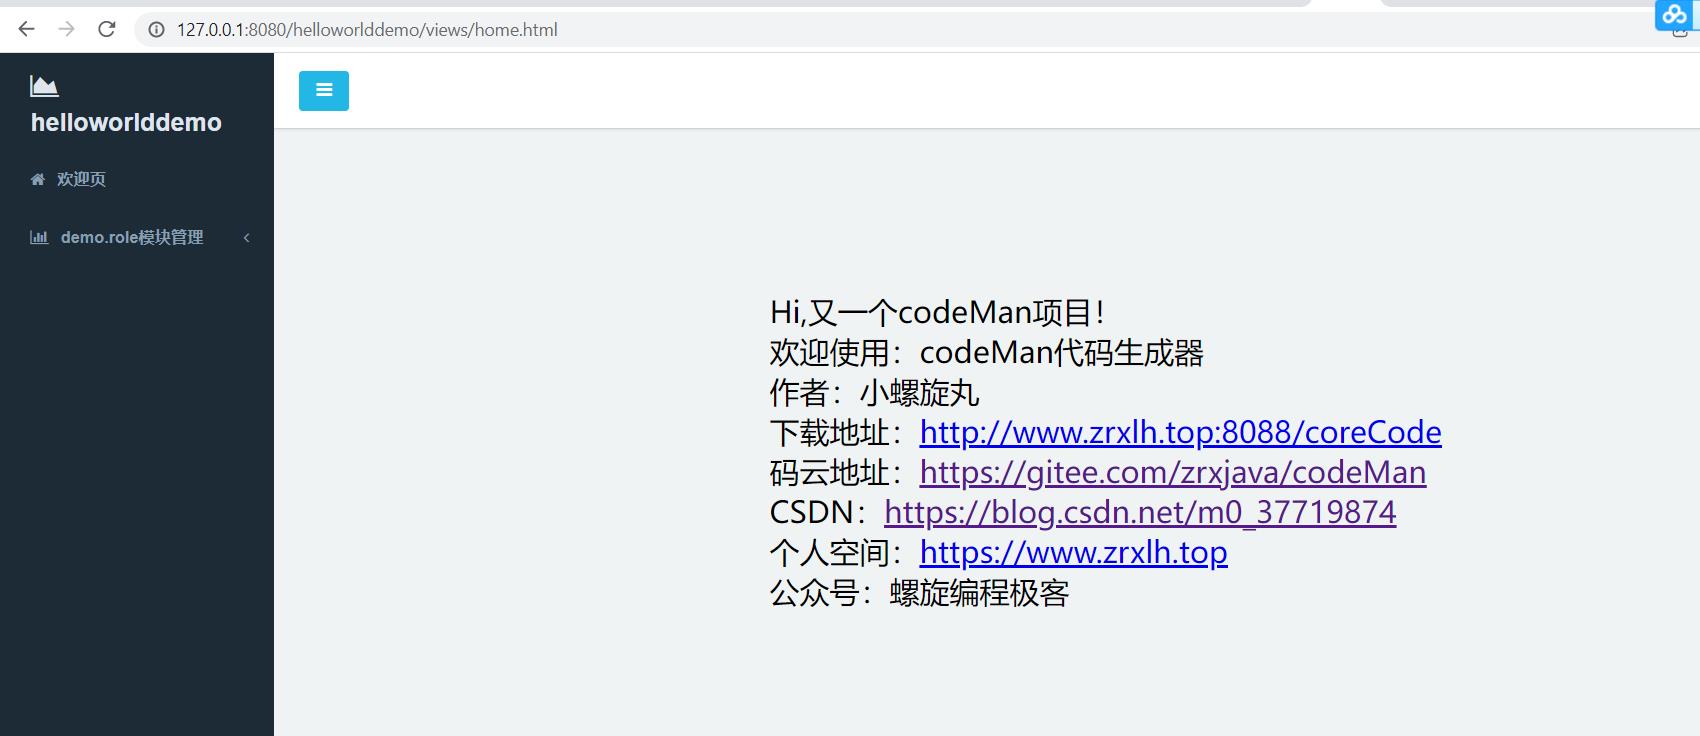
Step10. 恭喜你,登录成功!
其他工具
其他生成代码的工具如下,仅仅供参考:
-
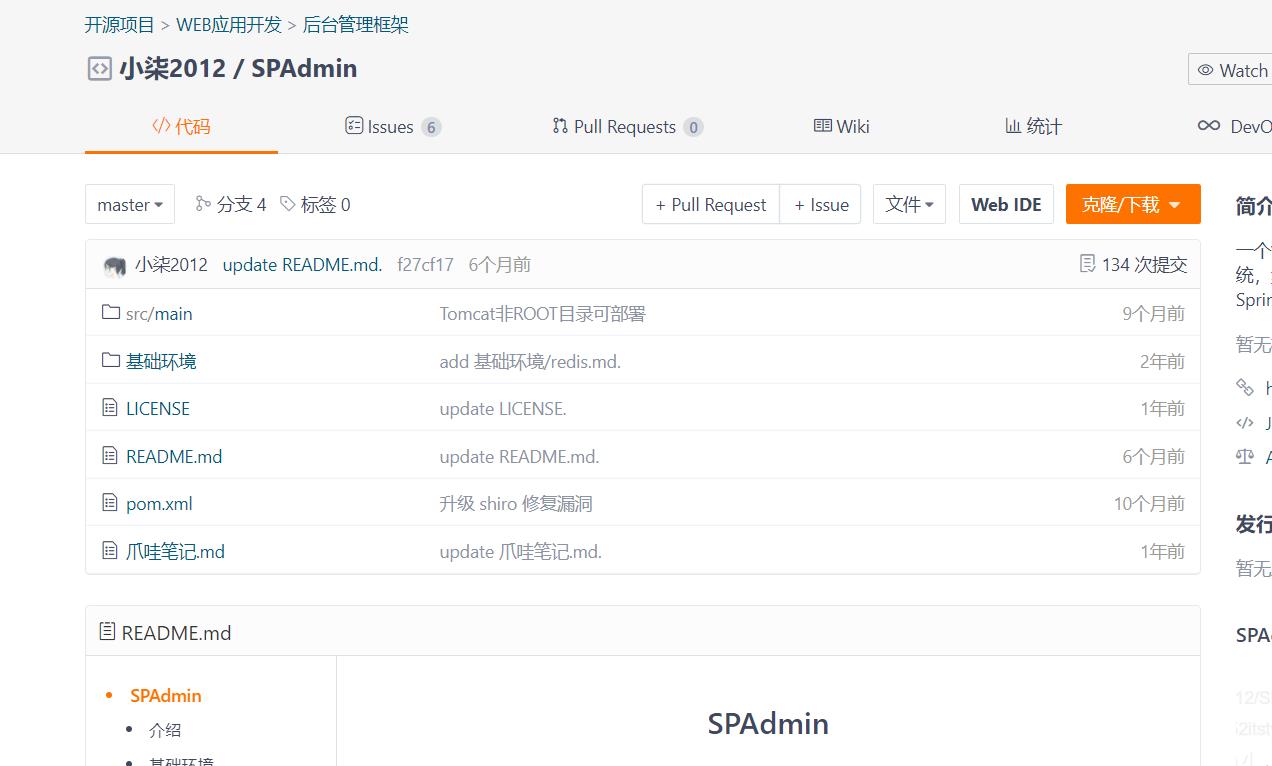
SPTools: SPAdmin 目前有1.4k的star
https://gitee.com/52itstyle/SPTools
-
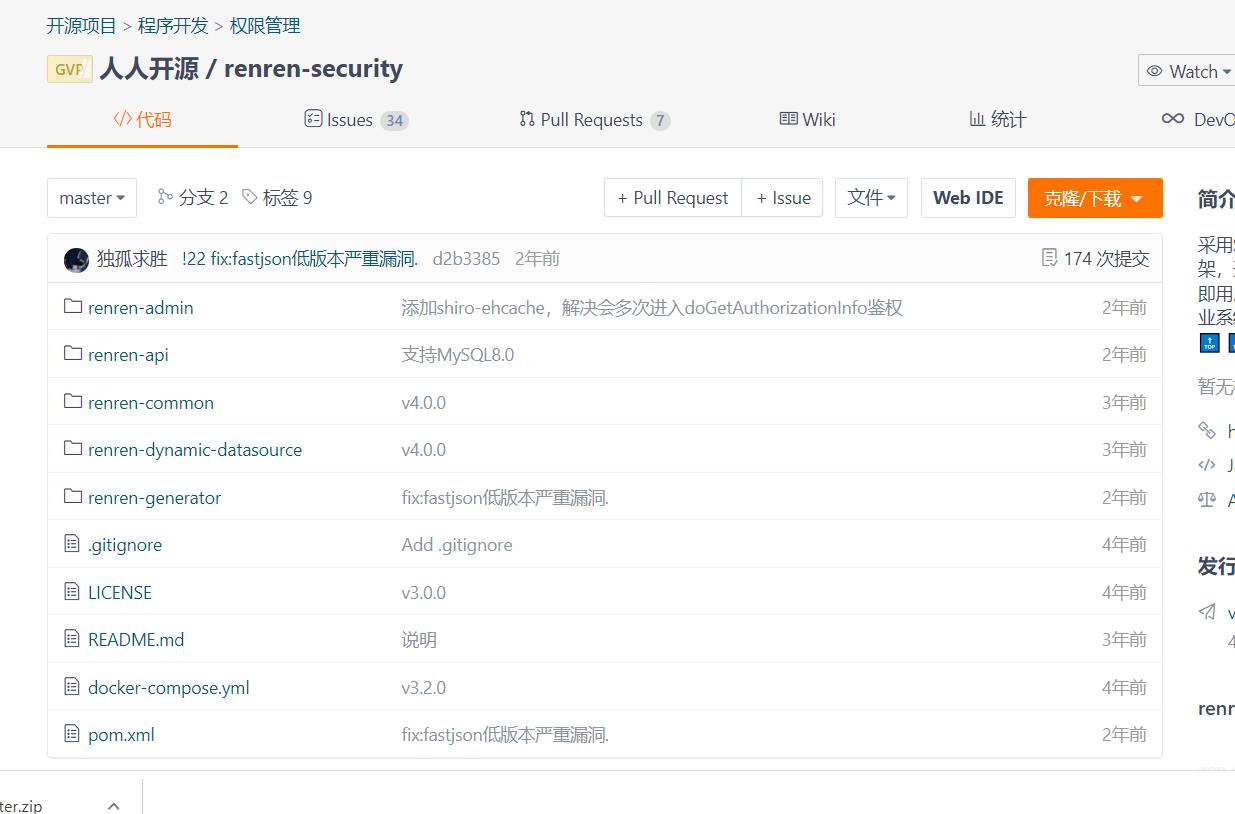
renren 代码生成
https://gitee.com/renrenio/renren-security
以上是关于生成SpringBoot和前端代码工具: CodeMan的主要内容,如果未能解决你的问题,请参考以下文章