element ui框架(路由)
Posted 嵌入式-老费
tags:
篇首语:本文由小常识网(cha138.com)小编为大家整理,主要介绍了element ui框架(路由)相关的知识,希望对你有一定的参考价值。
【 声明:版权所有,欢迎转载,请勿用于商业用途。 联系信箱:feixiaoxing @163.com】
有过web后端开发经验的同学,相信对路由这个概念应该不陌生。后端开发一般使用的是mvc,其中c,也就是controller,对应的就是各个路由的接口。现在整个前后端开发越来越独立化,两者之间只有数据的交互,没有界面的渲染工作,所以路由这部分工作也开始转到前端来完成。
回到前端开发,当前已经有一个第三方库可以完美支持路由这个工作了,这就是vue-router。在用vue-cli创建项目的时候,一般也会提示我们是否需要安装router。
1、创建一个带vue-router的项目rout
vue init ./webpack rout2、首先确保node_modules下面vue-router已经被安装
cd node_modules
dir vue*
3、查看一下新代码系统为了支持vue-router做了哪些修改
3.1 查看main.js
// The Vue build version to load with the `import` command
// (runtime-only or standalone) has been set in webpack.base.conf with an alias.
import Vue from 'vue'
import App from './App'
import router from './router'

Vue.config.productionTip = false

/* eslint-disable no-new */
new Vue(
  el: '#app',
  router,
  components:  App ,
  template: '<App/>'
)
通过阅读代码,可以发现有两个地方做了修改。第一,从./router中引入router,注意这里的router是自己编写的目录,不是安装的第三方库;第二,将router插入到Vue当中。
3.2 查看App.vue
<template>
  <div id="app">
    <img src="./assets/logo.png">
    <router-view/>
  </div>
</template>

<script>
export default
  name: 'App'

</script>

<style>
#app
  font-family: 'Avenir', Helvetica, Arial, sans-serif;
  -webkit-font-smoothing: antialiased;
  -moz-osx-font-smoothing: grayscale;
  text-align: center;
  color: #2c3e50;
  margin-top: 60px;

</style>
和之前相比较,最重要的修改就是添加了router-view,同时删除了HelloWorld。
3.3 router/index.js
import Vue from 'vue'
import Router from 'vue-router'
import HelloWorld from '@/components/HelloWorld'

Vue.use(Router)

export default new Router(
  routes: [

      path: '/',
      name: 'HelloWorld',
      component: HelloWorld

  ]
这部分是新增加的内容,之前的HelloWorld范例是没有的。通过观察发现,代码首先引入了Router,注意这个Router是来自于第三方库vue-router。其次,Vue中use了Router。接着,就是将HelloWorld放到了routes数组里面。至此,整个路由分析过程完毕。
4、添加新的网页
为了验证我们分析的思路是否正确,这里可以通过添加一个新网页的办法来实践确认一下。
4.1 首先添加一个view目录,并且添加一个Content.vue
<template>
	<div> 我是内容页</div>
</template>

<script>
export default
	name:'Content'


</script>

<style scoped>
</style>
4.2 在router/index.js中添加路由,确保网页可以被访问到
import Vue from 'vue'
import Router from 'vue-router'
import HelloWorld from '@/components/HelloWorld'
import Content from '@/view/Content'

Vue.use(Router)

export default new Router(
  routes: [

      path: '/',
      name: 'HelloWorld',
      component: HelloWorld
    ,

      path: '/Content',
      name: 'Content',
      component: Content

  ]
)
4.3 除了添加网页和路由之外,剩下来的就是在App.vue中添加网页链接router-link
<template>
  <div id="app">
    <img src="./assets/logo.png">
	<router-link to="/"> 首页 </router-link>
	<router-link to="/Content"> 内容 </router-link>
    <router-view/>
  </div>
</template>

<script>
export default
  name: 'App'

</script>

<style>
#app
  font-family: 'Avenir', Helvetica, Arial, sans-serif;
  -webkit-font-smoothing: antialiased;
  -moz-osx-font-smoothing: grayscale;
  text-align: center;
  color: #2c3e50;
  margin-top: 60px;

</style>
4.4 开始编译运行,如果之前已经编译好,可以忽略这一步
npm run dev4.5 输入127.0.0.1:8082,你就可以看到这样的网页,
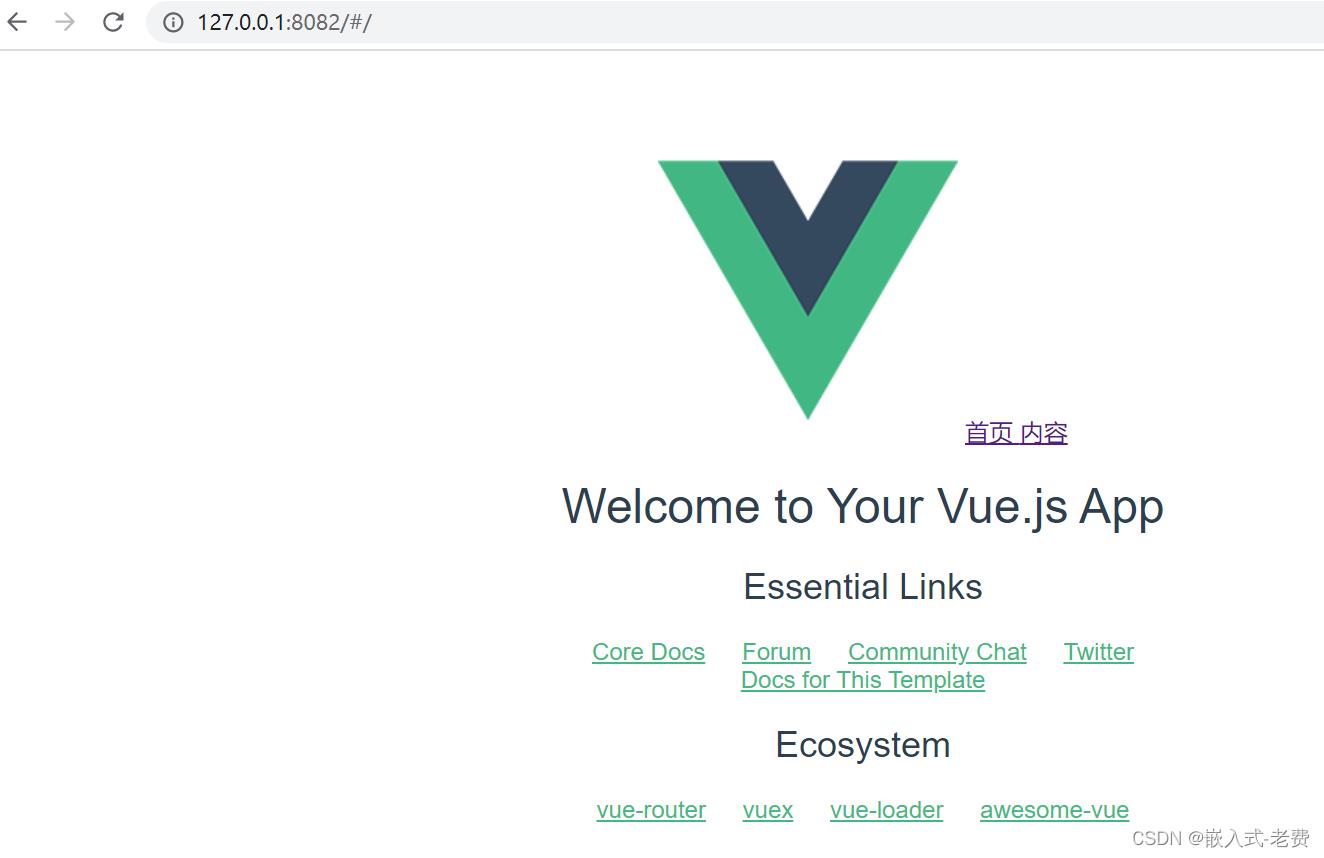
注意,整个网页多了两个超链接,一个是首页,一个是内容。如果单击的首页,那么这部分内容不变。如果单击的是内容,就会看到这样的内容,
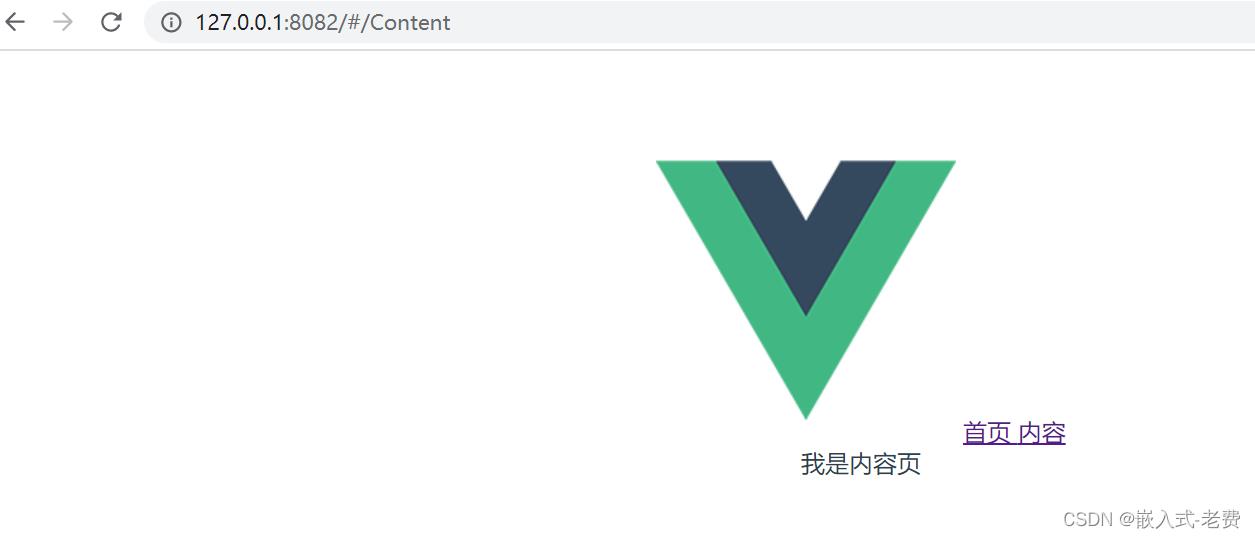
至此,整个网页的跳转和编写就已经完成了。
以上是关于element ui框架(路由)的主要内容,如果未能解决你的问题,请参考以下文章