Idea 搭建Spring源码环境
Posted Johnny屋
tags:
篇首语:本文由小常识网(cha138.com)小编为大家整理,主要介绍了Idea 搭建Spring源码环境相关的知识,希望对你有一定的参考价值。
Idea 搭建Spring源码环境
本篇主要讲解如何使用Ideal 搭建Spring的源码环境,想必大家都会多多少少去看过Spring的部分源码,一般我们都是直接点进某个Spring类 然后Idea上面去下载 ,但是确实比较麻烦,而且不能添加自己对源码的注释 理解 ,本篇就来解决这个问题,手把手使用Idea 搭建Spring framework ,并且直接在Spring framework项目中添加我们自己的module 来验证环境是否正确。本过程会比较耗时 而且容易出错 慢慢来吧。
效果图
1. clone spring-framework 项目
1.1 找到github spring-framwwork 项目
先登录github 找到 spring-framework项目
https://github.com/spring-projects
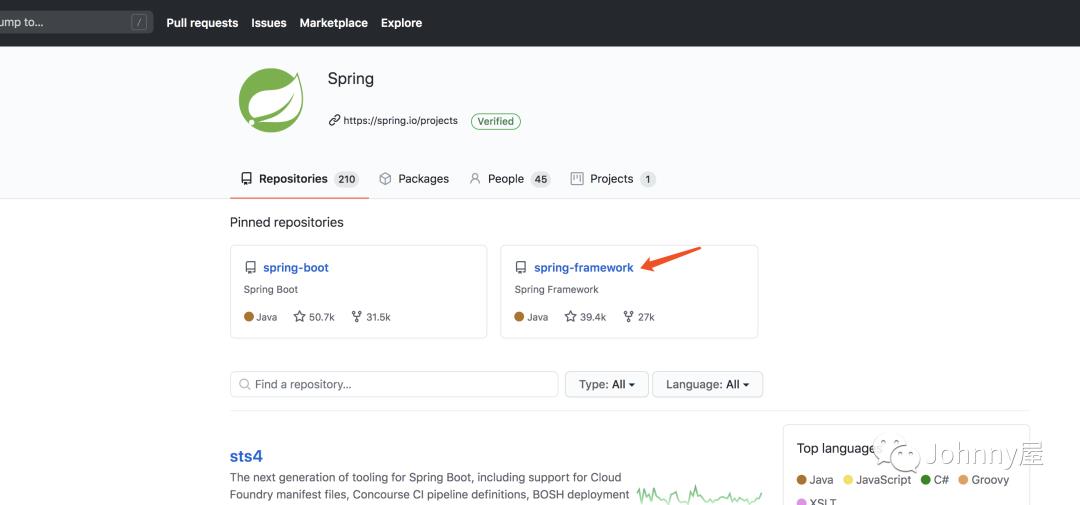
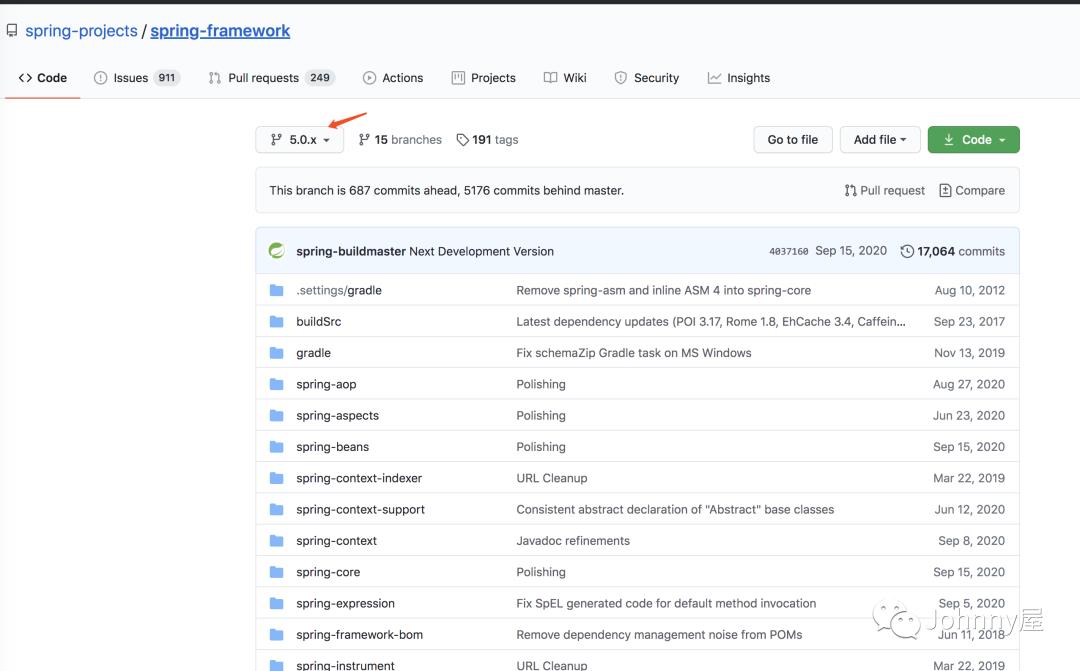
我选择的是 5.0.x
如果你觉得你网速可以,那你可以直接从 github clone 下来, 我这里先把项目传到 gitee
1.2 fork 到gitee 码云
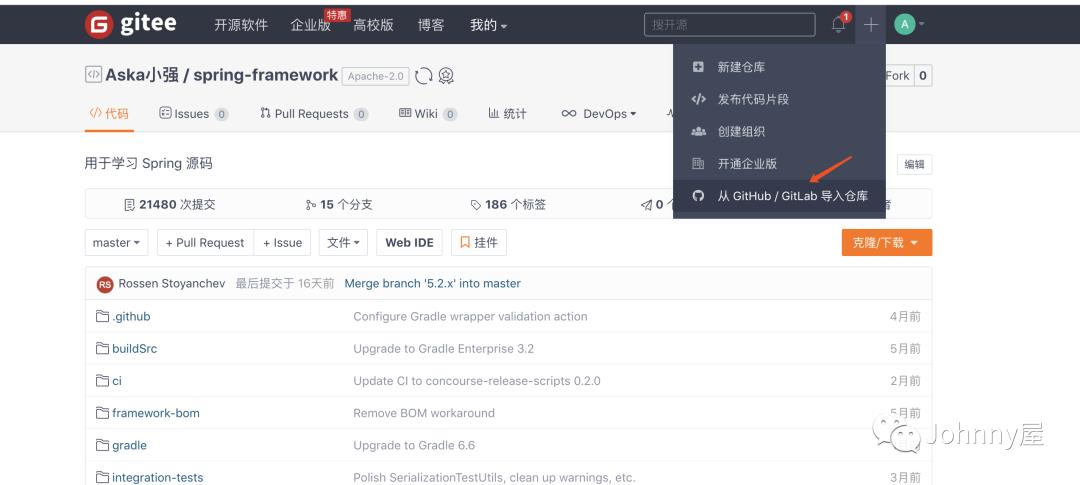
拉取你要的 分支 git clone -b 分支

2. 查看 import-into-idea.md 文件
在下载的源码中 有一个文件是 import-into-idea 的 md文件 里面有关于导入 idea需要的 注意事项,我们来打开它
The following has been tested against IntelliJ IDEA 2016.2.2

## Steps

_Within your locally cloned spring-framework working directory:_

1. Precompile `spring-oxm` with `./gradlew :spring-oxm:compileTestJava`
2. Import into IntelliJ (File -> New -> Project from Existing Sources -> Navigate to directory -> Select build.gradle)
3. When prompted exclude the `spring-aspects` module (or after the import via File-> Project Structure -> Modules)
4. Code away

## Known issues

1. `spring-core` and `spring-oxm` should be pre-compiled due to repackaged dependencies.
See `*RepackJar` tasks in the build and https://youtrack.jetbrains.com/issue/IDEA-160605).
2. `spring-aspects` does not compile due to references to aspect types unknown to
IntelliJ IDEA. See https://youtrack.jetbrains.com/issue/IDEA-64446 for details. In the meantime, the
'spring-aspects' can be excluded from the project to avoid compilation errors.
3. While JUnit tests pass from the command line with Gradle, some may fail when run from
IntelliJ IDEA. Resolving this is a work in progress. If attempting to run all JUnit tests from within
IntelliJ IDEA, you will likely need to set the following VM options to avoid out of memory errors:
    -XX:MaxPermSize=2048m -Xmx2048m -XX:MaxHeapSize=2048m
4. If you invoke "Rebuild Project" in the IDE, you'll have to generate some test
resources of the `spring-oxm` module again (`./gradlew :spring-oxm:compileTestJava`)


## Tips

In any case, please do not check in your own generated .iml, .ipr, or .iws files.
You'll notice these files are already intentionally in .gitignore. The same policy goes for eclipse metadata.

## FAQ

Q. What about IntelliJ IDEA's own [Gradle support](https://confluence.jetbrains.net/display/IDEADEV/Gradle+integration)?

A. Keep an eye on https://youtrack.jetbrains.com/issue/IDEA-53476
大致意思就是
2.1 在源码目录下执行 ./gradlew :spring-oxm:compileTestJava
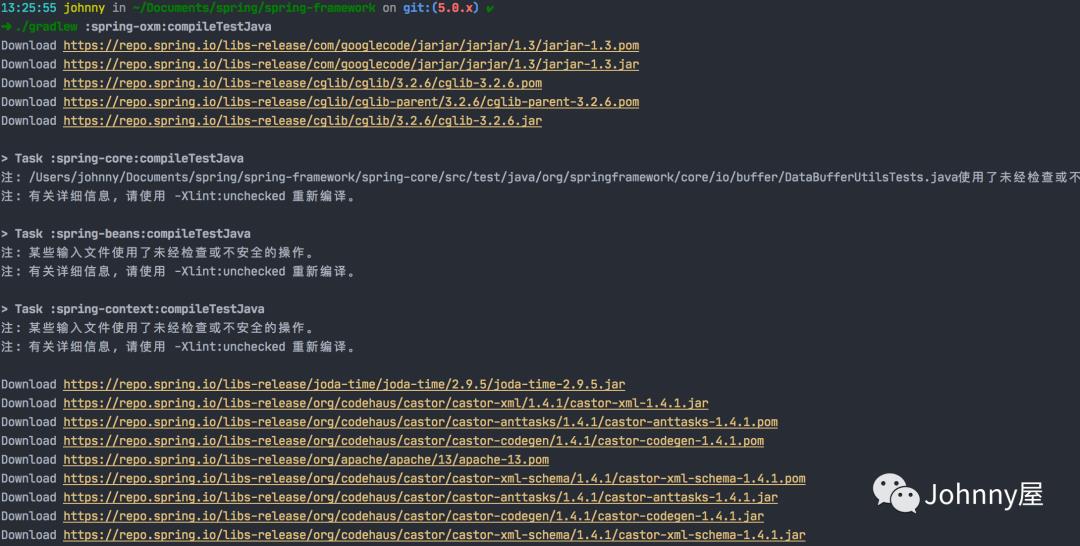
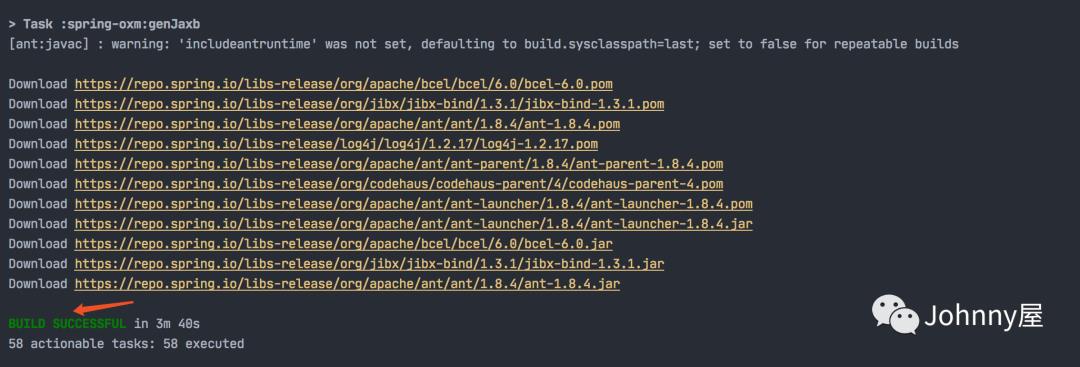
2.2 再导入到 idea 中
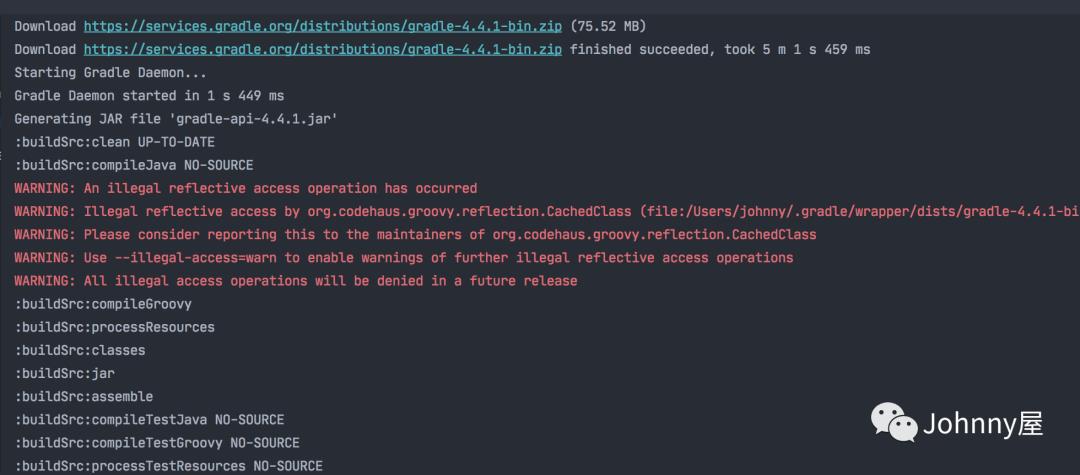
会开始下载 Gradle 构建工具 等,会根据 gradle-wrapper.properties 中的指定版本下载,最好不要修改它的版本

Idea导入 选择文件夹

选择使用Gradle
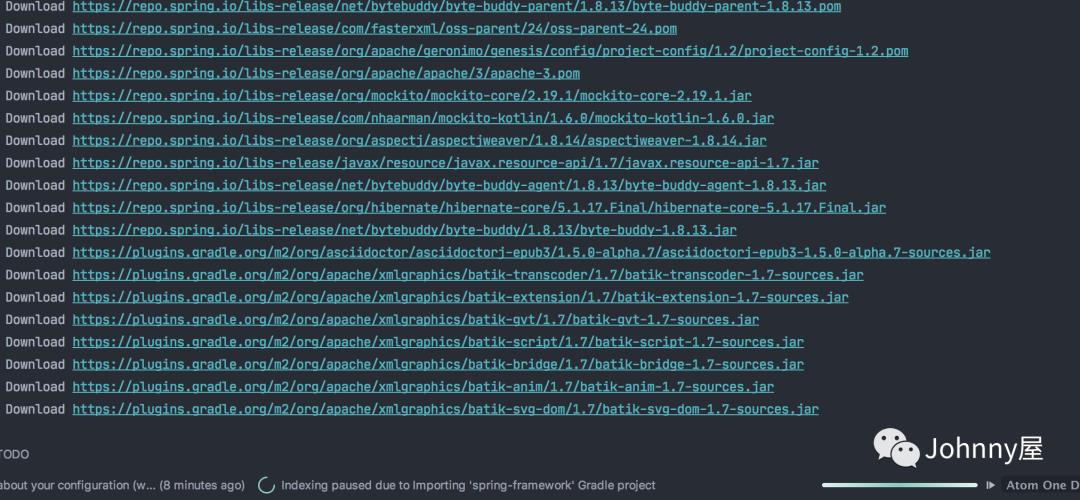
静静的等待
2.3 排除 "spring-aspects"
排除了 spring-aspects 项目
打开settings.gradle 把 //include "spring-aspects" 注释了

2.4 下载完依赖后 (耗时可能要个15-30分钟)
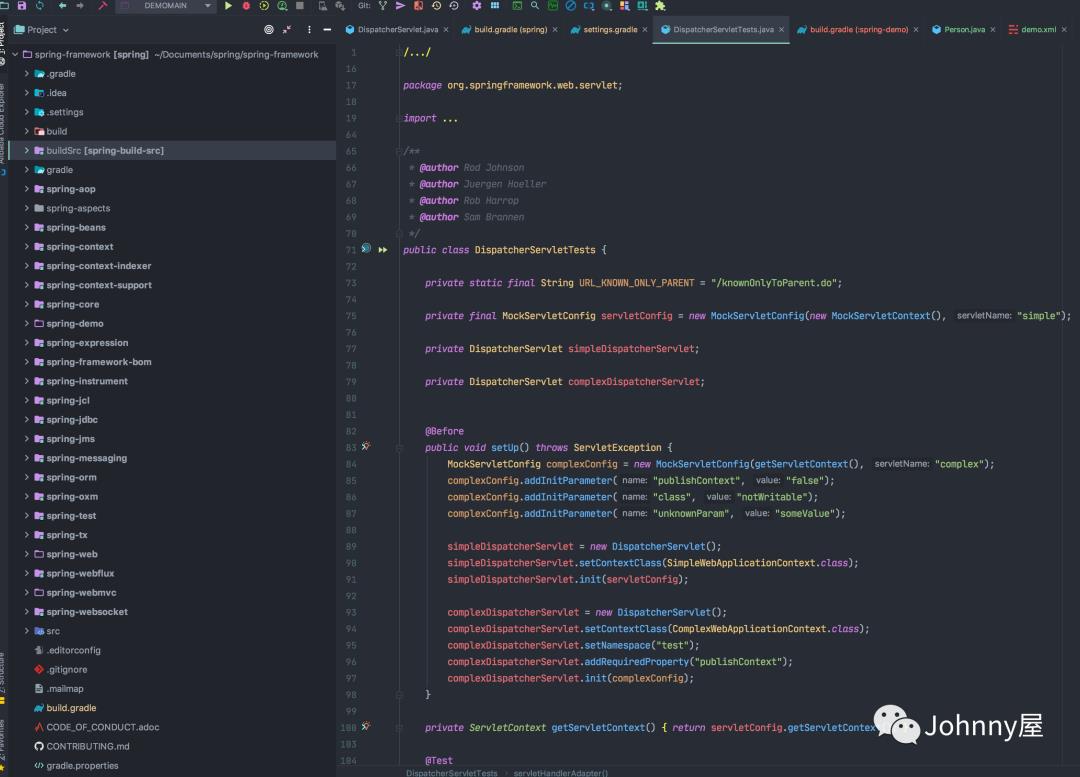
可以发现 依赖都加载完成后,idea 就能识别我们导入的 spring项目了,并且图标都变亮了
3.引入自定义模块放入SpringFramework 项目下
下面就是来验证 我们的 源码环境是否 正常, 需要引入一个自定义的 模块,并且依赖 core bean 等spring依赖
3.1 新建module
右击项目 -》 new -》 module 选择 gradle 项目
3.2 添加 依赖
在新建的module下 打开 build.gradle 引入下面的依赖 spring-beans , spring-context , spring-core , spring-expression
dependencies {
    testCompile group: 'junit', name: 'junit', version: '4.12'

    compile(project(":spring-beans"))
    compile(project(":spring-context"))
    compile(project(":spring-core"))
    compile(project(":spring-expression"))
}
3.3 检查 module 是否被引入
打开settings.gradle 添加 include 'spring-demo' ,默认使用我说的创建module 方式 会自动添加的最好检查一下
3.4 编写 测试代码
3.4.1 定义Person类
package com.johnny.bean;

/**
 * @author johnny
 * @create 2020-09-07 下午11:22
 **/
public class Person {

   private String name;

   private int age;

   @Override
   public String toString() {
      return "Person{" +
            "name='" + name + '\'' +
            ", age=" + age +
            '}';
   }

   public String getName() {
      return name;
   }

   public void setName(String name) {
      this.name = name;
   }

   public int getAge() {
      return age;
   }

   public void setAge(int age) {
      this.age = age;
   }
}
3.4.2 resources 下新建 demo.xml
<?xml version="1.0" encoding="UTF-8"?>
<beans xmlns="http://www.springframework.org/schema/beans"
       xmlns:xsi="http://www.w3.org/2001/XMLSchema-instance"
       xsi:schemaLocation="http://www.springframework.org/schema/beans http://www.springframework.org/schema/beans/spring-beans.xsd">


   <bean class="com.johnny.bean.Person" id="person">
      <property name="name" value="johnny"/>
      <property name="age" value="10"/>
   </bean>
</beans>
3.4.3 新建main 加载xml 并且从容器中获取 bean
package com.johnny.bean;

import org.springframework.context.support.ClassPathXmlApplicationContext;

/**
 * @author johnny
 * @create 2020-09-07 下午11:24
 **/
public class DemoMain {

   public static void main(String[] args) {
      ClassPathXmlApplicationContext classPathXmlApplicationContext = new ClassPathXmlApplicationContext("demo.xml");
      Person person = classPathXmlApplicationContext.getBean(Person.class);
      System.out.println(person);
   }
}
可以看到 能获取到 容器中的Bean ,表示我们的spring环境搭建正确
总结
本篇主要讲解 如何使用idea 搭建spring源码环境,过程其实很耗时 而且特别容易出错,总结就是 1. clone 代码,2.进入源码目录执行 ./gradlew :spring-oxm:compileTestJava3.导入idea 中 4. 排除 exclude the spring-aspects module 5.自定义module 验证环境 , 祝愿大家环境搭建顺利。。。最好开个墙
以上是关于Idea 搭建Spring源码环境的主要内容,如果未能解决你的问题,请参考以下文章