initState() { super.initState(); controller = new AnimationController( duration: constDuration(milliseconds: 2000), vsync: this); animation = new Tween(begin: 0.0, end: 300.0).animate(controller) ..addListener(() { setState(() { // the state that has changed here is the animation object’s value }); }); controller.forward(); }
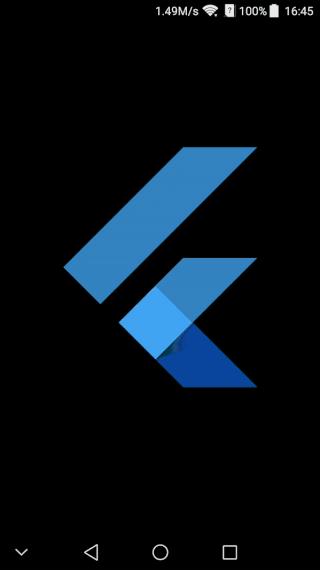
Widget build(BuildContext context) { return new Center( child: new Container( margin: new EdgeInsets.symmetric(vertical: 10.0), height: animation.value, width: animation.value, child: new FlutterLogo(), ), ); }
initState() { super.initState(); controller = new AnimationController( duration: constDuration(milliseconds: 2000), vsync: this); animation = new Tween(begin: 0.0, end: 300.0).animate(controller) ..addListener(() { setState(() { // the state that has changed here is the animation object’s value }); }) ..addStatusListener((status){ if(status==AnimationStatus.forward){ print("动画开始"); }else if(status==AnimationStatus.completed){ print("动画结束"); controller.reverse(); } else if (status == AnimationStatus.dismissed) { print("动画消失"); controller.forward(); } });
controller.forward(); }
Widget build(BuildContext context) { return new Center( child: new Container( margin: new EdgeInsets.symmetric(vertical: 10.0), height: animation.value, width: animation.value, child: new FlutterLogo(), ), ); }
/** * 使用AnimatedBuilder来做动画 */ classLogoAppextendsStatefulWidget{ _LogoAppState createState()=> new _LogoAppState(); } classLogoWidgetextendsStatelessWidget{ // Leave out the height and width so it fills the animating parent build(BuildContext context) { return new Container( margin: new EdgeInsets.symmetric(vertical: 10.0), child: new FlutterLogo(), ); } } class _LogoAppState extends State<LogoApp> with TickerProviderStateMixin { Animation animation; AnimationController controller;
initState() { super.initState(); controller = new AnimationController( duration: const Duration(milliseconds: 2000), vsync: this); final CurvedAnimation curve = new CurvedAnimation(parent: controller, curve: Curves.bounceInOut); animation = new Tween(begin: 0.0, end: 300.0).animate(curve); controller.forward(); }
Widget build(BuildContext context) { return new GrowTransition(child: new LogoWidget(), animation: animation); }
final AnimationController controller = new AnimationController(duration: constDuration(milliseconds: 2000), vsync: this); final Animation<double> sizeAnimation = new Tween(begin: 0.0, end: 300.0).animate(controller); final Animation<double> opacityAnimation = new Tween(begin: 0.1, end: 1.0).animate(controller);
classAnimatedLogoextendsAnimatedWidget{ // The Tweens are static because they don't change. static final _opacityTween = new Tween<double>(begin: 0.1, end: 1.0); static final _sizeTween = new Tween<double>(begin: 0.0, end: 300.0);