8.4 SRE要懂点前端-http与跨域
Posted SRE说
tags:
篇首语:本文由小常识网(cha138.com)小编为大家整理,主要介绍了8.4 SRE要懂点前端-http与跨域相关的知识,希望对你有一定的参考价值。
大家根据前面几篇文章的了解对VUE 应该有个基本的认识了接入下来进入最关键的环节如何请求http请求,并能在页面上渲染。
http跨域
首先第一点,如果是外部请求一定要解决跨域的问题。
在config/index.js这个文件里面的proxyTable字段
  '/gettestdata': {target: 'http://0.0.0.0:8000',//后端接口地址
  changeOrigin: true,//是否允许跨越
  pathRewrite: {
    '^/gettestdata': 'http://0.0.0.0:8000/gettestdata',//重写,
  }
},
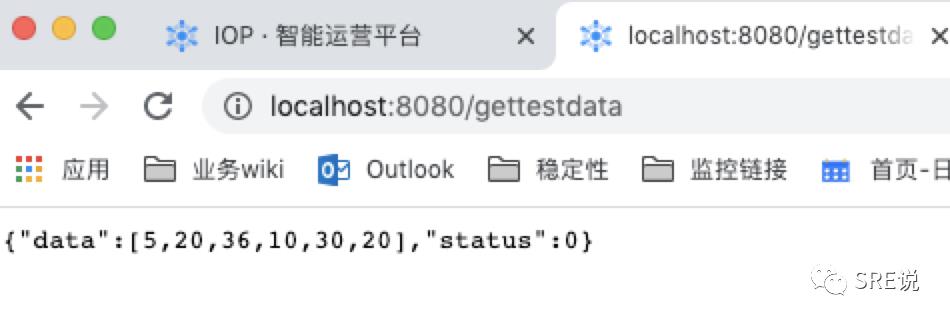
当你在浏览器中输入 http://localhost:8080/gettestdata
2 http请求
第一步 安装
npm install --save axios
第二步 全局配置
新建一个文件夹和三个文件
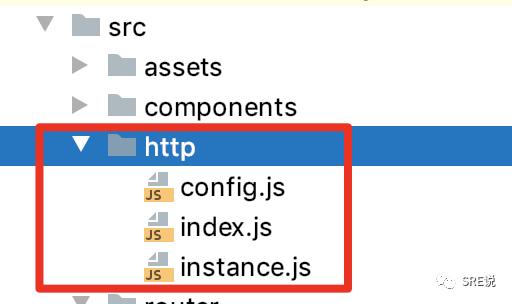
config.js 定义 http的全局变量
export const BASE_URL = '//localhost:8080/'
export const MAX_TIMEOUT = 100000;
instance.js axios的初始化
import axios from 'axios';
import {BASE_URL, MAX_TIMEOUT, STATUS_CODE} from './config';

const instance = axios.create({
  withCredentials: false,
  baseURL: BASE_URL,
  timeout: MAX_TIMEOUT
});

export default instance;
index.js 入口文件
import instance from './instance';
class APIHandler {
  constructor (instance) {
    this.instance = instance;
  }

  install (Vue) {
    Object.assign(Vue.prototype, {
      $http: this.instance
    });
    Object.assign(Vue, {
      $http: this.instance
    });
  }
}
export default new APIHandler(instance);
第三步正式使用
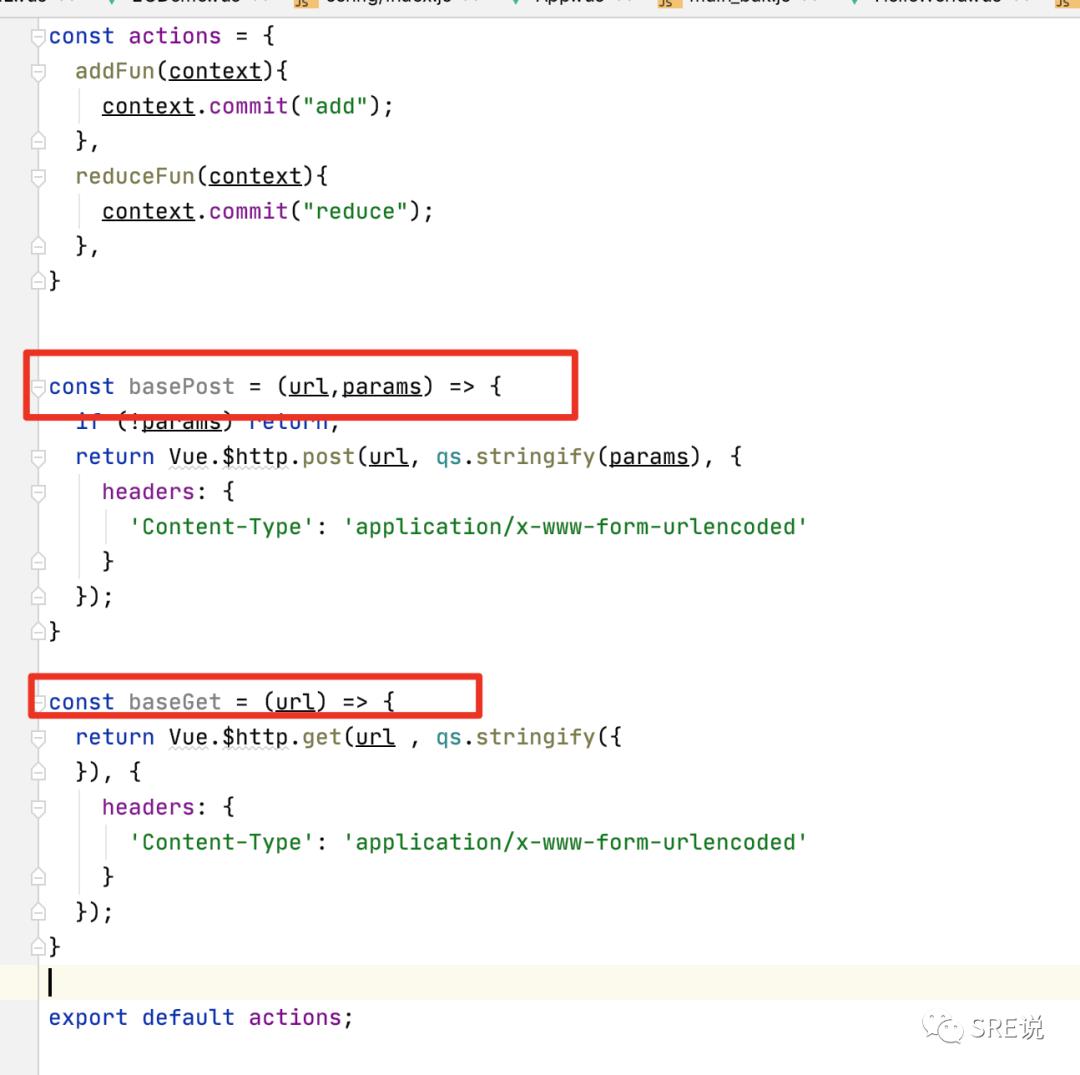
在action.js先定义两个函数get请求和post请求
const basePost = (url,params) => {
  if (!params) return;
  return Vue.$http.post(url, qs.stringify(params), {
    headers: {
      'Content-Type': 'application/x-www-form-urlencoded'
    }
  });
}

const baseGet = (url) => {
  return Vue.$http.get(url , qs.stringify({
  }), {
    headers: {
      'Content-Type': 'application/x-www-form-urlencoded'
    }
  });
}
第四步跟vuext结合
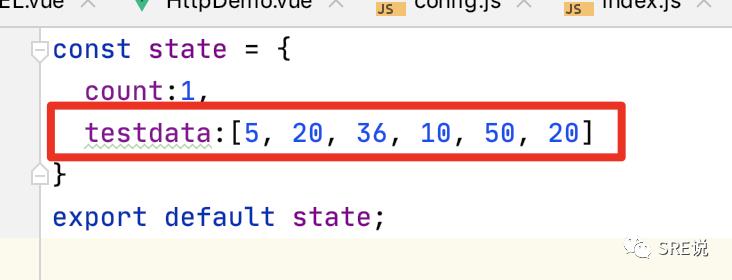
vuex
state.js
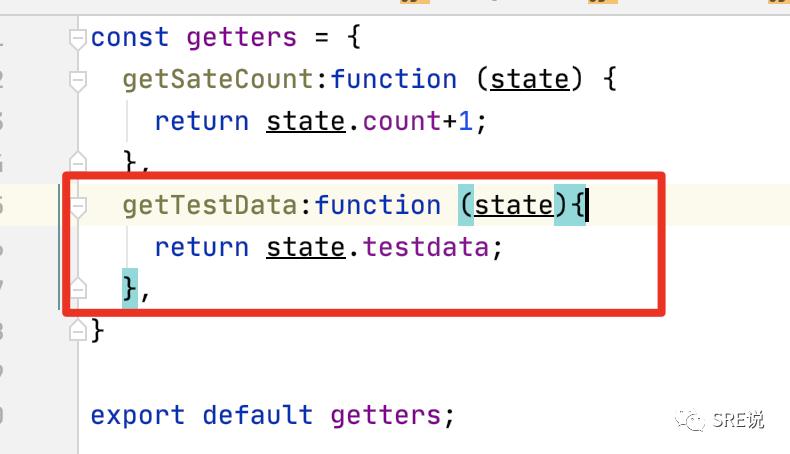
getter.js
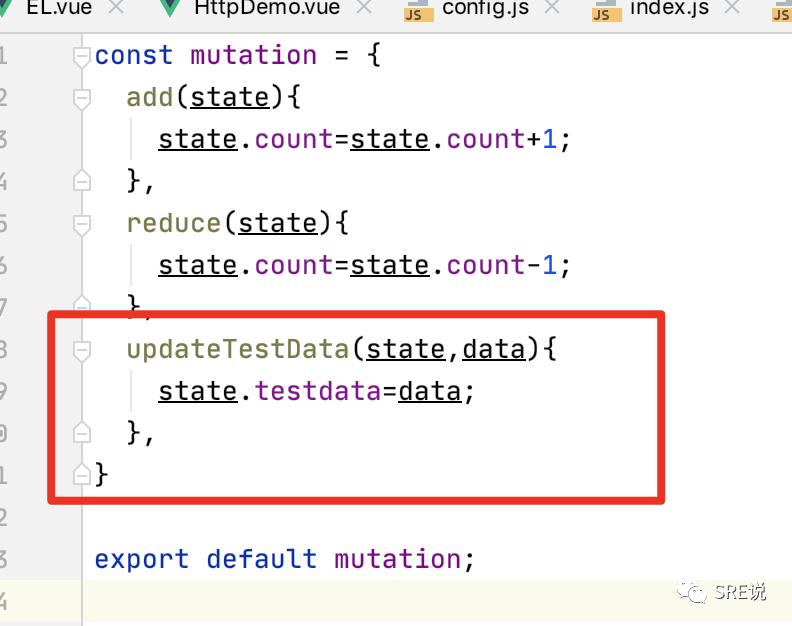
mutations.js
acitons.js
  getTestData(context){
    var url="http://localhost:8080/gettestdata"
    baseGet(url).then(response => {
      var overviewData=response.data.data;
      context.commit("updateTestData",overviewData);
    }).catch(err => {
      console.log(err);
    });
  },
}
第五步跟echart结合
<template>
  <div>
    <div class="chart-demo" ref="echartdemo"></div>
  </div>
</template>

<script>
/* eslint-disable */
import echarts from 'echarts'
export default {
  beforeCreate(){
    this.$store.dispatch("getTestData")
  },
  components: {
  },
  computed: {
    optionDemo(){
      return this.optionsDemo()
    },
  },
  mounted() {
    this.initEchart();
  },
  methods: {
    initEchart(){
      this.eChart = echarts.init(this.$refs.echartdemo);
      this.eChart.setOption(this.optionDemo);
    },
    optionsDemo() {
      //let values = [5, 20, 36, 10, 10, 20]
      let values = this.$store.getters.getTestData
      return {
        title: {
          text: "ECharts 入门示例"
        },
        tooltip: {},
        xAxis: {
          data: ["衬衫", "羊毛衫", "雪纺衫", "裤子", "高跟鞋", "袜子"]
        },
        yAxis: {},
        series: [
          {
            name: "销量",
            type: "bar",
            data: values
          }
        ]
      };
    },
  },
  watch:{
    optionDemo:{
      watch: true,
      handler (optionDemo) {
        this.eChart.setOption(optionDemo);
      },
      deep:true
    }
  }
};
</script>

<style scoped>
  .chart-demo{
    float:left;
    width: 100%;
    border: 1px solid green;
    height:400px
  }
</style>
这里说一下几个关键点
第一个提前发起一下请求获取数据

第二 把echart的数据换成自己的请求回来的数据

第三是定义watch函数,如果有变化需要重新渲染
最后是输入路径 http://localhost:8080/#/httpdemo 成功了
恭喜你 截止到这一节 你已经学会了
1 vue的搭建
2 vuex的使用
3 elementui的使用
4 echart的使用
5 http请求的发送跟echart的联动
这其中的关键点基本走通了,剩下的就是修炼内功了。你如果想要链接前端更多的知识,需要不断的学习
以上是关于8.4 SRE要懂点前端-http与跨域的主要内容,如果未能解决你的问题,请参考以下文章