在Ubuntu14.04下安装tensorflow,亲测有效
Posted 深度学习与神经网络
tags:
篇首语:本文由小常识网(cha138.com)小编为大家整理,主要介绍了在Ubuntu14.04下安装tensorflow,亲测有效相关的知识,希望对你有一定的参考价值。
官方提供了5种安装tensorflow的方法:
Pip install: Install TensorFlow on your machine, possibly upgrading previously installed Python packages. May impact existing Python programs on your machine.
Virtualenv install: Install TensorFlow in its own directory, not impacting any existing Python programs on your machine.
Anaconda install: Install TensorFlow in its own environment for those running the Anaconda Python distribution. Does not impact existing Python programs on your machine.
Docker install: Run TensorFlow in a Docker container isolated from all other programs on your machine.
Installing from sources: Install TensorFlow by building a pip wheel that you then install using pip.
首先说明tensorflow的Ubuntu安装环境必须是64位,可以使用以下命令来查看
打开终端,输入sudo uname --m ,按下enter
如果显示i686,你安装了32位操作系统
如果显示 x86_64,你安装了64位操作系统
下面采用了两种办法安装tensorflow (python2.7)
首先安装 pip :
# Ubuntu/Linux 64-bit
$ sudo apt-get install python-pip python-dev
安装 TensorFlow :
# Ubuntu/Linux 64-bit, CPU only, Python 2.7:
$ sudo pip install --upgrade https://storage.googleapis.com/tensorflow/linux/cpu/tensorflow-0.8.0-cp27-none-linux_x86_64.whl
需要注意的是使用pip安装,总会出现下面的错误
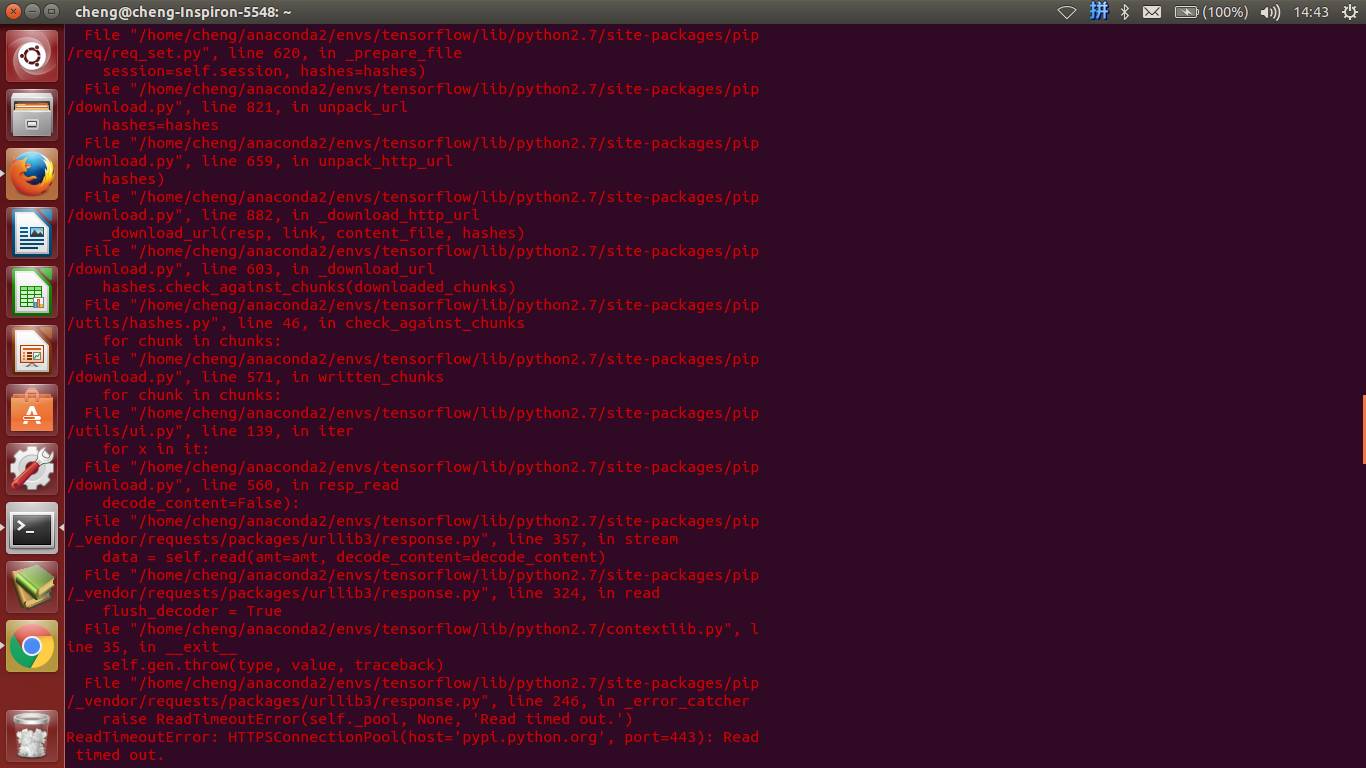
这大多是因为网速不好引起的,多试几次就会好。
或者使用命令改变timeout,命令如下
sudo pip install --default-timeout=100 future
如果运行命令之后再进行安装,仍出现timeout错误,多试几次就会好。
 下载linux版本的Anaconda

下载linux版本的Anaconda安装包
这里选择64位Linux的Python 2.7版本
点击下载,下载完成后,得到Anaconda2-4.4.0-linux-x86_64.sh安装文件
 安装Anaconda

打开terminal,输入如下命令,然后回车
bash /home/cheng/下载/Anaconda2-4.4.0-Linux-x86_64.sh
这里的/home/cheng/下载/是存放Anaconda2-4.0.0-Linux-x86_64.sh的路径
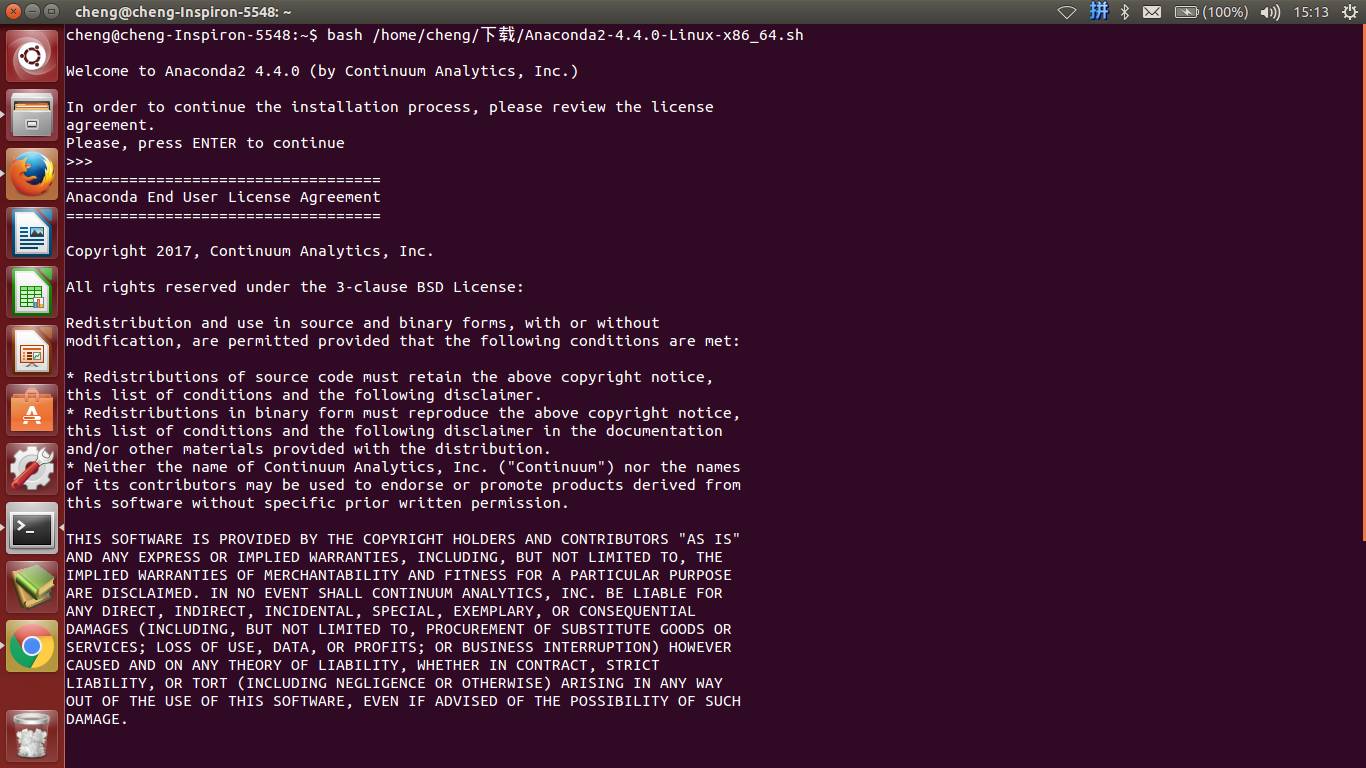
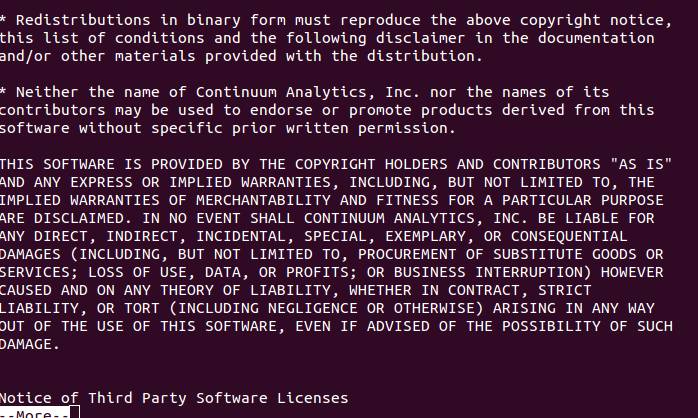
阅读license,一步步回车阅读(出现more时通过回车往下看)
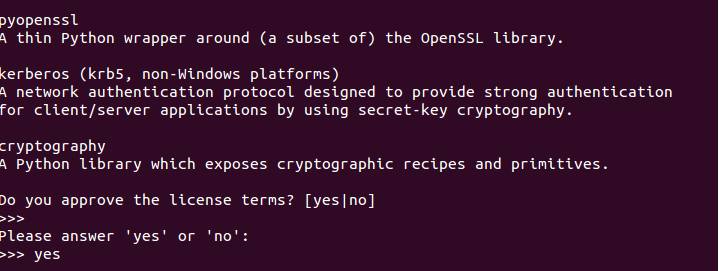
输入yes,表示接受license
设置安装路径,这里使用默认安装路径,直接输入回车即可
开始自动安装过程

确认是否将Anaconda的安装路径添加到环境变量中,输入yes (这是我已经完成安装之后,为了截图又走了一遍流程,导致提示文件已存在)
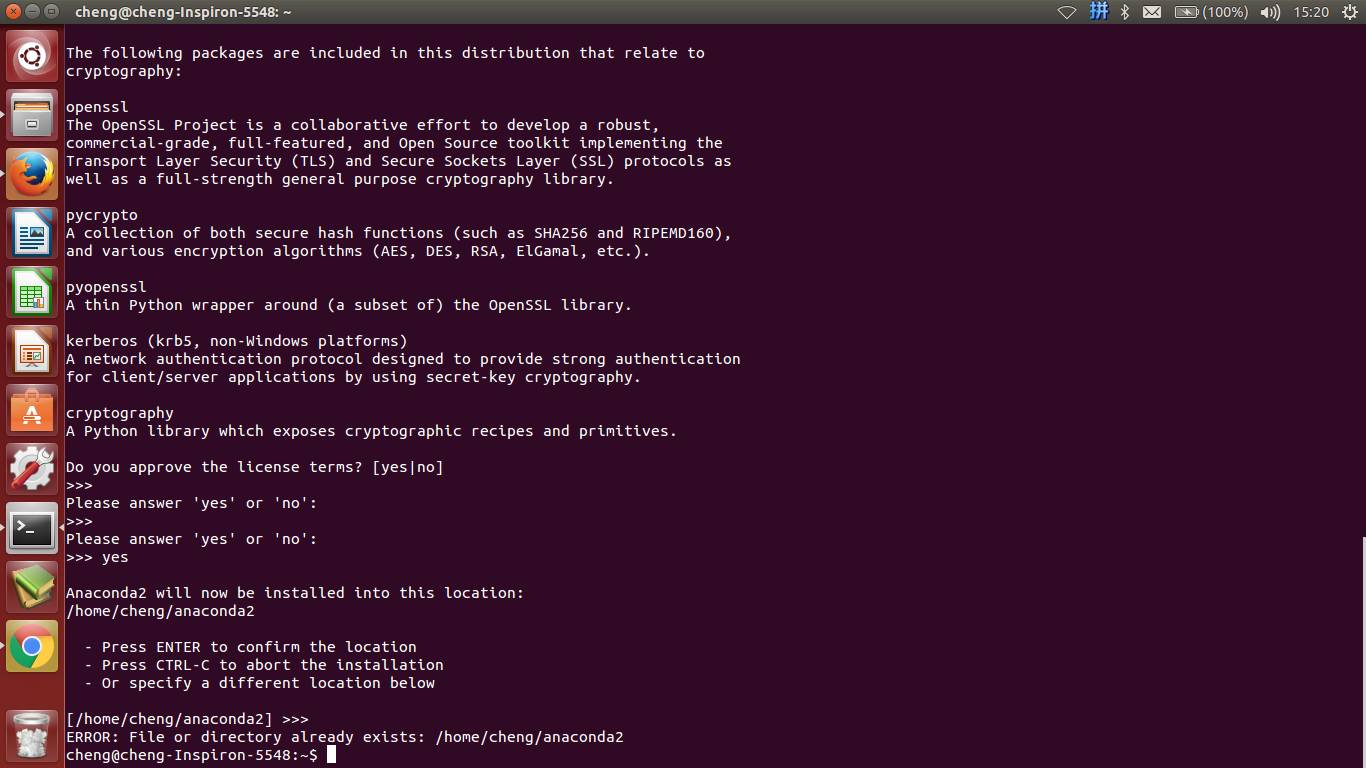
安装完成
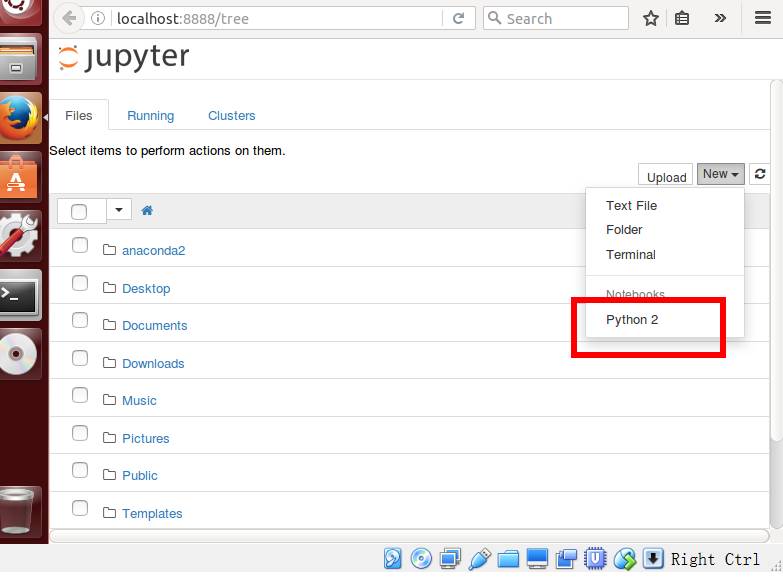
这里可以看到,notebooks和一些python包都被成功安装了,但对于环境变量的更改,必须要新打开一个terminal才能生效

打开新的terminal,输入Jupyter notebook,发现jupyter被成功安装了
 利用anaconda安装tensorflow

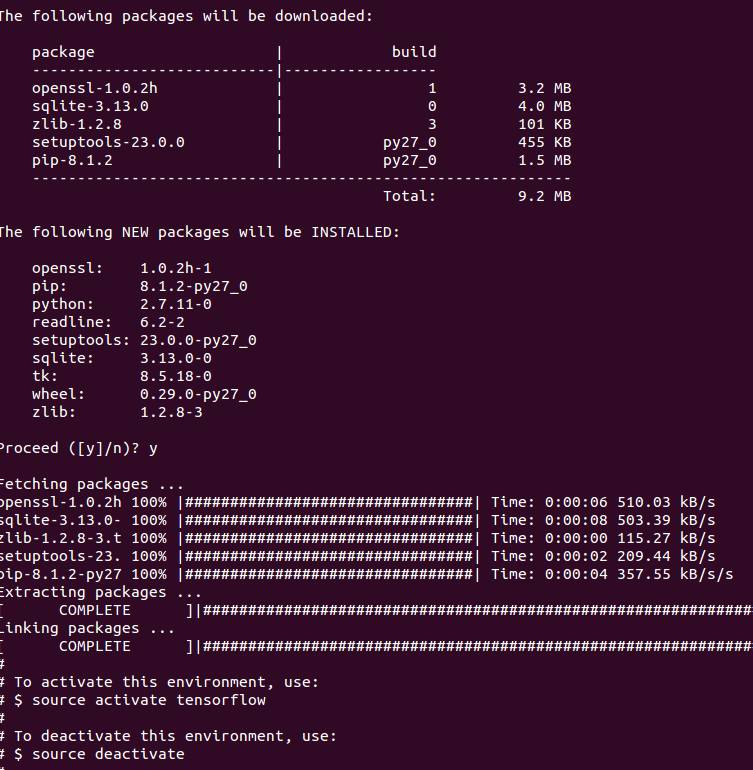
建立一个 conda 计算环境
#Create a conda environment called tensorflow:
conda create -n tensorflow python=2.7
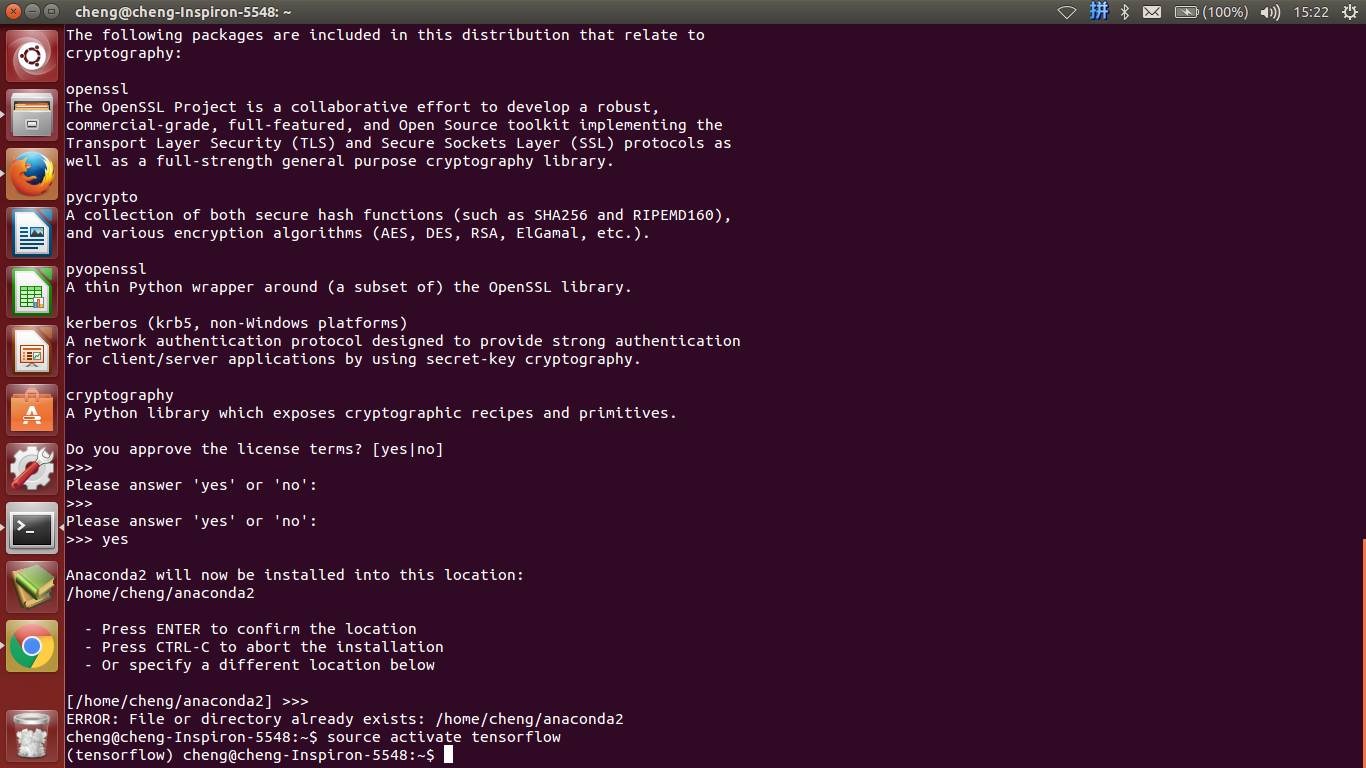
激活环境,使用 conda 安装 TensorFlow
Activate the environment and use pip to install TensorFlow inside it.
source activate tensorflow
安装tensorflow
pip install --ignore-installed --upgrade https://storage.googleapis.com/tensorflow/linux/cpu/tensorflow-0.8.0rc0-cp27-non
这一步可能会出现timeout的错误,解决方法同上。
安装成功后,每次使用 TensorFlow 的时候需要激活 conda 环境
测试tensorflow是否安装成功
(1) 激活conda环境
(2)进入python
(3)import tensorflow
ensorflow被成功import了
再写一个hello,world
import tensorflow as tf
hello=tf.constant('hello,world')
sess=tf.Session()
print sess.run(hello)
希望对您有帮助!
以上是关于在Ubuntu14.04下安装tensorflow,亲测有效的主要内容,如果未能解决你的问题,请参考以下文章