实战手把手 | Lily HBase NRT Indexer使用指南
Posted 中兴大数据
tags:
篇首语:本文由小常识网(cha138.com)小编为大家整理,主要介绍了实战手把手 | Lily HBase NRT Indexer使用指南相关的知识,希望对你有一定的参考价值。
文 | 张东涛@中兴大数据
HBase-Solr组件是Cloudera 提供的,实际是NGDATA的HBase Indexer开源项目。
HBase Indexer 为HBase提供快速查询,他允许不写代码,快速容易的把HBase行索引到Solr。HBase Indexer 支持 Cloudera Search。
HBase Indexer利用了HBase的Replication功能,把HBase数据修改(Put,Delete)都抽像成为一系列Event,然后就可以同步到Solr里了。
登录manager,修改HBase的【备份配置】内容,如下,把“启用复制”选项设置为true,并保存到集群:
重启HBase集群服务。
界面启动Solr集群服务
登录集群中部署HBase的某一主机:
cd /home/mr/hbase-solr
./bin/hbase-indexer server &
查看进程:
ps -ef|grep hbase-solr

新建的HBase表列族上设置可复制
mr用户登录HBase节点主机
创建一张新表,在表需要编制索引的列族上设置REPLICATION_SCOPE:
$ hbase shell
hbase> create 'indexdemo-user', { NAME => 'info', REPLICATION_SCOPE => '1' }
-
已存在的HBase表列族上设置可复制
如果indexdemo-user表已存在且有info列族,则按如下设置列族为可复制:
$ hbase shell
hbase>disable 'indexdemo-user'
hbase>alter 'indexdemo-user', { NAME => 'info', REPLICATION_SCOPE => '1' }
hbase>enable 'indexdemo-user'
确保Solr启动正常
mr用户登录Solr的某一主机
执行以下命令增加Solr集合:
solrctl instancedir --generate /home/mr/solr/instance1
# 修改 /home/mr/solr/instance1/conf/schema.xml文件,加入Solr索引的<field>
# 这里示例加入col1、col2
# <field name="col1" type="string" indexed="true" stored="true" />
# <field name="col2" type="string" indexed="true" stored="true" />
solrctl instancedir --create instance1 /home/mr/solr/instance1
solrctl collection --create collection1 -s 1 -r 2 -c instance1 -a
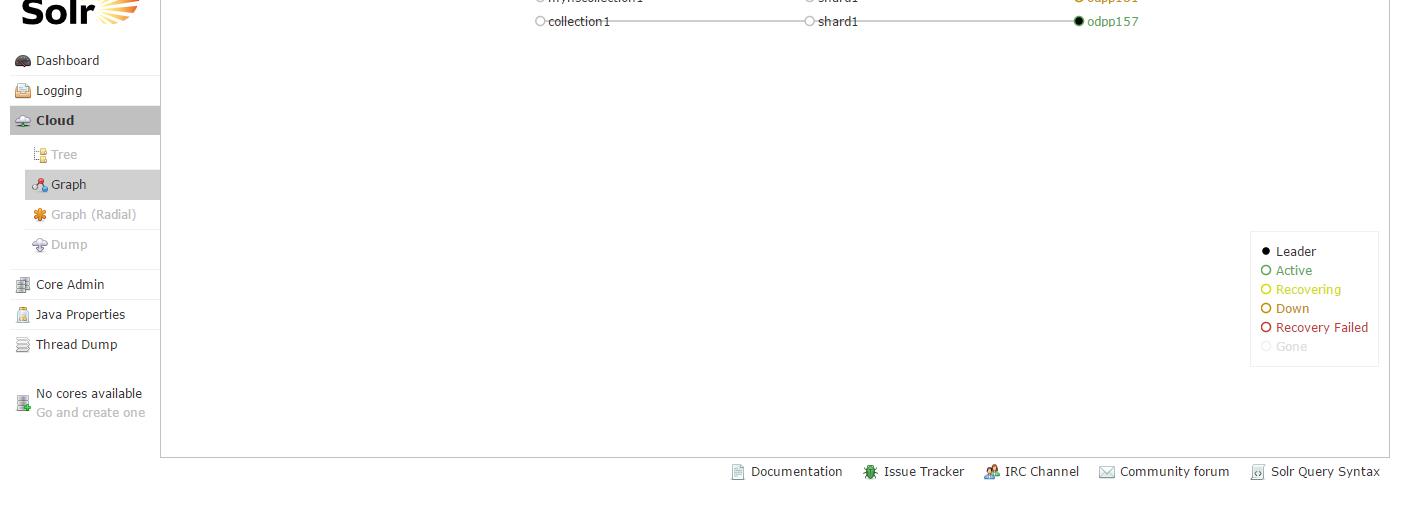
界面可查看SolrCloud,对应的集合活动主机为odpp157:

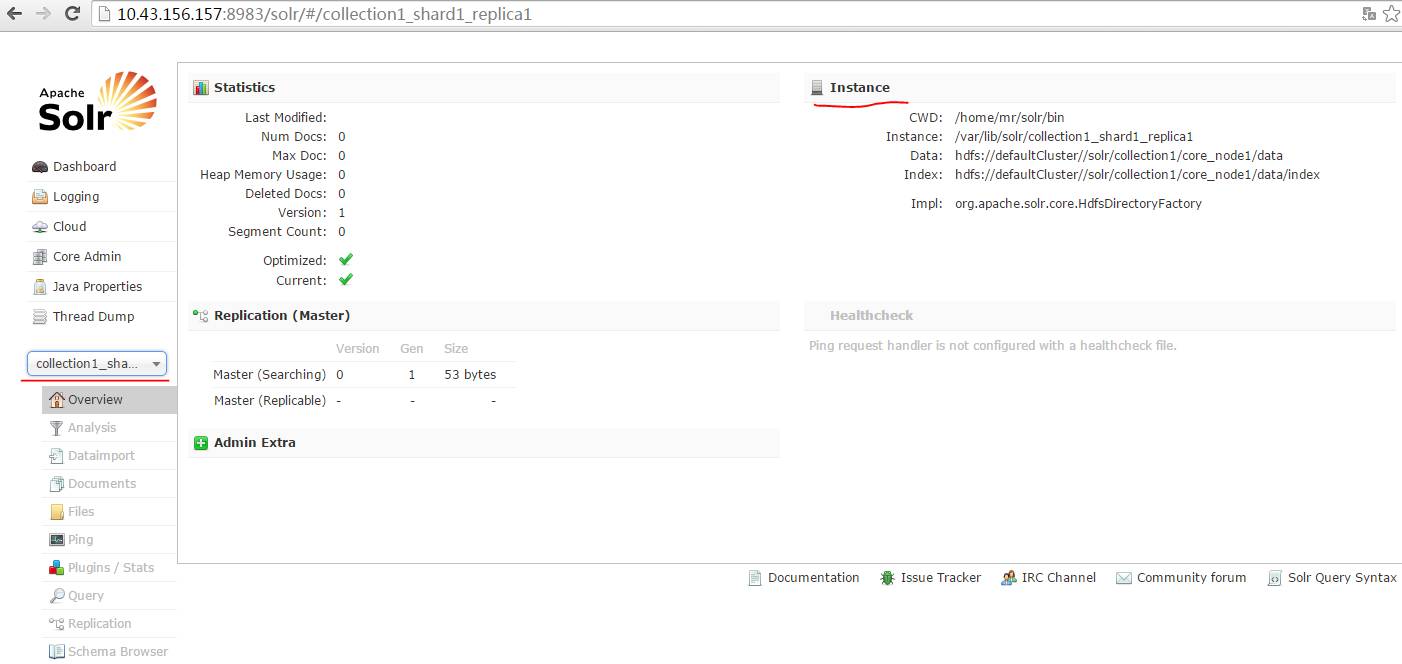
打开集合collection1活动的主机界面http://10.43.156.157:8983/solr,可以看到Solr集合信息:

这里以对HBase的indexdemo-user表编制索引为例。mr登录HBase-Solr部署的主机,在/home/mr/hbase-solr下创建一个新的xml文件,indexdemo-indexer.xml:
<?xml version="1.0"?>
<indexer table="indexdemo-user">
<field name="col1" value="info:firstname"/><!—field name 对应Solr集合中schema的field,value对应HBase的列族中的列 -->
<field name="col2" value="info:lastname"/>
<field name="age_i" value="info:age"/><!—Solr集合的schema配置的动态可索引的字段参考schema配置
<dynamicField name="*_i" type="int" indexed="true" stored="true"/>
-->
</indexer>
增加一个索引:
cd /home/mr/hbase-solr
./bin/hbase-indexer add-indexer -n myindexer1 -c indexdemo-indexer.xml
-cp solr.zk=odpp157,odpp160,odpp181/solr -cp solr.collection=collection1
-z odpp157:2181,odpp160:2181,odpp181:2181
如果需要对编制的索引文件indexdemo-indexer.xml进行更改,若使其生效,则执行更新一个编制的索引:
cd $INDEXER_HOME
./bin/hbase-indexer update-indexer -n myindexer1 -c indexdemo-indexer.xml
-cp solr.zk=odpp157,odpp160,odpp181/solr -cp solr.collection=collection1
-z odpp157:2181,odpp160:2181,odpp181:2181
以更新indexdemo-user表为例:
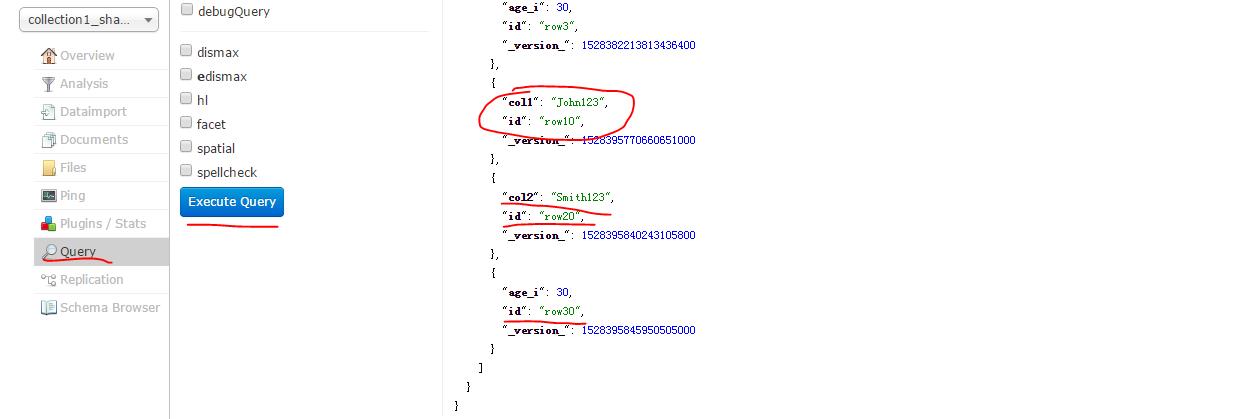
hbase> put 'indexdemo-user', 'row10', 'info:firstname', 'John123'
hbase> put 'indexdemo-user', 'row20', 'info:lastname', 'Smith123'
hbase> put 'indexdemo-user', 'row30', 'info:age', '30'
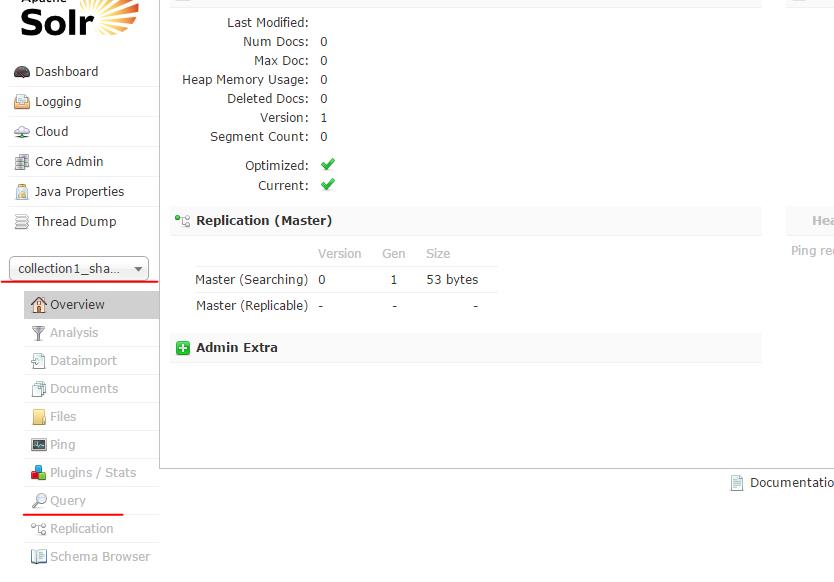
访问Solr搜索界面,如:http://10.43.156.157:8983/solr,选择collection1集合对应切片的query按钮执行查询:

可以看到更新到HBase表的索引内容:


有诚意的分割线,插播一条有诚意招聘信息:

以上是关于实战手把手 | Lily HBase NRT Indexer使用指南的主要内容,如果未能解决你的问题,请参考以下文章