Vim使用XDebug支持Php调试
Posted 大招说
tags:
篇首语:本文由小常识网(cha138.com)小编为大家整理,主要介绍了Vim使用XDebug支持Php调试相关的知识,希望对你有一定的参考价值。
一、原理
php调试的方式有很多,最常用的就是通过打印来解决,打印带来的缺陷也比较明显,就是不够直观,而且繁琐,打的不准的话,会浪费很多时间,所以这里给大家介绍一种常用调试方式,利用xdebug来实现,这次我们将和Vim结合,具体原理如下:
二、xdebug安装配置
1、为php安装xdebug.so扩展
wget https://xdebug.org/files/xdebug-2.5.4.tgz tar xf xdebug-2.5.4.tgz cd xdebug-2.5.4 phpize ./configure --enable-xdebug make cp modules/xdebug.so /usr/lib64/php/modules/ |
2、配置php
cd /etc/php.d |
新建xdebug.ini,填入如下内容:
zend_extension =/usr/lib64/php/modules/xdebug.so xdebug.remote_enable=on xdebug.remote_handler=dbgp xdebug.remote_host=127.0.0.1 xdebug.remote_port=9010 |
3、重启php-fpm
sudo service php-fpm restart |
三、Vim插件安装配置
往.vimrc中插入
Bundle 'joonty/vdebug'

"===================================
"xdebug
"==================================
let g:vdebug_options = {}
let g:vdebug_options["port"] = 9010 |
在命令模式下,执行BundleInstall
四、具体操作
1、打开你要调试的php文件
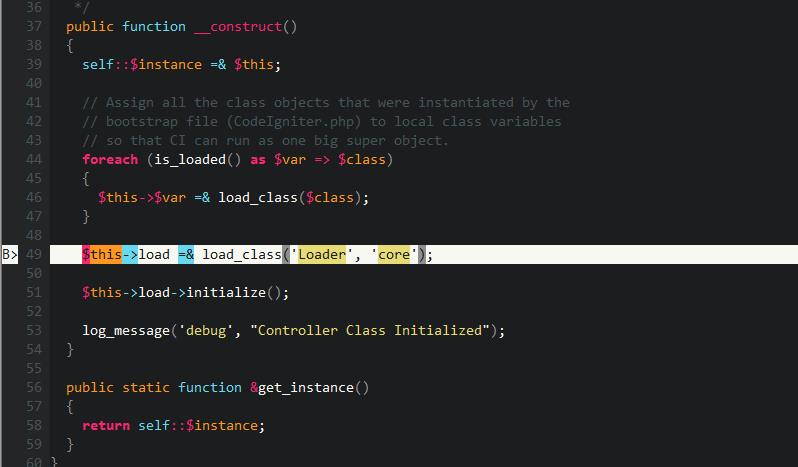
2、光标移动到你要调试的行,按下<F10>添加一个行断点

3、按下<F5>,开始调试状态,在vim底下会出现类似下面的信息
4、打开浏览器,输入你的Url,并在末尾添加 ?XDEBUG_SESSION_START=1,例如,http:://localhost/index.php → http://localhost/index.php?XDEBUG_SESSION_START=1
然后刷新页面,在vim中就会看到如下信息:
五、调试指南
<F5>: start/run (to next breakpoint/end of script) <F2>: step over <F3>: step into <F4>: step out <F6>: stop debugging (kills script) <F7>: detach script from debugger <F9>: run to cursor <F10>: toggle line breakpoint <F11>: show context variables (e.g. after "eval") <F12>: evaluate variable under cursor :Breakpoint <type> <args>: set a breakpoint of any type (see :help VdebugBreakpoints) :VdebugEval <code>: evaluate some code and display the result <Leader>e: evaluate the expression under visual highlight and display the result |
以上是关于Vim使用XDebug支持Php调试的主要内容,如果未能解决你的问题,请参考以下文章