CSS3用户界面图片按钮
Posted 互联网IT信息
tags:
篇首语:本文由小常识网(cha138.com)小编为大家整理,主要介绍了CSS3用户界面图片按钮相关的知识,希望对你有一定的参考价值。
1CSS3用户界面
在 CSS3 中, 增加了一些新的用户界面特性来调整元素尺寸,框尺寸和外边框。
属性介绍如图:
CSS3 调整尺寸(Resizing)
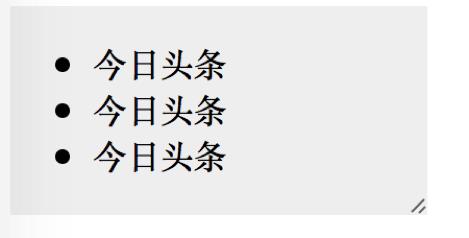
CSS3中,resize属性指定一个元素是否应该由用户去调整大小。
这个 div 元素由用户调整大小。 (在 Firefox 4+, Chrome, 和 Safari中)
效果图:
代码实例:
<!DOCTYPE html>
<html>
<head>
<meta charset="utf-8" />
<title>resize</title>
<style>
.test{overflow:auto;width:200px;height:100px;resize:both;background:#eee;}
</style>
</head>
<body>
<div>
<ul>
<li>今日头条</li>
<li>今日头条</li>
<li>今日头条</li>
</ul>
</div>
</body>
</html>
CSS3 方框大小调整(Box Sizing)
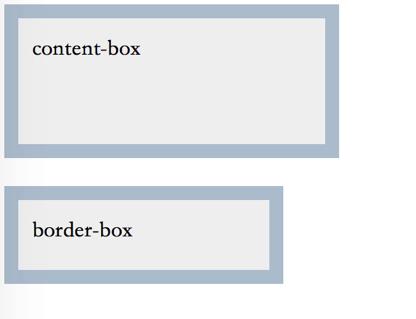
box-sizing 属性允许您以确切的方式定义适应某个区域的具体内容。
效果图:
代码实例:
<!DOCTYPE html>
<html>
<head>
<meta charset="utf-8" />
<title>box-sizing</title>
<style>
.test{width:200px;height:70px;padding:10px;border:10px solid #abc;-moz-box-sizing:content-box;-ms-box-sizing:content-box;box-sizing:content-box;background:#eee;}
.test2{width:200px;height:70px;padding:10px;border:10px solid #abc;-moz-box-sizing:border-box;-ms-box-sizing:border-box;box-sizing:border-box;background:#eee;margin-top:20px;}
</style>
</head>
<body>
<div>content-box</div>
<div>border-box</div>
</body>
</html>
CSS3 外形修饰(outline-offset )
outline-offset 属性对轮廓进行偏移,并在超出边框边缘的位置绘制轮廓。
轮廓与边框有两点不同:
轮廓不占用空间
轮廓可能是非矩形
这个 div 在边框之外 15 像素处有一个轮廓。
效果图:

代码实例:
<!DOCTYPE html>
<html>
<head>
<meta charset="utf-8" />
<title>outline-offset</title>
<style>
.test{ margin:20px;width:220px;padding:10px;outline:5px dashed blue;outline-offset:8px;border:3px solid #333;}
</style>
</head>
<body>
<div>outline-offset</div>
</body>
</html>
2CSS3图片
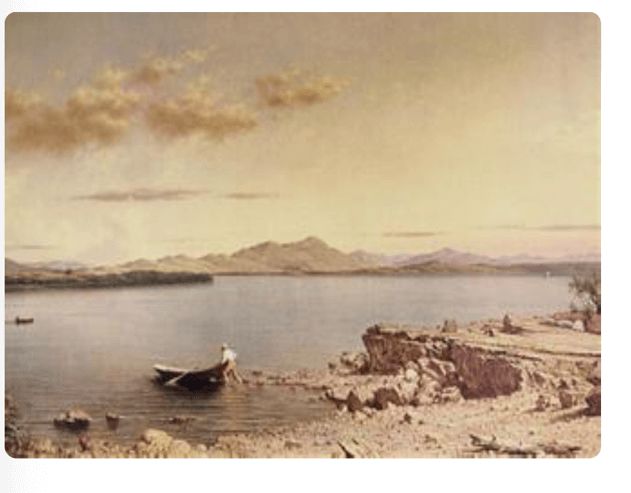
圆角图片
img {
border-radius: 8px;
}
效果图:
代码实例:
<!DOCTYPE html>
<html>
<head>
<meta charset="utf-8">
<title>border-radius-img</title>
<style>
img {
border-radius: 8px;
}
</style>
</head>
<body>
<h2>圆角图片</h2>
<p>使用 border-radius 属性来创建圆角图片:</p>
<img alt="Paris" width="400" height="300">
</body>
</html>
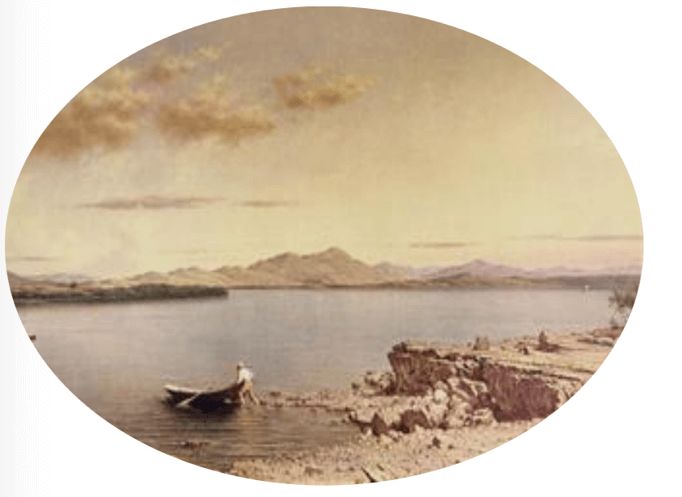
椭圆形图片:
img {
border-radius: 50%;
}
效果图:
代码实例:
<!DOCTYPE html>
<html>
<head>
<meta charset="utf-8">
<title>椭圆形图片</title>
<style>
img {
border-radius: 50%;
}
</style>
</head>
<body>
<h2>椭圆形图片</h2>
<p>使用 border-radius 属性来创建椭圆形图片:</p>
<img alt="Paris" width="400" height="300">
</body>
</html>
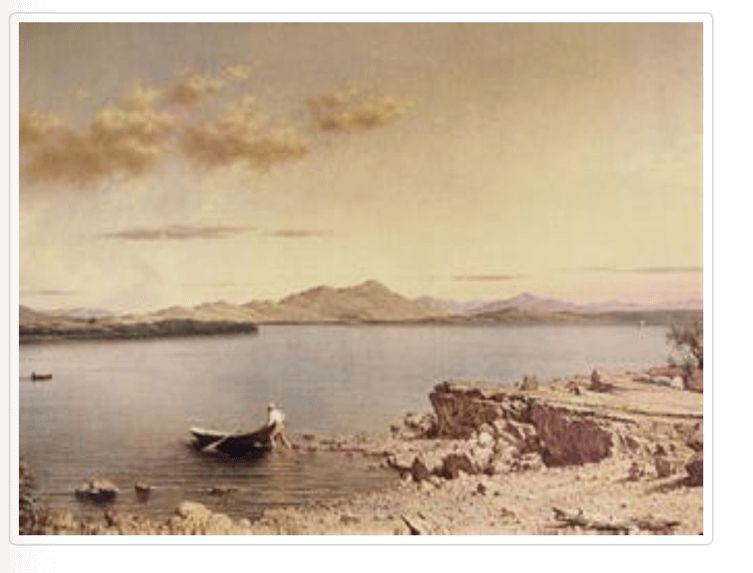
缩略图
img {
border: 1px solid #ddd;
border-radius: 4px;
padding: 5px;
}
效果图:
代码实例:
<!DOCTYPE html>
<html>
<head>
<meta charset="utf-8">
<title>缩略图</title>
<style>
img {
border: 1px solid #ddd;
border-radius: 4px;
padding: 5px;
}
</style>
</head>
<body>
<h2>缩略图</h2>
<p>我们使用 border 属性来创建缩略图。</p>
<img alt="Paris" width="400" height="300">
</body>
</html>
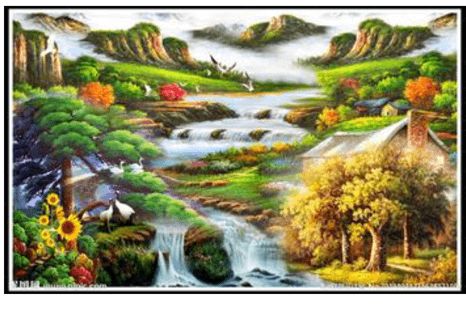
响应式图片
响应式图片会自动适配各种尺寸的屏幕。
img {
max-width: 100%;
height: auto;
}
效果图:
图片滤镜
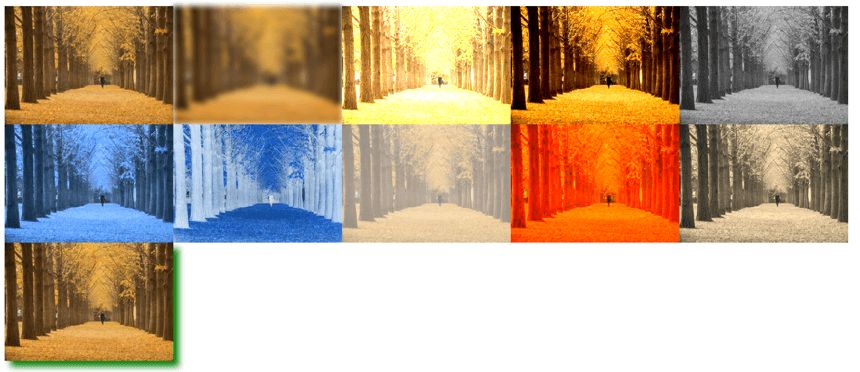
CSS filter 属性用为元素添加可视效果 (例如:模糊与饱和度) 。
效果图:
代码实例:
<!DOCTYPE html>
<html>
<head>
<meta charset="utf-8">
<title>滤镜效果</title>
<style>
img {
width: 33%;
height: auto;
float: left;
max-width: 235px;
}
.blur {-webkit-filter: blur(4px);filter: blur(4px);}
.brightness {-webkit-filter: brightness(250%);filter: brightness(250%);}
.contrast {-webkit-filter: contrast(180%);filter: contrast(180%);}
.grayscale {-webkit-filter: grayscale(100%);filter: grayscale(100%);}
.huerotate {-webkit-filter: hue-rotate(180deg);filter: hue-rotate(180deg);}
.invert {-webkit-filter: invert(100%);filter: invert(100%);}
.opacity {-webkit-filter: opacity(50%);filter: opacity(50%);}
.saturate {-webkit-filter: saturate(7); filter: saturate(7);}
.sepia {-webkit-filter: sepia(100%);filter: sepia(100%);}
.shadow {-webkit-filter: drop-shadow(8px 8px 10px green);filter: drop-shadow(8px 8px 10px green);}
</style>
</head>
<body>
<p><strong>注意:</strong> Internet Explorer <span>或 Safari 5.1 (及更早版本)</span> 不支持该属性。</p>
<img alt="Pineapple" width="300" height="300">
<img alt="Pineapple" width="300" height="300">
<img alt="Pineapple" width="300" height="300">
<img alt="Pineapple" width="300" height="300">
<img alt="Pineapple" width="300" height="300">
<img alt="Pineapple" width="300" height="300">
<img alt="Pineapple" width="300" height="300">
<img alt="Pineapple" width="300" height="300">
<img alt="Pineapple" width="300" height="300">
<img alt="Pineapple" width="300" height="300">
<img alt="Pineapple" width="300" height="300”>
</body>
</html>
3CSS3按钮
使用 CSS 来制作按钮
效果图:
代码实例:
.button {
background-color: #04b; /* Green */
border: none;
color: white;
padding: 15px 32px;
text-align: center;
text-decoration: none;
display: inline-block;
font-size: 16px;
}
按钮动画 - "按压效果"
效果图:
代码实例:
<!DOCTYPE html>
<html>
<head>
<meta charset="utf-8">
<title>button1</title>
<style>
.button {
display: inline-block;
padding: 15px 25px;
font-size: 24px;
cursor: pointer;
text-align: center;
text-decoration: none;
outline: none;
color: #fff;
background-color: #04b;
border: none;
border-radius: 15px;
box-shadow: 0 9px #999;
}
.button:hover {background-color: #04b}
.button:active {
background-color: #04b;
box-shadow: 0 5px #666;
transform: translateY(4px);
}
</style>
</head>
<body>
<h2>按钮动画 - "按压效果"</h2>
<button class="button">Click Me</button>
</body>
</html>
以上是关于CSS3用户界面图片按钮的主要内容,如果未能解决你的问题,请参考以下文章