python的scrapy框架爬虫基础
Posted 数据森麟
tags:
篇首语:本文由小常识网(cha138.com)小编为大家整理,主要介绍了python的scrapy框架爬虫基础相关的知识,希望对你有一定的参考价值。
来源:文科数据员
From:阿里云大学的爬虫项目编写实战课程
For:进入scrapy的大门
一般来说,我们在爬虫的时候会编写一个.py文件来实现爬虫,一旦需要解析、反爬、存储等操作后,这个代码就会很复杂。懒惰使人创新,为了提高爬虫效率,程序员们设计出了scrapy框架,利用多个.py可以迅速创建爬虫半成品,还方便日后爬虫项目的维护。
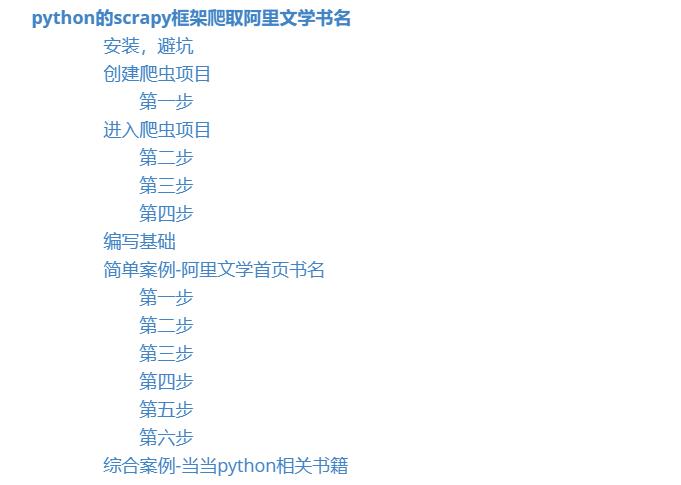
安装,避坑
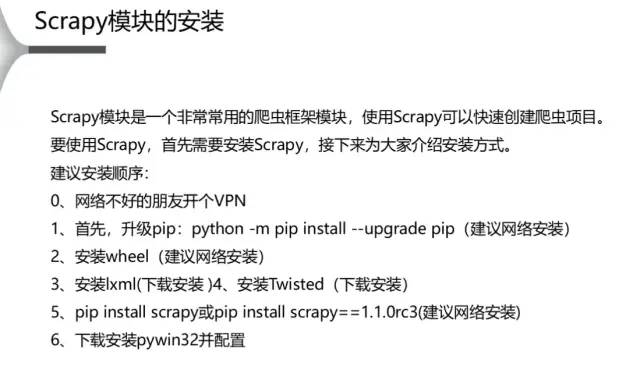
找到pywin32所在的文件夹,将其中的两个dll文件复制到c盘中windows文件夹中的system32文件夹里面。即路径为C:WindowsSystem32
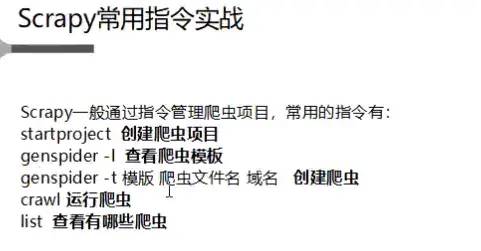
scrapy通过指令来管理爬虫项目的。所以需要熟悉各个指令。**
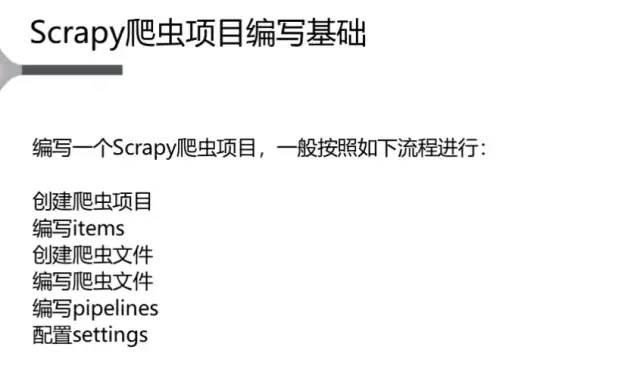
创建爬虫项目
>爬虫文件。
第一步
  #第一步:在指定的文件夹中,打开cmd,输入
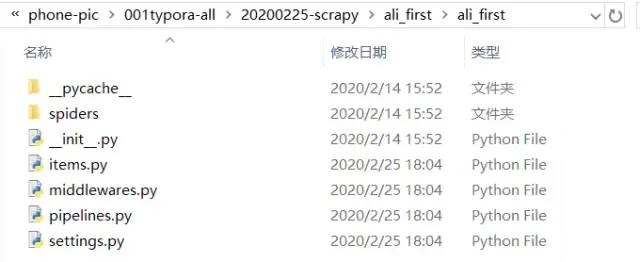
scrapy startproject ali_first #将会生成ali_first文件夹

进入爬虫项目
第二步
  # 第二步:进入爬虫项目
cd ali_first #cmd深入所创建的文件夹里
scrapy genspider -l #查看爬虫模板,注意是l,不是1
  Available templates:
  basic #基础模板
  crawl #通用模板,可以套用改模板写自己的爬虫(最常用)
  csvfeed #爬csv的
  xmlfeed #爬xml的
第三步
  # 生成自己的scrapy爬虫
scrapy genspider -t basic fst aliwx.com.cn # 进入哪个模板就写哪个模板,然后把自己创建的文件名写在basic后面。然后把要爬的域名写在文件名之后。注意是域名,不含主机名www。
第四步
  #运行刚才生成的自己的爬虫文件
scrapy crawl fst
  #查看当前文件夹的爬虫有哪些
scrapy list
# 查看还有哪些操作
scrapy
  Scrapy 1.8.0 - project: ali_first

Usage:
  scrapy <command> [options] [args]

Available commands:
  bench         Run quick benchmark test
  check         Check spider contracts
  crawl         Run a spider
  edit          Edit spider
  fetch         Fetch a URL using the Scrapy downloader
  genspider     Generate new spider using pre-defined templates
  list          List available spiders
  parse         Parse URL (using its spider) and print the results
  runspider     Run a self-contained spider (without creating a project)
  settings      Get settings values
  shell         Interactive scraping console
  startproject  Create new project
  version       Print Scrapy version
  view          Open URL in browser, as seen by Scrapy

Use "scrapy <command> -h" to see more info about a command
编写基础
简单案例-阿里文学首页书名
第一步
第二步
<p class="title" data-spm-anchor-id="aliwx.index.0.i1.836a204ecHNyb0">最佳豪婿</p>
第三步
www.加上。
  # -*- coding: utf-8 -*-
import scrapy

class FstSpider(scrapy.Spider):
    name = 'fst'
    allowed_domains = ['aliwx.com.cn']#爬虫域名
    start_urls = ['http://www.aliwx.com.cn/']#爬虫起始网址

    def parse(self, response):
        pass
parse函数中的response的相应信息。就在parse函数下面进行编辑内容。
第四步
  # -*- coding: utf-8 -*-
import scrapy

class AliFirstItem(scrapy.Item):
    # define the fields for your item here like:
    # name = scrapy.Field()
    title = scrapy.Field() #创建title的容器,当然可以不止一个容器
第五步
items文件中的类函数class。
from ali_first.items import AliFirstItem
  def parse(self, response):
item = AliFirstItem()#创建一个对象即可使用parse
item['title']=response.xpath("//p[@class='title']/text()").extract()#爬取其中p的title的text文件
yield item#item就可以返回给另一个文件,这里就是返回给了pipelines文件
  print(item)
#yield item

#在cmd中运行fst文件
scrapy crawl fst
第六步
  class AliFirstPipeline(object):
    def process_item(self, item, spider):
        for i in range(0,len(item['title'])):#枚举每一项获取的title
            print('---------')#分割线以直观查看一下
            print(item['title'][i])#得到每一项
        return item
  ITEM_PIPELINES = {
    'ali_first.pipelines.AliFirstPipeline': 300,#开启的时候,去掉注释,将piplines后面的类函数名称更换为现在pipelines中的那个。
}
  ---------
绝品小神农
---------
都市弃少兵王
---------
洪荒神帝
---------
村野小圣医
...
◆ ◆ ◆ ◆ ◆
◆ ◆ ◆ ◆ ◆
管理员二维码:
以上是关于python的scrapy框架爬虫基础的主要内容,如果未能解决你的问题,请参考以下文章