CentOS7利用Gitolite搭建本地Git服务器
Posted 重庆立言科技有限公司
tags:
篇首语:本文由小常识网(cha138.com)小编为大家整理,主要介绍了CentOS7利用Gitolite搭建本地Git服务器相关的知识,希望对你有一定的参考价值。
1. 安装前准备
准备好一台centos7服务器
准备好一台客户端(windows,linux)都可以
SecureCRT连接工具
WinSCP文件上传工具
2. 客户端安装
2.1 git客户端
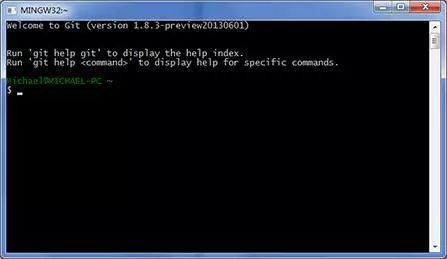
msysgit是Windows版的Git,从https://git-for-windows.github.io下载,然后按默认选项安装即可,安装完成后,在开始菜单里找到“Git”->“Git Bash”,蹦出一个类似命令行窗口的东西,就说明Git安装成功!

2.2公匙密匙生成
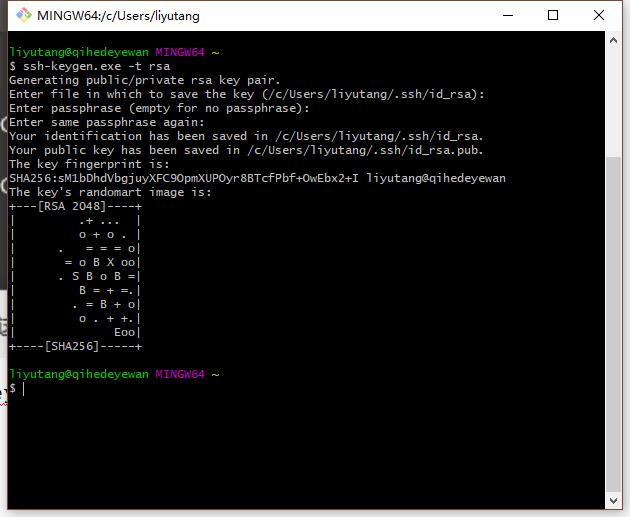
开始菜单打开Git bash 窗口输入命令ssh-keygen.exe -t rsa后根据提示连续按下四次回车,如下图所示:

出现类似上图界面,则生成成功,如果之前生成过,需把之前的删除后重新生成。
生成的公匙私匙默认在当前用户的.ssh文件夹下。如果找不到,看是否被隐藏了。如下图所示:
将生成的id_rsa.pub改一下文件名如liyutang.pub 利用WinSCP工具上传到服务器:/tmp/liyutang.pub
2.3设置全局用户名
$ git config --global user.email"liyutang@sina.cn"
$ git config --global user.name"liyutang"
3. 服务器安装
3.1安装依赖包
[root@localhost ~]# yum info perl-devel
[root@localhost ~]# yum install -y perl-Time-HiRes
[root@localhost ~]# yum list perl*Dumper*
[root@localhost ~]# yum install perl-Data-Dumper.x86_64
3.2添加git用户组及权限
[root@localhost ~]# groupadd git
[root@localhost ~]# useradd git
[root@localhost ~]# passwd git
[root@localhost ~]# chown -R git:git /hom/git
[root@localhost ~]# chmod -R 755 /hom/git
3.3下载并安装gitolite
[root@localhost ~]# su git
[git@localhost root]$ cd /home/git/
[git@localhost ~]$ git clone https://github.com/sitaramc/gitolite
[git@localhost ~]$ mkdir -p ~/bin
[git@localhost ~]$ ~/gitolite/install -to ~/bin/
[git@localhost ~]$ ~/bin/gitolite setup -pk /tmp/liyutang.pub
[git@localhost ~]$ vi /home/git/.gitolite.rc
将下面的的添加到第一行
$ENV{PATH}.= ":/usr/local/git/bin/";
4. 客户端生成管理员仓库
4.1生成管理员仓库
$git clone git@192.168.100.130:gitolite-admin.git
进入仓库后可以看到conf 和keydir
conf/gitolite.conf 是添加用户/仓库的配置,
keydir 是放客户端的公钥(客户端连接服务器用)
到此,服务器安装完成,下面简单介绍一下权限配置
4.2权限配置
权限配置文件:gitolite.conf
下面我简单介绍一下权限配置:
#定义了用户组 devGroup,包含两个用户user1和 user2。
@devGroup= user1 user2
#定义的 test 版本库
repo test
#用户组devGroup对所有的分支和里程碑拥有读写、重置、添加和删除的授权。
RW+ = @devGroup
#用户 user3可以读写 master 分支
RW master = user3
#用户user4可以读写、强制更新、创建以及删除dev的分支
RW+ dev= user4
温馨提示
以上是关于CentOS7利用Gitolite搭建本地Git服务器的主要内容,如果未能解决你的问题,请参考以下文章