Centos环境下安装SVN
Posted 以指测河
tags:
篇首语:本文由小常识网(cha138.com)小编为大家整理,主要介绍了Centos环境下安装SVN相关的知识,希望对你有一定的参考价值。
本次分享大纲

centos7.5下搭建svn服务
 修改服务器名称

系统环境:百度云centos7.5(全新环境,未做任何配置修改)
登录服务器,修改服务器名称,重启,重新连接
[root@instance-jm5eakb8 ~]# hostnamectl set-hostname cyb[root@instance-jm5eakb8 ~]# rebootConnection closing...Socket close.Connection closed by foreign host.Disconnected from remote host(2核4G) at 14:13:04.Type `help' to learn how to use Xshell prompt.[C:~]$Connecting to 106.13.2.103:22...Could not connect to '106.13.2.103' (port 22): Connection failed.Type `help' to learn how to use Xshell prompt.[C:~]$Connecting to 106.13.2.103:22...Connection established.To escape to local shell, press Ctrl+Alt+].[root@cyb ~]#
 通过yum命令安装svnserve

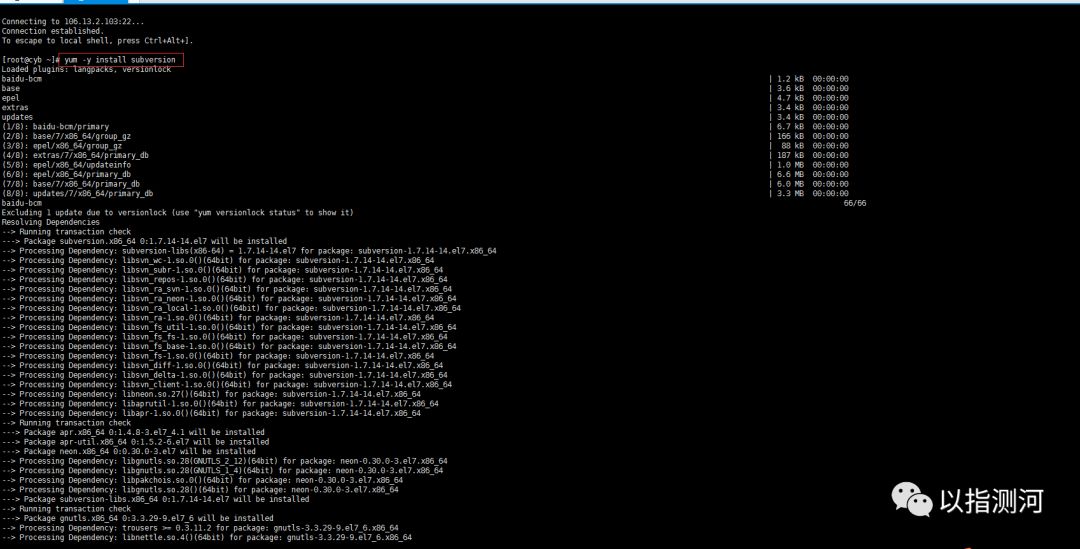
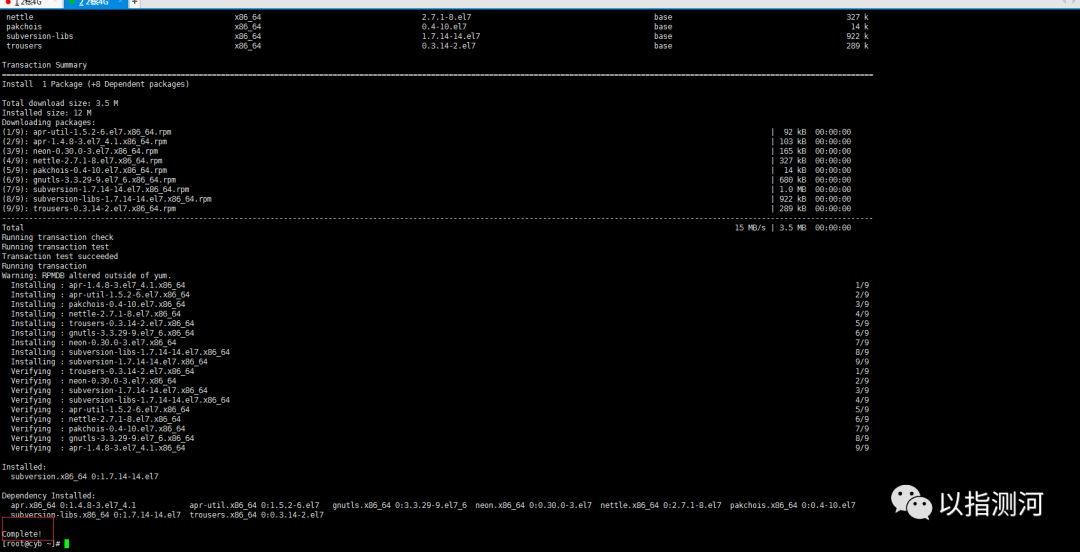
在跟目录执行yum命令安装svn服务器相关服务和依赖,安装完成会自动停止命令运行(注:看到Complete!即成功)
yum -y install subversion
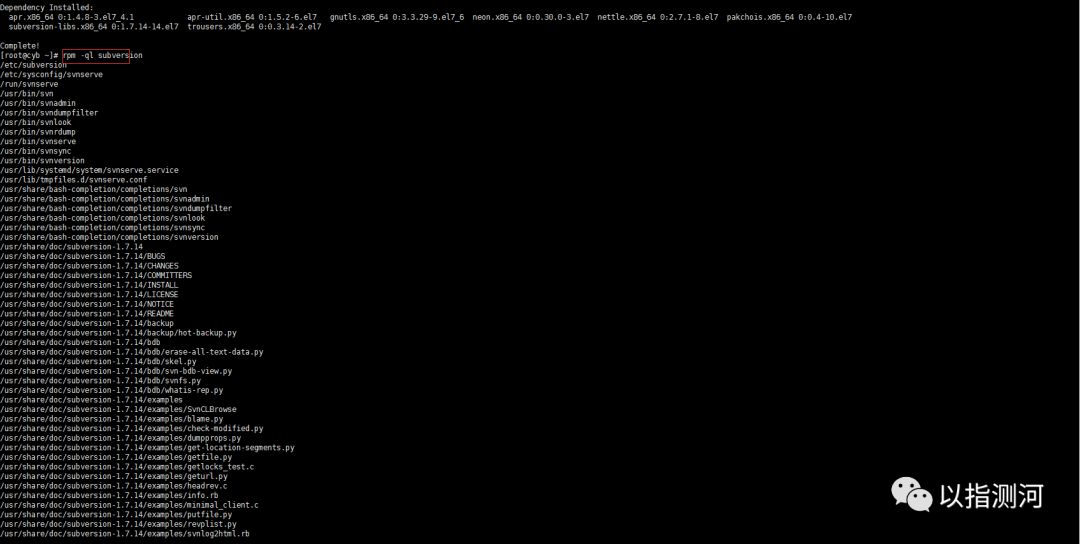
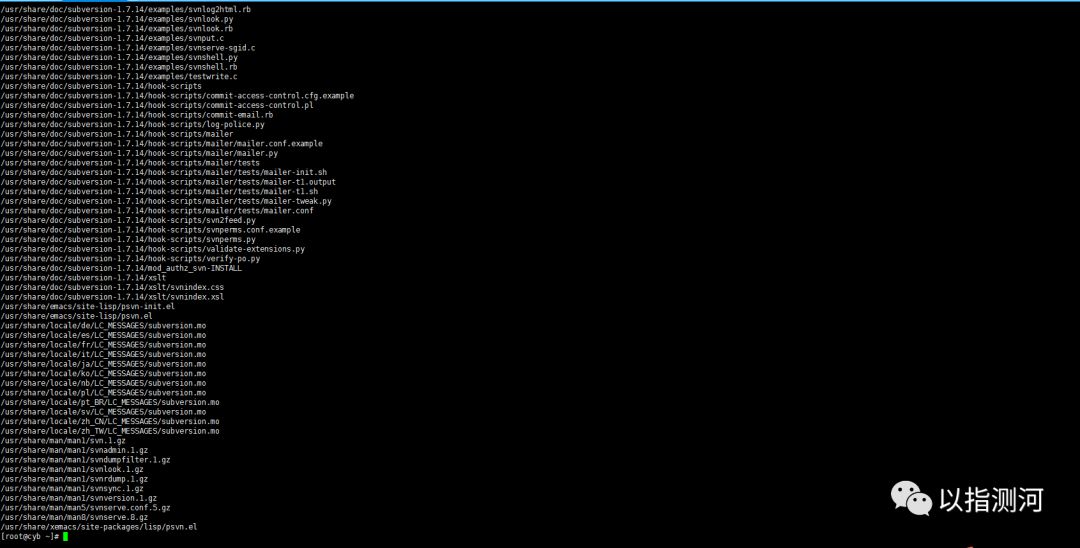
若需查看svn安装位置,可以用以下命令:
rpm -ql subversion

 创建版本库目录(此仅为目录,为后面创建版本库提供存放位置)
mkdir -p /var/svn/svnrepos


创建svn版本库

在上一步的基础上,创建版本库
svnadmin create /var/svn/svnrepos/1.0 (1.0为你预期的版本库名称,可自定义)
创建成功后,进入1.0目录下
cd /var/svn/svnrepos/1.0
可看到以下信息
[root@cyb 1.0]# lltotal 24drwxr-xr-x 2 root root 4096 Mar 22 15:23 confdrwxr-sr-x 6 root root 4096 Mar 22 15:23 db-r--r--r-- 1 root root 2 Mar 22 15:23 formatdrwxr-xr-x 2 root root 4096 Mar 22 15:23 hooksdrwxr-xr-x 2 root root 4096 Mar 22 15:23 locks-rw-r--r-- 1 root root 229 Mar 22 15:23 README.txt


修改配置

进入已经创建好的版本库目录下,也就是前文说创建的1.0文件夹
进入conf文件夹
cd /var/svn/svnrepos/1.0/conf
可以看到该文件下有三份配置文件如下
[root@cyb conf]# lltotal 12-rw-r--r-- 1 root root 1080 Mar 22 15:23 authz-rw-r--r-- 1 root root 309 Mar 22 15:23 passwd-rw-r--r-- 1 root root 3090 Mar 22 15:23 svnserve.conf

其中
authz:负责账号权限的管理,控制账号是否读写权限
passwd:负责账号和密码的用户名单管理
svnserve.conf:svn服务器配置文件
修改authz文件信息,如下:
[root@cyb conf]# vi authz### This file is an example authorization file for svnserve.### Its format is identical to that of mod_authz_svn authorization### files.### As shown below each section defines authorizations for the path and### (optional) repository specified by the section name.### The authorizations follow. An authorization line can refer to:### - a single user,### - a group of users defined in a special [groups] section,### - an alias defined in a special [aliases] section,### - all authenticated users, using the '$authenticated' token,### - only anonymous users, using the '$anonymous' token,### - anyone, using the '*' wildcard.###### A match can be inverted by prefixing the rule with '~'. Rules can### grant read ('r') access, read-write ('rw') access, or no access### ('').[aliases]# joe = /C=XZ/ST=Dessert/L=Snake City/O=Snake Oil, Ltd./OU=Research Institute/CN=Joe Average[groups]# harry_and_sally = harry,sally# harry_sally_and_joe = harry,sally,&joe# [/foo/bar]# harry = rw# &joe = r# * =# [repository:/baz/fuz]# @harry_and_sally = rw# * = r~[]admin = rwtest = r
在文件末尾添加账号权限,如下
[]账号1 = rw账号2 = r
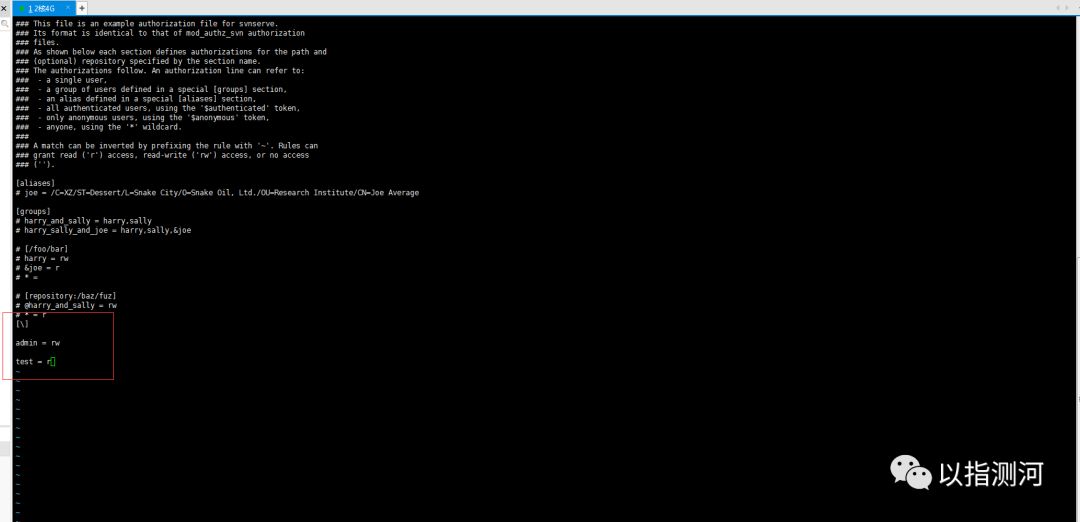
rw表示赋予此账号可读写的权限,请注意[]中的斜杠,一定是反斜杠,有些教程说,需添加版本库名称在括号内,我直接建议就这写,这样写允许访问的权限更大,避免一些错误
修改passwd文件信息
账号密码文件无需做修改,也是直接将账号和密码信息追加到文件中即可,注意格式为:
账号 = 密码
例如:admin = admin
本次设置admin = admintest = test
修改svnserve.conf
vi svnserve.conf需要放开几行注释,找到以下几行,去掉前面#号即可
anon-access = readauth-access = writepassword-db = passwdrealm = My First Repository
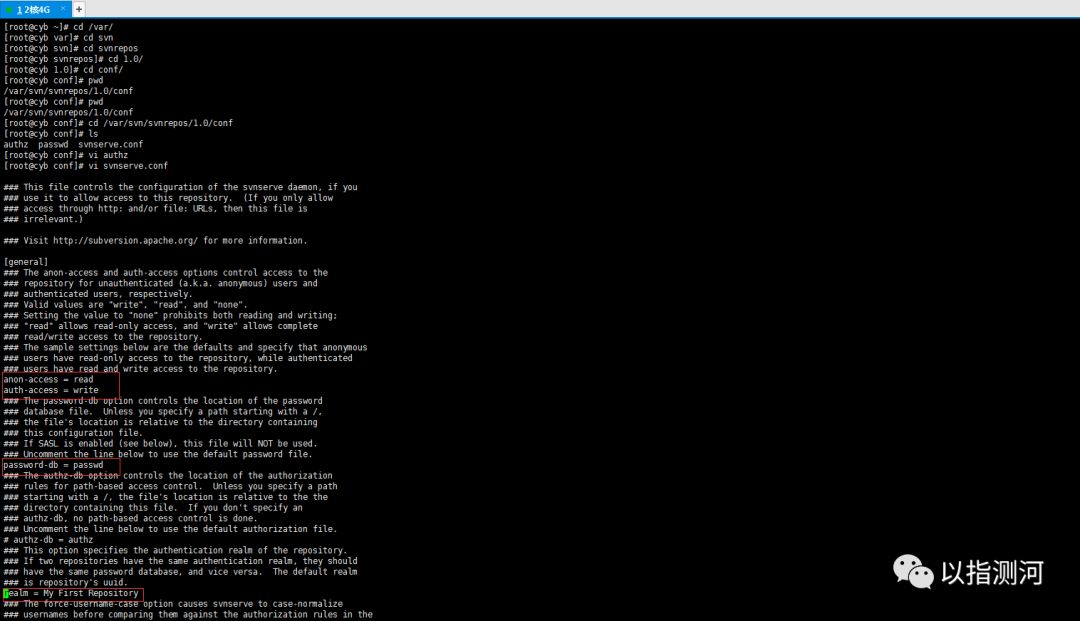
到此,配置已经全部完成,账号信息已经添加成功

启动svn服务器

在根目录执行命令
svnserve -d -r /var/svn/svnrepos
成功后没有提示
可以用ps -aux查看服务启动是否成功

访问svn服务器
弹出输入用户名和密码,输入即可访问
以上,搭建完毕。
以上是关于Centos环境下安装SVN的主要内容,如果未能解决你的问题,请参考以下文章