[WPF] 玩玩彩虹文字及动画
Posted dino.c
tags:
篇首语:本文由小常识网(cha138.com)小编为大家整理,主要介绍了[WPF] 玩玩彩虹文字及动画相关的知识,希望对你有一定的参考价值。
1. 前言
兴致来了玩玩 WPF 的彩虹文字。不是用 LinearGradientBrush 制作渐变色那种,是指每个文字独立颜色那种彩虹文字。虽然没什么实用价值,但希望这篇文章里用 ItemsControl 拆分文字,以及用工具类提供递增和随机变量的做法可以给读者一些启发,就好了。
2. 用 TextBlock 的 Run
<TextBlock>
    <Run Foreground="#4a0e68">b</Run>
    <Run Foreground="#b62223">l</Run>
    <Run Foreground="#fdd70c">o</Run>
    <Run Foreground="#f16704">c</Run>
    <Run Foreground="#69982d">k</Run>
    <Run Foreground="#0075a5">.</Run>
    <Run Foreground="#0b0045">R</Run>
    <Run Foreground="#4a0e68">u</Run>
    <Run Foreground="#b62223">n</Run>
</TextBlock>

用 TextBlock 的 Run 是做基本的做法,还有其它各种给 TextBlock 设置格式的方法,具体可以参考 text-block#formatting-text 这篇文档。
3. 写代码
这种方案就是用代码将字符串拆分,然后逐个字符塞进 TextBlock 然后放进 StackPanel,实现方式很无趣,我就不写了。
4. 用 ItemsControl
第三种方案是用 ItemsControl 实现,这个方案虽然会绕些弯路,但胜在够有趣,而且能扩展其它玩法。
首先,因为 string 是个集合,其实它可以用作 ItemsControl 的 ItemsSource。但在 Xaml 上直接写 ItemsSource="somestring"` 会报错,可以用 ContentControl 包装一下,写成这样:
<ContentControl Content="ItemsControl" >
    <ContentControl.Template>
        <ControlTemplate TargetType="ContentControl">
            <ItemsControl ItemsSource="{TemplateBinding Content}" >
            </ItemsControl>
        </ControlTemplate>
    </ContentControl.Template>
</ContentControl>
然后设置 ItemsControl 的 ItemsPanel,让内容横向排列;设置 DataTemplate,让拆分后的字符显示在 TextBlock 上:
<ItemsControl ItemsSource="{TemplateBinding Content}" >
    <ItemsControl.ItemsPanel>
        <ItemsPanelTemplate>
            <StackPanel Orientation="Horizontal" />
        </ItemsPanelTemplate>
    </ItemsControl.ItemsPanel>
    <ItemsControl.ItemTemplate>
        <DataTemplate>
            <TextBlock Text="{Binding}" />
        </DataTemplate>
    </ItemsControl.ItemTemplate>
</ItemsControl>
接下来,为了让每个字符显示不同的颜色,需要实现一个 Collection 类并在 Xaml 上实例化它,将用到的颜色放进去:
<common:RepeatCollection x:Key="RepeatCollection">
    <SolidColorBrush>#4a0e68</SolidColorBrush>
    <SolidColorBrush>#b62223</SolidColorBrush>
    <SolidColorBrush>#fdd70c</SolidColorBrush>
    <SolidColorBrush>#f16704</SolidColorBrush>
    <SolidColorBrush>#69982d</SolidColorBrush>
    <SolidColorBrush>#0075a5</SolidColorBrush>
    <SolidColorBrush>#0b0045</SolidColorBrush>
</common:RepeatCollection>
这个 RepeatCollection 的代码如下,它其实是个循环队列,每次调用 Next 的 getter 方法就拿下一个元素(叫 CircleCollection 会不会好些?):
public class RepeatCollection : Collection<object>
{
    private int _offset;

    public object Next
    {
        get
        {
            if (this.Count == 0)
                return null;

            var result = this[_offset];
            _offset++;
            if (_offset > this.Count - 1)
                _offset = 0;

            return result;
        }
    }
}
最后,TextBlock 的 Foreground 绑定到集合的 Next 属性,实现每一个 TextBlock 都使用不同的颜色:
<TextBlock Foreground="{Binding Next, Source={StaticResource RepeatCollection}}" Text="{Binding}" />

5. 动画
从第三种方案延申,我试玩了几种动画。
首先我写了个 TimeSpanIncreaser 类,它包含 Start、Setp、Next 三个属性,其中 Next 的代码如下:
public override TimeSpan Next => Start + (_current += Step);
它的作用就是每次调用 Next 属性,这个属性返回的值都递增。
回到 Xaml,首先在 Resources 中定义一个实例:
<common:TimeSpanIncreaser x:Key="TimeSpanIncreaser" Step="0:0:0.2" />
然后在 TextBlock 里加上这段:
<TextBlock.RenderTransform>
    <TranslateTransform Y="-90" />
</TextBlock.RenderTransform>
<FrameworkElement.Triggers>
    <EventTrigger RoutedEvent="FrameworkElement.Loaded">
        <BeginStoryboard>
            <Storyboard>
                <DoubleAnimation BeginTime="{Binding Next, Source={StaticResource TimeSpanIncreaser}}"
                                 Storyboard.TargetName="TextElement"
                                 Storyboard.TargetProperty="(UIElement.RenderTransform).(TranslateTransform.Y)"
                                 To="0"
                                 Duration="0:0:0.7">
                    <DoubleAnimation.EasingFunction>
                        <BounceEase EasingMode="EaseOut" />
                    </DoubleAnimation.EasingFunction>
                </DoubleAnimation>
            </Storyboard>
        </BeginStoryboard>
    </EventTrigger>
</FrameworkElement.Triggers>
每个 TextBlock 使用相同的动画,但动画的开始时间是逐个递增的,运行起来效果如下:

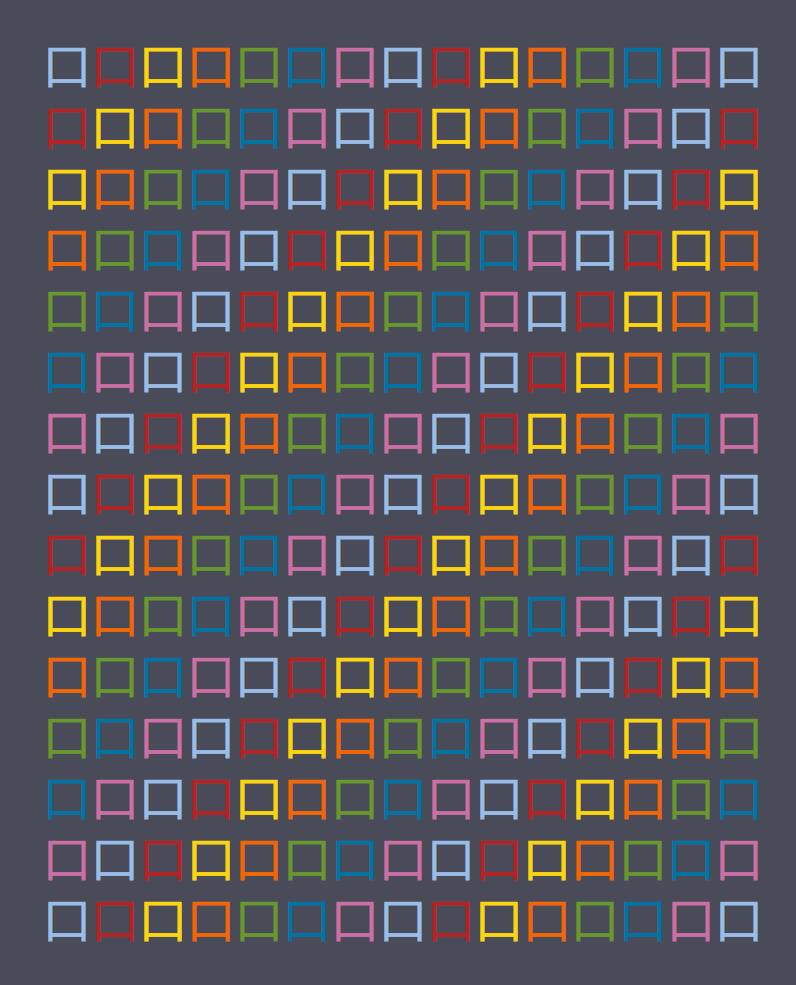
再大胆些,ItemsControl 嵌套 ItemsControl,就可以做出下面这种效果:
又或者,这次不玩递增,玩随机。首先实现这两个类然后实例化,代码我就不贴出来了,看名字就能懂它们实现了什么功能:
<common:RandomColorCreator x:Key="RandomColorCreator" />
<common:RandomDoubleCreator x:Key="RandomDoubleCreator" Max="20" />
然后让 TextBlock 的 Foreground 和 TranslateTransform 动画的 X、Y 绑定到这两个实例的 Next 属性:
<TextBlock.Foreground>
    <SolidColorBrush Color="{Binding Next, Source={StaticResource RandomColorCreator}}" />
</TextBlock.Foreground>
<TextBlock.RenderTransform>
    <TranslateTransform />
</TextBlock.RenderTransform>
<FrameworkElement.Triggers>
    <EventTrigger RoutedEvent="FrameworkElement.Loaded">
        <BeginStoryboard>
            <Storyboard>
                <DoubleAnimation AutoReverse="True"
                                 RepeatBehavior="Forever"
                                 Storyboard.TargetName="TextElement"
                                 Storyboard.TargetProperty="(UIElement.RenderTransform).(TranslateTransform.X)"
                                 To="{Binding Next, Source={StaticResource RandomDoubleCreator}}"
                                 Duration="0:0:.08" />
                <DoubleAnimation AutoReverse="True"
                                 RepeatBehavior="Forever"
                                 Storyboard.TargetName="TextElement"
                                 Storyboard.TargetProperty="(UIElement.RenderTransform).(TranslateTransform.Y)"
                                 To="{Binding Next, Source={StaticResource RandomDoubleCreator}}"
                                 Duration="0:0:.1" />
            </Storyboard>
        </BeginStoryboard>
    </EventTrigger>
</FrameworkElement.Triggers>
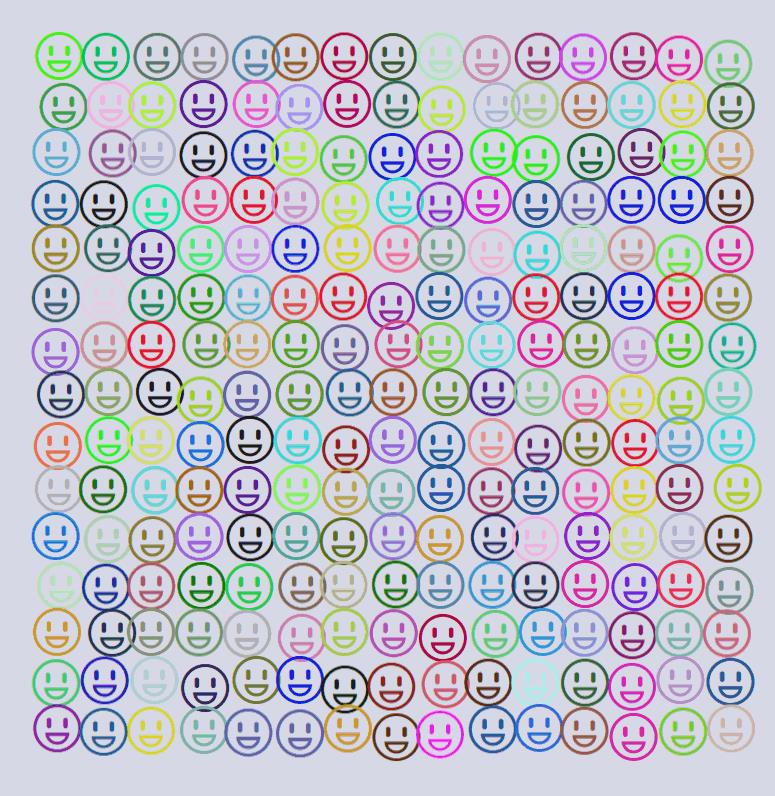
又一个毫无实用价值的动画诞生了:
6. 最后
虽然很遗憾没什么用,我只能安慰自己“结果不重要,最重要是享受过程”。
7. 源码
作者:dino.c
出处:http://www.cnblogs.com/dino623/
说明:欢迎转载并请标明来源和作者。如有错漏请指出,谢谢。
[WPF] 实现两个任天堂 Switch 的加载动画
写了两个 Switch 的加载动画,第一个是 Swtich 最常见那个 Loading 动画:
其中拆分文字用到了 之前一篇文章 里提到的用 ItemsControl 拆分的方案,文字逐个反转的动画也用了那篇文章里提到的 TimeSpanIncreaser 来控制 BeginTime:
<Storyboard BeginTime="{Binding Next, Source={StaticResource TimeSpanIncreaser}}" RepeatBehavior="Forever">
    <DoubleAnimationUsingKeyFrames Storyboard.TargetName="TextElement"
                                   Storyboard.TargetProperty="(UIElement.RenderTransform).(ScaleTransform.ScaleX)"
                                   Duration="0:0:4">
        <LinearDoubleKeyFrame KeyTime="0:0:0.4" Value="-1" />
        <LinearDoubleKeyFrame KeyTime="0:0:0.6" Value="1" />
        <LinearDoubleKeyFrame KeyTime="0:0:0.8" Value="-1" />
    </DoubleAnimationUsingKeyFrames>
</Storyboard>
另一个是 eShop 的加载动画,看起来简单,实现过程反而更有趣。

要实现这个动画,第一步要先把每行都拆分成一个独立的部分,然后还是使用 TimeSpanIncreaser 控制每个部分的开始动画的时间:
<local:NintendoEShopLoadingRow Delay="{Binding Next, Source={StaticResource TimeSpanIncreaser}}" />
<local:NintendoEShopLoadingRow Grid.Row="1" Delay="{Binding Next, Source={StaticResource TimeSpanIncreaser}}" />
<local:NintendoEShopLoadingRow Grid.Row="2" Delay="{Binding Next, Source={StaticResource TimeSpanIncreaser}}" />
<local:NintendoEShopLoadingRow Grid.Row="3" Delay="{Binding Next, Source={StaticResource TimeSpanIncreaser}}" />
<local:NintendoEShopLoadingRow Grid.Row="4" Delay="{Binding Next, Source={StaticResource TimeSpanIncreaser}}" />
<local:NintendoEShopLoadingRow Grid.Row="5" Delay="{Binding Next, Source={StaticResource TimeSpanIncreaser}}" />
然后实现 NintendoEShopLoadingRow ,先在里面放上四个颜色由浅到深的 Grid。为了不写死颜色,我做了个 LightenConverter,具体用法如下:
<Grid Background="{Binding Foreground, ElementName=Row, Converter={StaticResource LightenConverter}, ConverterParameter=.8}" />
<Grid Background="{Binding Foreground, ElementName=Row, Converter={StaticResource LightenConverter}, ConverterParameter=.6}" />
<Grid Background="{Binding Foreground, ElementName=Row, Converter={StaticResource LightenConverter}, ConverterParameter=.4}" />
<Grid Background="{Binding Foreground, ElementName=Row}" />
LightenConverter 的代码如下,先实现一个 HslColor 类,HSL即色相、饱和度、亮度(英语:Hue, Saturation, Lightness)。LightenConverter 将原本的 SolidColorBrush 中的 Color 转换成 HslColor,然后修改亮度后再转换回来:
public class LightenConverter : IValueConverter
{
    public object Convert(object value, Type targetType, object parameter, CultureInfo culture)
    {
        var brush = value as SolidColorBrush;
        if (brush == null)
            return value;

        var amount =System.Convert.ToDouble(parameter);

        return new SolidColorBrush(new HslColor(brush.Color).Lighten(amount).ToRgb());
    }

    public HslColor Lighten(HslColor source, double amount)
    {
        return new HslColor(source.h, source.s, source.l + (1 - source.l) * amount, source.a);
    }
    public object ConvertBack(object value, Type targetType, object parameter, CultureInfo culture) => throw new NotImplementedException();
}
这样就实现了 4 个 Grid 使用同一个颜色,但亮度不同。
最后要让这四个 Grid 动起来(其实只是动前面三个)。虽然说”动起来“,但并不是做移动的动画,而是用 ScaleTransform 做拉伸,同样是做 ScaleX 从 1 到 0 的动画,如果 RenderTransformOrigin="0,0.5" 就是以左边界为中心,即从右往左缩小;反之 RenderTransformOrigin="1,0.5" 就是从左往右缩小。通过设置 RenderTransformOrigin 实现了各层往不同的方向缩小,实现了左右往返的动画:
<DoubleAnimationUsingKeyFrames Storyboard.TargetName="L1" Storyboard.TargetProperty="(UIElement.RenderTransform).(ScaleTransform.ScaleX)">
    <LinearDoubleKeyFrame KeyTime="00:00:1" Value="0" />
</DoubleAnimationUsingKeyFrames>
<DoubleAnimationUsingKeyFrames Storyboard.TargetName="L2" Storyboard.TargetProperty="(UIElement.RenderTransform).(ScaleTransform.ScaleX)">
    <LinearDoubleKeyFrame KeyTime="00:00:1" Value="1" />
    <LinearDoubleKeyFrame KeyTime="00:00:2" Value="0" />
</DoubleAnimationUsingKeyFrames>
<DoubleAnimationUsingKeyFrames Storyboard.TargetName="L3" Storyboard.TargetProperty="(UIElement.RenderTransform).(ScaleTransform.ScaleX)">
    <LinearDoubleKeyFrame KeyTime="00:00:2" Value="1" />
    <LinearDoubleKeyFrame KeyTime="00:00:3" Value="0" />
</DoubleAnimationUsingKeyFrames>
<DoubleAnimationUsingKeyFrames Storyboard.TargetName="L1" Storyboard.TargetProperty="(UIElement.RenderTransform).(ScaleTransform.ScaleX)">
    <LinearDoubleKeyFrame KeyTime="00:00:3" Value="0" />
    <LinearDoubleKeyFrame KeyTime="00:00:4" Value="1" />
</DoubleAnimationUsingKeyFrames>
可惜的是,这个动画对 WPF 来说有些勉强,偶尔会有卡顿的现象。反正只是玩玩,正式产品不要在这么大的元素上做动画。
作者:dino.c
出处:http://www.cnblogs.com/dino623/
说明:欢迎转载并请标明来源和作者。如有错漏请指出,谢谢。
以上是关于[WPF] 玩玩彩虹文字及动画的主要内容,如果未能解决你的问题,请参考以下文章
树莓派系列-5-4B配置关闭休眠去掉滚动代码,彩虹瓶,增加开机动画