HarmonyOS实战—可编辑的卡片交互
Posted 李元静
tags:
篇首语:本文由小常识网(cha138.com)小编为大家整理,主要介绍了HarmonyOS实战—可编辑的卡片交互相关的知识,希望对你有一定的参考价值。
HarmonyOS实战
前言
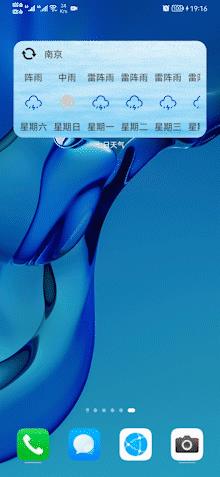
在前面的天气卡片设计中,我们设计了一个天气类卡片在桌面进行7日天气的直观显示。但其并不具备选择城市切换的功能,实用性并不高。

所以,今天博主将详细介绍鸿蒙原子化开发的编辑交互功能。
何为卡片编辑功能?
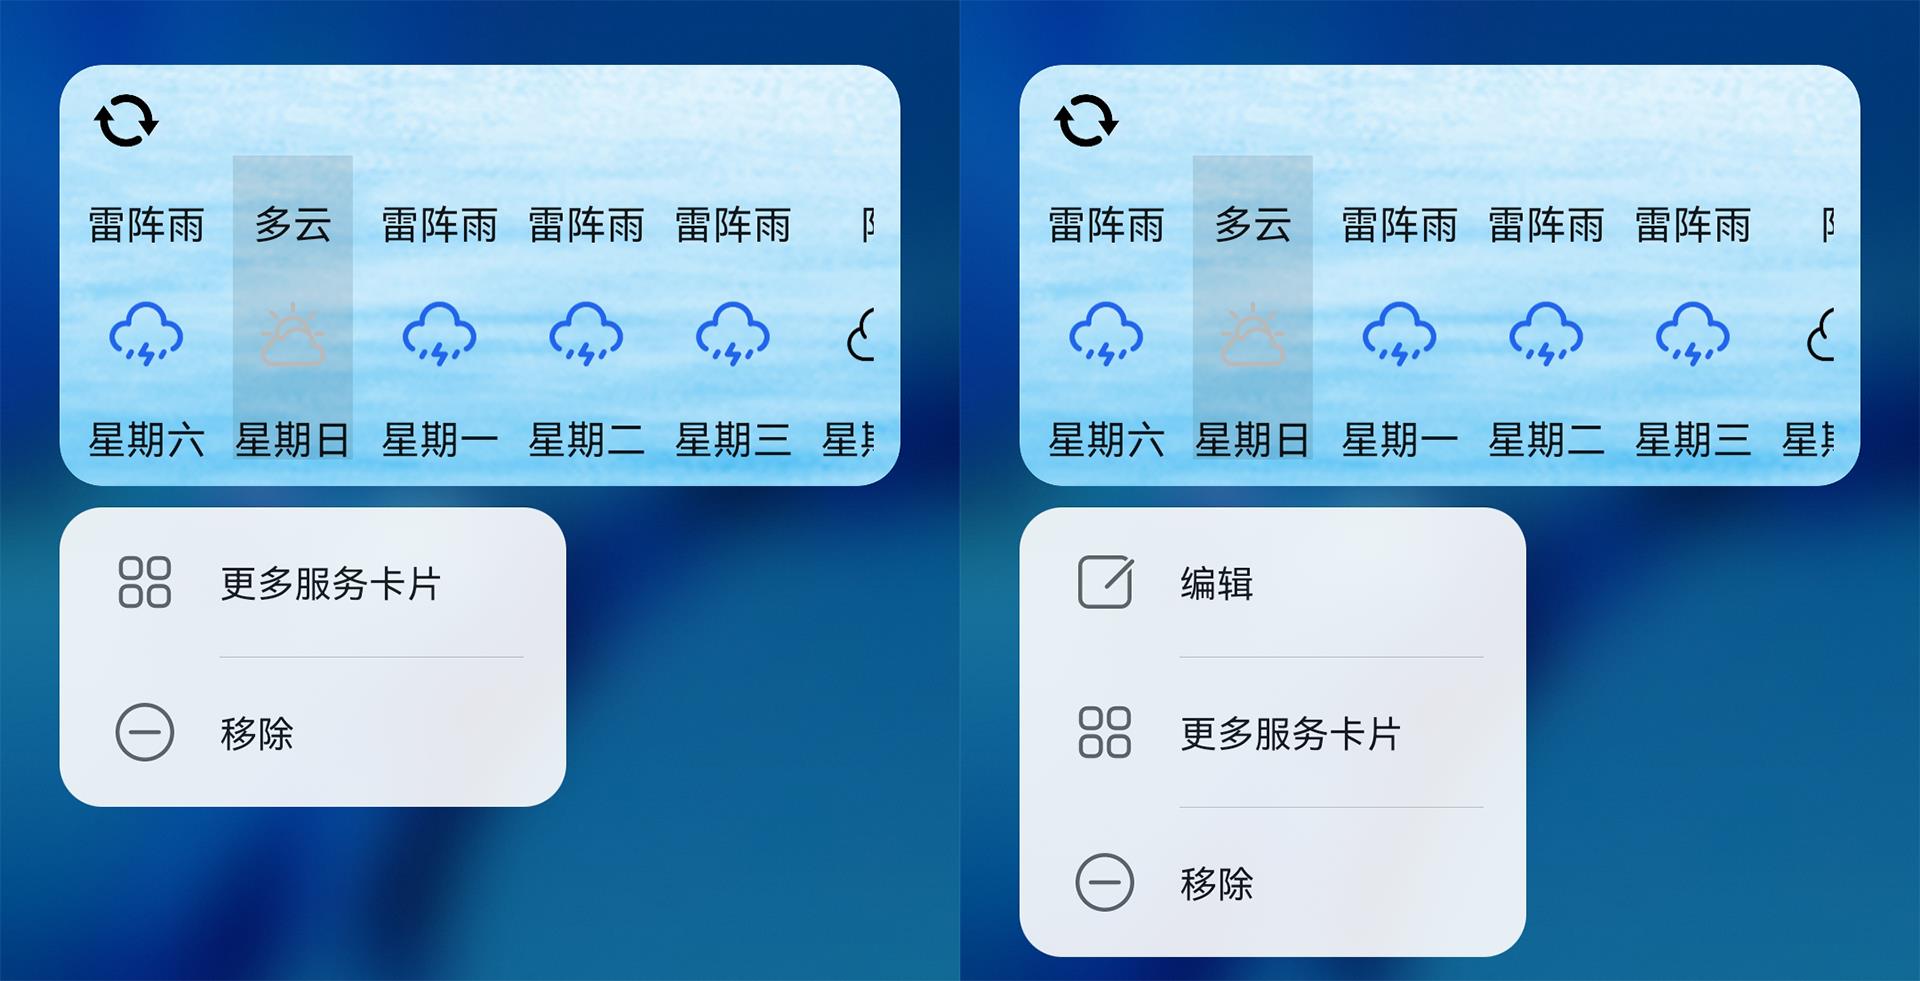
首先,我们需要来看一张图,认识一下有无卡片编辑功能样式到底有何不同。具体效果图如下所示:

可以看到,默认情况下鸿蒙的手机卡片是没有任何编辑功能的,那么如果让其有编辑功能呢?
答案在我们的config.json文件的卡片定义中。示例代码如下:
"forms": [
      {
        "jsComponentName": "widget",
        "isDefault": true,
        "formConfigAbility": "ability://com.liyuanjinglyj.jsweather.slice.WeatherChoiceAbility",
        "scheduledUpdateTime": "10:30",
        "defaultDimension": "2*4",
        "name": "widget",
        "description": "桌面7天天气直观卡片",
        "colorMode": "auto",
        "type": "JS",
        "supportDimensions": [
          "2*4"
        ],
        "updateEnabled": true,
        "updateDuration": 1
      }
],
感兴趣的读者可以自己按照博文:HarmonyOS实战—卡片的样式设计,创建一个随机的卡片,看看默认定义与这段代码有何不同。
这里,博主就直接给出答案,这里比默认的卡片定义多了一个formConfigAbility属性,该属性就是编辑功能的界面。
在这个界面,用户可以自定义功能进行卡片的更新以及样式的变化。比如这里的天气卡片,我们可以编辑传入城市,然后更新卡片的天气。
定义编辑界面
界面的交互逻辑
尽然说到需要更新天气,那么我们来定义这个编辑界面WeatherChoiceAbility界面,它是一个Java界面,只需要在XML布局中添加控件,进行操作即可。代码如下:
public class WeatherChoiceAbility extends Ability {
    private static final HiLogLabel TAG = new HiLogLabel(HiLog.DEBUG, 0x0, WeatherChoiceAbility.class.getName());
    private TextField textField;
    private Button button;
    private String url="https://yiketianqi.com/api?version=v9&appid=73913812&appsecret=458XM5hq&city=";
    private long formId;
    private String city;

    @Override
    protected void onStart(Intent intent) {
        super.onStart(intent);
        super.setUIContent(ResourceTable.Layout_ability_weather_choice_slice);
        this.textField=(TextField)findComponentById(ResourceTable.Id_ability_weather_choice_textfield);
        this.button=(Button)findComponentById(ResourceTable.Id_ability_weather_choice_button);
        formId=intent.getLongParam(AbilitySlice.PARAM_FORM_IDENTITY_KEY, -1);
        this.button.setClickedListener(new Component.ClickedListener() {
            @Override
            public void onClick(Component component) {
                TaskDispatcher refreshUITask = createParallelTaskDispatcher("", TaskPriority.DEFAULT);
                refreshUITask.syncDispatch(()->{
                    ZSONArray zsonArray=getData(textField.getText().trim());
                    HiLog.error(TAG,zsonArray.toString());

                    try {
                        ZSONObject object=new ZSONObject();
                        object.put("itemTitle",city);
                        object.put("weatherList",zsonArray);
                        FormBindingData bindingData = new FormBindingData(object);
                        if(!updateForm(formId,bindingData)){
                            HiLog.error(TAG,"updateForm error");
                        }else{
                            terminateAbility();
                        }
                    }catch (Exception e){
                        HiLog.error(TAG,"updateForm error");
                    }
                });
            }
        });
    }

    private ZSONArray getData(String cityStr){
        LYJUtils http = new LYJUtils();
        String response = http.doGet(url+cityStr);
        ZSONObject res = ZSONObject.stringToZSON(response);
        city = res.getString("city");
        HiLog.info(TAG, city);
        ZSONArray data = res.getZSONArray("data");
        WeatherImageMap weatherImageMap=new WeatherImageMap();
        Map<String,String> map= weatherImageMap.getMap();
        ZSONArray weatherList=new ZSONArray();
        for(int i=0;i<data.size();i++){
            ZSONObject zsonObject = (ZSONObject)data.get(i);
            ZSONObject newObject=new ZSONObject();
            newObject.put("image",map.get(zsonObject.getString("wea_day")));
            newObject.put("wea_day",zsonObject.get("wea_day"));
            newObject.put("week",zsonObject.get("week"));
            weatherList.add(newObject);
        }
        ZSONObject list_data = (ZSONObject)data.get(0);
        String content=list_data.getString("date");
        return weatherList;
    }
}
代码很简单,基本思路就是获取卡片的id,然后获取用户选择城市的天气信息,最后使用updateForm进行更新。
额外需要注意的是,传递给卡片的数据不能太长,先前博主直接将所有的天气数据updateForm后,直接导致数据丢失,最后只用了3个数据,才传递成功。(具体多长才算长,这个博主也没有研究,尽量只传递卡片需要的数据)
界面的布局
这里使用的ability_weather_choice_slice.xml布局文件只有一个文本框加上一个按钮,示例代码如下所示:
<?xml version="1.0" encoding="utf-8"?>
<DirectionalLayout
    xmlns:ohos="http://schemas.huawei.com/res/ohos"
    ohos:height="match_parent"
    ohos:width="match_parent"
    ohos:margin="20vp"
    ohos:orientation="vertical"
    ohos:top_margin="100vp">

    <TextField
        ohos:id="$+id:ability_weather_choice_textfield"
        ohos:height="40vp"
        ohos:width="match_parent"
        ohos:background_element="$graphic:textfield_graphic"
        ohos:hint="请输入城市名(去掉市,县,洲)"
        ohos:margin="20vp"
        ohos:padding="5vp"
        ohos:text_alignment="vertical_center"
        ohos:text_size="25vp"/>

    <Button
        ohos:id="$+id:ability_weather_choice_button"
        ohos:height="match_content"
        ohos:width="match_parent"
        ohos:background_element="$graphic:textfield_graphic"
        ohos:bottom_padding="5vp"
        ohos:text="获取城市天气同步到卡片"
        ohos:text_color="#FF0000"
        ohos:text_size="25vp"
        ohos:top_padding="5vp"/>

</DirectionalLayout>
代码中并没有加入城市的容错判断,感兴趣的可以自己加入,这里博主主要介绍卡片的编辑功能以及信息的同步。
当然,定义的Java界面需要在config.json中定义后才能使用,定义代码如下:
{
    "orientation": "unspecified",
    "name": "com.liyuanjinglyj.jsweather.slice.WeatherChoiceAbility",
    "icon": "$media:icon",
    "description": "$string:entry_MainAbility",
    "label": "$string:entry_MainAbility",
    "type": "page",
    "launchType": "standard"
}
运行之后,效果如首图所示。
本文源代码地址:https://github.com/liyuanjinglyj/JsWeather
本文正在参与“有奖征文 | HarmonyOS征文大赛”活动:
活动链接:https://marketing.csdn.net/p/ad3879b53f4b8b31db27382b5fc65bbc
以上是关于HarmonyOS实战—可编辑的卡片交互的主要内容,如果未能解决你的问题,请参考以下文章